
Cotton bags have definitely become a fashionable accessory and I am a proud owner of a zillion of them. From the Austrian country side butcher to the Notting Hill book shop – I have them all…. coming to think of it, the Austrian ones are all pretty old vintage whereas the fashion capital London does not hand them out since such a long time. Have we been trend setter, for once?
I do love cotton bags, they are great to keep my knitting or children’s change cloths clean yet breathable, you can put smaller things into your suit case without taking extra space, you can wash and reuse them, etc. etc. and of course they make you look trendy (for that purpose I would suggest the Notting Hill book shop one rather than the Austrian country side butcher)
I have already been sewing quite a few ones as my children’s nursery also seem to think that they are great to keep children’s change cloths in them.
Recently, I have made two for my children to keep their ballet equipment together and clean and since they have been a big hit I made another one for a little girl’s 5th birthday. They are really easy to make, and as an encouragement for those who would like to make things for their children but are a bit scared of their sewing machine, I put together a few pictures for a little tutorial:

Before we get started:
I really like using contrasting colours or one patterned and one plain side which makes it also a great project to use up left overs. The remaining question would then be the thread colour. A contrasting colour is good if you believe in your sewing skills. Little imperfections are more visible then if you are using matching threads. I like to find one colour that links all the colours of my project. In this case, I went for white. It is a contrast to everything but as it is a neutral colour, it does not add to my overflowing colour pot. If you do not want to have very obvious seams, you’ll have to use matching colours, which will lead to a lot of thread changing. Your choice.
You’ll need:
- fabric: 0.5m of cotton
- sewing thread, scissors, pins and the usual stuff
- iron
- optional appliqué:
- paper template (I printed out a letter font size 400ish)
- fabric (I like using the same fabric as for the second bag side)
- interface (I used a simple iron on one, there would be a more fancy fusible web with two sticky sides to make positioning later a bit easier)
- kitchen towel
1. Cut out two pieces of fabric for your bag and two for the handles.
Dimensions: I have made my bag a bit shorter than most standard cotton bags as it was made for a child (which tend to be a bit shorter 🙂
This is how you calculate it, followed by my own example.
Sides:
- desired width + 2x seam allowance: 32 + 2x 1.5 = 35
- desired length + 1x seam allowance + 2.5cm for folded top line = 34 + 1.5 + 2.5 = 38cm
Handles:
- 2x desired width + 1.5cm = 2×2 + 1.5 = 5.5cm
- desired length + 8cm = 35cm
2. If you want to add an appliqué you will also need a paper template, a bit of contrasting fabric, some interfacing (or fusible web) and a kitchen towel (or a tear away backing).
If not, you can jump to Step 8 straight away. 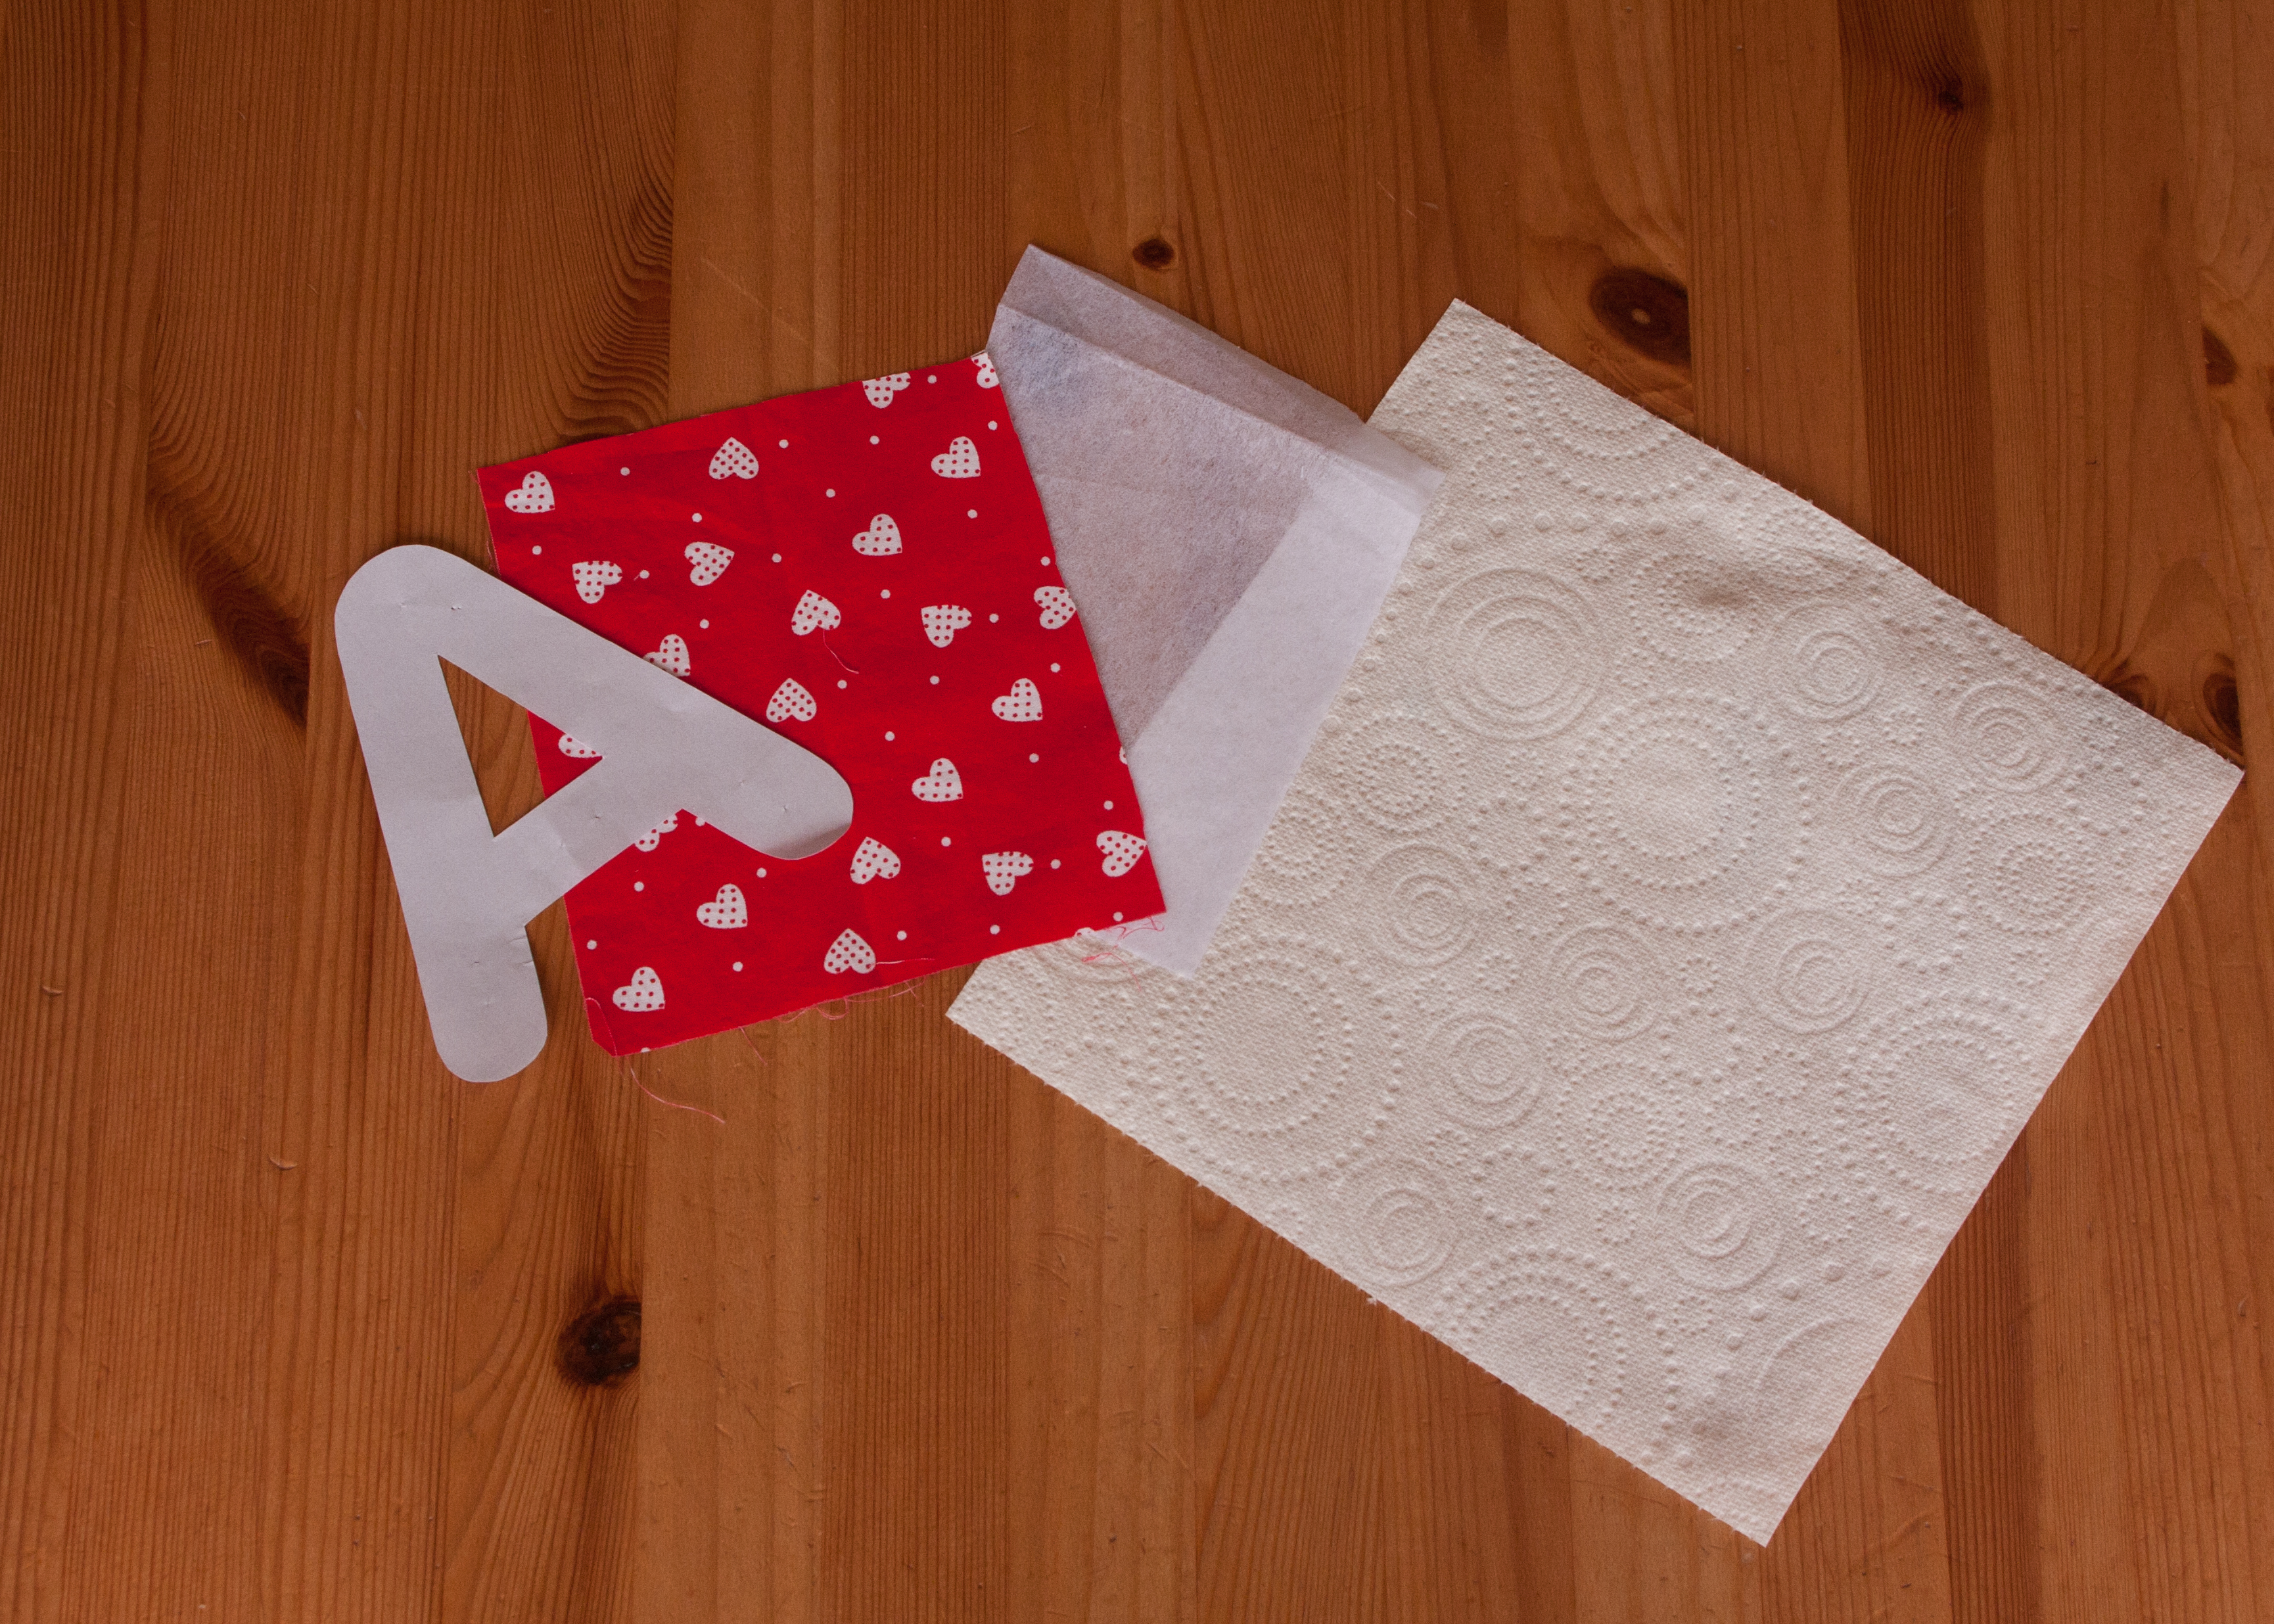
3. Iron the interfacing to the wrong side of your fabric (sticky side of interface on the fabric!). If you are using a fusible web, the paper side is up.
4. Pin your desired shape the right way onto the fabric side or the wrong way onto the paper of the fusible web and cut it out.
5. Position the appliqué on the bag fabric and pin it in place. I chose the center but the corner looks good, too. If you are using paper backed fusible web, pull the paper off and stick the appliqué onto the fabric.


6. Put a kitchen towel (or fancy tear away backing) under the fabric – this will result in a neater stitch as it holds everything together – and sew the appliqué on using a wide zigzag stitch. 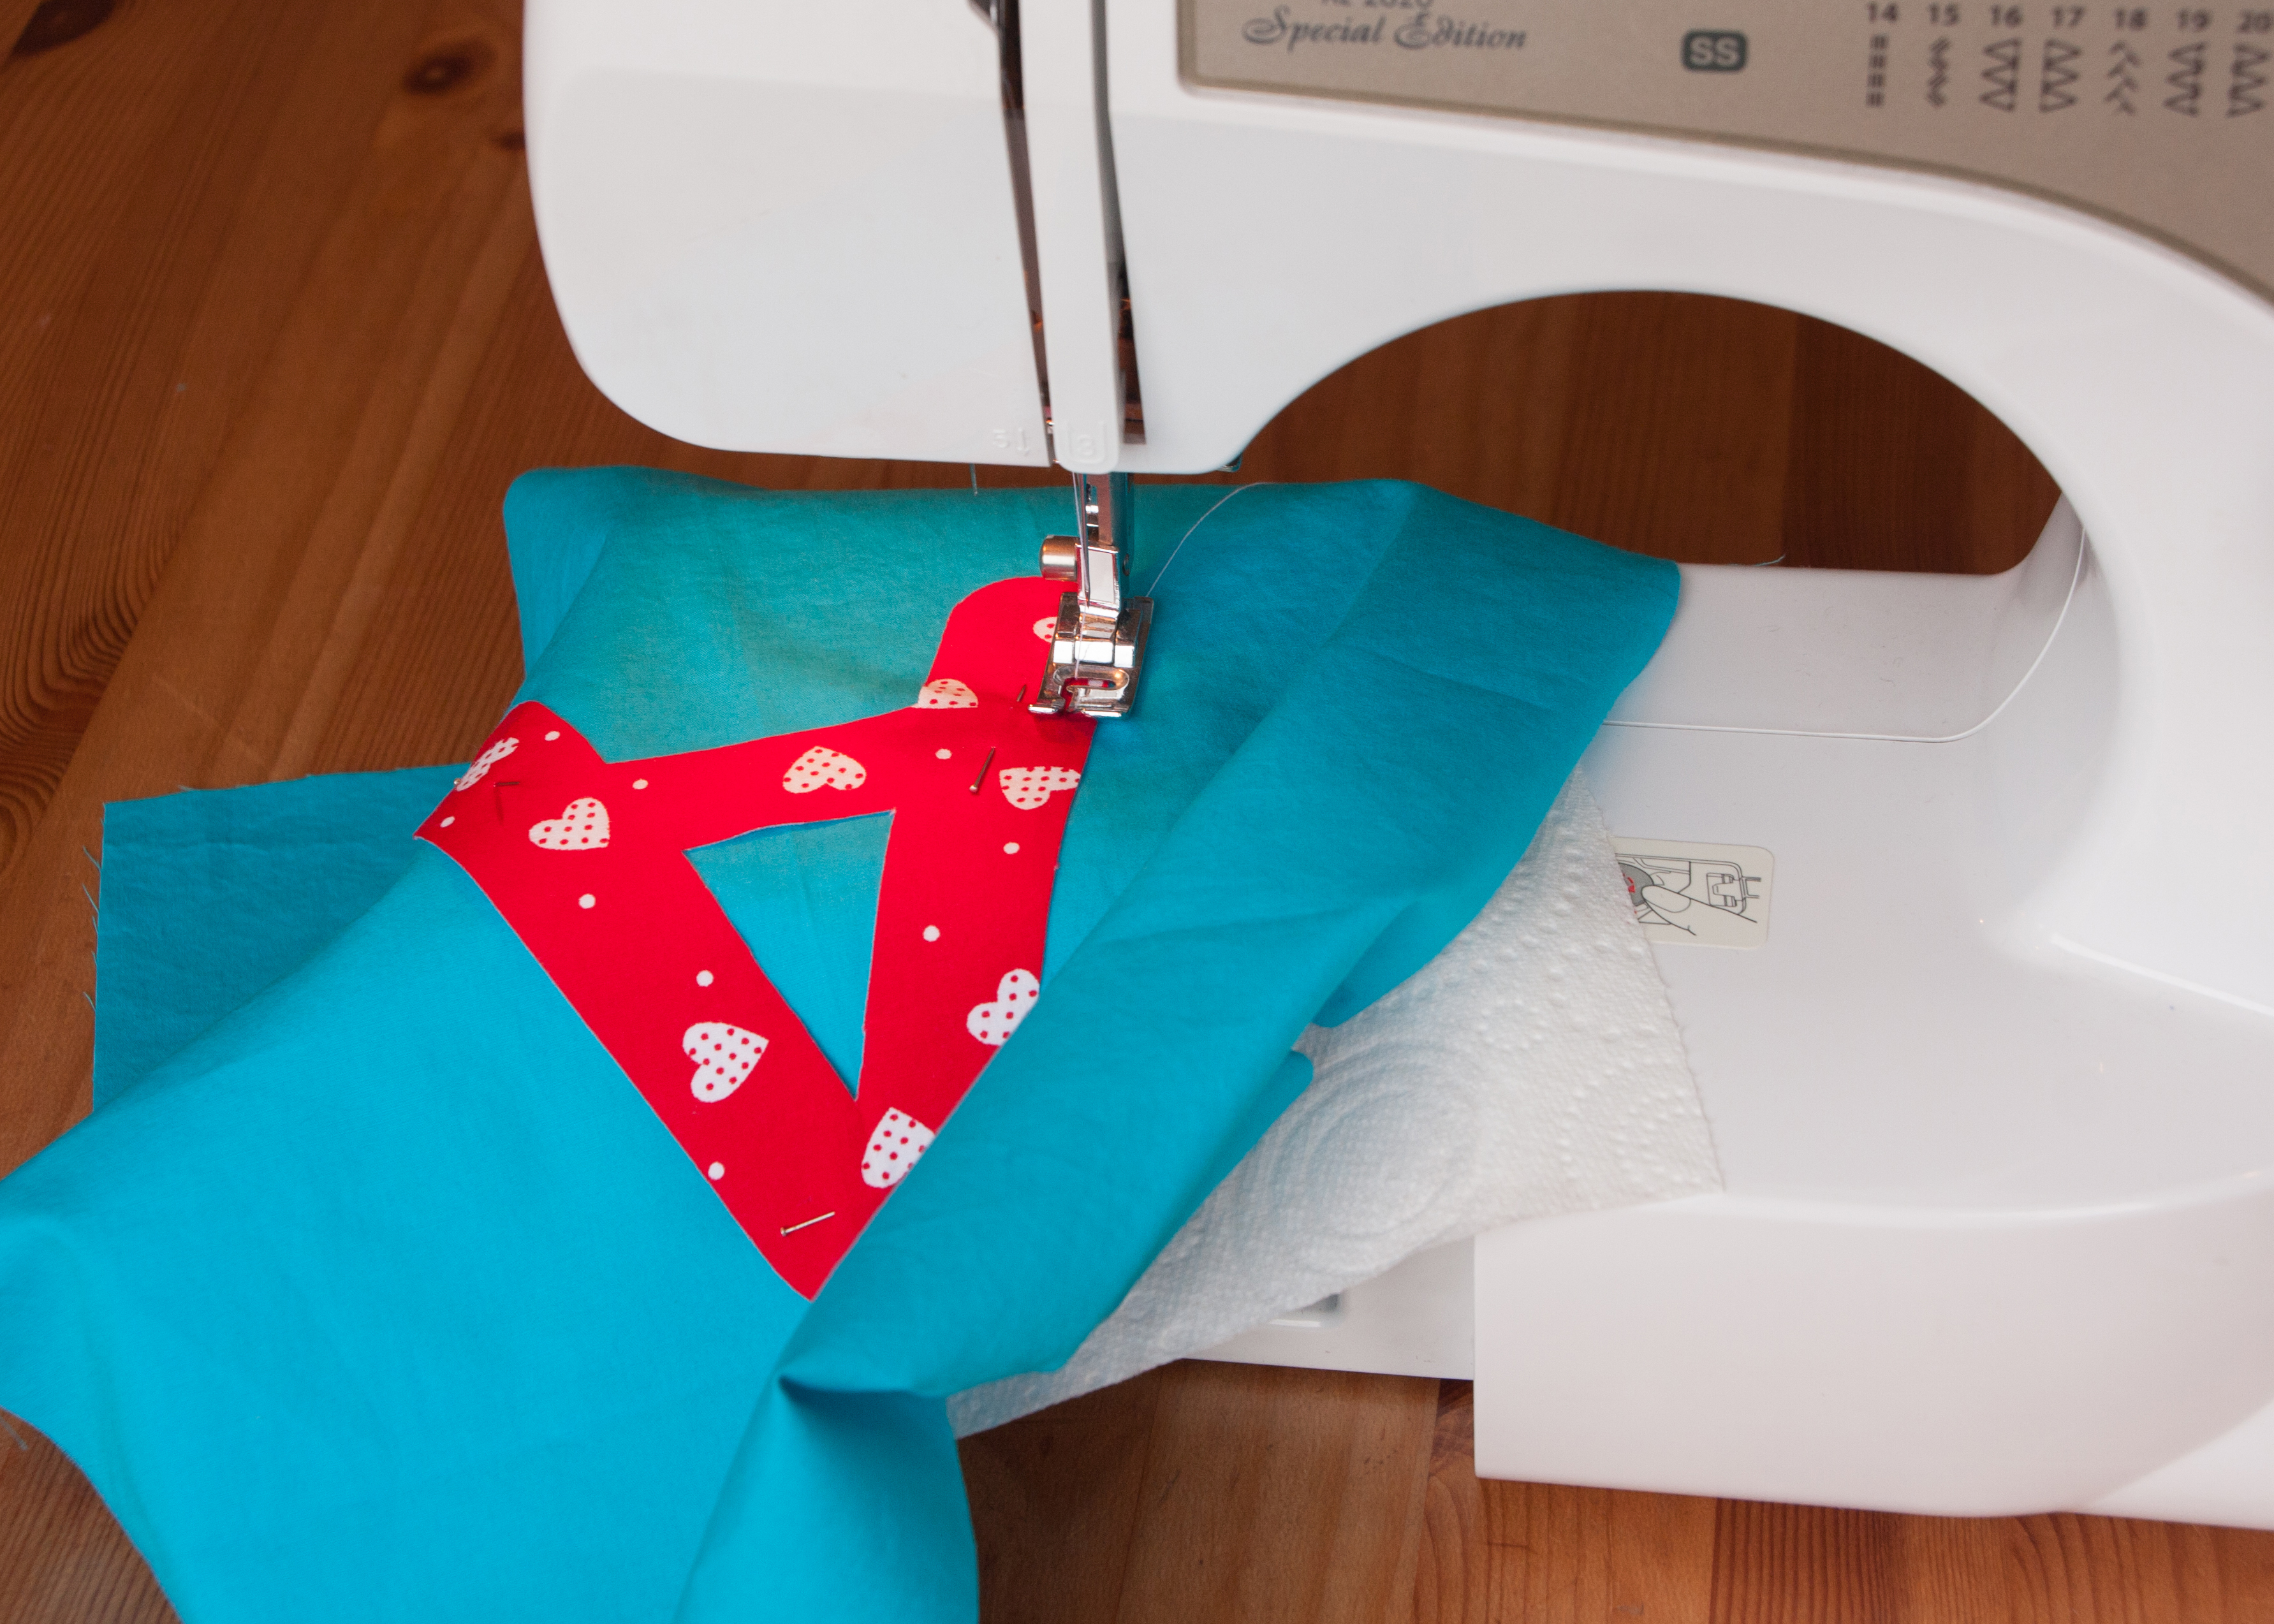
The zig goes through appliqué and fabric, the zag goes through the fabric only, just next to the appliqué. I usually use a rather small stitch length (almost as if I was sewing a button hole as I want to use it as a contrasting feature and to make it more secure (things for children get washed very often – at least in this house)
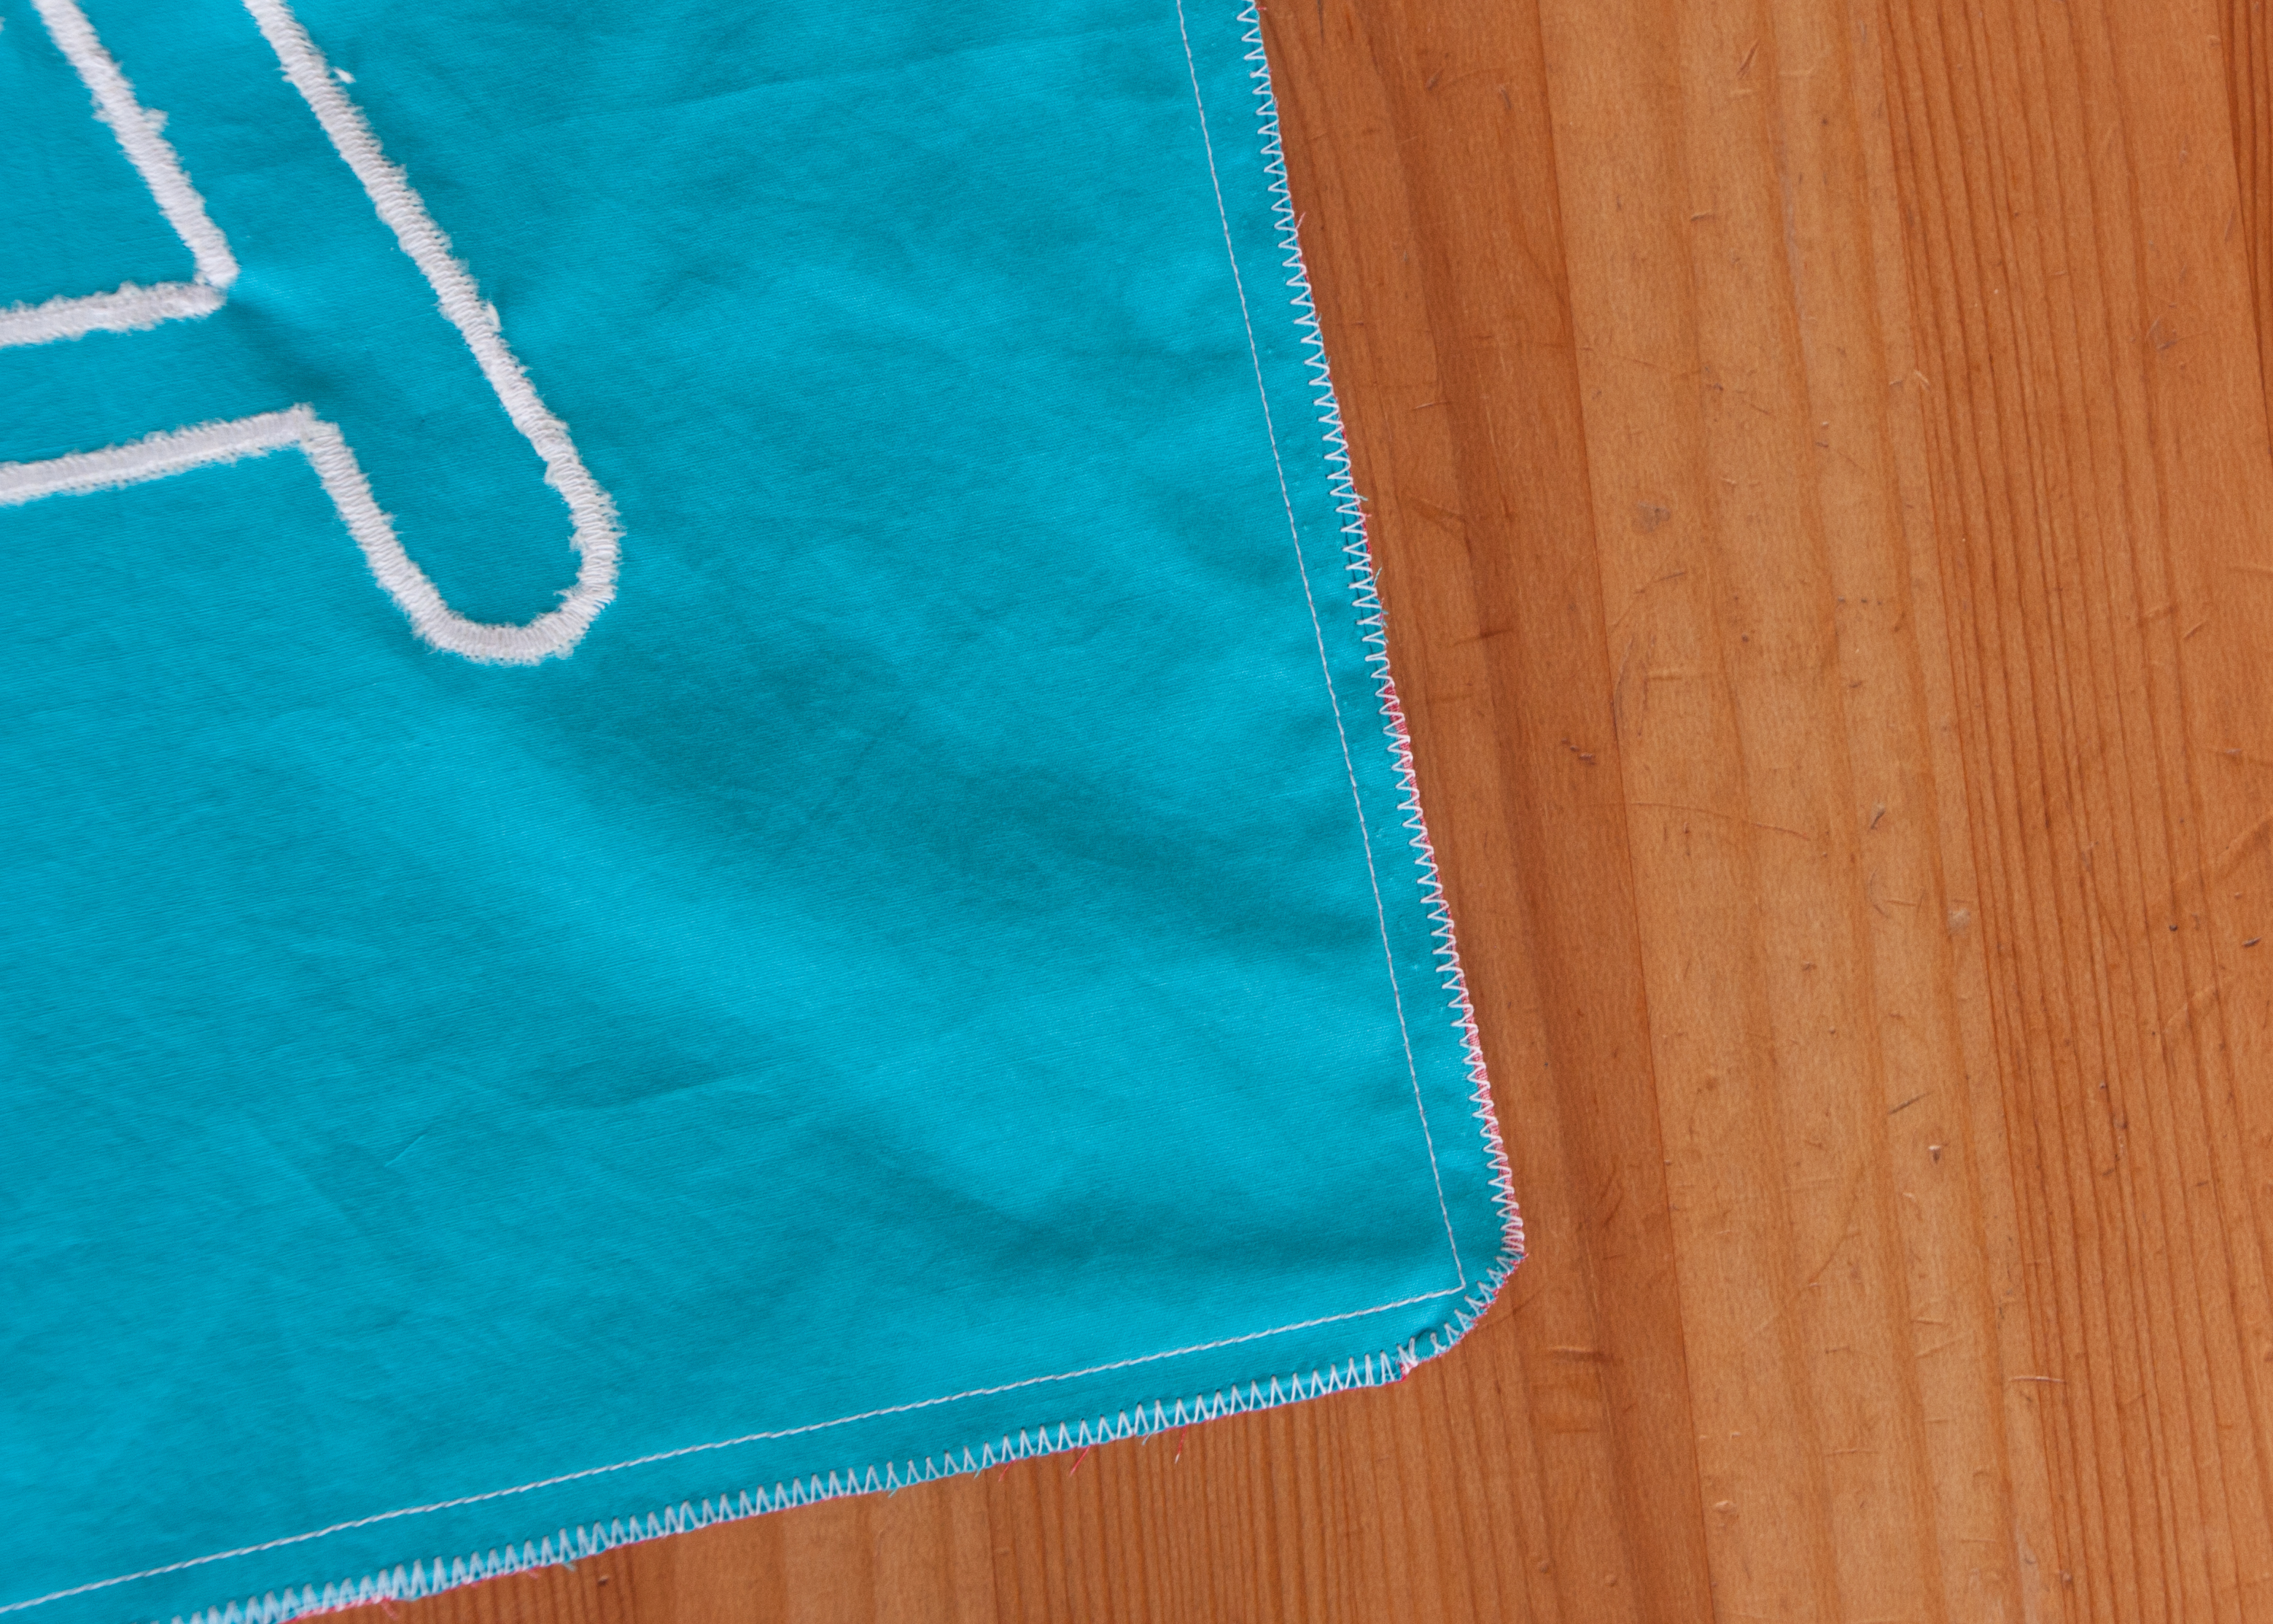
7. Carefully pull away the kitchen towel. The little bit stuck between the seem will come off in the first wash.


8. Pin the two sides of the cotton bag with the right sides together and sew along the two sides and the bottom. Shorten the two edges at the bottom of the bag and zig zag all around to secure the seams. (Usually you are supposed to cut off the edges after zigzagging but I am slightly security obsessed).
9. Now it is time to prepare the handles.
Put the fabric wrong side up onto the ironing board and fold both long sides 0.7mm and iron those edges.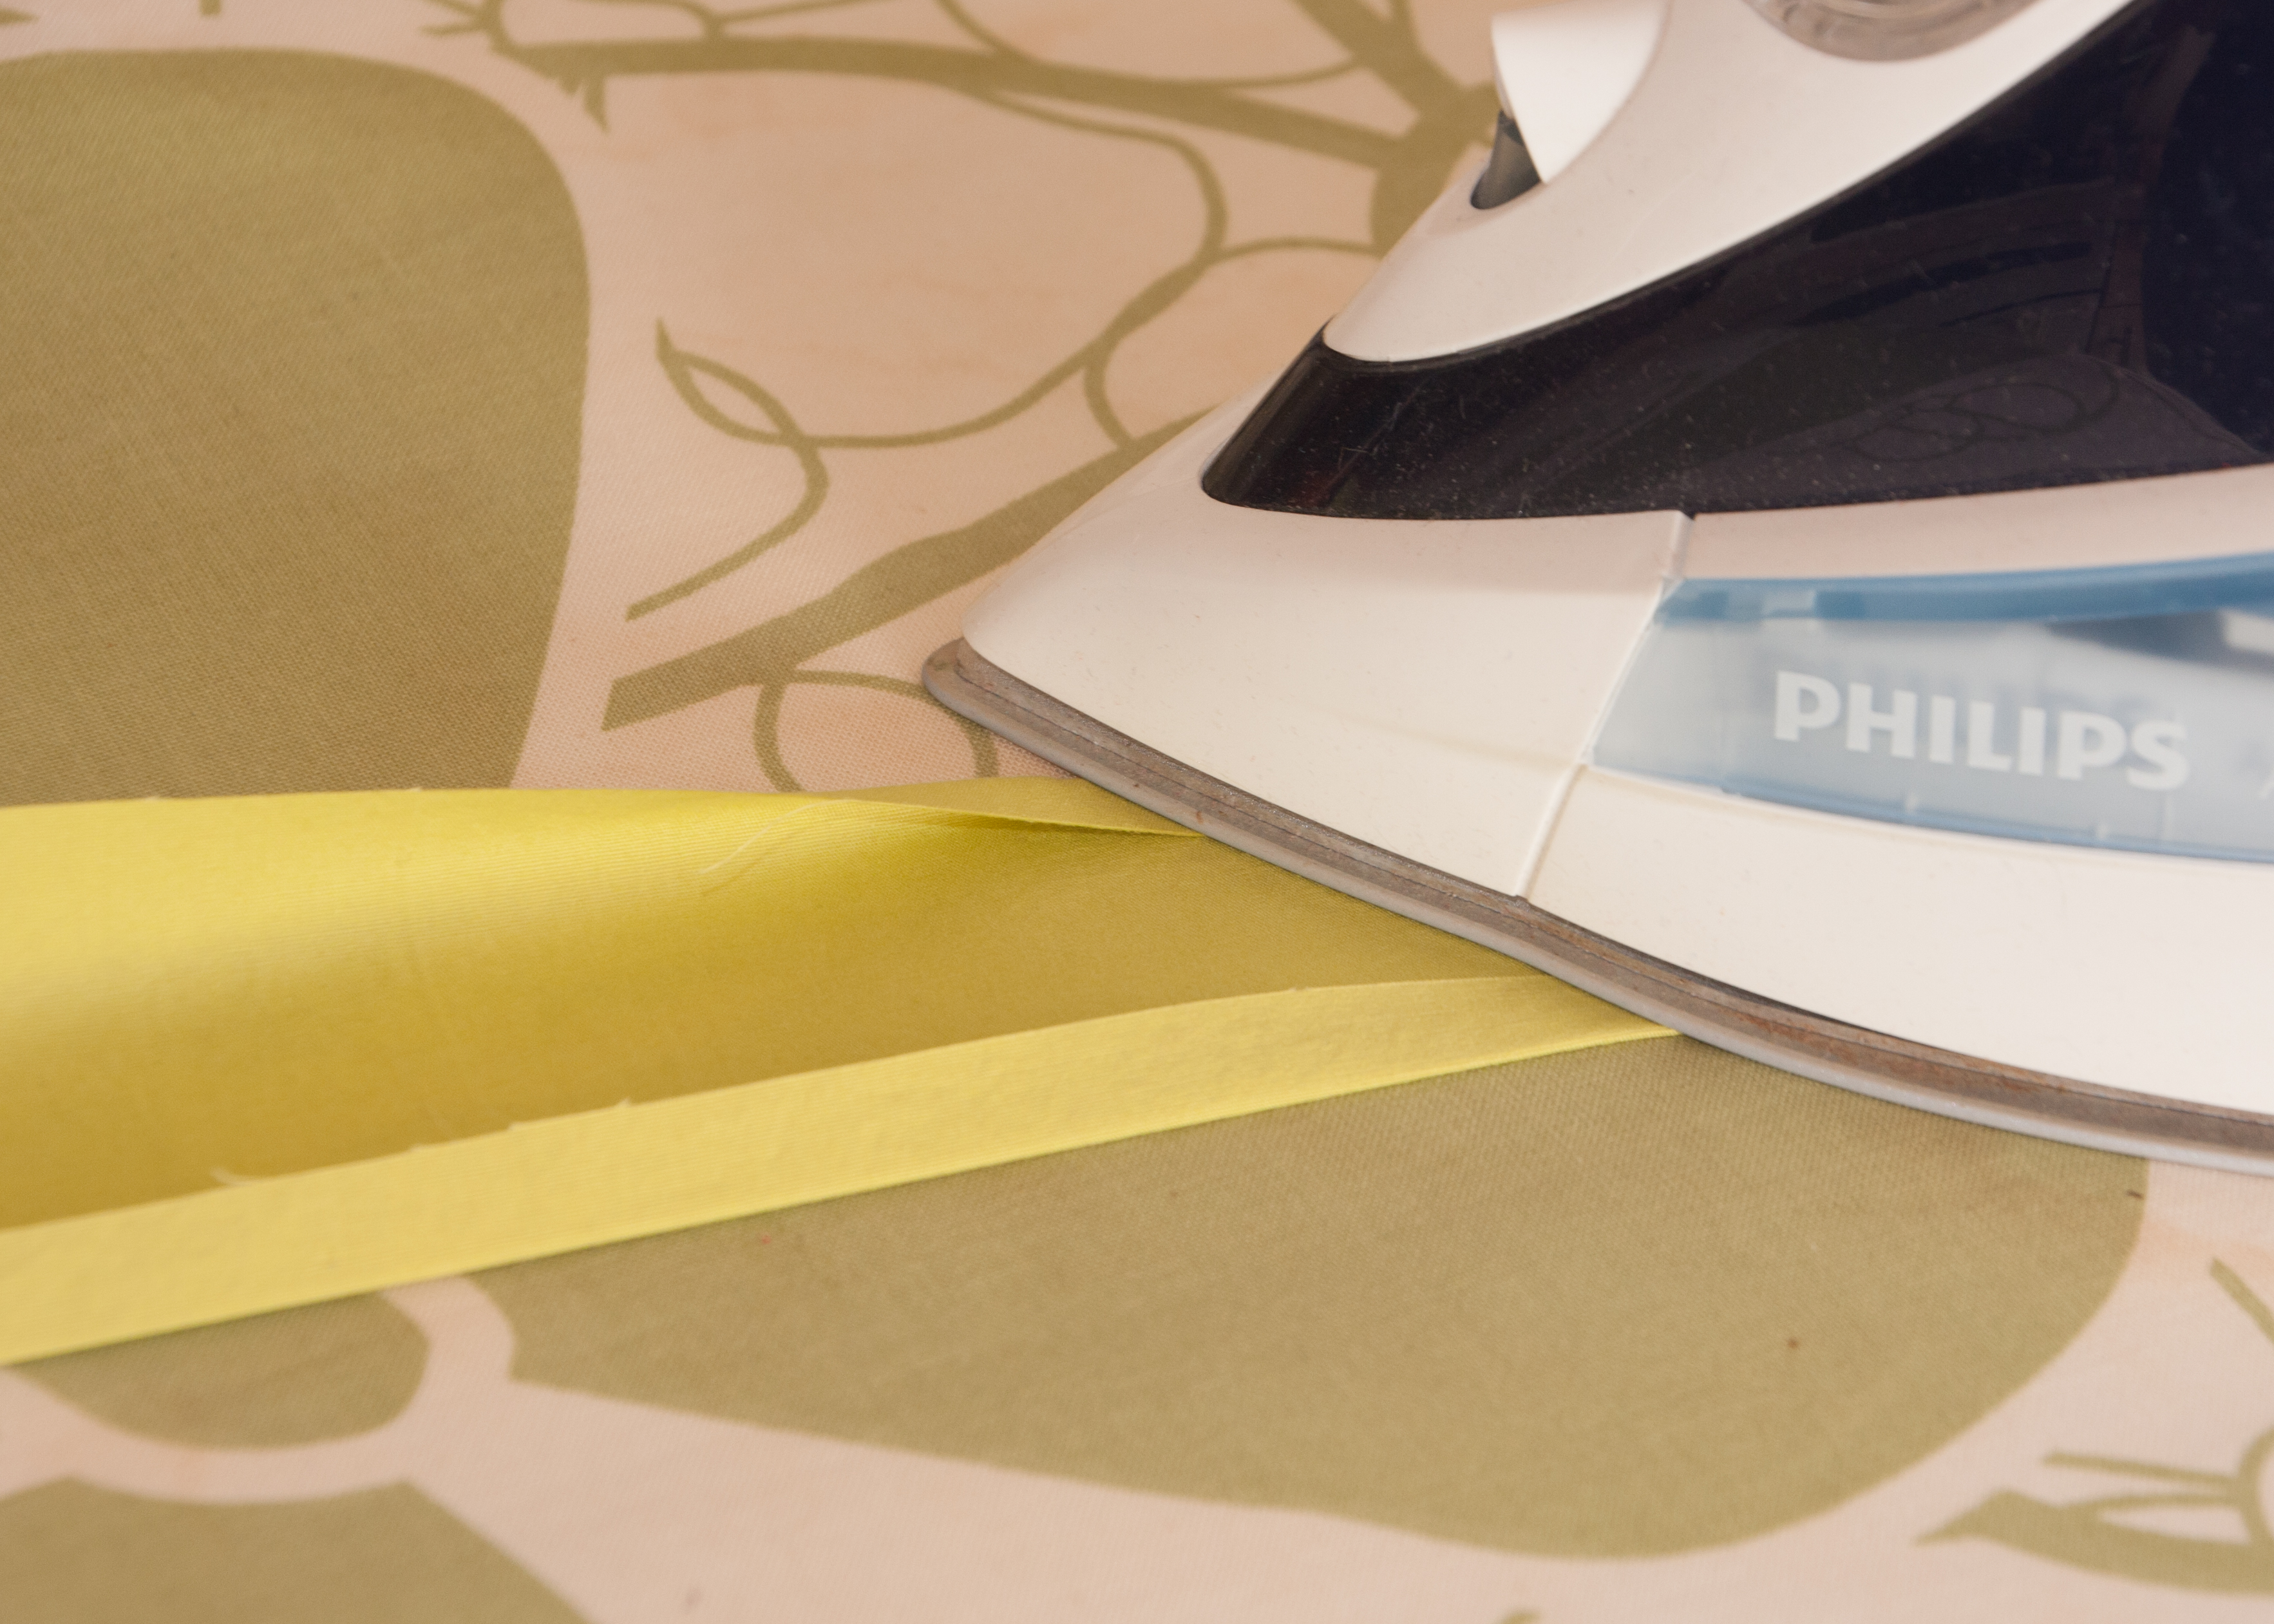
10. Fold the fabric lengthwise in half and iron again.
11. Since you are already using the iron, take your bag(right side inside) and fold the open top twice. First 0,5mm, iron, fold 2cm and iron again. 
12. Back to the handles. Close them by top stitching close to the folded edges.
13. Place the open ends of the first handle into the opening of your folded top line, right up to the top. Make sure you are positioning it centrally.
14. Now fold it up carefully and pin in place. Repeat this with the second handle.
15. Top stitch around the whole opening, close to the folded edge and over all your handle ends.
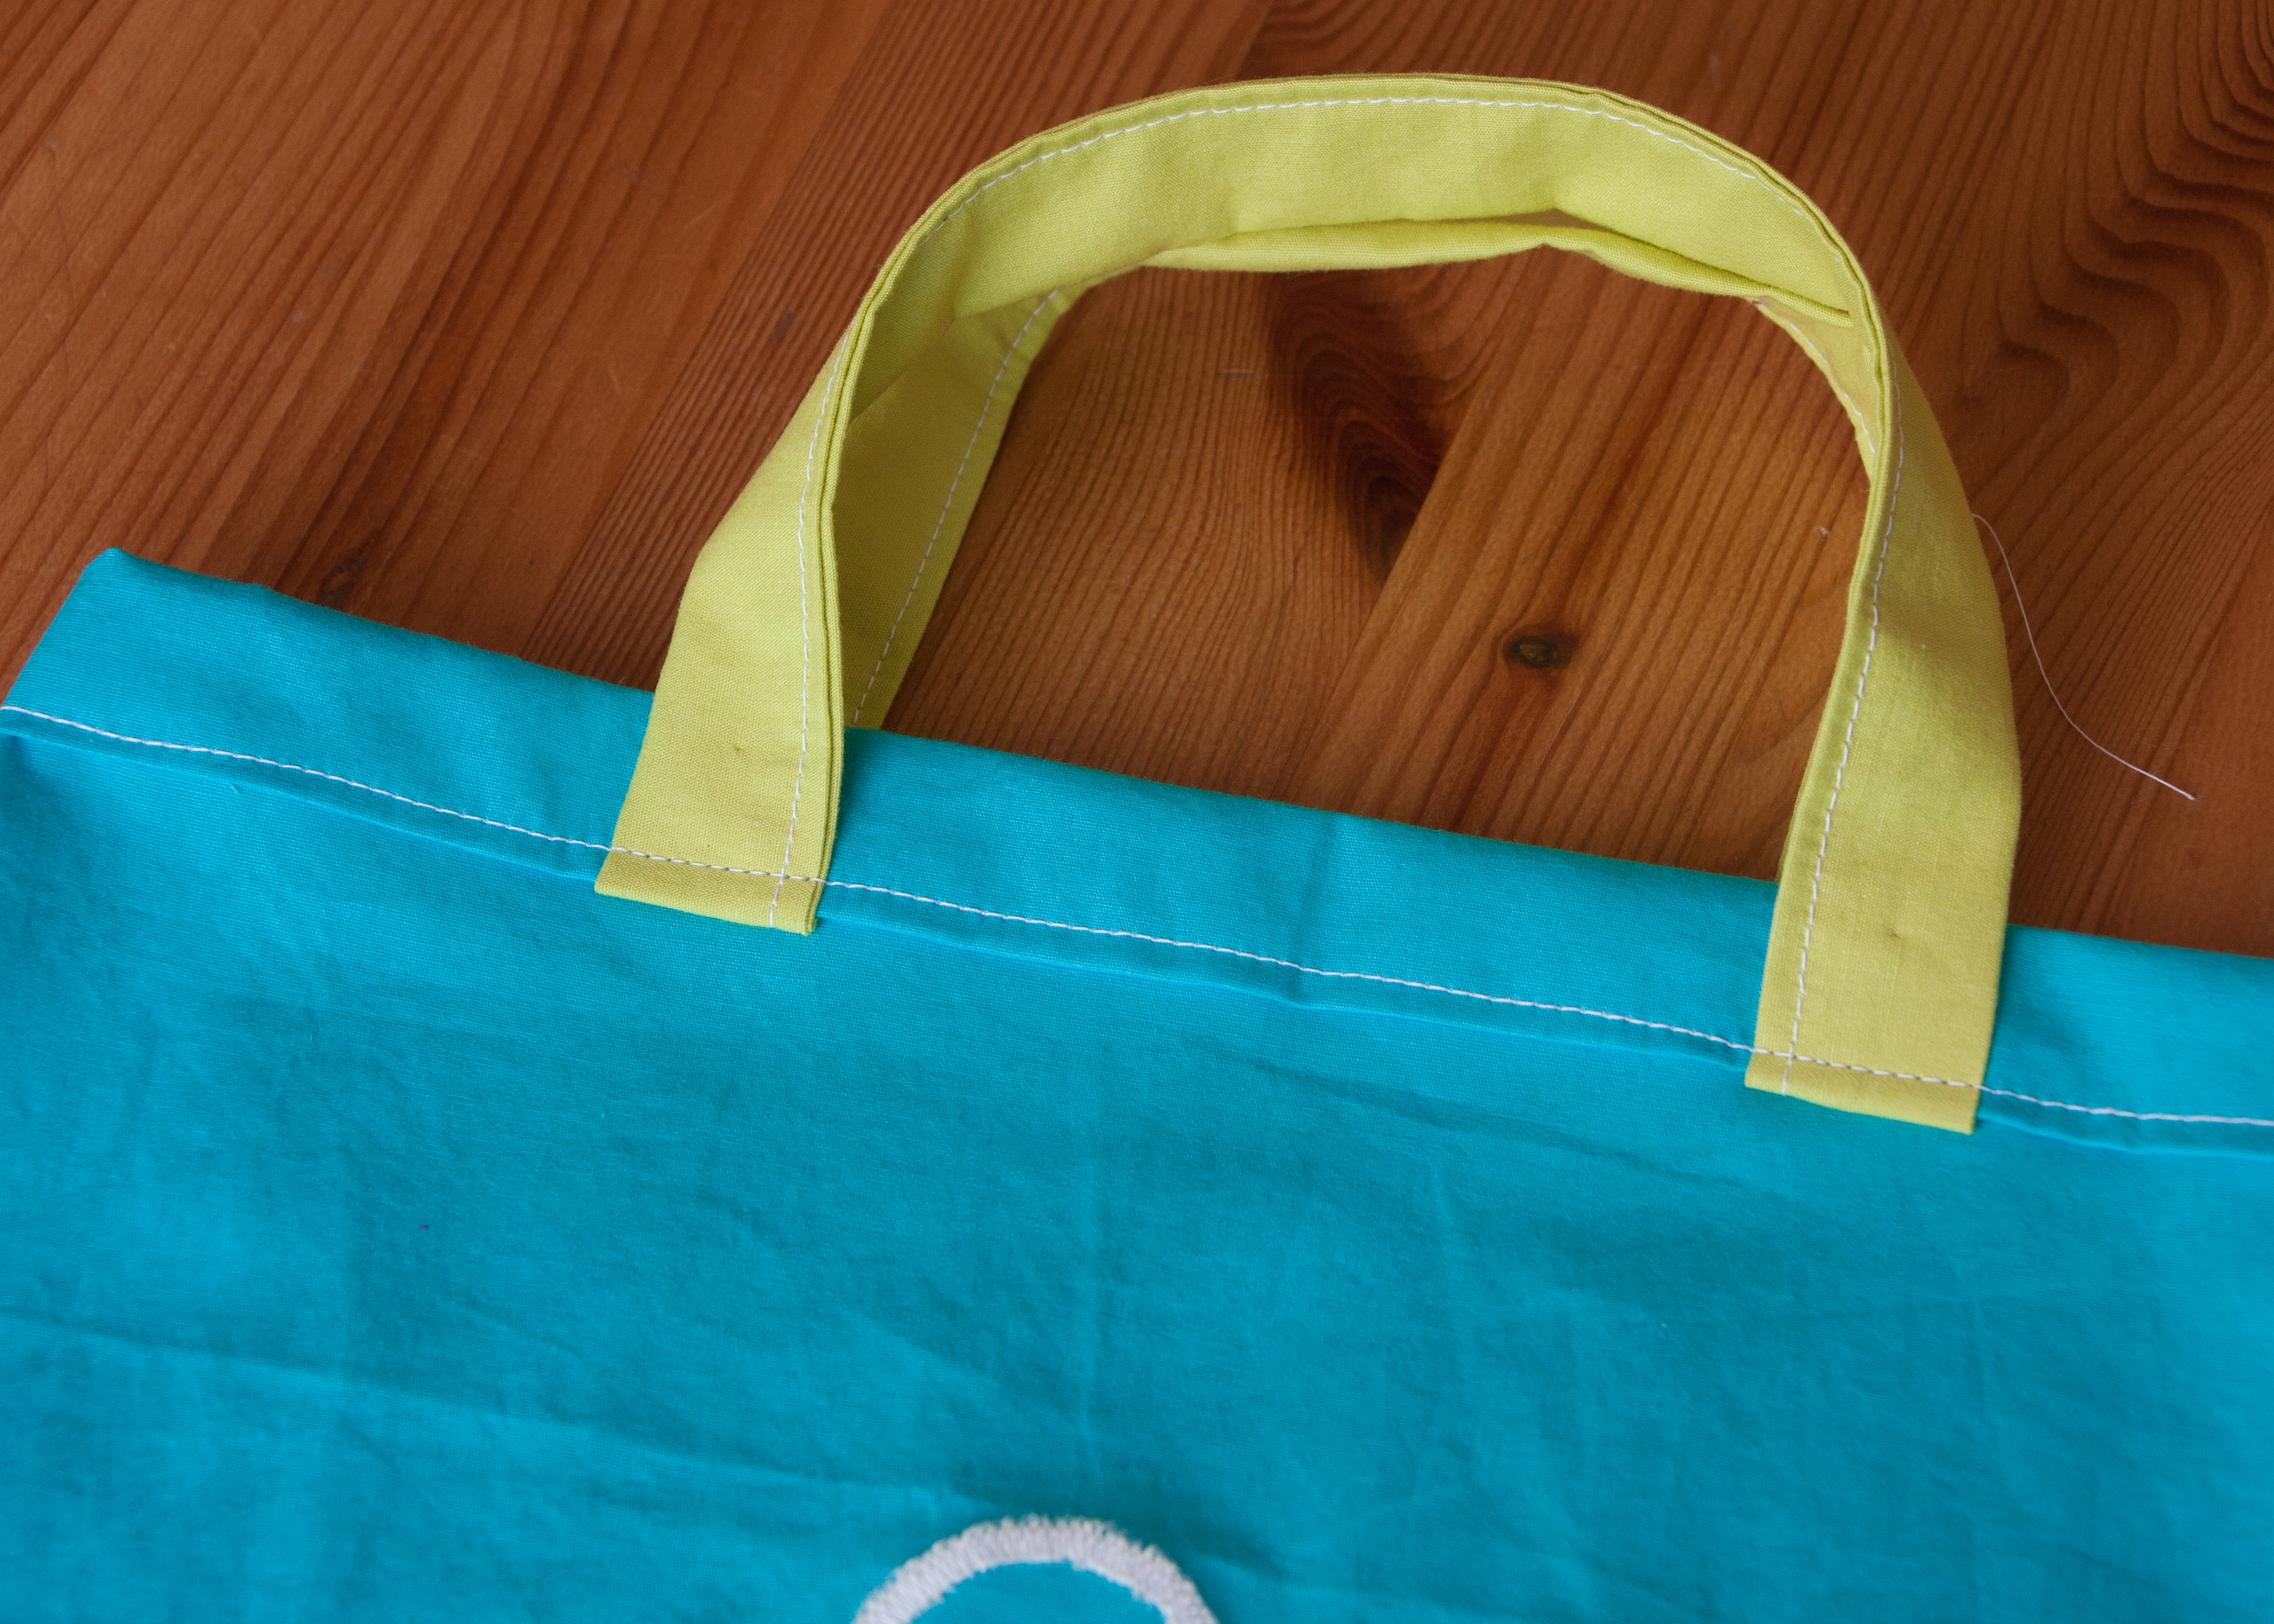
16. Now you need to secure those handles for added bag strength. I do this with a little x in a square on top of each of the 4 handle ends. It looks much neater if you do that on the right side of your bag, even though you can not see the exact position of the handle.
Since I am not only an amazing photographer but also an incredibly skilled graphic designer, I have made a little sketch, how I normally do it. Starting point is the top left corner, the end would be top right. Secure start and finish with a few reverse stitches.
Finished. 
And just to show off the two initial ballet bags – they could do with a bit of ironing but come on, I have just spent ages putting together this post 🙂


Love them!!!
Thank you 🙂
Pingback: Scrap Sunday | Atelier Oursonne
Pingback: Tutorial: Cute little girl’s handbag | Atelier Oursonne
Pingback: Scrap Sunday: We certainly had this one before | Atelier Oursonne