Scrap Sunday: Yarn doll

When I created that big mess with my unwound skein of wool over Christmas, I suddenly remembered the yarn dolls we used to make in school.

As I then had hours of fun (well, not exactly hours and not exactly fun, but hours of fun sounds better) making some with my children and nephew and nieces (well, my daughter and my niece only, but a big crowd sounds better) using a model I had found online, I decided the world (well, not exactly the world, but you know by now how this works) is in need for not only a simple blog post on Scrap Sunday but also a tutorial (I am considering to post this again on Tuesday for Tutorial Tuesday) how to make a yarn doll.

To be honest, I don’t quite remember how we did this, I think not like the ones that I found online, so this is about my version plus what I have seen online and how a dear friend of mine used to make them (just the inspiration, I am far to lazy to even go and get the yarn out, let alone the camera)

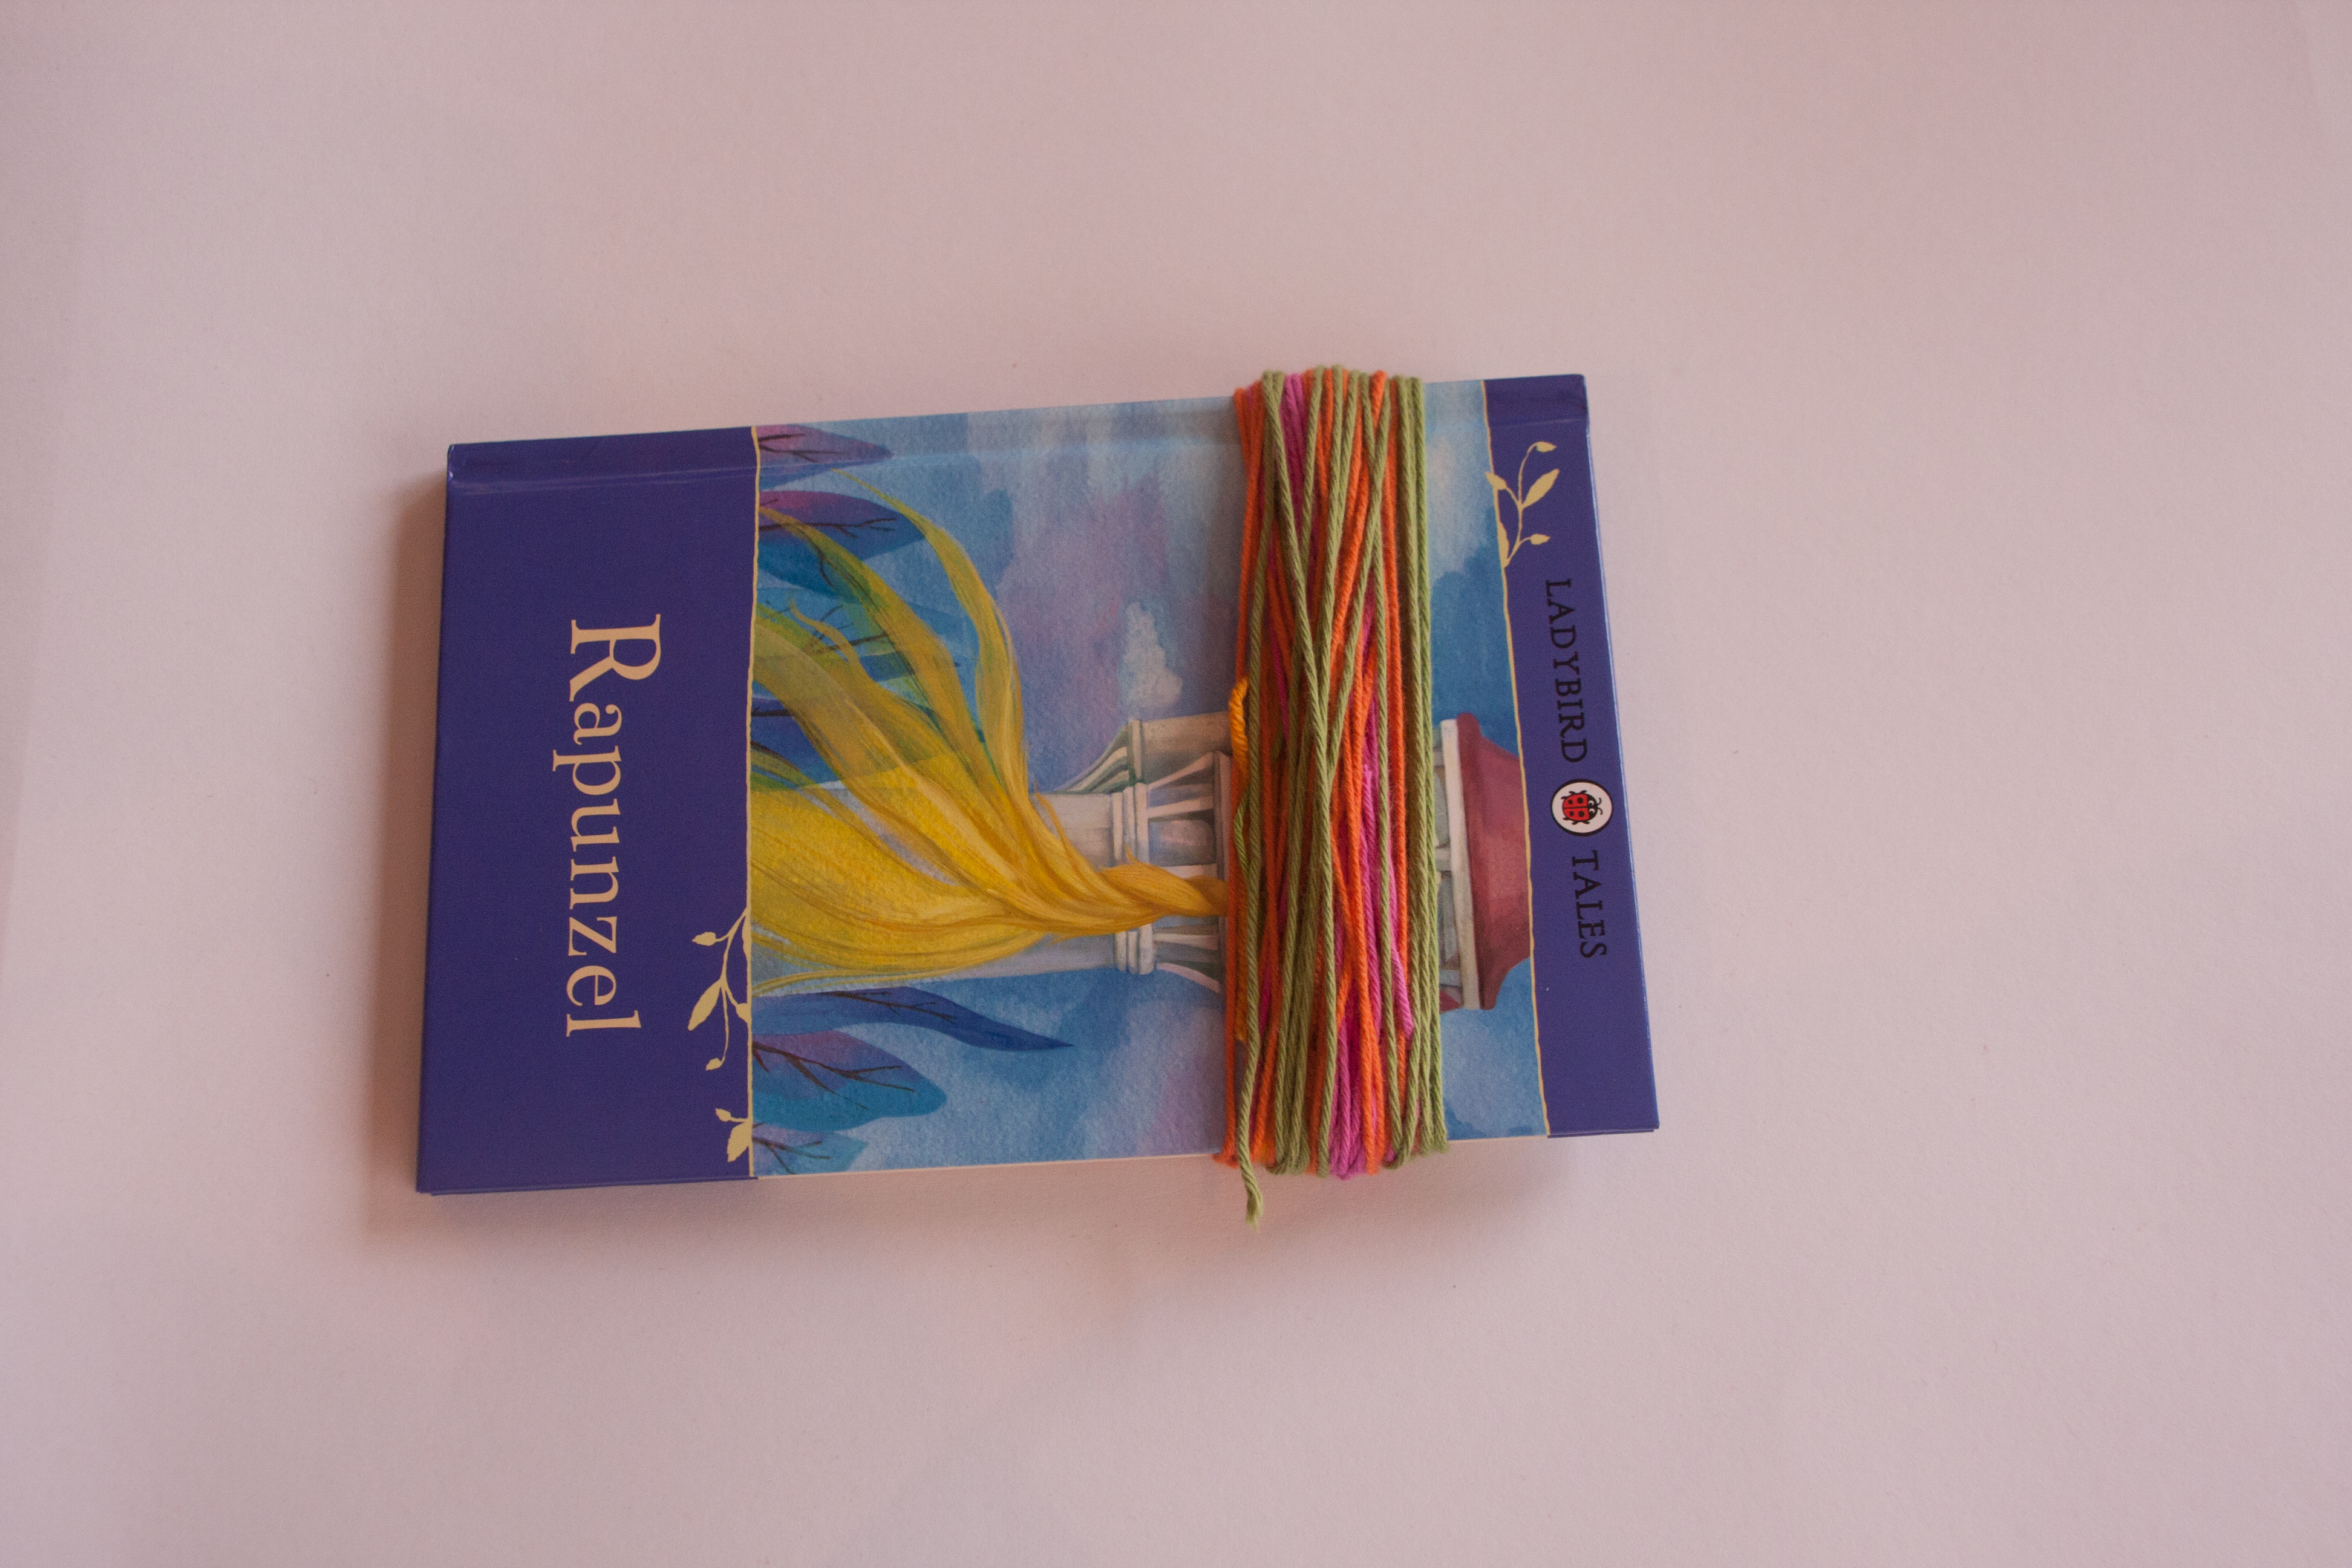
All you need is scraps of yarn, scissors and something to wind up your yarn depending on the size of your doll (a book, a postcard or simply your hands).

WollpuppeA01

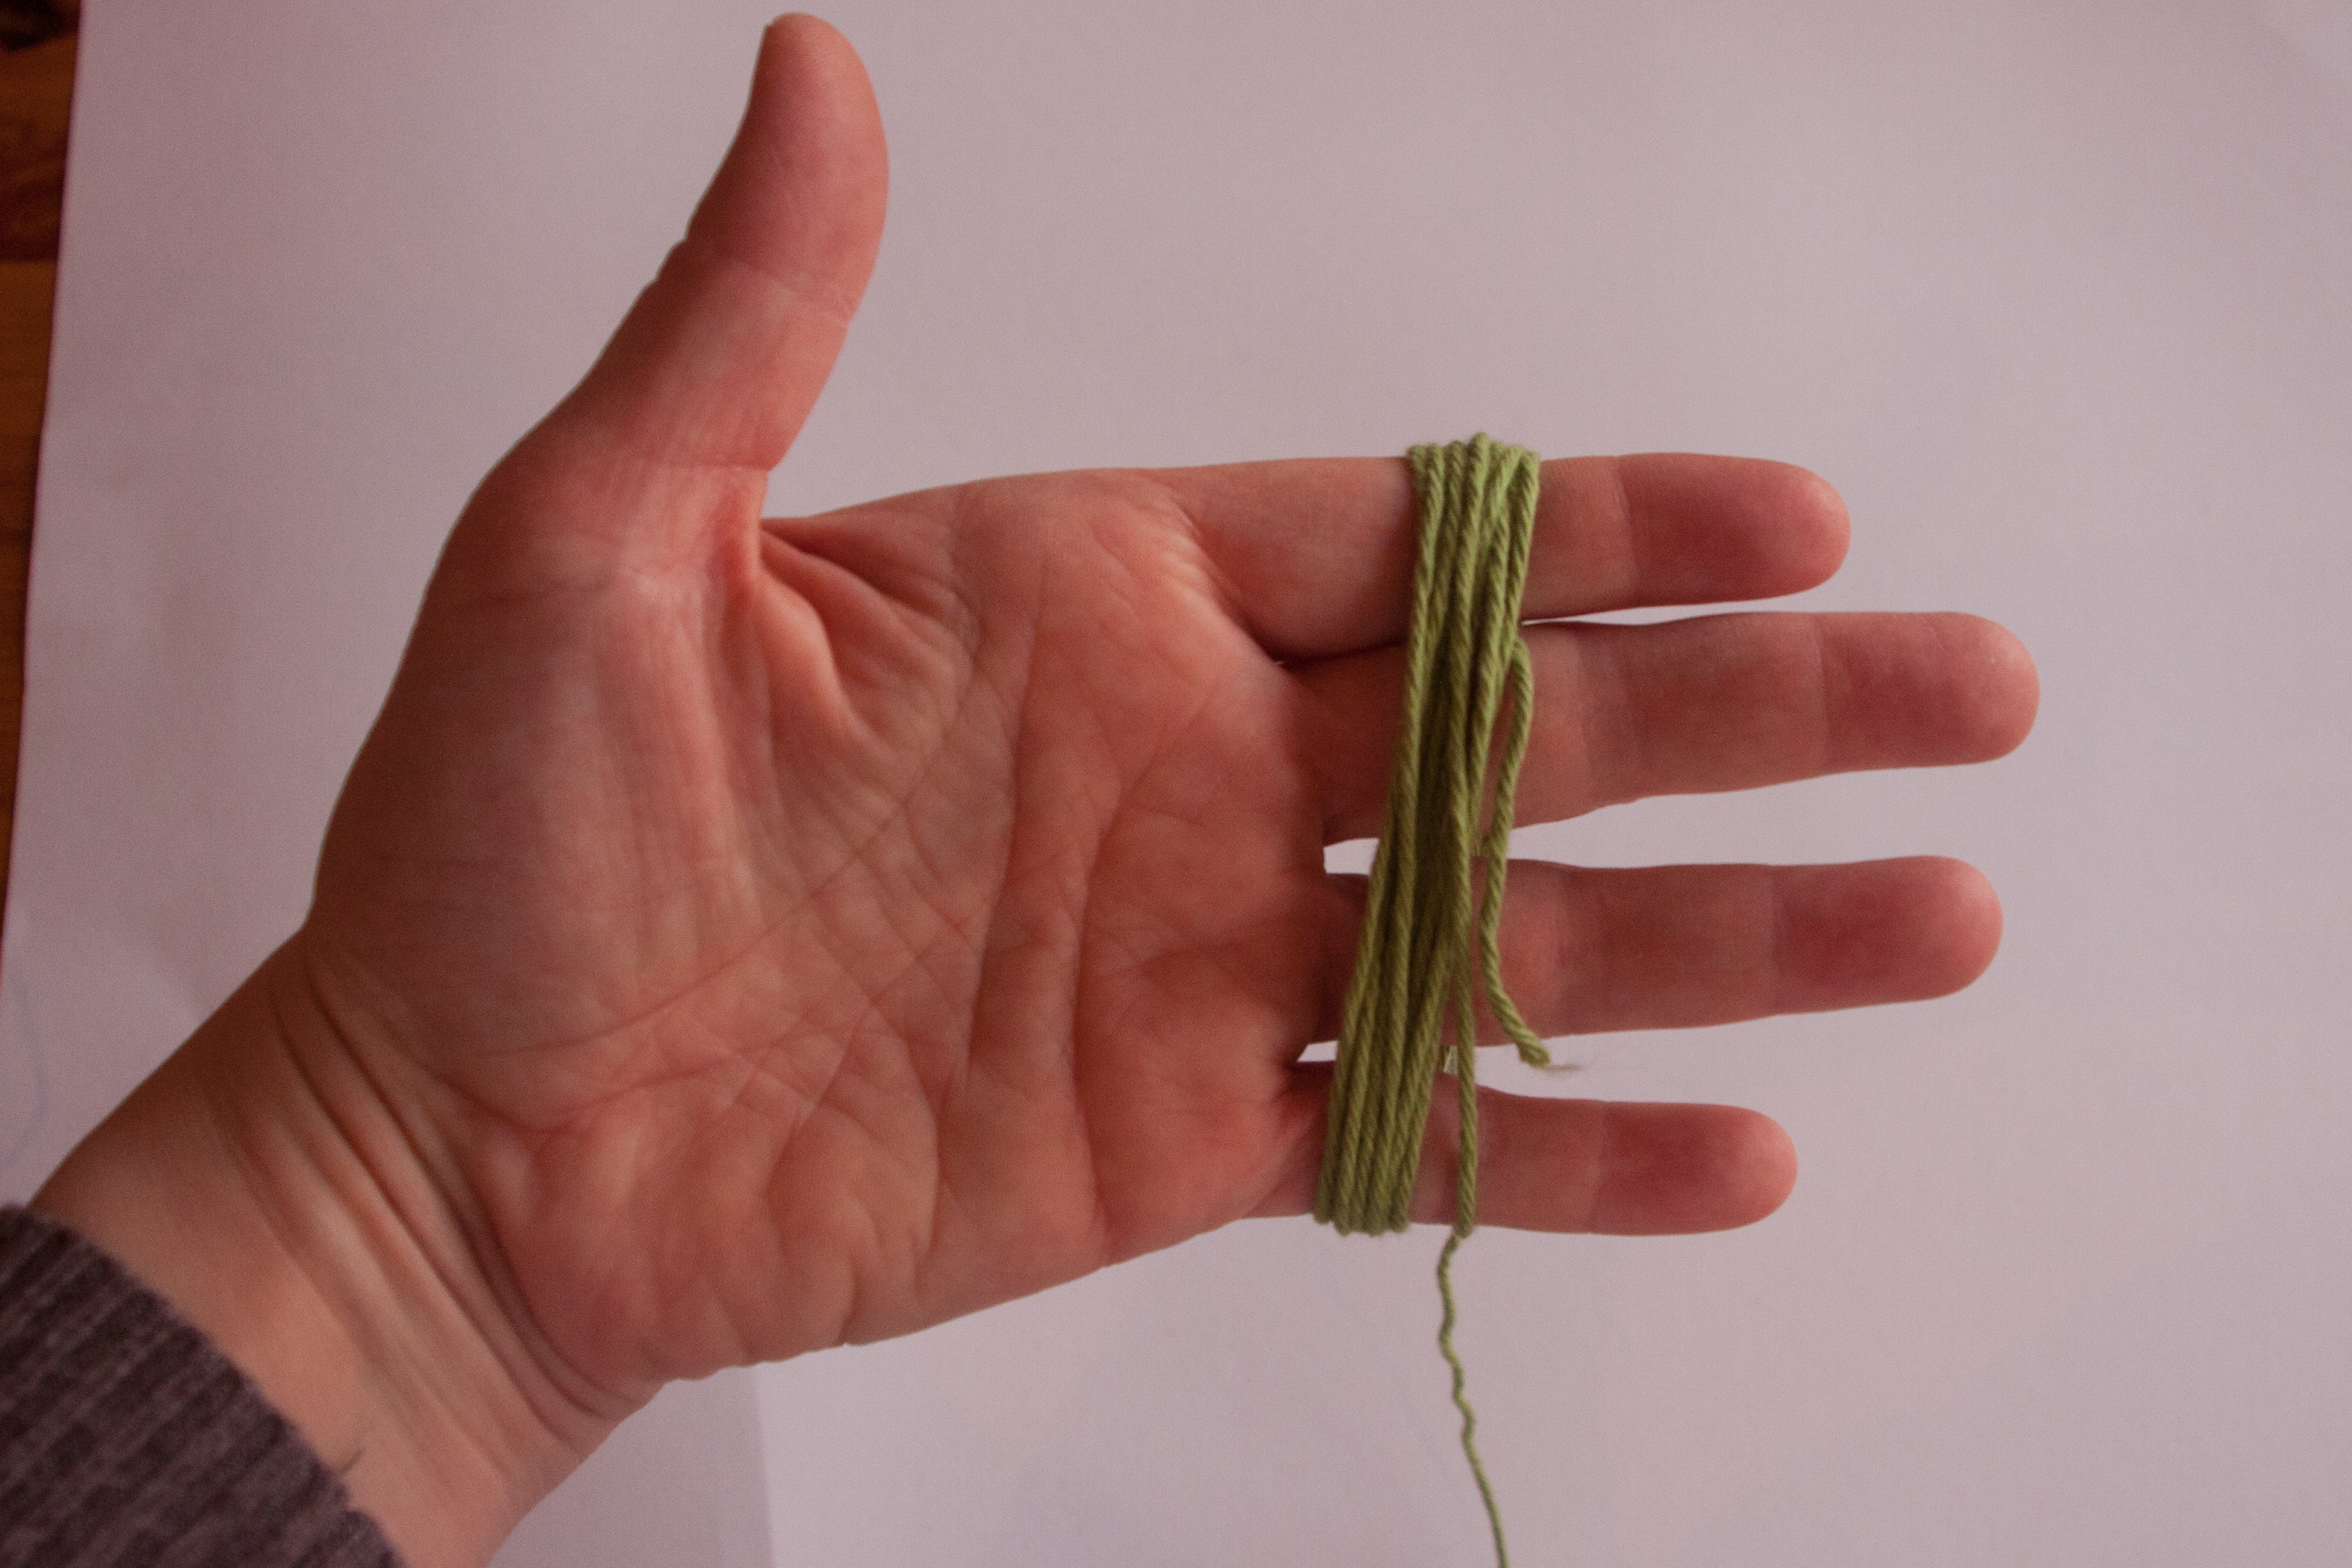
Then, you wind the yarn around a book for a slightly bigger doll or a postcard or even just your fingers. The latter will result in a tiny strand of yarn (especially if you were using a child’s fingers), this would be good for the arms of the second type of dolls.

WollpuppeA02

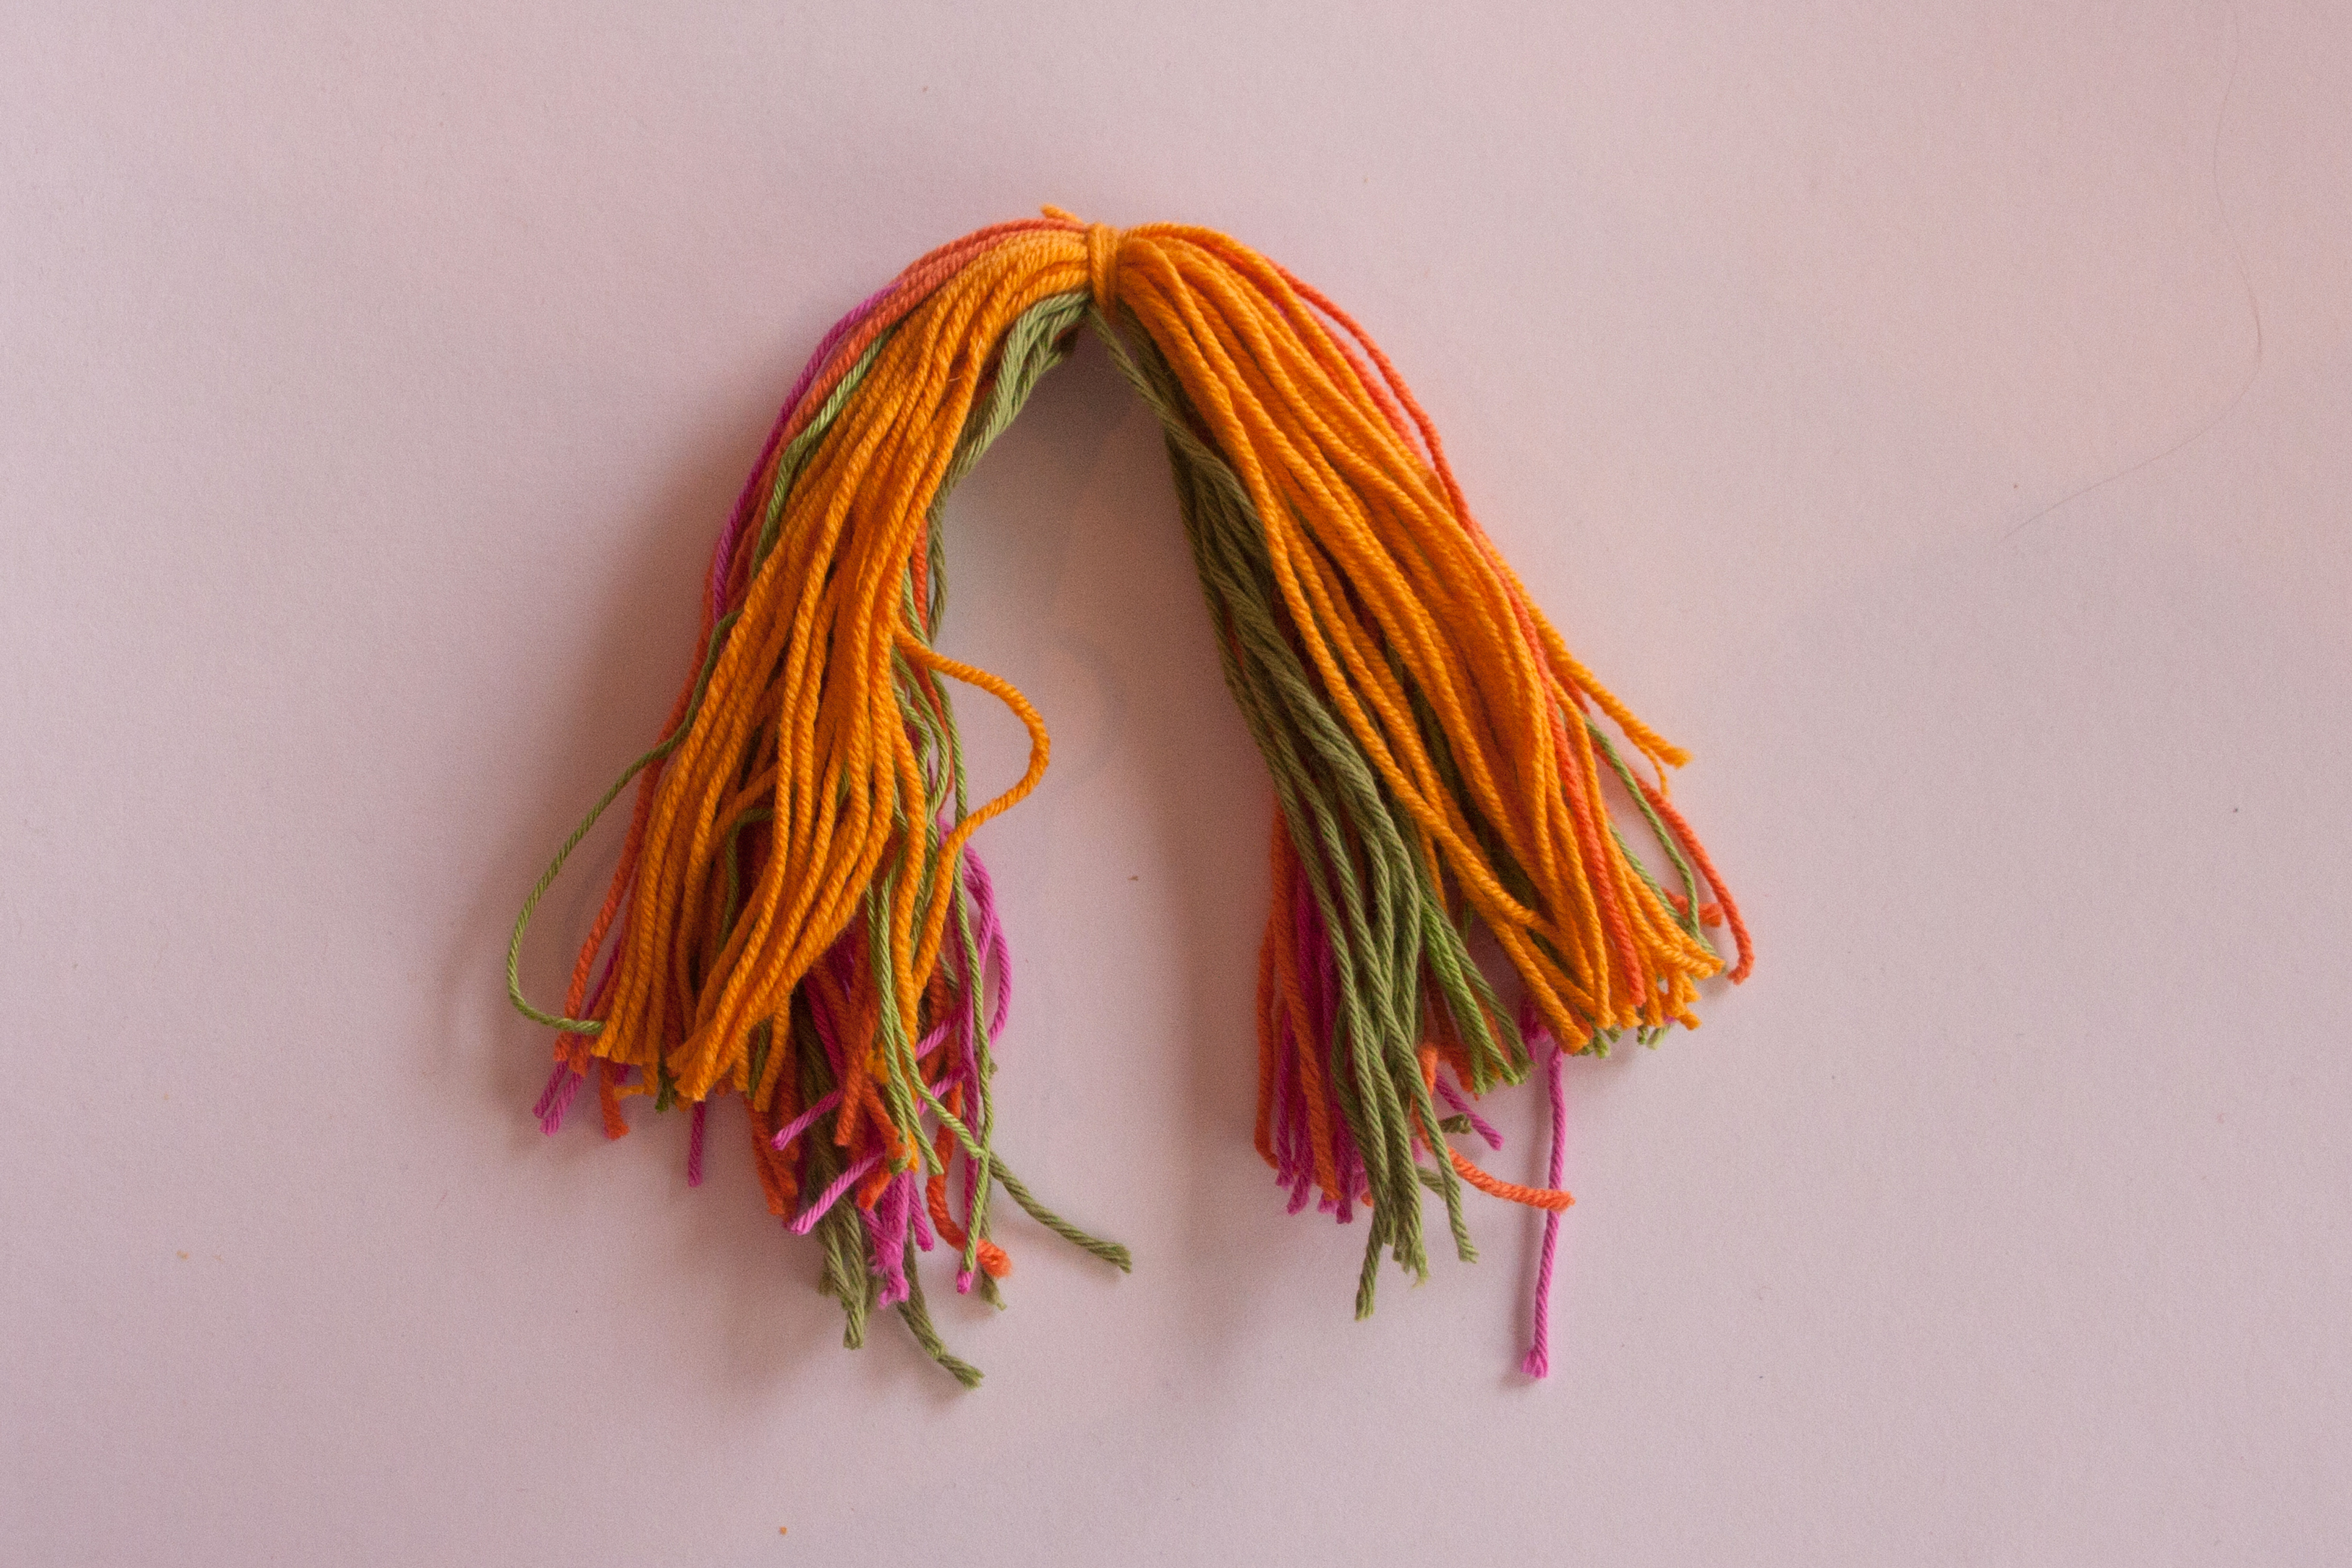
Carefully remove the book, making sure the yarn doesn’t collapse to a big mess. Tie a knot around the top to keep everything together and a round head.

WollpuppeA03

Cut the whole bunch through opposite the knot to get open ends. You could do this at a later stage but I find it a bit easier.

WollpuppeA04

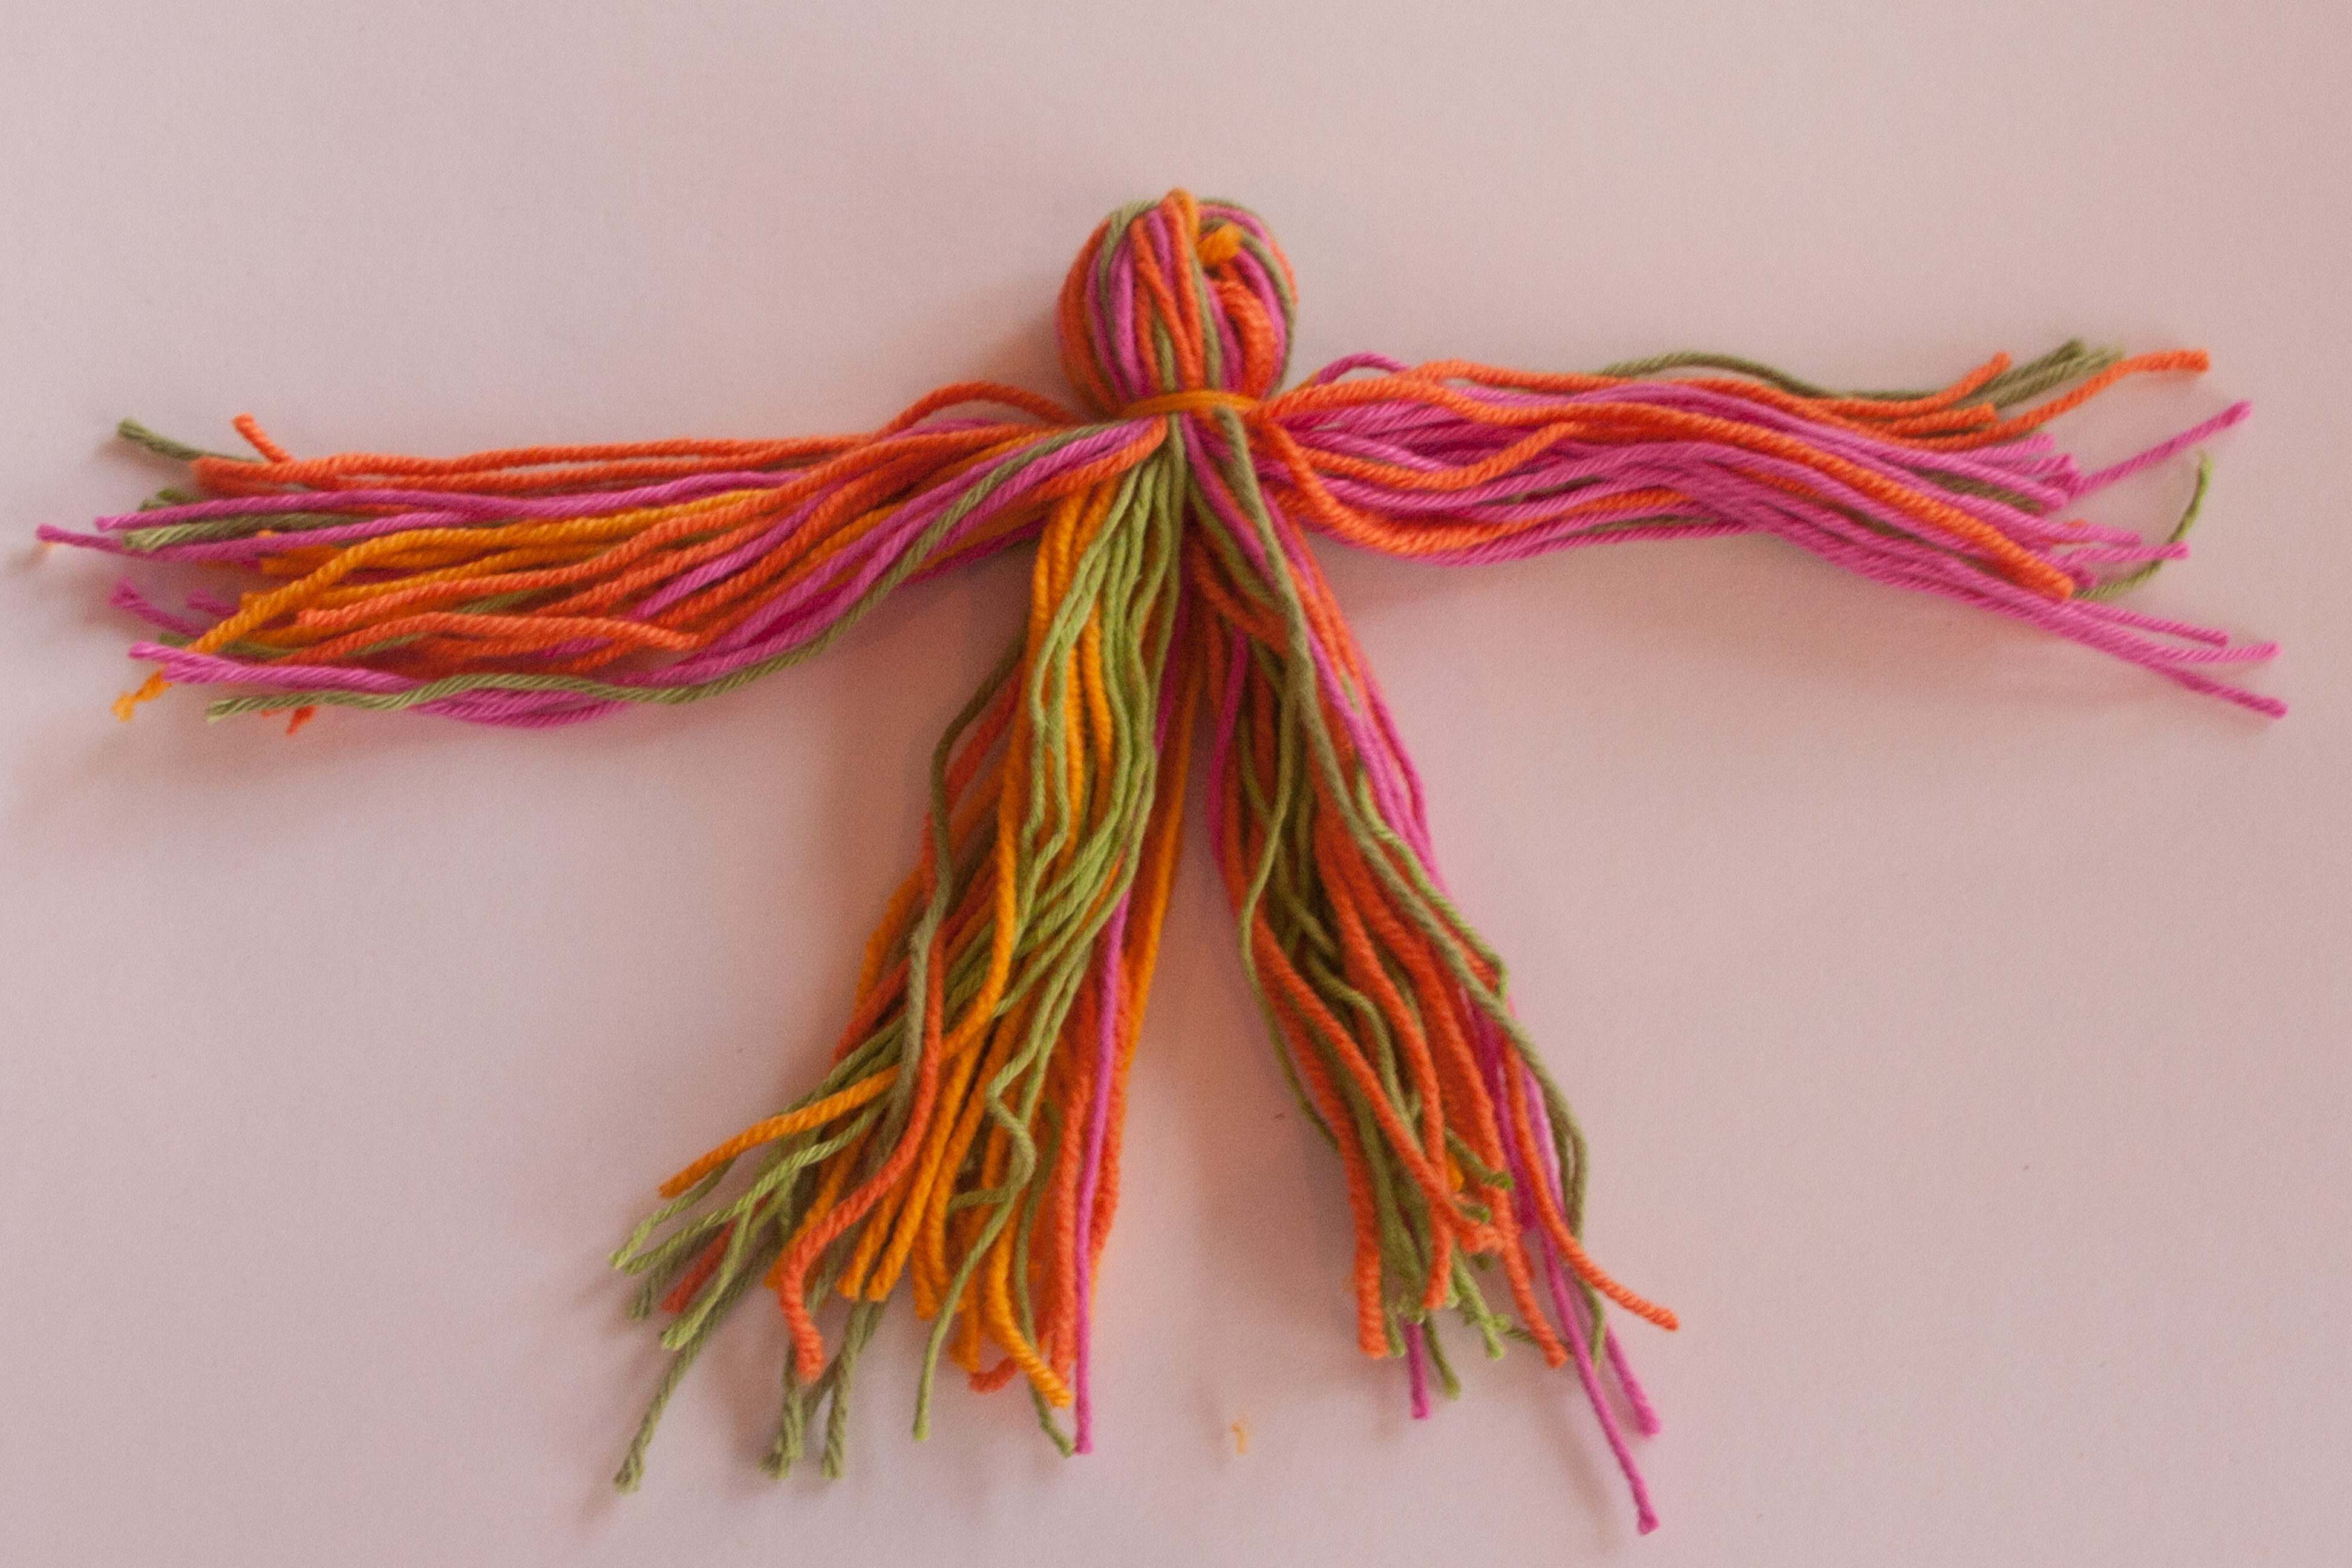
Tie a knot around the whole bunch close to the top to form the head. You want a nice round and fairly firm shape. Not like in the next picture, that wasn’t mine  🙂

WollpuppeA05

Separate the ends into 4 portions to form arms and legs.

WollpuppeA06

Tie knots around those 4 portions, leaving the legs longer than the arms.

WollpuppeA07

Cut the ends to get neat feet and hands. Done.

WollpuppeA08I am not sure if this is how we did it, I have this vague memory of a pompom in connection with the doll. Maybe we used a pompom as a head. Oh, the possibilities are endless!

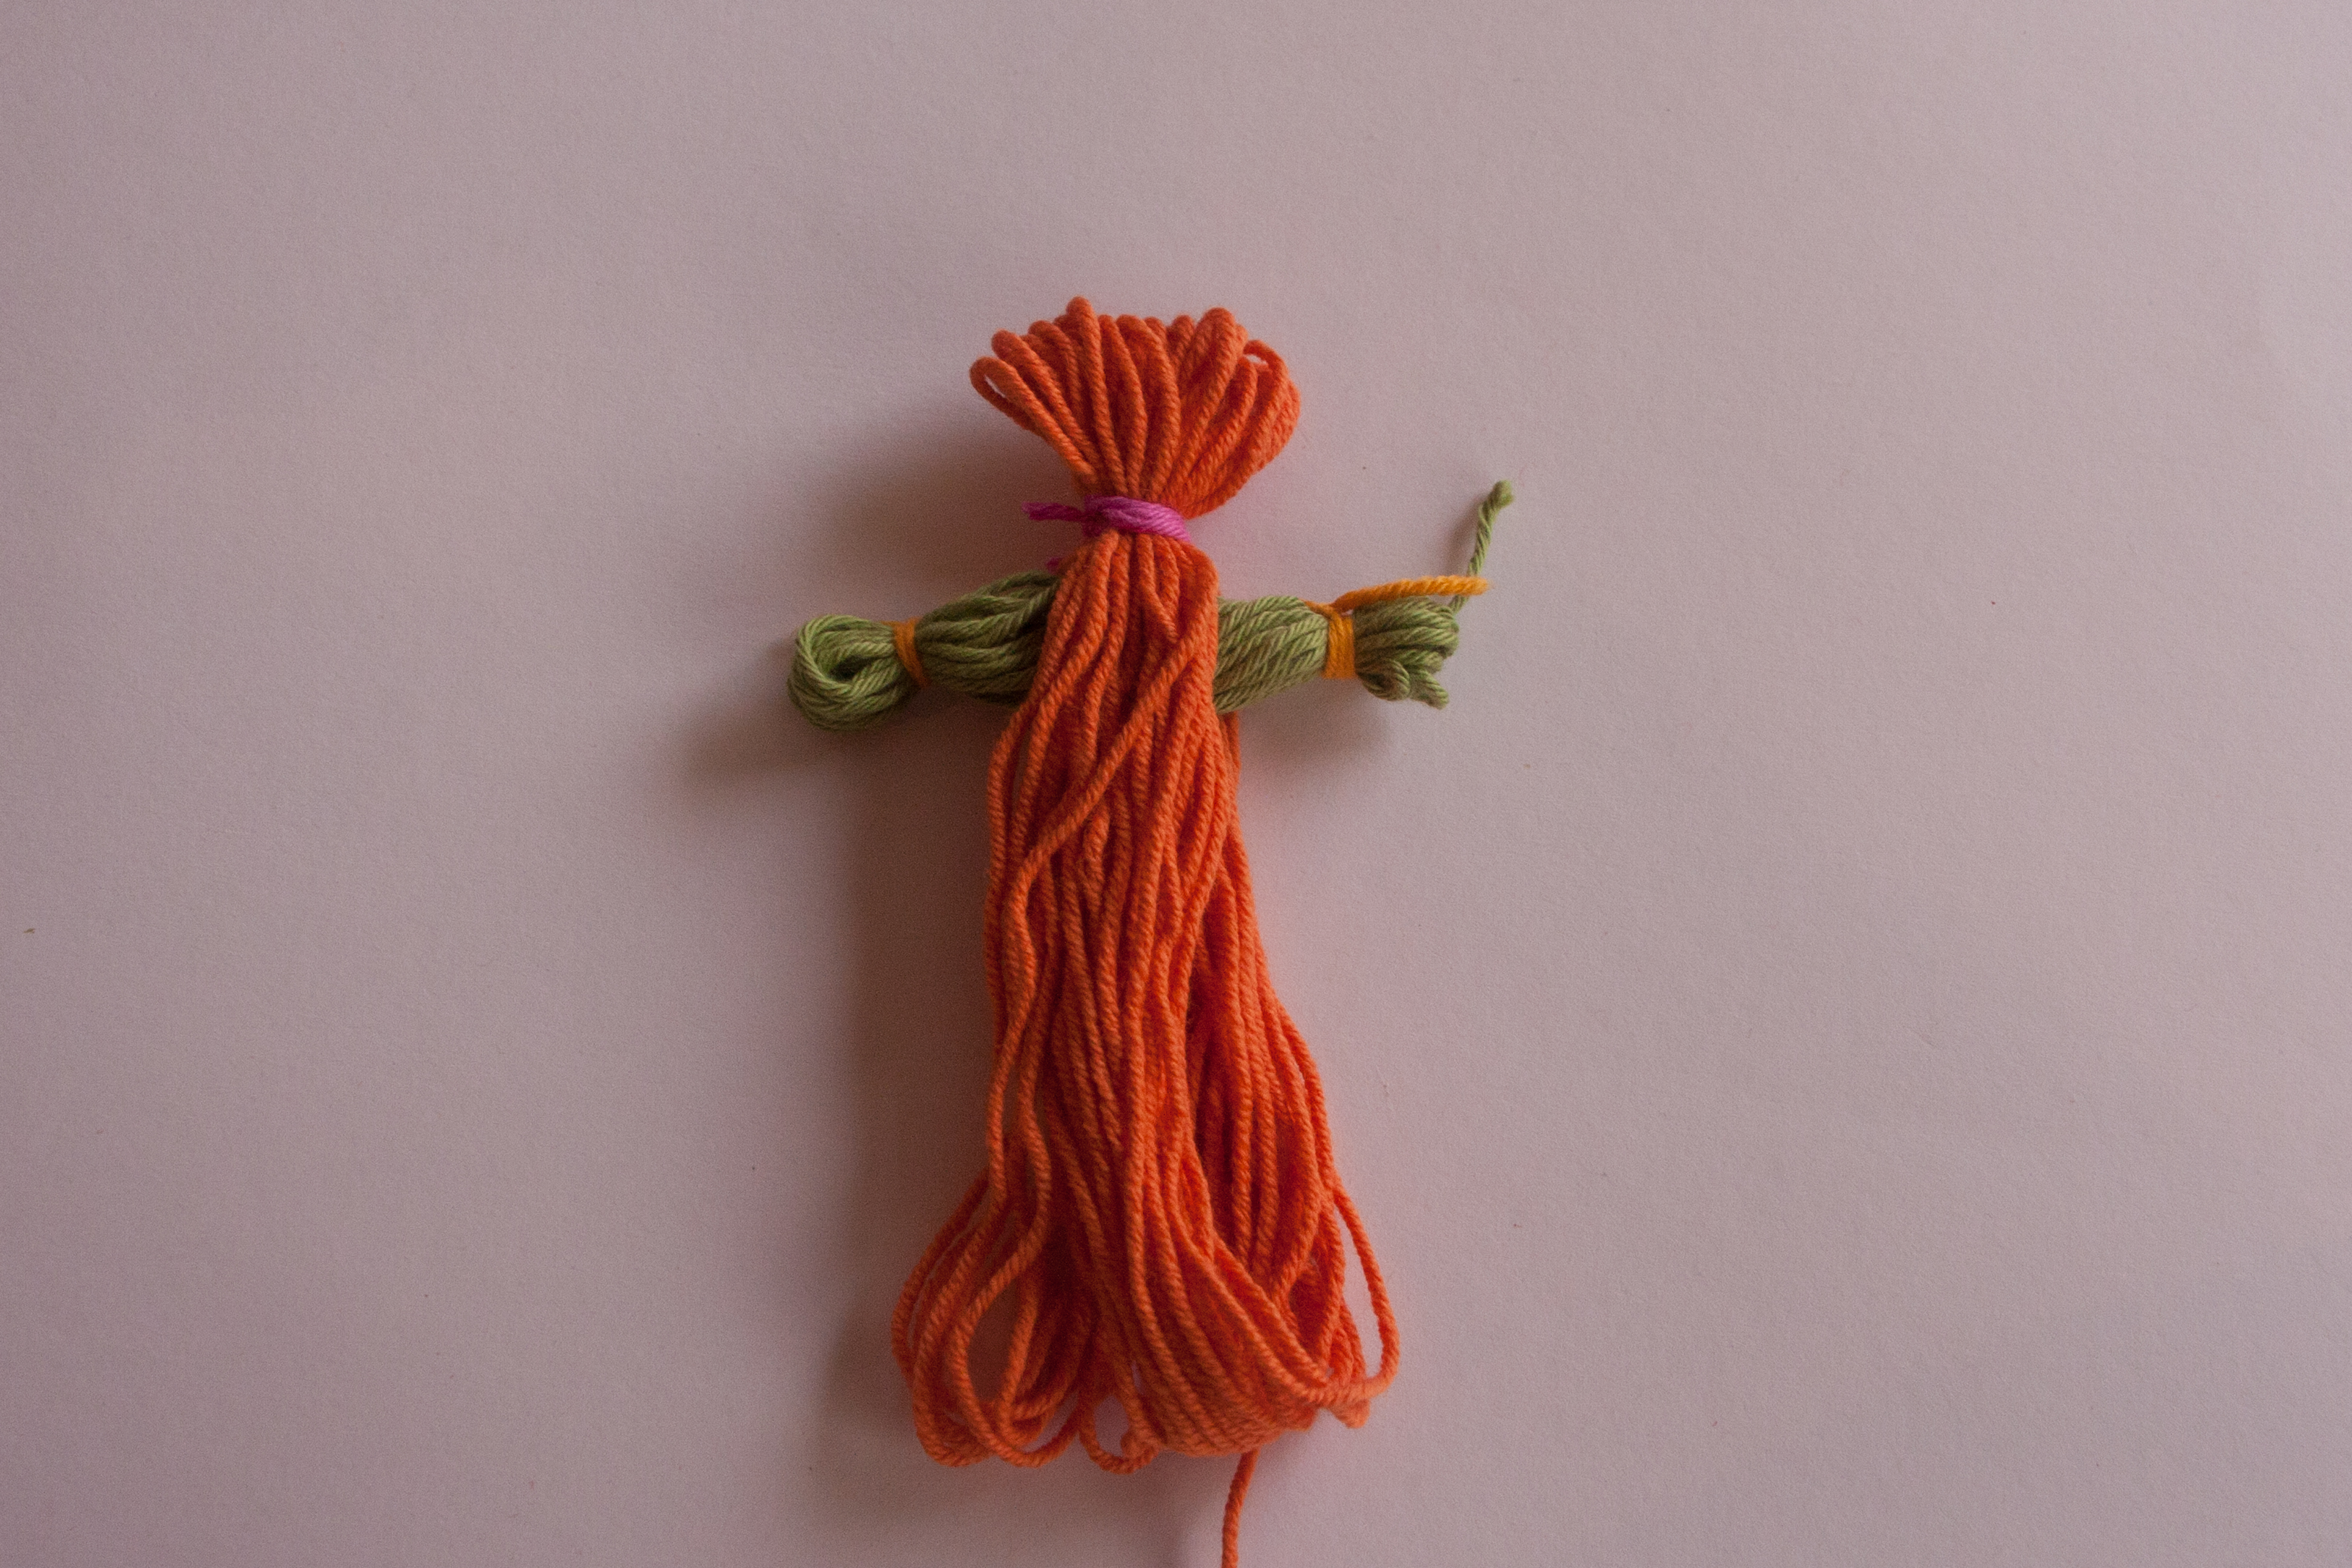
The versions I found online, use a separate strand to make the hands. So you will need a shorter one than for the body. You could do this by wrapping it around your fingers.

IMG_4448

Bind off both ends for the arms and put the whole thing aside for a moment.

IMG_4449

Make another doll body as before and bind off the head. For this model, I did not tie a knot at the top to keep the bunch together. As you can see, this results in a slightly floppy head.

IMG_4456

Slide the arms through the body, just under the head.

IMG_4457

Bind the body strand off, just under the arms to form the torso.

IMG_4458

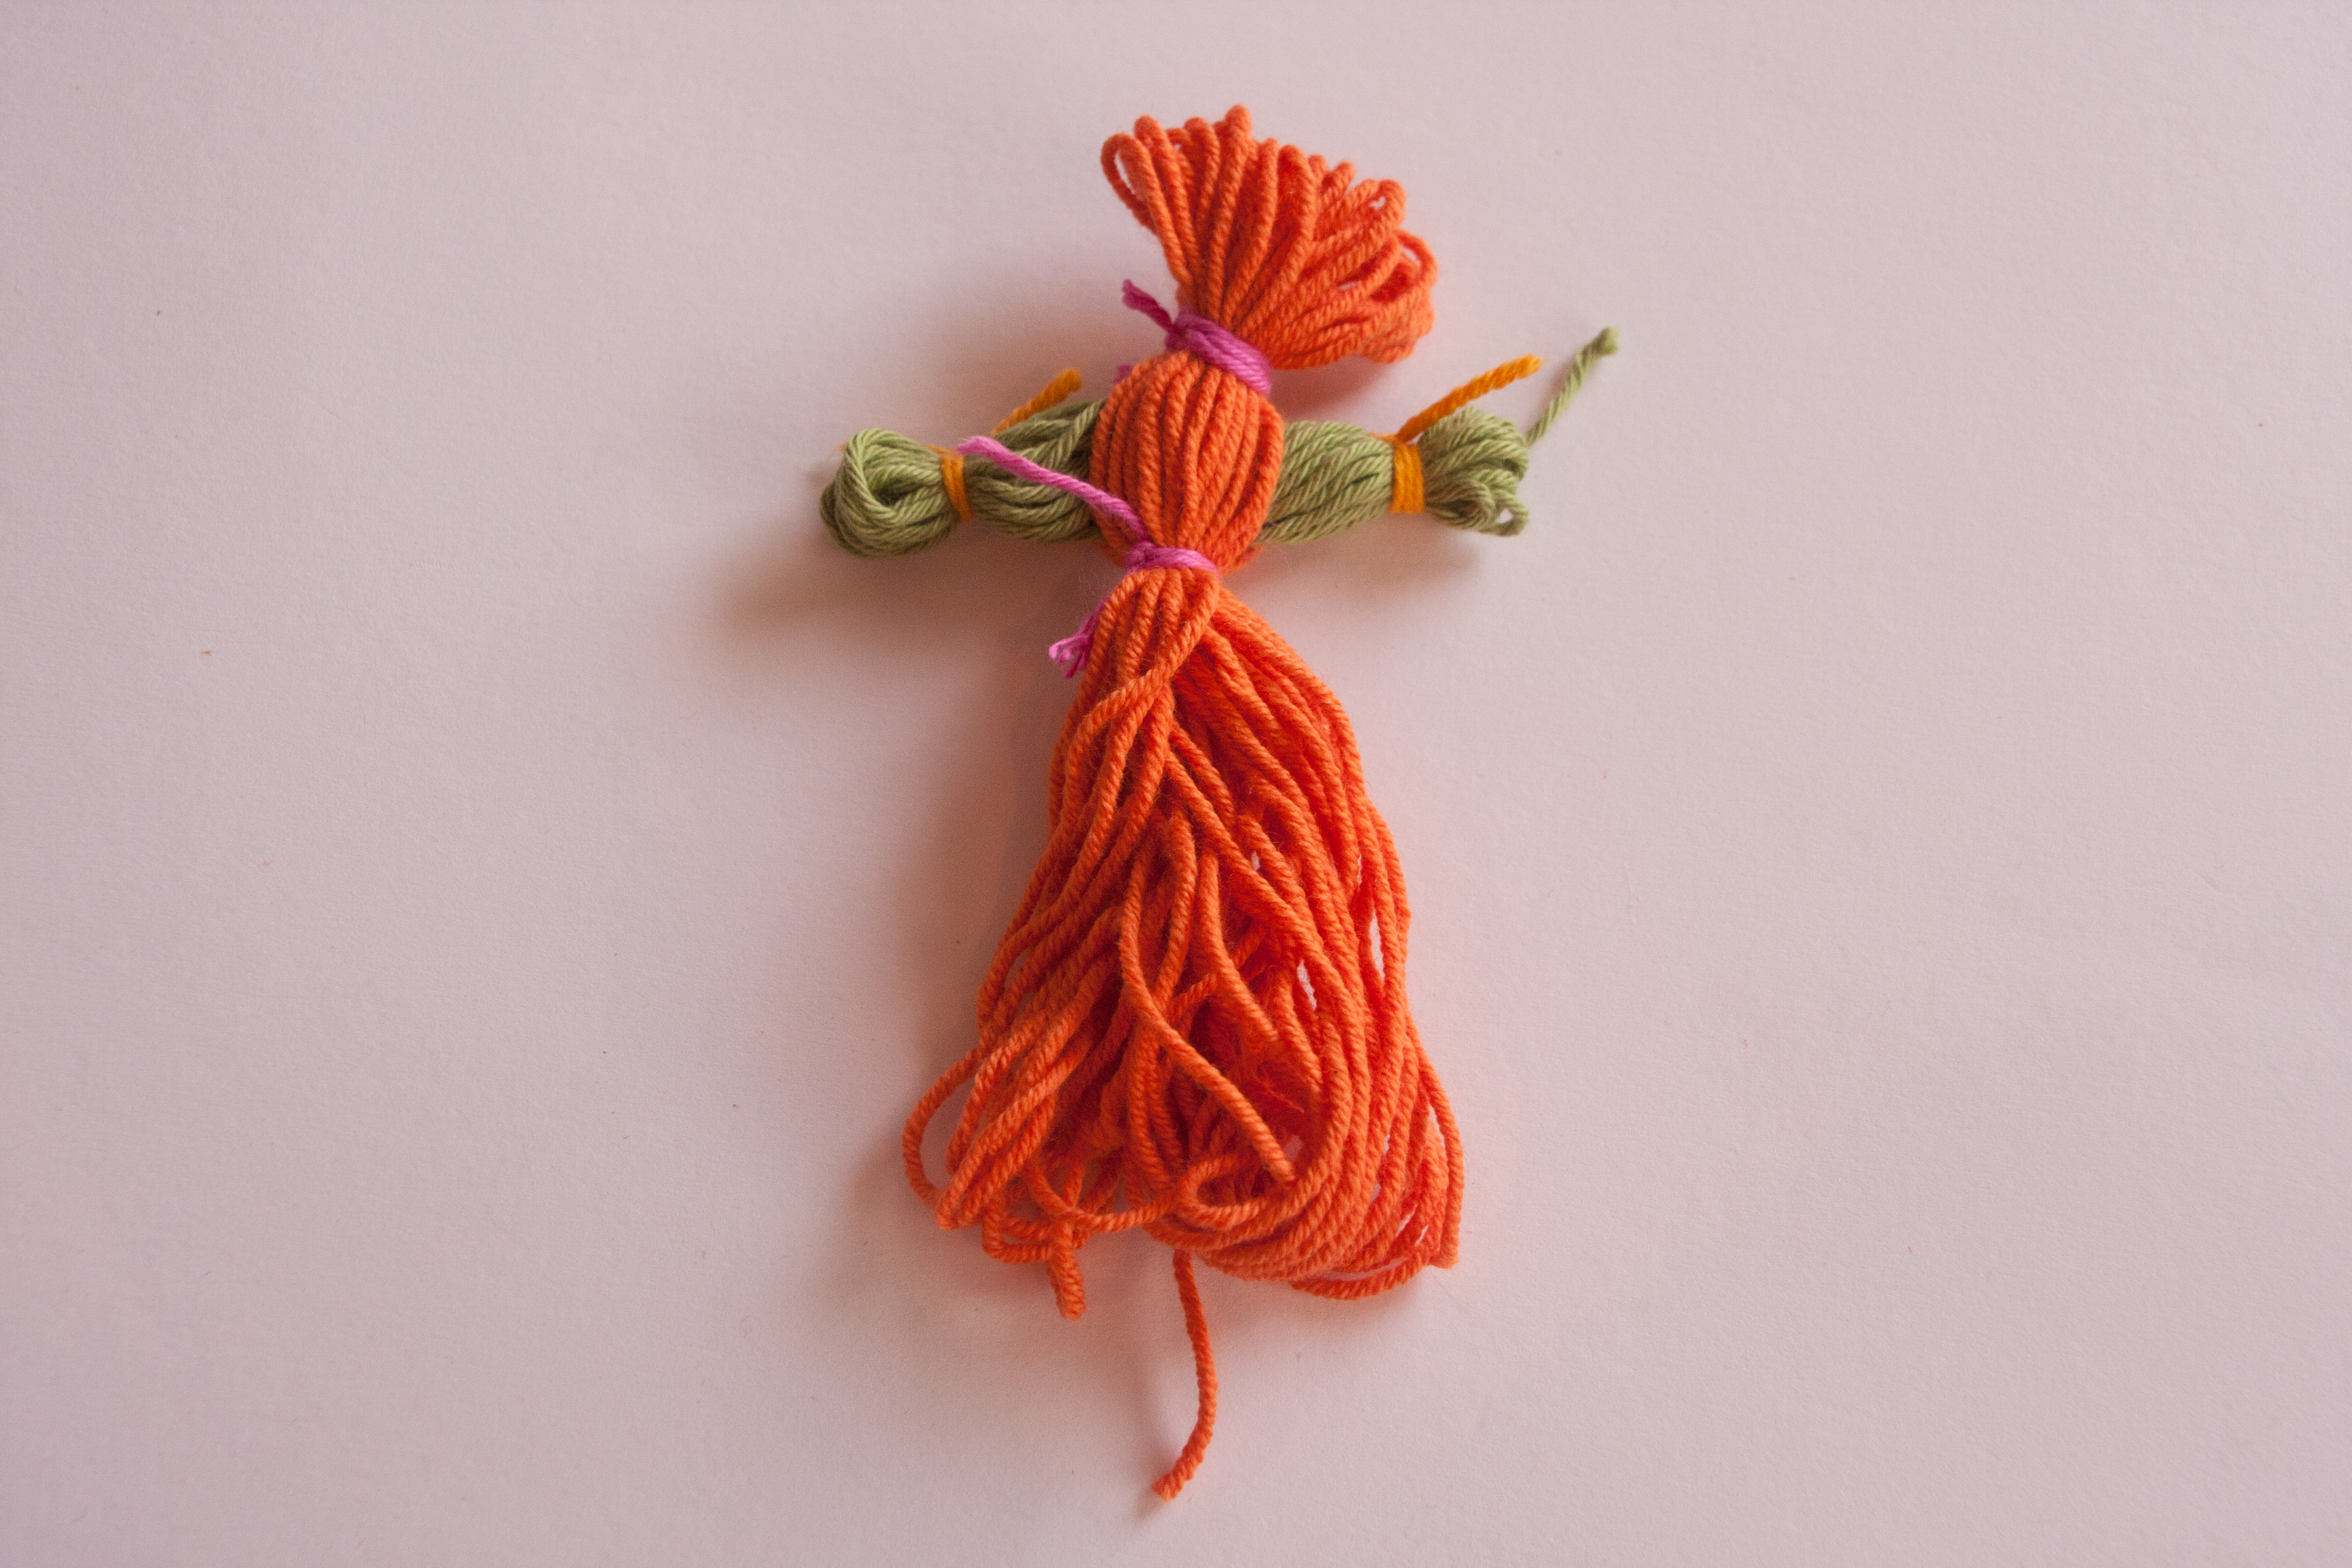
Form two legs and bind them off at the end.

IMG_4463

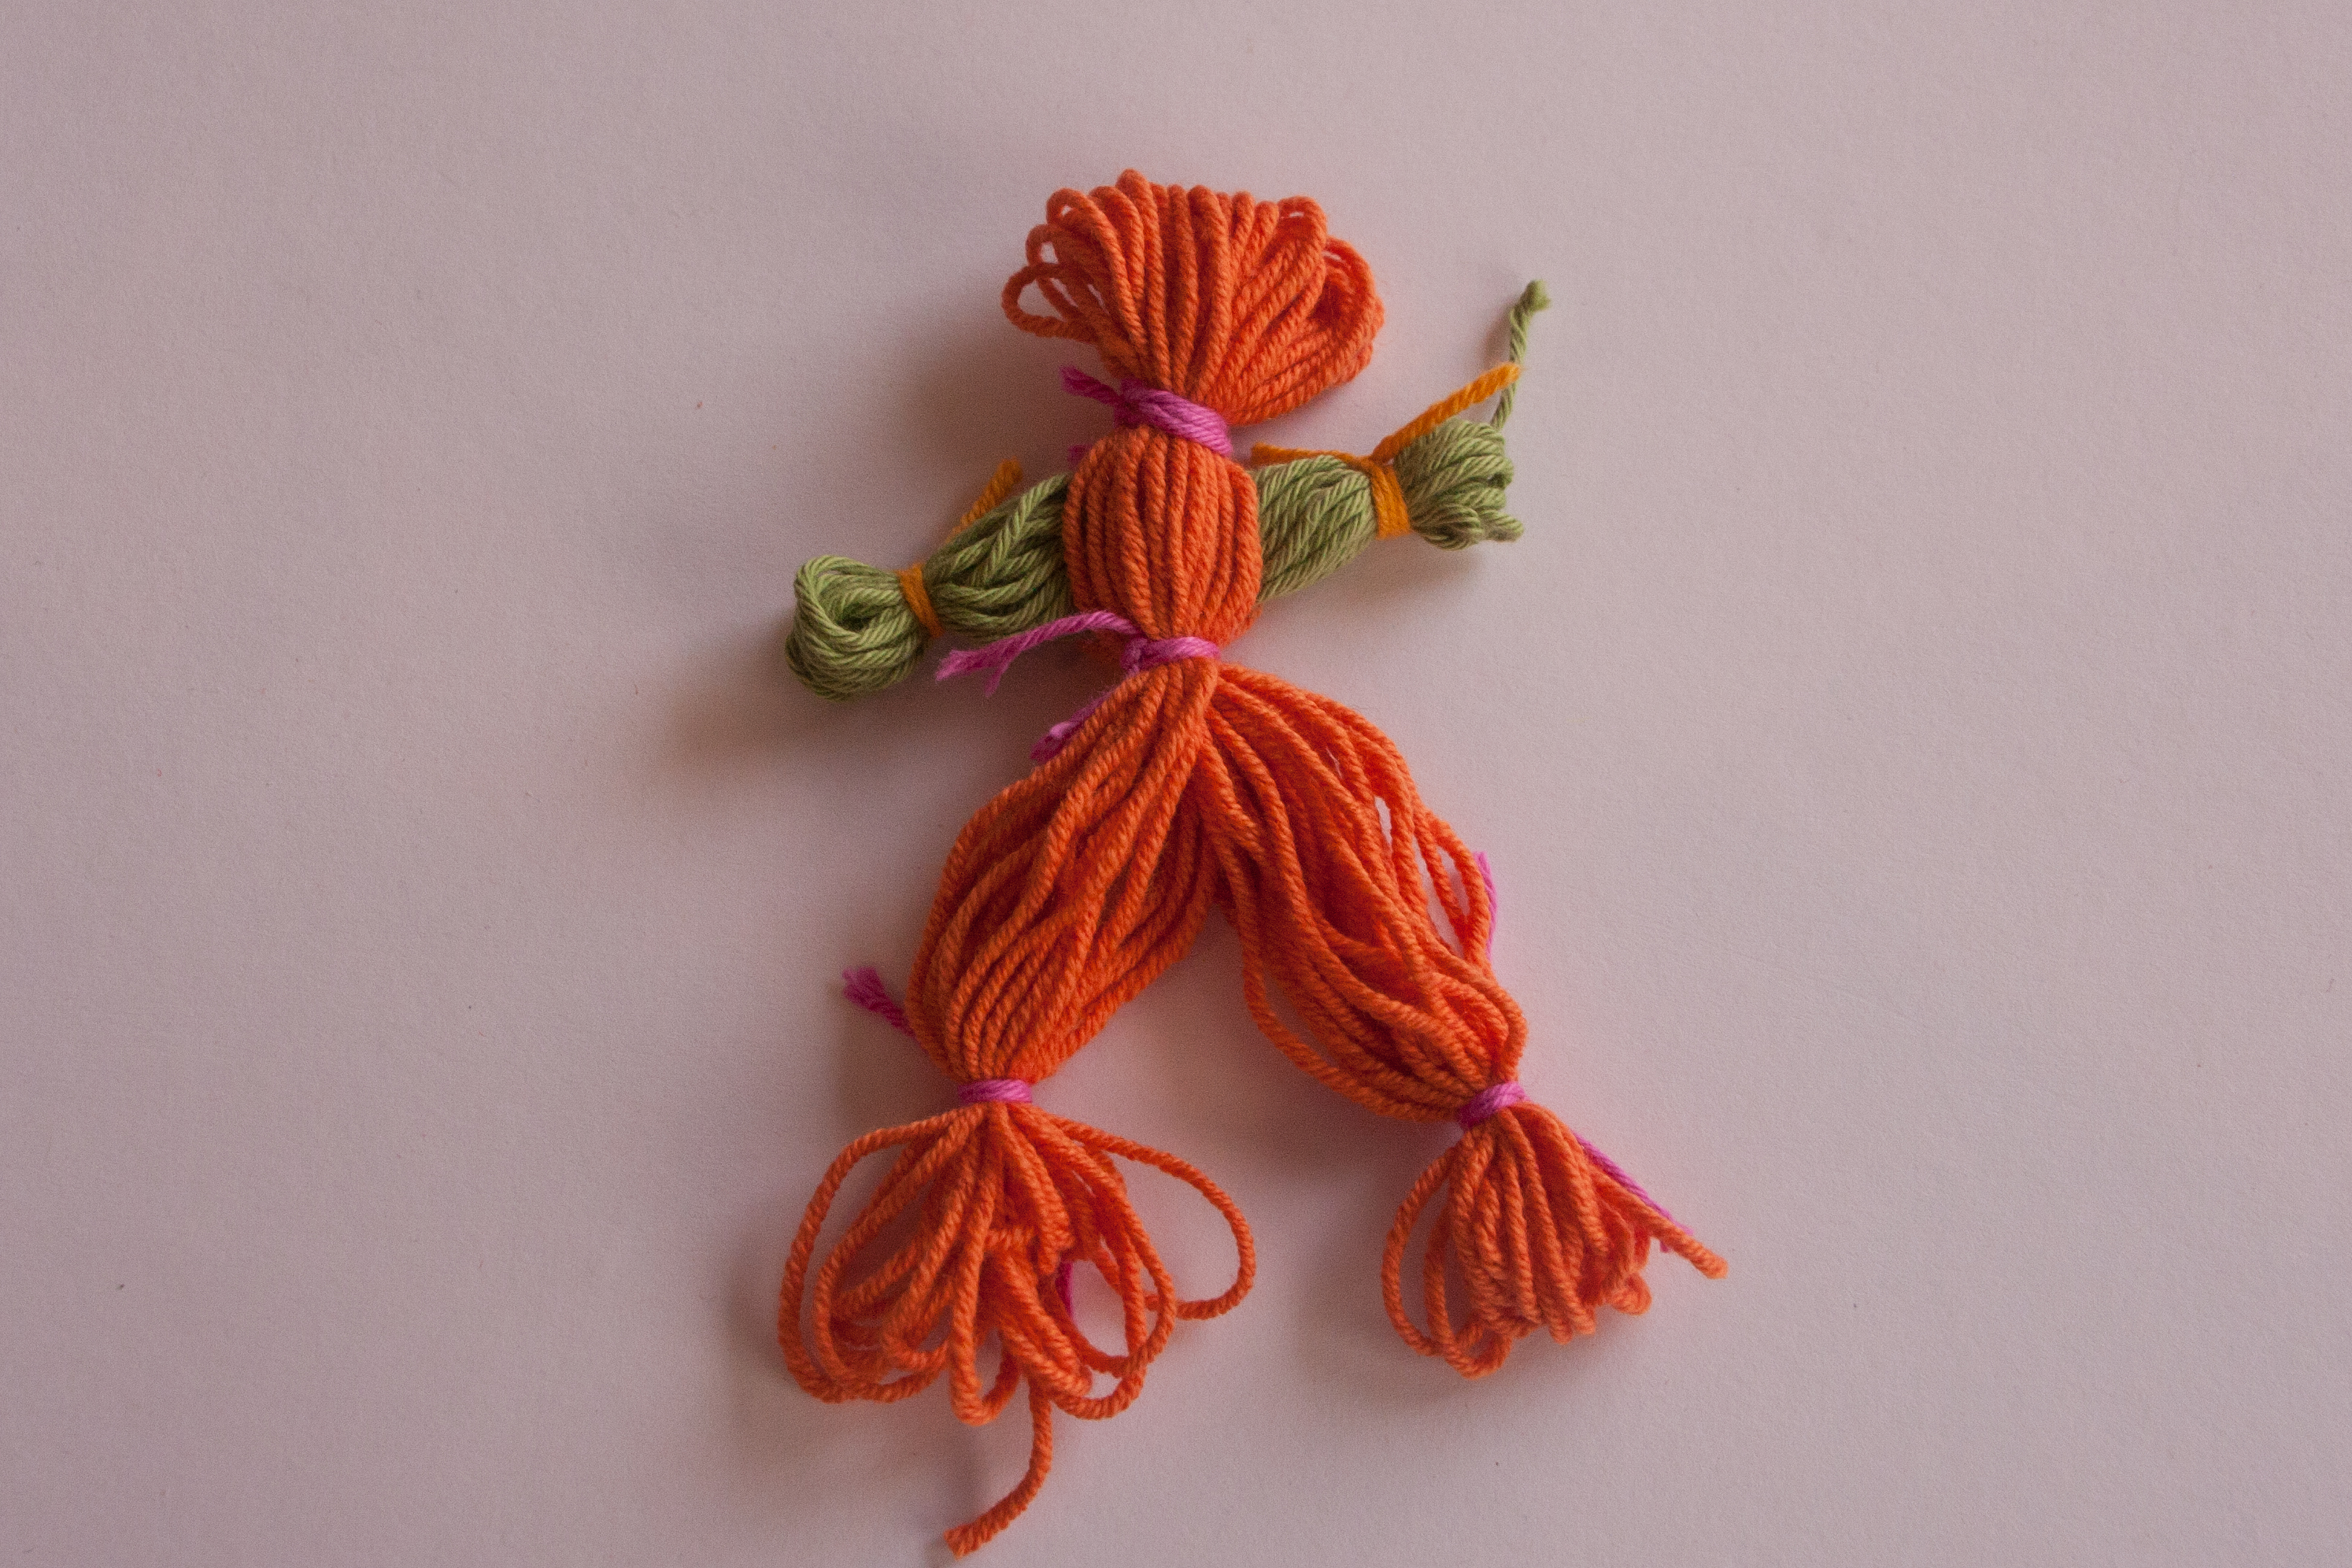
Cut all the ends open to get neat arms and hands.

IMG_4468

You could as well make a “skirt” version instead of the legs by not separating the strand. Another variety would be to pleat the strands. You can play with colours, having mixed strands or keeping them in one colour, using contrasting yarn to bind off the body parts. Oh the possibilities are endless. As I said. Hours of fun on these cold cold days.

My friend told me they made octopuses. One big head with 8 pleated legs. (Or arms?) The queen of yarn dolls. I might make one one day. But not today.


Tutorial: Cute little girl’s handbag

A while ago, I was asked to make one of my accidental reversible bags, so it would be suitable both for mother and daughter. In the end, I made one reversible bag in grown up fabrics and a small, slightly simpler version for the little girl.

Restetasche24

To make sure that they are a kind of matching pair, I have used the same fabric for both the lining of the small bag and the small pocket of the big bag.

IMG_3834 Restetasche23

But now, lets go back to the beginning: I have put together a little tutorial to show you how easy it is to make a cute little bag for a little lady. It is definitely also a great way of using up scrap fabrics. As I have already misplaced the  measurements of the pictured bag, I will explain how to calculate your measurements plus give you those of the second bag I made, which was a bit more square than this one. In the end these numbers are only a rough guide anyway, I actually cut out how I felt before measuring the pieces)

You will need:

+ two pieces of cotton for the outer bag (width of bag + 2cm  x height of bag + 6cm = 24 x 24cm)

+ two pieces of cotton for the lining (2-3cm shorter than outer fabric, alternatively you can cut them all out in one go and shorten the lining later = 24 x 22cm)

+ 2 pieces of fabric for a small pocket, one or both of them in the lining fabric (width of pocket + 2cm x height of pocket + 3cm = 12 x 12cm)

+ 2 pieces of fabric for straps (4 x width of finished straps  x desired length + 8cm = 8 x 30cm for a 2cm wide strap)

+ the usual things like sewing machine, thread, scissors,…

Restetasche01

Preparation of the straps:

Fold the fabric lengthwise and iron, fold both edges to this middle line and iron again, fold together and iron. Top stitch close to the edge.

Restetasche02

Preparation of the pocket:

Sew the two pieces of fabric at the top together, Iron seam flat and turn so the right sides are outside, iron again to get a neat edge and top-stitch about 1 cm from the edge. Zigzag the three open sides of the pocket together.

Restetasche03

Fold and iron the edges to the backside  (1 cm)

Restetasche04

Cut off corners to avoid bulky pocket corners later.

Restetasche06

Place and pin the pocket to one of the lining fabrics where you want it to be (at least 4 or 5 cm away from the bottom) and top stitch close to the edges…. ideally leaving the top open….

Restetasche08

… alternatively you can go creative 🙂

IMG_3907

Put the two lining fabrics right side together and stitch around sides and bottom with 1cm seam allowance and zigzag around it.

Restetasche09

To create a fuller shape for the bag, pull the two sides apart at one corner, making sure that the side and bottom seam lie on top of each other. Draw a straight line (in a right angle to the seam), I find 2-3cm away from the corner creating a 5-6cm long line quite good for this size). Stitch on that line.

Restetasche10

Cut the excess fabric off, zigzag and do the same on the other side of your bag.

Restetasche11

Repeat all steps (apart from the pocket) with your outer fabric. Restetasche12

If you haven’t done it yet, it is now time to shorten the lining bag. Just cut of 2-3cm from the top (depending how wide you want your edge)

Restetasche13

Take the outer bag and fold the open top about 1.5 – 2cm to the wrong side. Iron.

Restetasche14

Fold it a second time 2cm to the wrong side. Iron.

Restetasche15

Turn the whole lining bag inside out (so the outside is now showing) and put the outer bag wrong side to wrong side into the lining bag. The edge of the lining bag should reach the once folded down edge of your outer bag.

Restetasche16

Fold now the outer bag down the second time (like you have ironed it before), the lining should now be fully covered.

Restetasche17

Now it is time to place the straps. Slide the open ends in between the two bag fabrics, making sure the ends reach the very top of the bag. For my bag I placed them about 4.5cm from the side seams. For now the straps look downwards.

Restetasche18

Now you can carefully fold them up again (without pulling them out of the slot) and pin them in place. Do the same with the second handle on the other side, making sure that they are in the matching position.

Restetasche19

Top stitch close to the edge all around your bag, securing all 4 ends of the strap at the same time.

Restetasche20

Then secure all 4 ends with a little X. I seam to have forgotten to take a picture of this step. But here is a picture of an other bag and at the bottom of my tutorial for a very similar cotton bag you will actually find a more accurate description the sewing directions.

Stofftasche 20

And we are done 🙂

Restetasche22

Restetasche23

And another version, where I used a lovely corduroy for the outside:

IMG_3909


IMG_3911


Scrap Sunday: Post Valentine scrap

A couple of days ago, my daughter found in her mess carefully chose the hairband that I had made in 5sec out of some left over from her shirt and dress.

This one, you might remember it: IMG_2272detailI love it but I really should have done it properly. It is the sewn version of one of these  (I am obviously talking of the yellow and the pink one in the front and then again the red a bit more up and to the right.)

IMG_2142sIn both cases it is a long strip that twists into a spiral naturally because one side is much longer than the other.

In the knitted one, this is done by increasing (or decreasing, depends if you are knitting from bottom to top or top to bottom), in the fabric one, I gathered the bottom edge.

Anyway, I thought it would be a good idea for a Scrap Sunday post to finally do it properly. Initially I meant to use the same stretchy jersey but then I thought, I will try a woven fabric instead to see the difference and just took some red cotton.

Just one thing before we start the series of pictures: I meant to do a tutorial but after finishing the rose, I realised that I would actually make a few things differently, so calling it tutorial is a bit silly, but I would still like to share the journey of making a rose with you and it will be up to you to do those few things differently (surprise, surprise, but I am too lazy to make another one whilst simultaneously taking pictures of it 🙂 )

First, you need to …… sorry, journey, not tutorial, so

First, I cut a stripe of fabric on the bias to make sure it gets a bit stretchy.

To do this, I took a piece of fabric (doesn’t have to be square),….

IMG_3194

folded it along the diagonal in half to get a 45 degree angle.IMG_3195

Then I cut my stripes (through both layers), parallel to the folded line, about 8cm wide.IMG_3196

I then placed the two strips on the short sides together in a V-Shape (will be a straight strip when opened up) and sew along that short side.IMG_3197

I opened it to iron the seam flat open and to get a longer bias strip. It was about 50cm long, which is a bit too short really. And obviously one single strip without seam would have been better but it is a project to use up scrap yarn. IMG_3199

I folded the fabric lengthwise in half and trimmed the short sides. A slight curve seemed ideal for me, not sure why.IMG_3200Initially, I meant to zigzag with the wrong sides together and just work from there and to use a contrasting thread to show things better in a potential tutorial (really because the machine was threaded like this).  But halfway through the zigzagging I decided to make the right side to wrong side and and left a gap to be able to turn it inside out.IMG_3203Why? Because the edges looked suddenly silly and because I have a cool turning tool which I wanted to show off.

IMG_3204After turning the strip inside out I ironed it flat to get a sharp edge on top of my “petals” rather than the fluffy mess of the initial jersey rose. Just to see how that looks.

Then I stitched straight  next to the seam with the longest stitch length and started to gather the fabric by pulling one of the threads. I left one end rather ungathered as I wanted to roll the rose  at the beginning tightly to get something like a still closed rosebud. IMG_3205I started to roll up the strip and kept securing it with stitches going back and forth through all the layers. That was quite tricky as my fabric strip had gotten quite thick at the bottom because of the seam allowance that was now inside my strip. So, if I do this next time, I will either zigzag on the outside or stitch together with a straight line and trim the seam allowance before turning.

In any case, the result looks pretty good, you can almost not tell the difference 😉IMG_3211At least not from the front / the top. Obviously the bottom is quite messy and depending on the use (other than some picture taking from the pretty side only), one might have to hide that mess somehow.

long tail cast on

When I learned how to knit, the long tail cast on was the one that I had been shown. And for almost 30 years I had been blissfully unaware that there was another zillion of cast on methods.

Despite my then following ignorance of the qualities of some of the other methods (cable cast on or provisional come to my mind), I still use the long tail cast on for 99.9% of my projects as I find it strong and versatile. It is supposed to be done over two needles which makes it very stretchy, great for those lacy or stretchy projects, but if I want it a bit less loose (or if I am working with ridiculously big needles) then I will just use one needle.

For this tutorial, I have only used just one needle as I find it easier to get started. Once you understood the movement, you can do it over two needles.

I made this tutorial for my knitting class which is a mess healthy combination of English and continental knitting so it might look slightly weird to those of you who have learned knitting the continental way (considering my observations lately, it might actually be a German way rather than a continental but that is how it is called).

One last thing before we get started. Please remember that these pictures have been taken 3min before the all important football match. We will see if I will ever get the chance to replace them with better ones.

But for now, lets use what we have:

 1. Make a slip knot with a long tail end (the length of the tail will depend on the amount of stitches you will need) and put it on the needle. Hold the needle in the right hand, open the two tails up so they form a V- shape, the tail end comes towards you, the ball end goes away from you.long tail co 01

2. Slide the thumb and index finger of your left hand into the gap between the two strands and open the gap up a little bit.long tail co 02

3. Grab the two strands with the remaining three fingers and hold them tightly.long tail co 03

4. The needle with the slip knot should now be positioned between your thumb and your index finger. The tail end goes over your thumb (thumb strand), the ball end goes over your index finger (index strand).long tail co 04

5. Pull the needle down so the thumb strand forms a full loop around your thumb.long tail co 05

6. Slide the needle from bottom to top through the thumb loop…long tail co 06

7. …grab the index strand and pull it through the thumb loop.long tail co 07

8. You have now a new stitch on your needle. Release the thumb loop.long tail co 08

9. Push the thumb strand down with your thumb to tighten the stitch but do NOT let go of the two strands.long tail co 09long tail co 10

Start again from Step 5 by bringing the thumb up again and pulling down the needle. If you are working on a small scale with small movements, this will result in a smooth circular movement of your thumb and you will not have to set up everything from scratch.

As I have mentioned before, you should do this over two needles held together. You will pull one out once you have finished the cast on. This will result in a very stretchy cast on, ideal for something that needs to be stretched out.