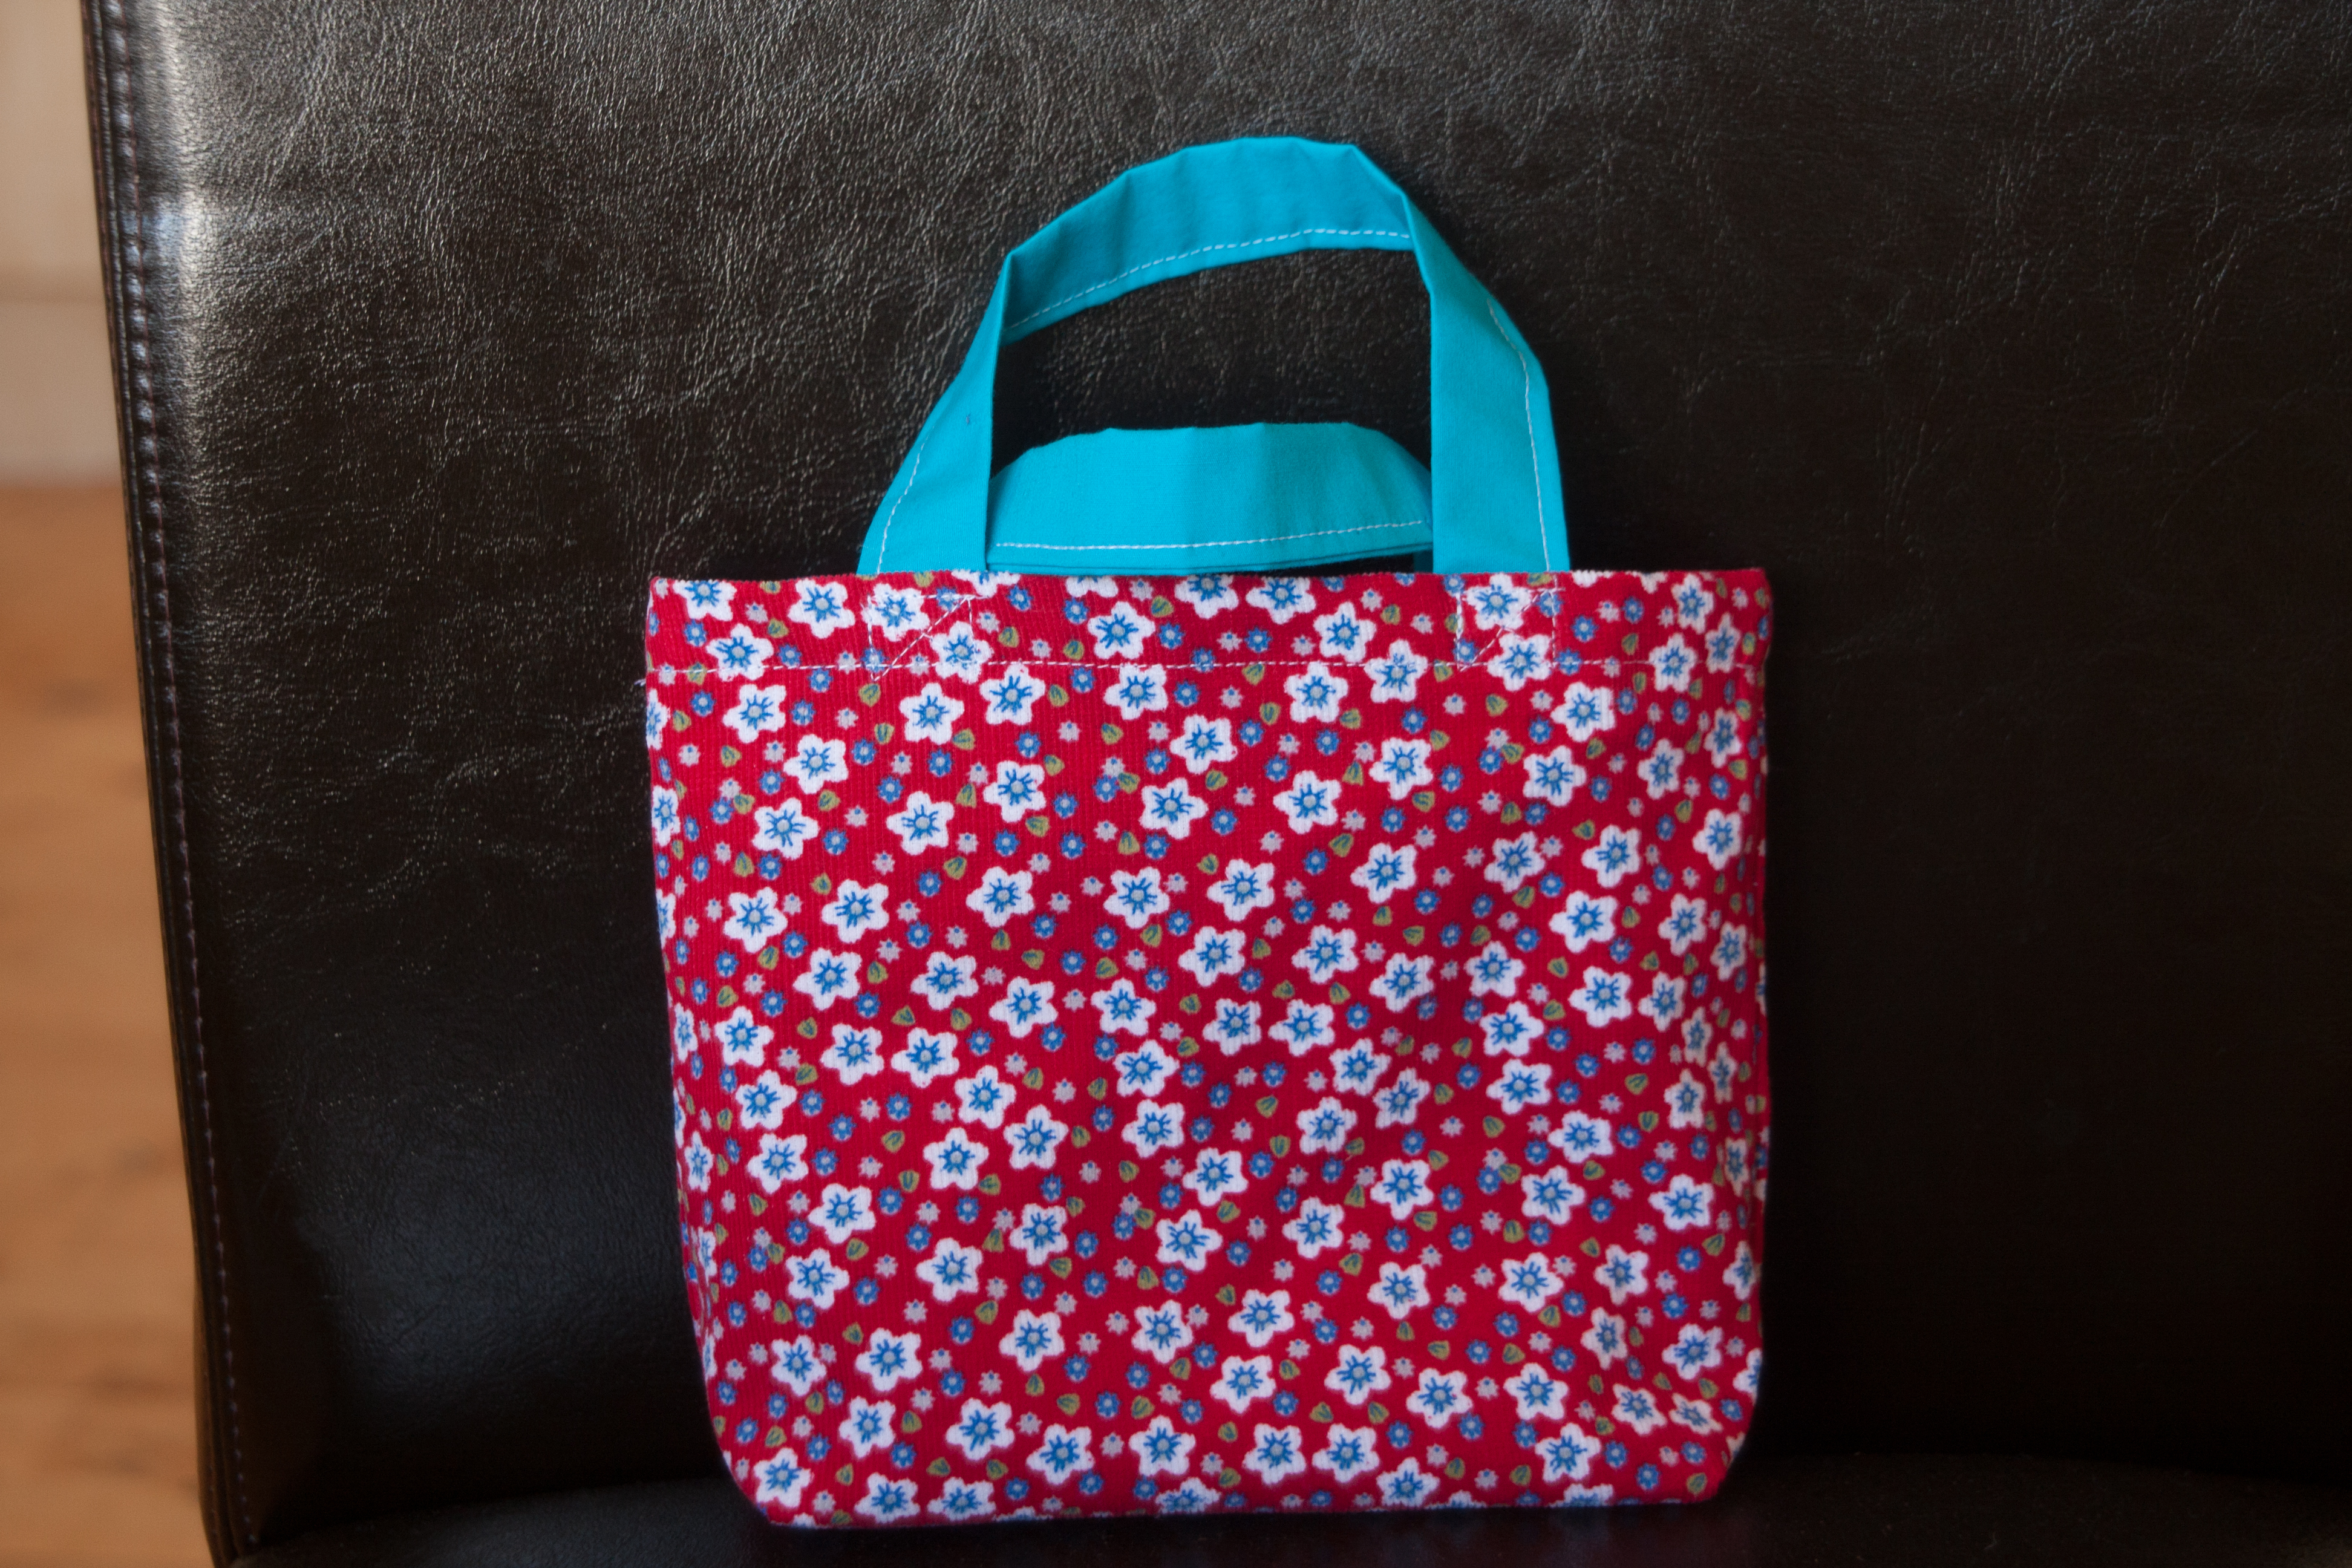
A while ago, I was asked to make one of my accidental reversible bags, so it would be suitable both for mother and daughter. In the end, I made one reversible bag in grown up fabrics and a small, slightly simpler version for the little girl.

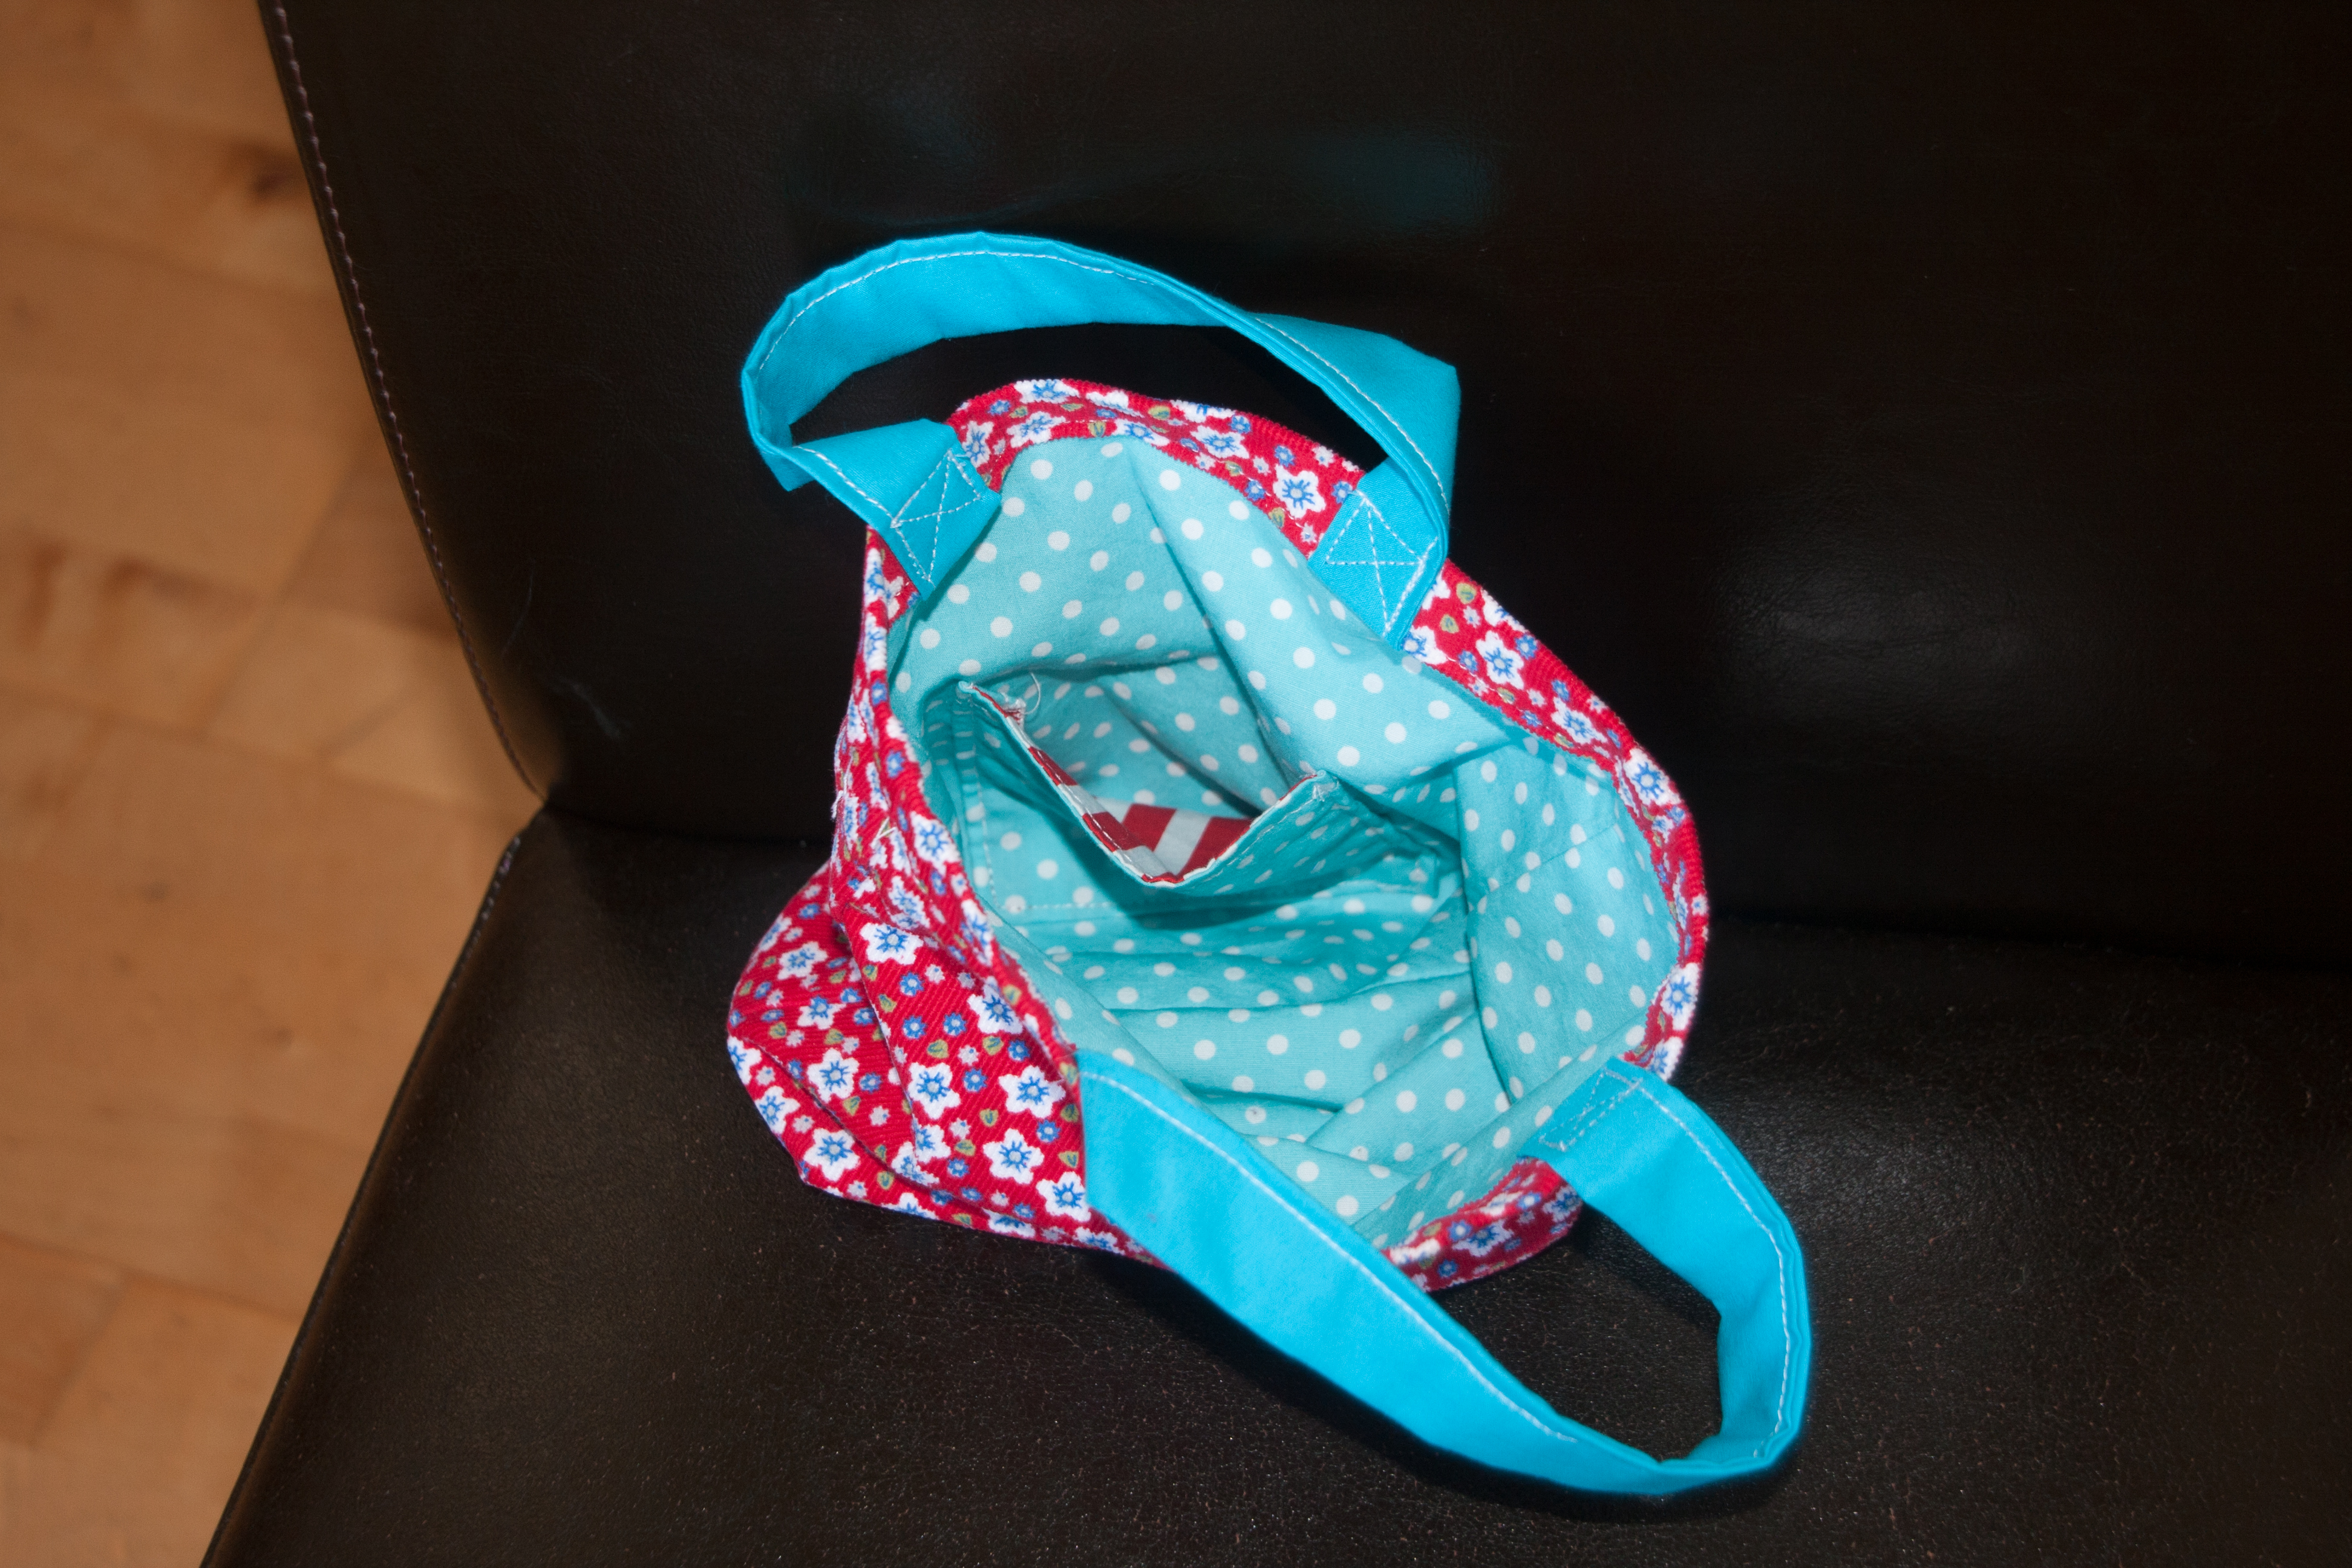
To make sure that they are a kind of matching pair, I have used the same fabric for both the lining of the small bag and the small pocket of the big bag.


But now, lets go back to the beginning: I have put together a little tutorial to show you how easy it is to make a cute little bag for a little lady. It is definitely also a great way of using up scrap fabrics. As I have already misplaced the measurements of the pictured bag, I will explain how to calculate your measurements plus give you those of the second bag I made, which was a bit more square than this one. In the end these numbers are only a rough guide anyway, I actually cut out how I felt before measuring the pieces)
You will need:
+ two pieces of cotton for the outer bag (width of bag + 2cm x height of bag + 6cm = 24 x 24cm)
+ two pieces of cotton for the lining (2-3cm shorter than outer fabric, alternatively you can cut them all out in one go and shorten the lining later = 24 x 22cm)
+ 2 pieces of fabric for a small pocket, one or both of them in the lining fabric (width of pocket + 2cm x height of pocket + 3cm = 12 x 12cm)
+ 2 pieces of fabric for straps (4 x width of finished straps x desired length + 8cm = 8 x 30cm for a 2cm wide strap)
+ the usual things like sewing machine, thread, scissors,…

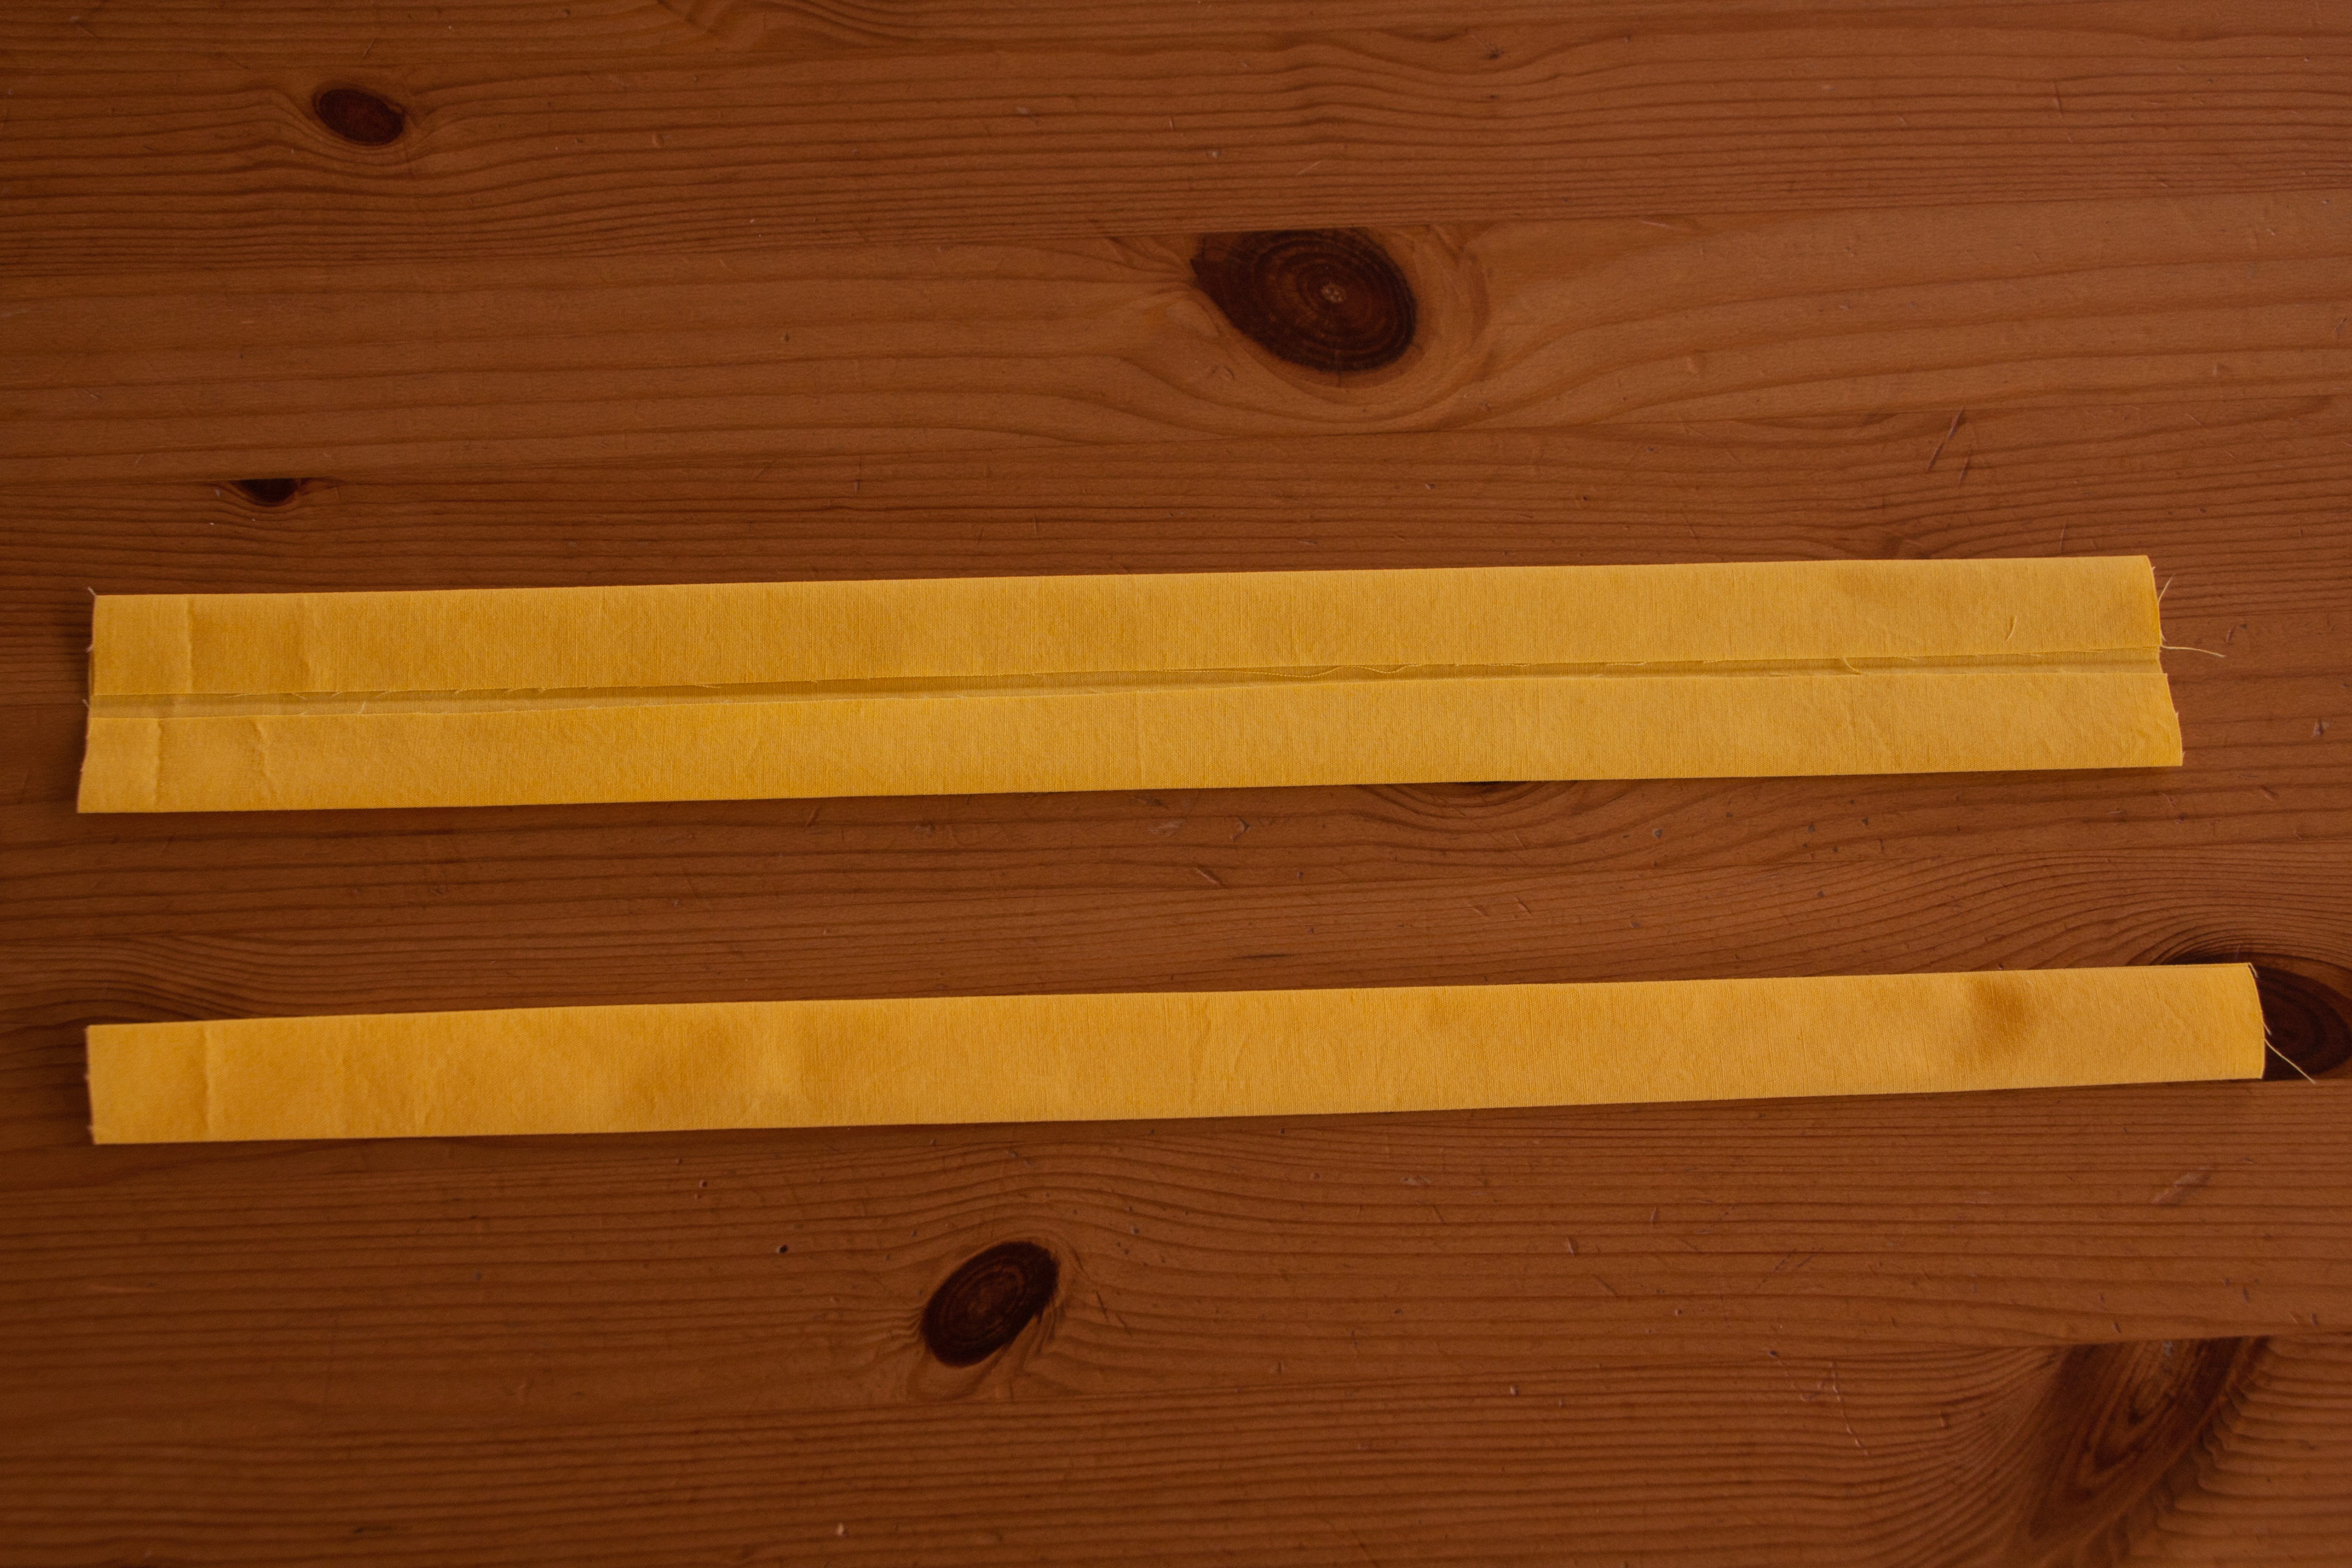
Preparation of the straps:
Fold the fabric lengthwise and iron, fold both edges to this middle line and iron again, fold together and iron. Top stitch close to the edge.
Preparation of the pocket:
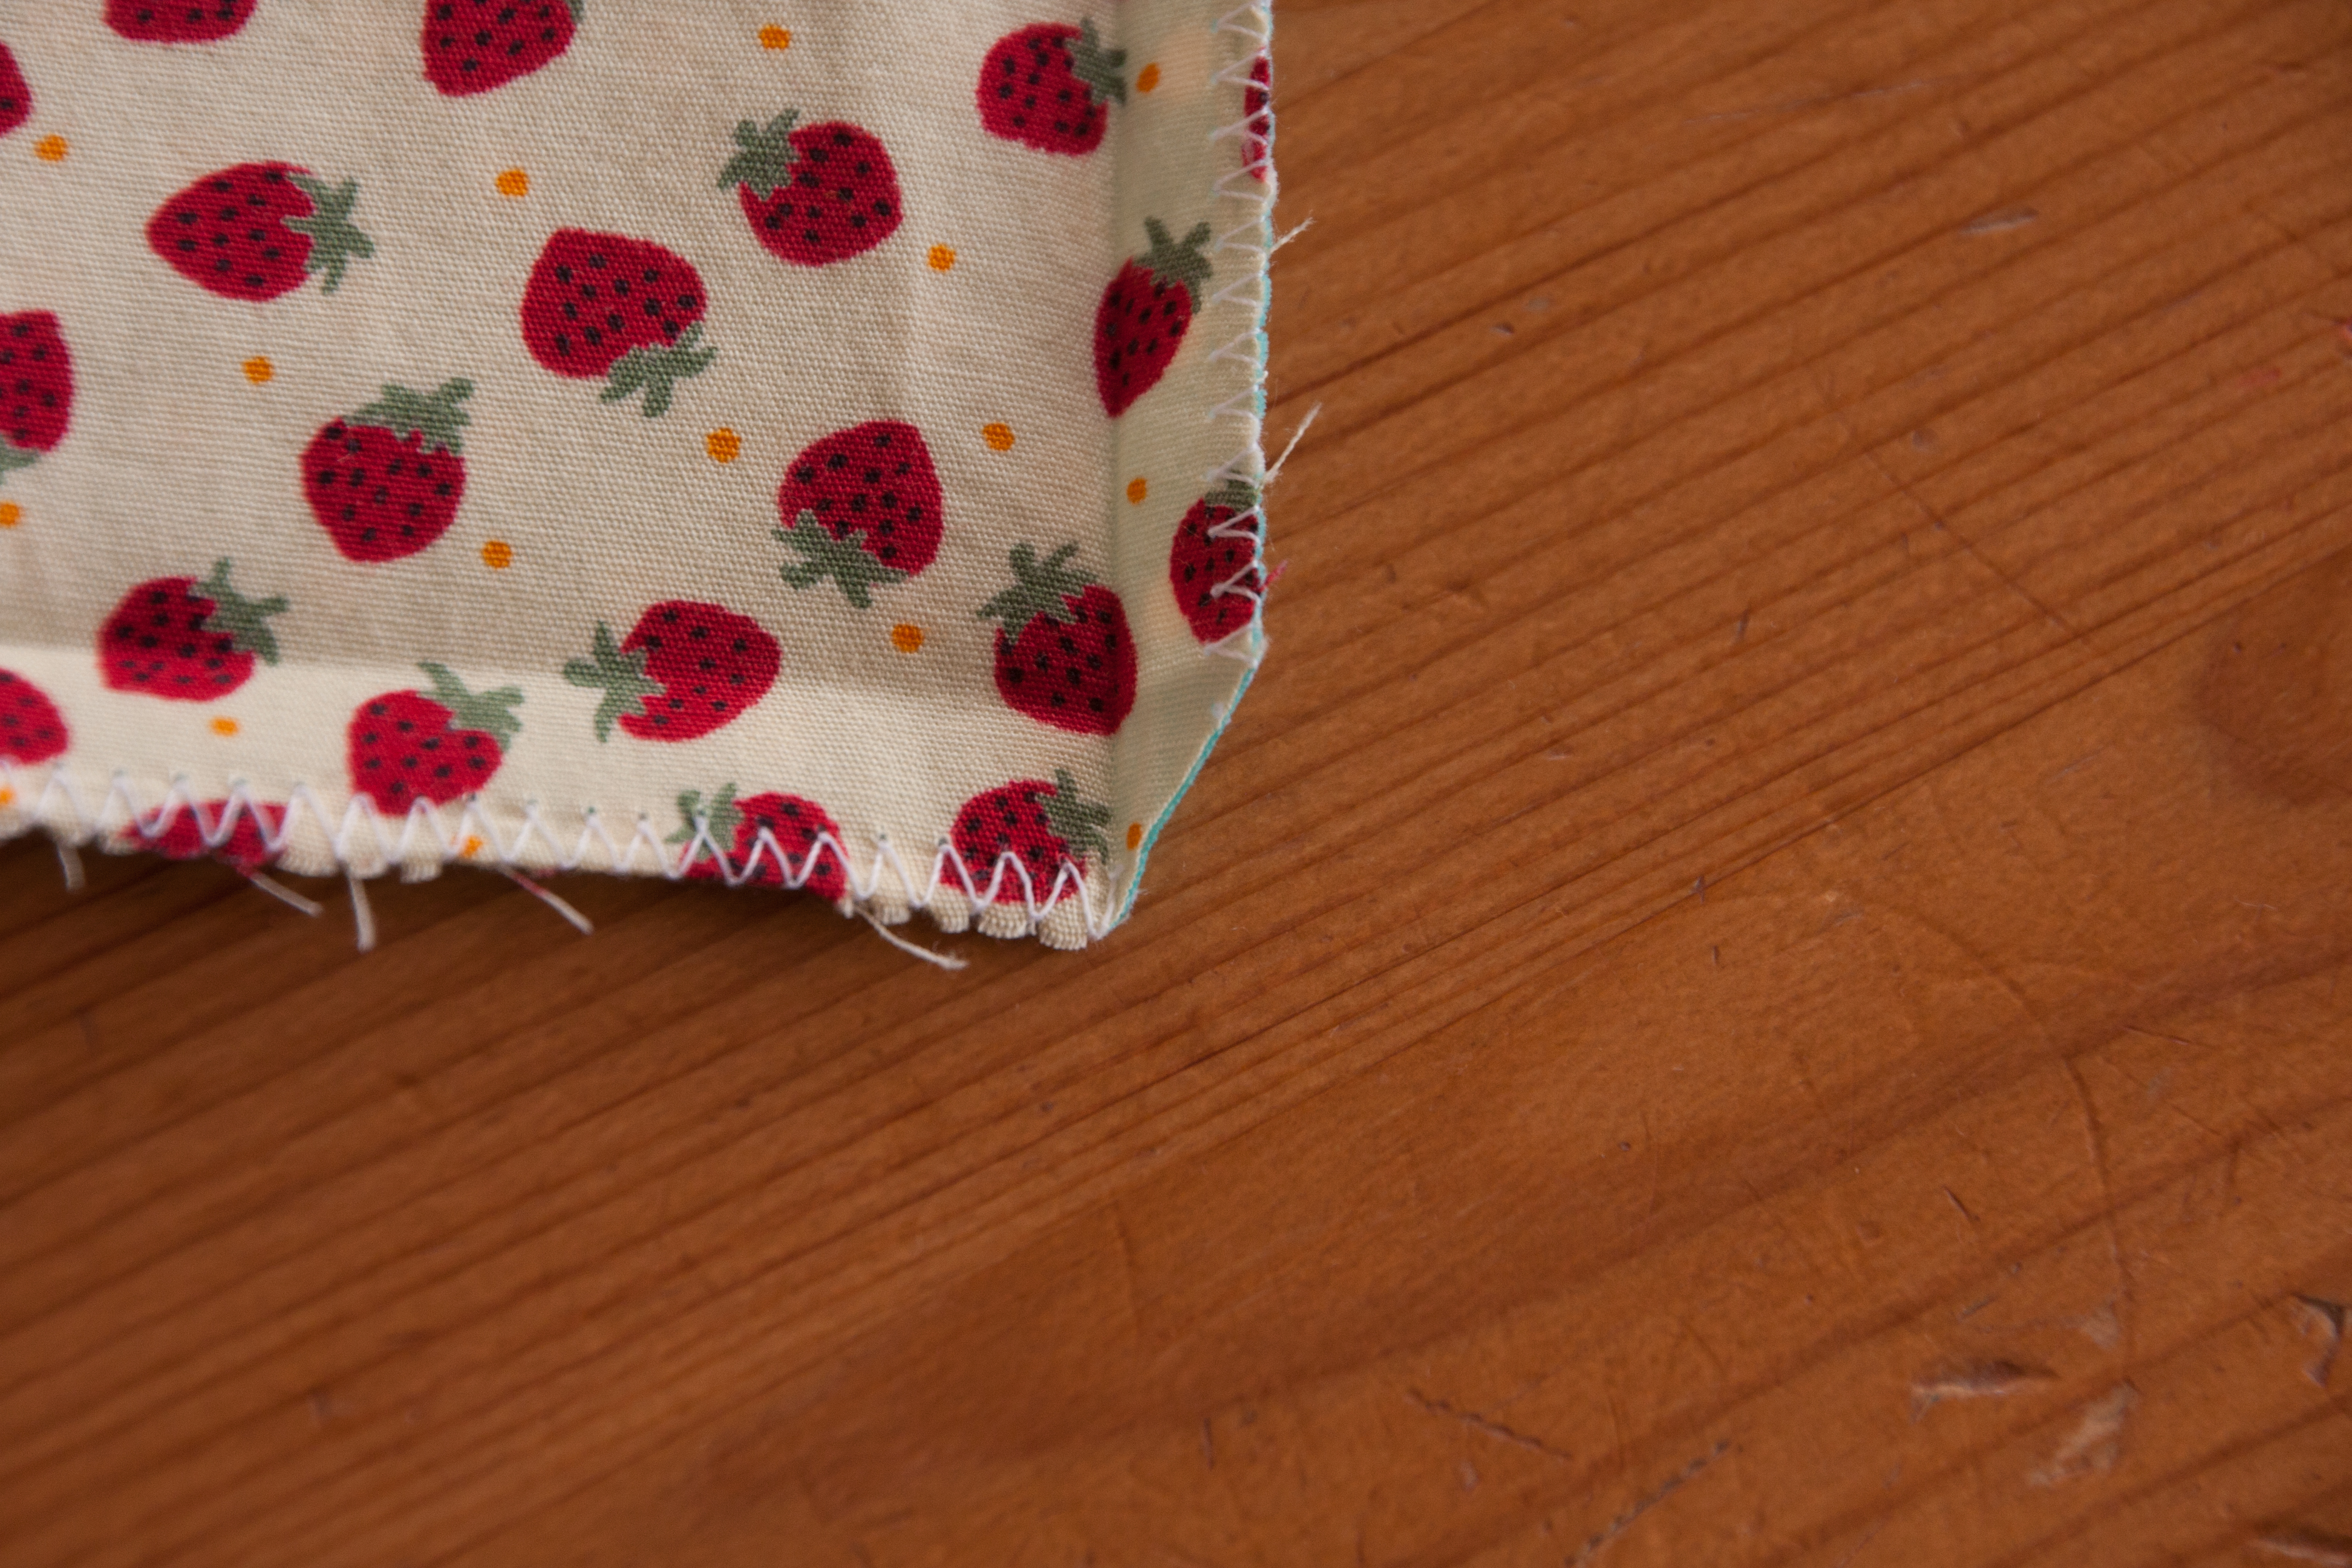
Sew the two pieces of fabric at the top together, Iron seam flat and turn so the right sides are outside, iron again to get a neat edge and top-stitch about 1 cm from the edge. Zigzag the three open sides of the pocket together.

Fold and iron the edges to the backside (1 cm)
Cut off corners to avoid bulky pocket corners later.
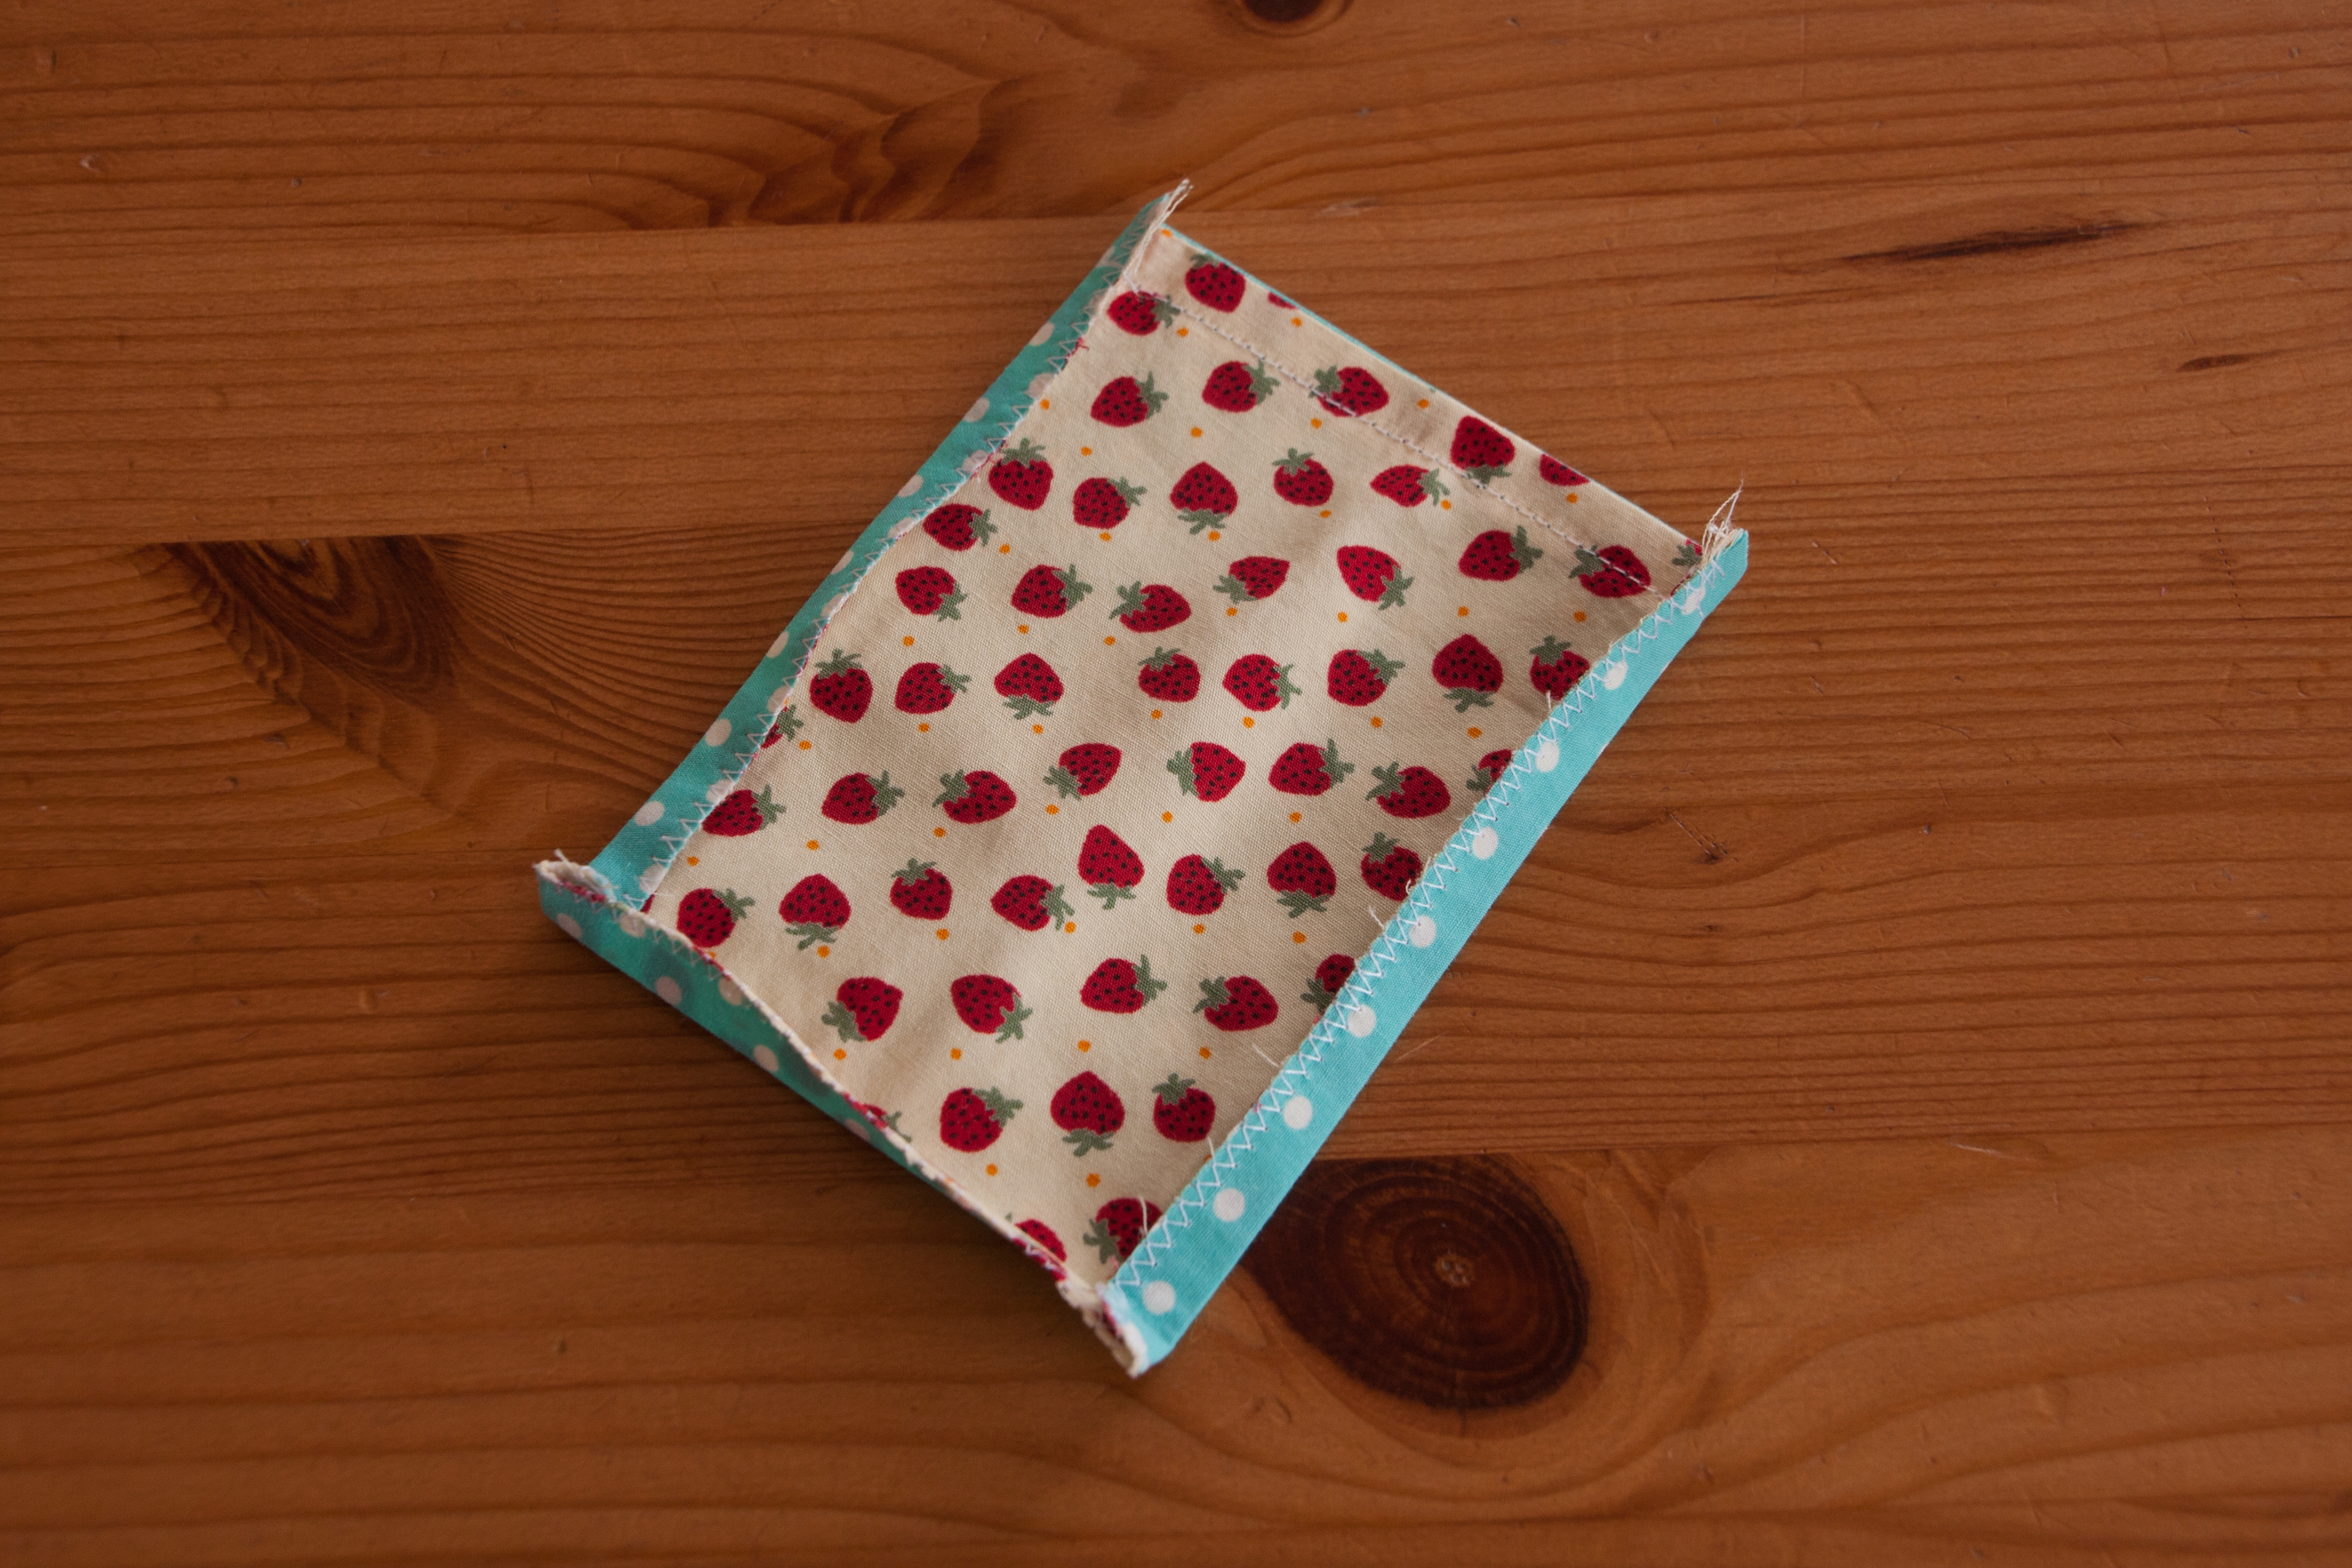
Place and pin the pocket to one of the lining fabrics where you want it to be (at least 4 or 5 cm away from the bottom) and top stitch close to the edges…. ideally leaving the top open….

… alternatively you can go creative 🙂

Put the two lining fabrics right side together and stitch around sides and bottom with 1cm seam allowance and zigzag around it.

To create a fuller shape for the bag, pull the two sides apart at one corner, making sure that the side and bottom seam lie on top of each other. Draw a straight line (in a right angle to the seam), I find 2-3cm away from the corner creating a 5-6cm long line quite good for this size). Stitch on that line.

Cut the excess fabric off, zigzag and do the same on the other side of your bag.

Repeat all steps (apart from the pocket) with your outer fabric. 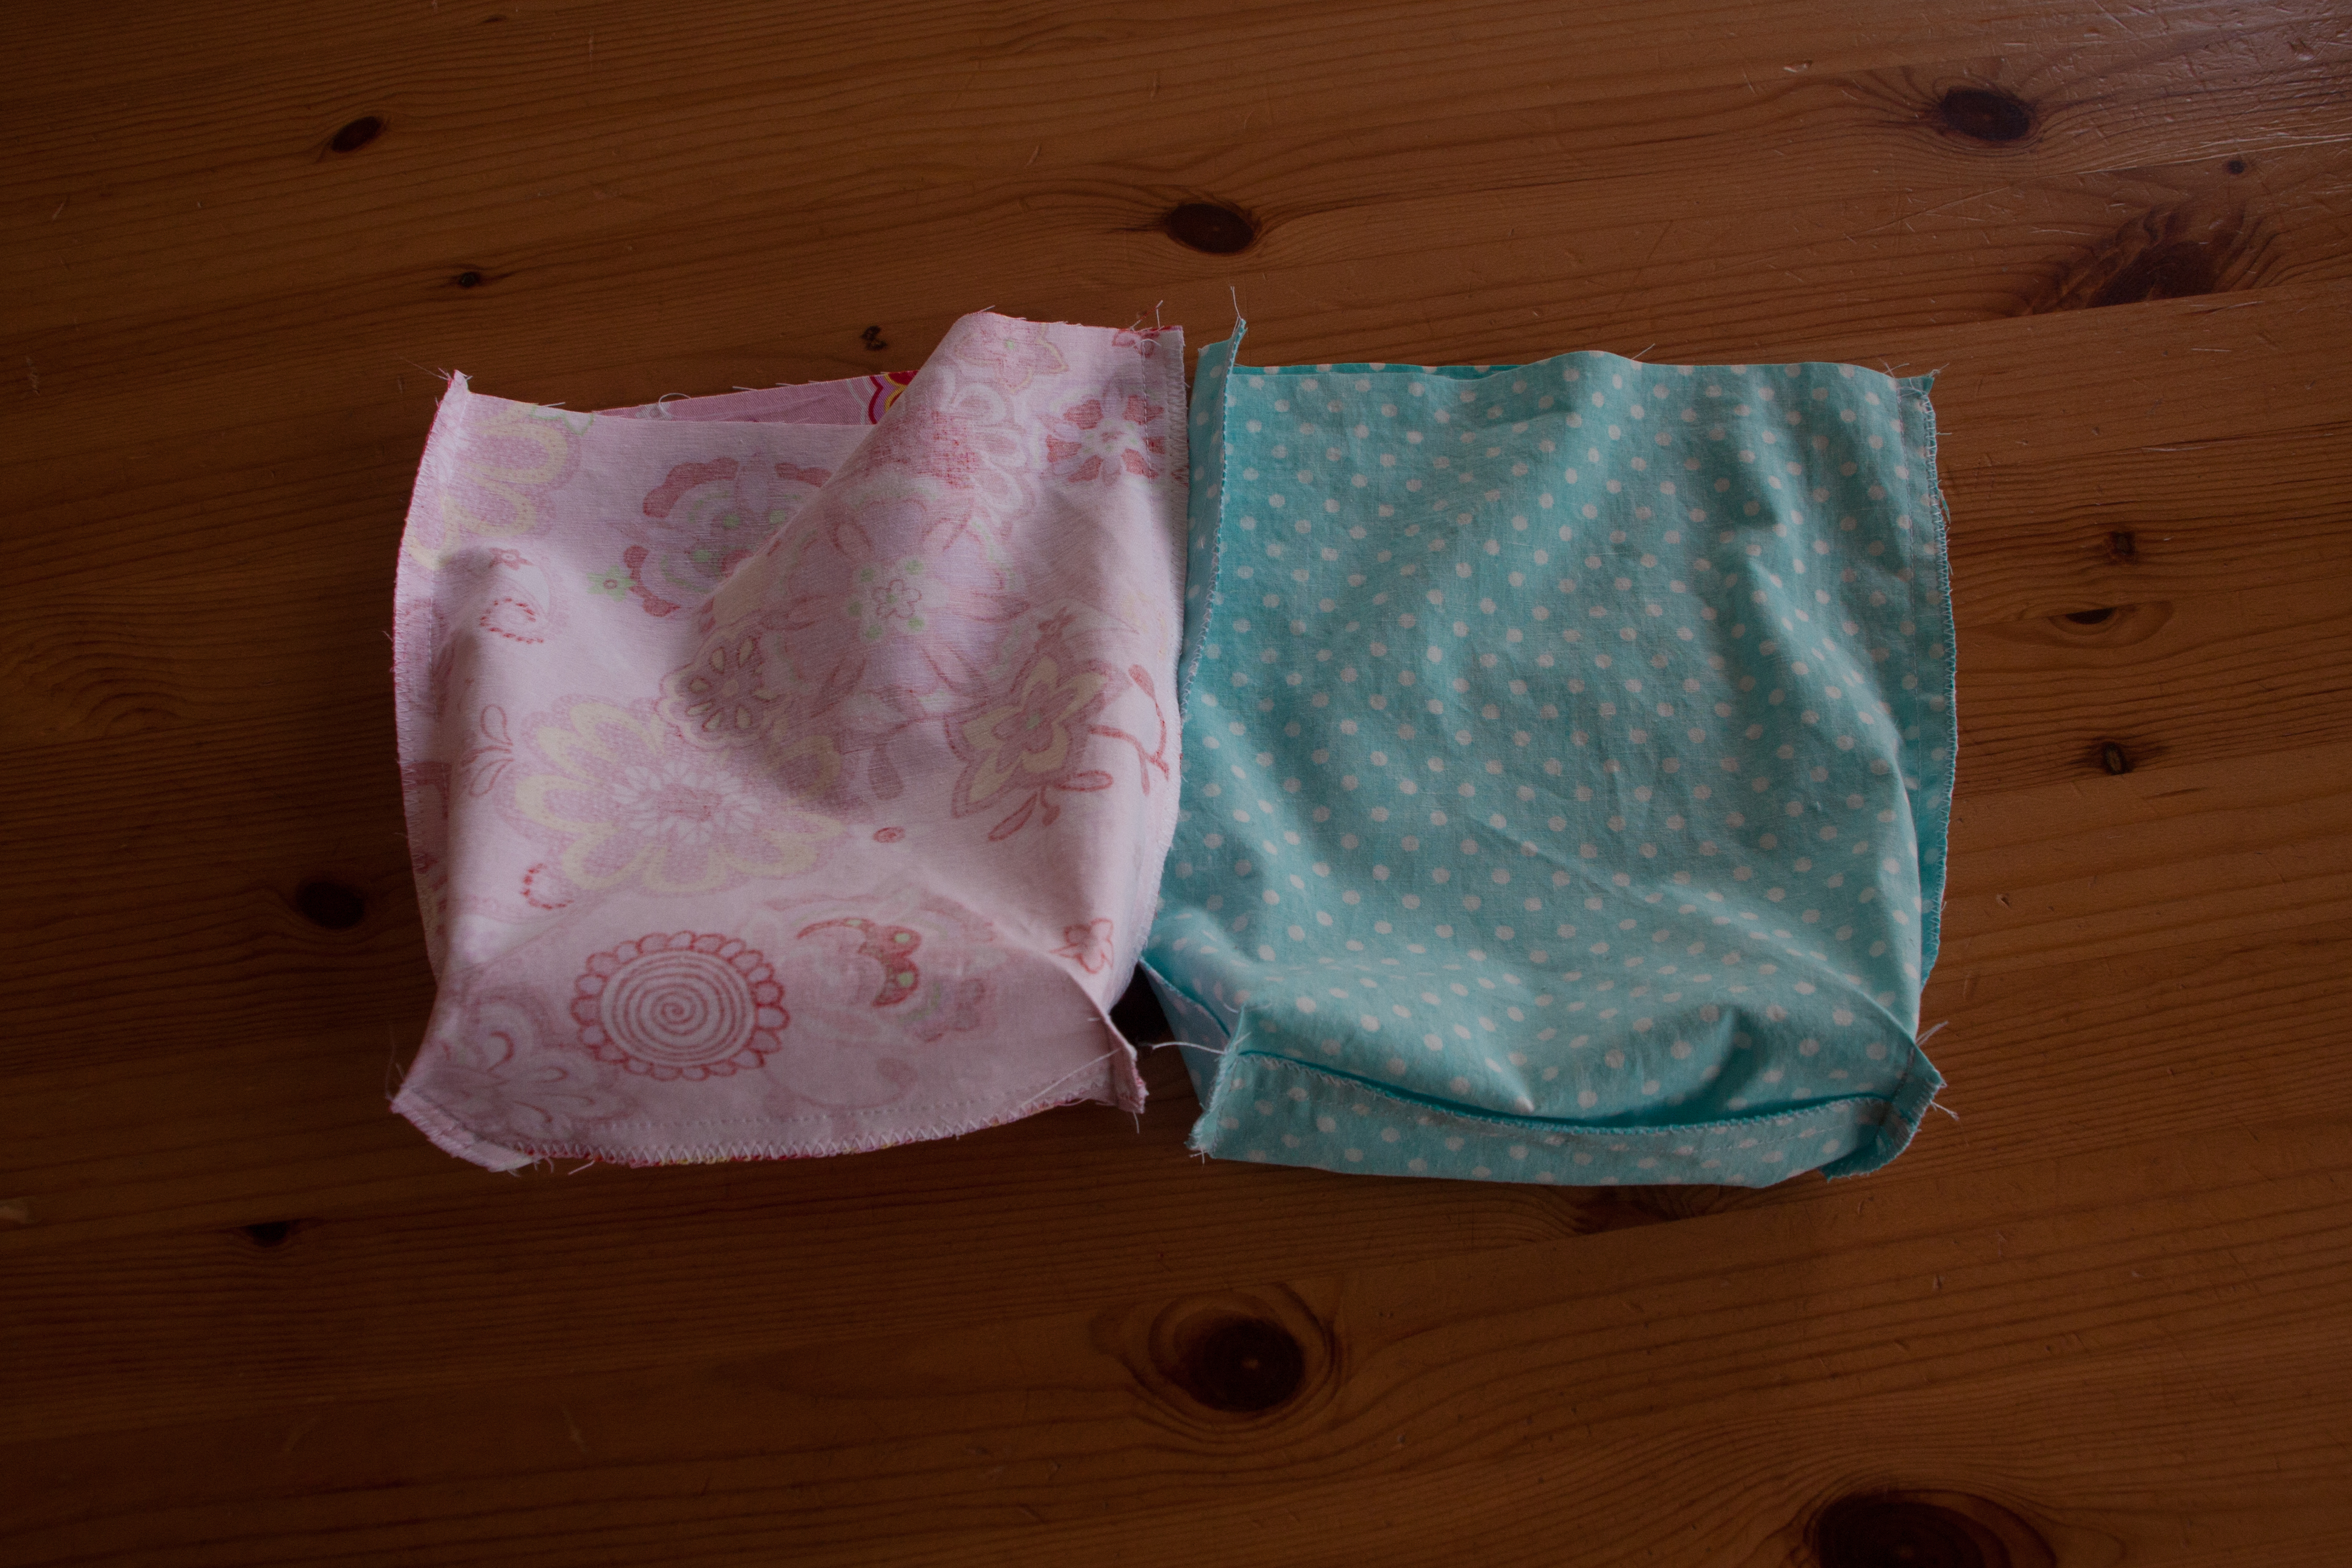
If you haven’t done it yet, it is now time to shorten the lining bag. Just cut of 2-3cm from the top (depending how wide you want your edge)

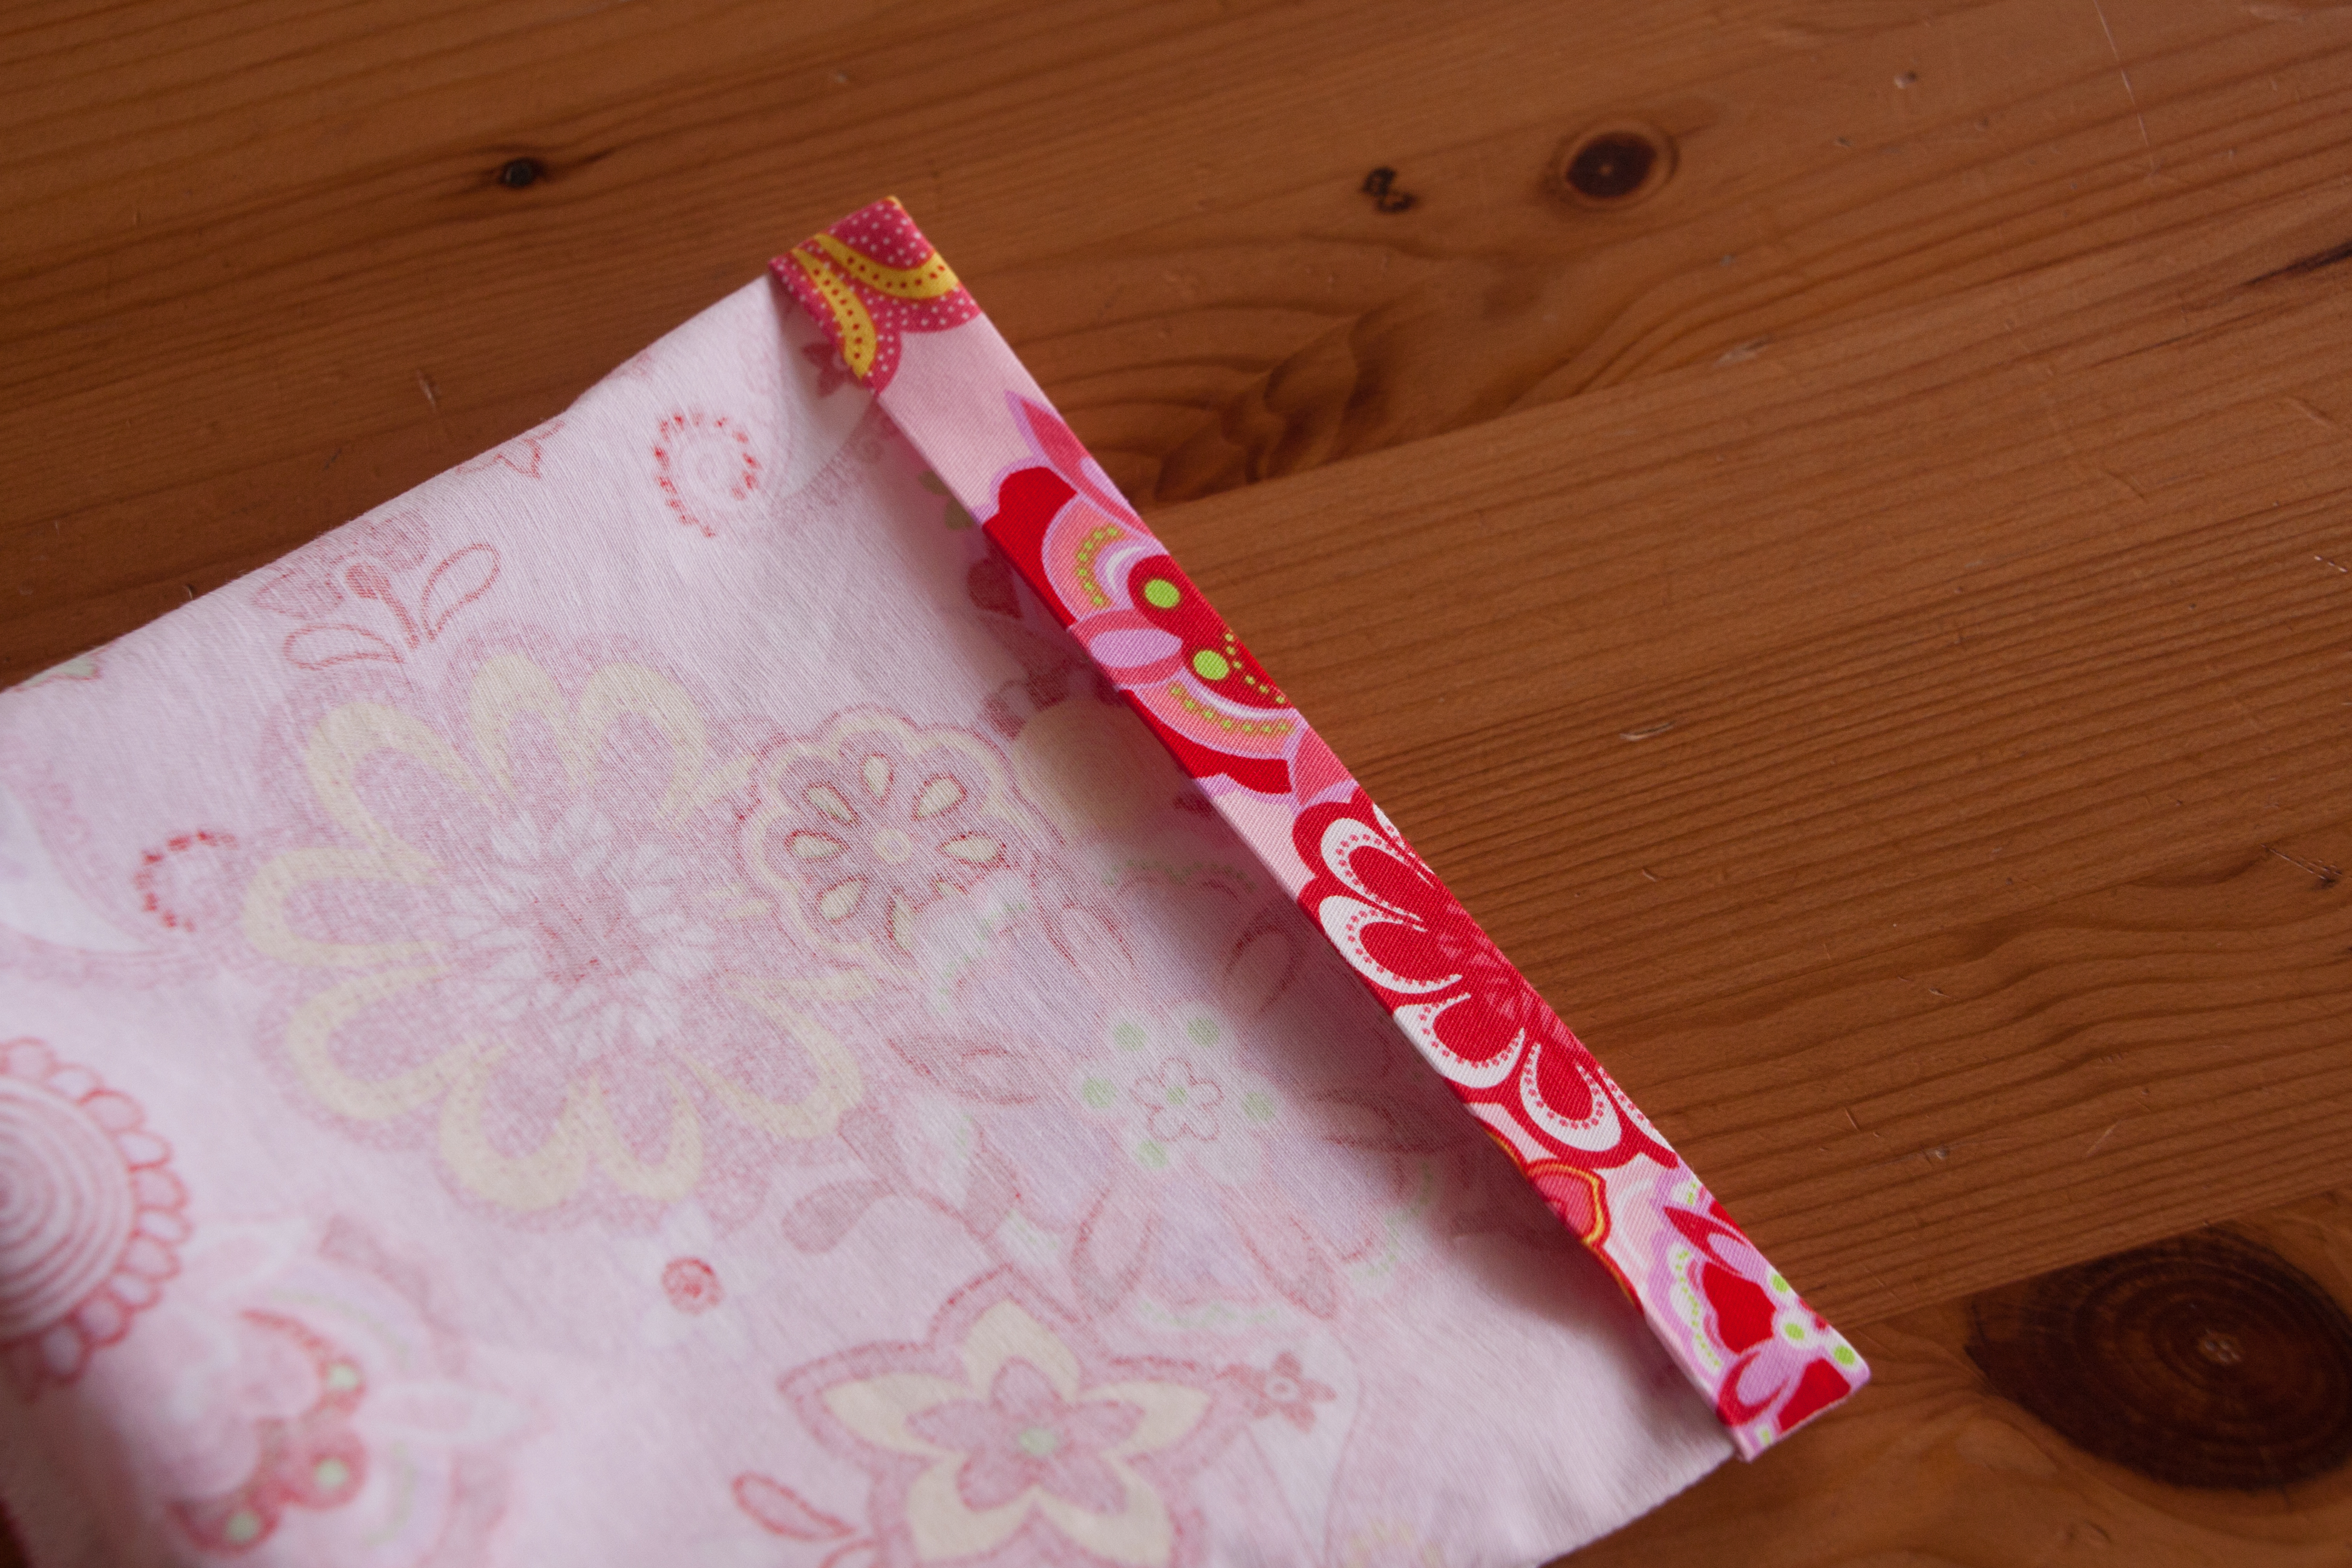
Take the outer bag and fold the open top about 1.5 – 2cm to the wrong side. Iron.

Fold it a second time 2cm to the wrong side. Iron.
Turn the whole lining bag inside out (so the outside is now showing) and put the outer bag wrong side to wrong side into the lining bag. The edge of the lining bag should reach the once folded down edge of your outer bag.
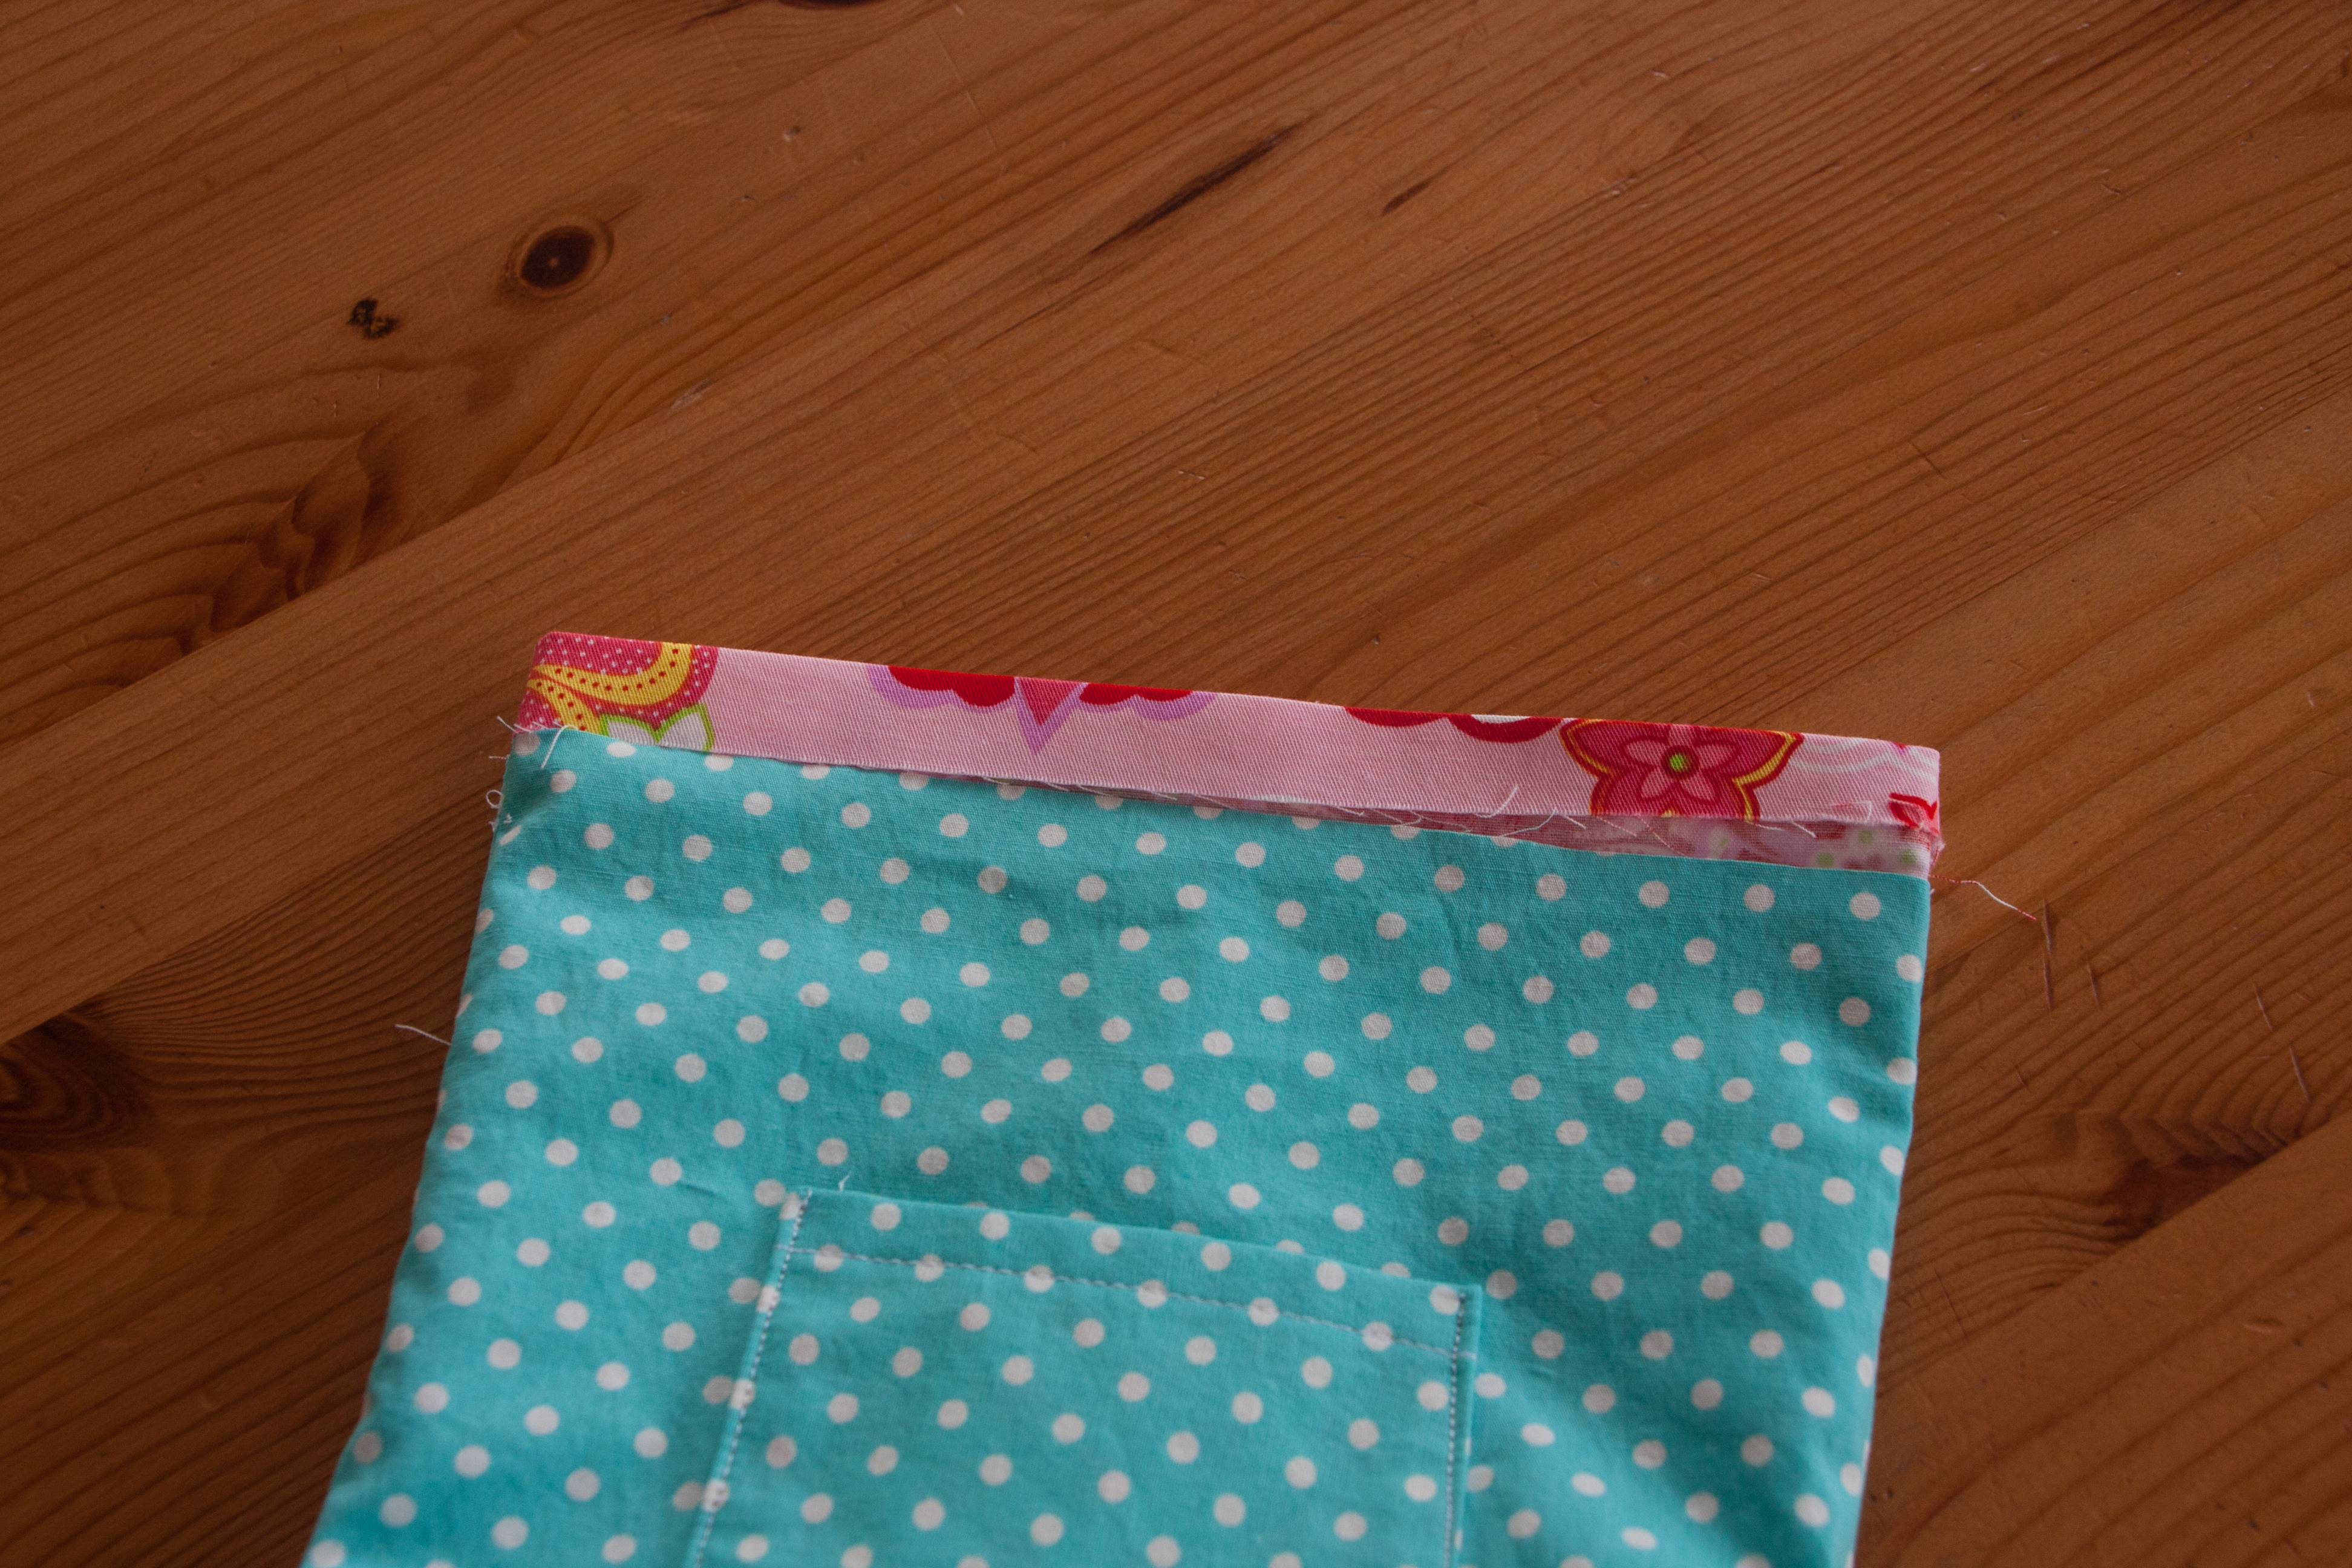
Fold now the outer bag down the second time (like you have ironed it before), the lining should now be fully covered.

Now it is time to place the straps. Slide the open ends in between the two bag fabrics, making sure the ends reach the very top of the bag. For my bag I placed them about 4.5cm from the side seams. For now the straps look downwards.
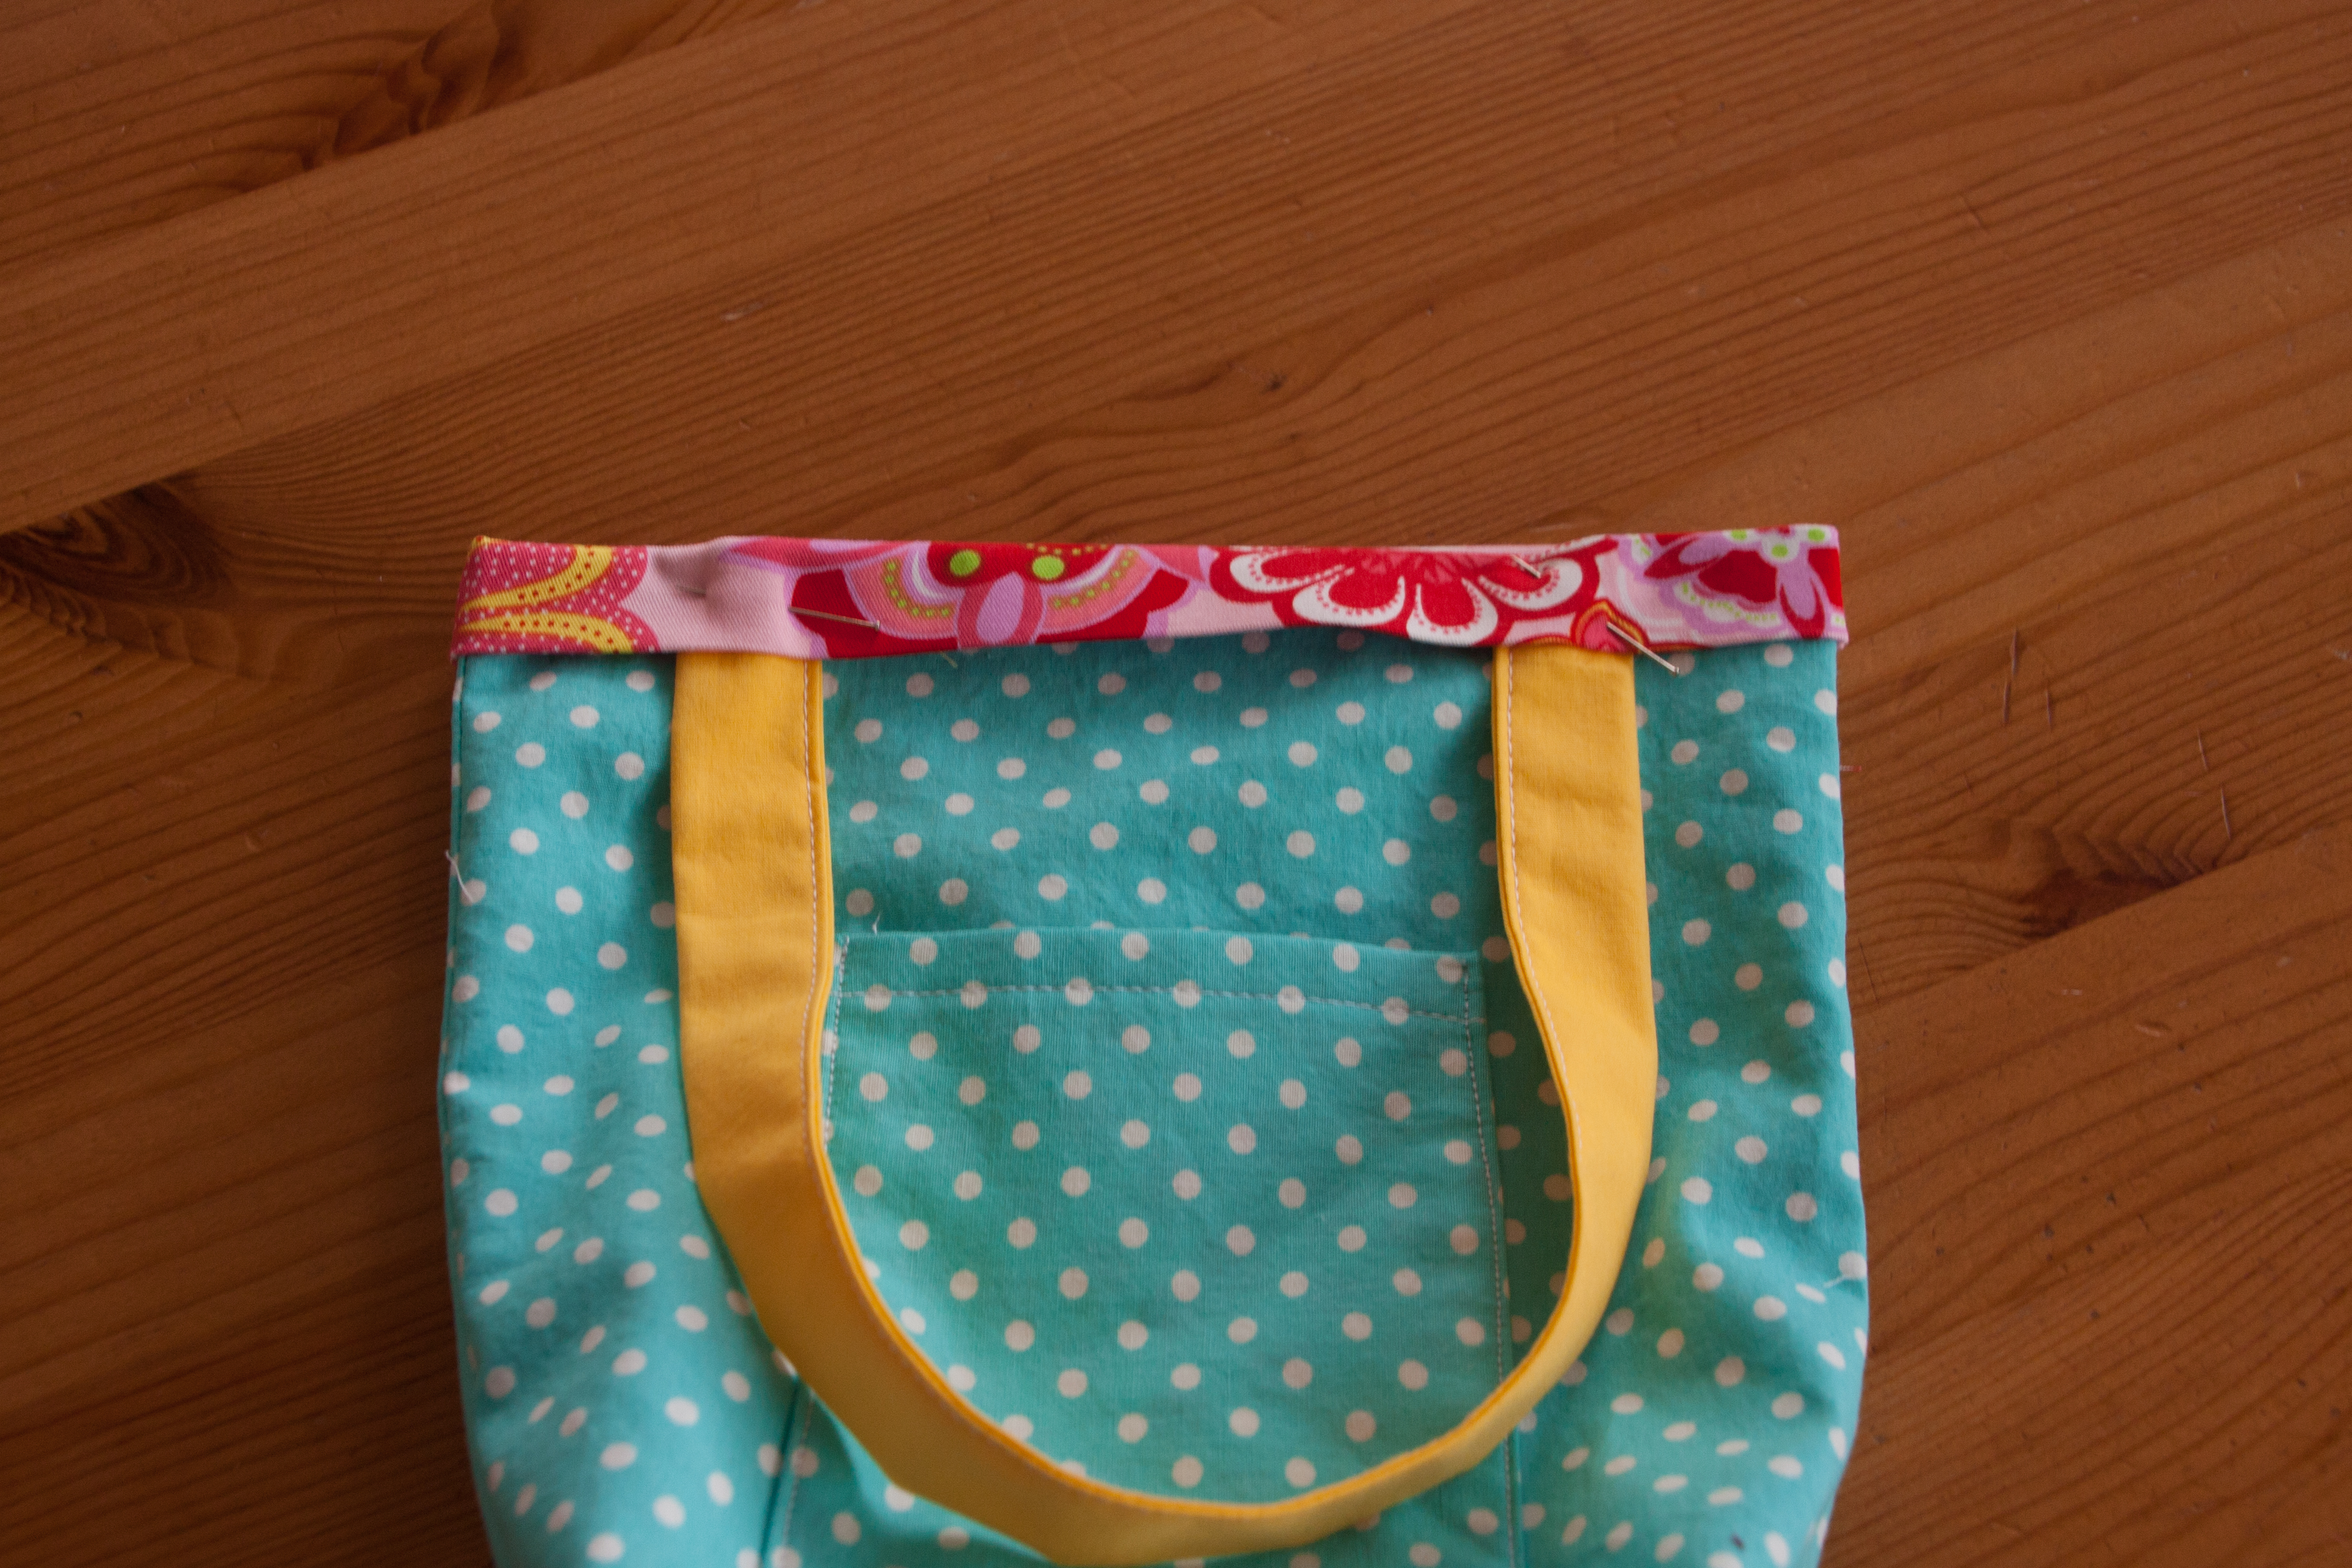
Now you can carefully fold them up again (without pulling them out of the slot) and pin them in place. Do the same with the second handle on the other side, making sure that they are in the matching position.
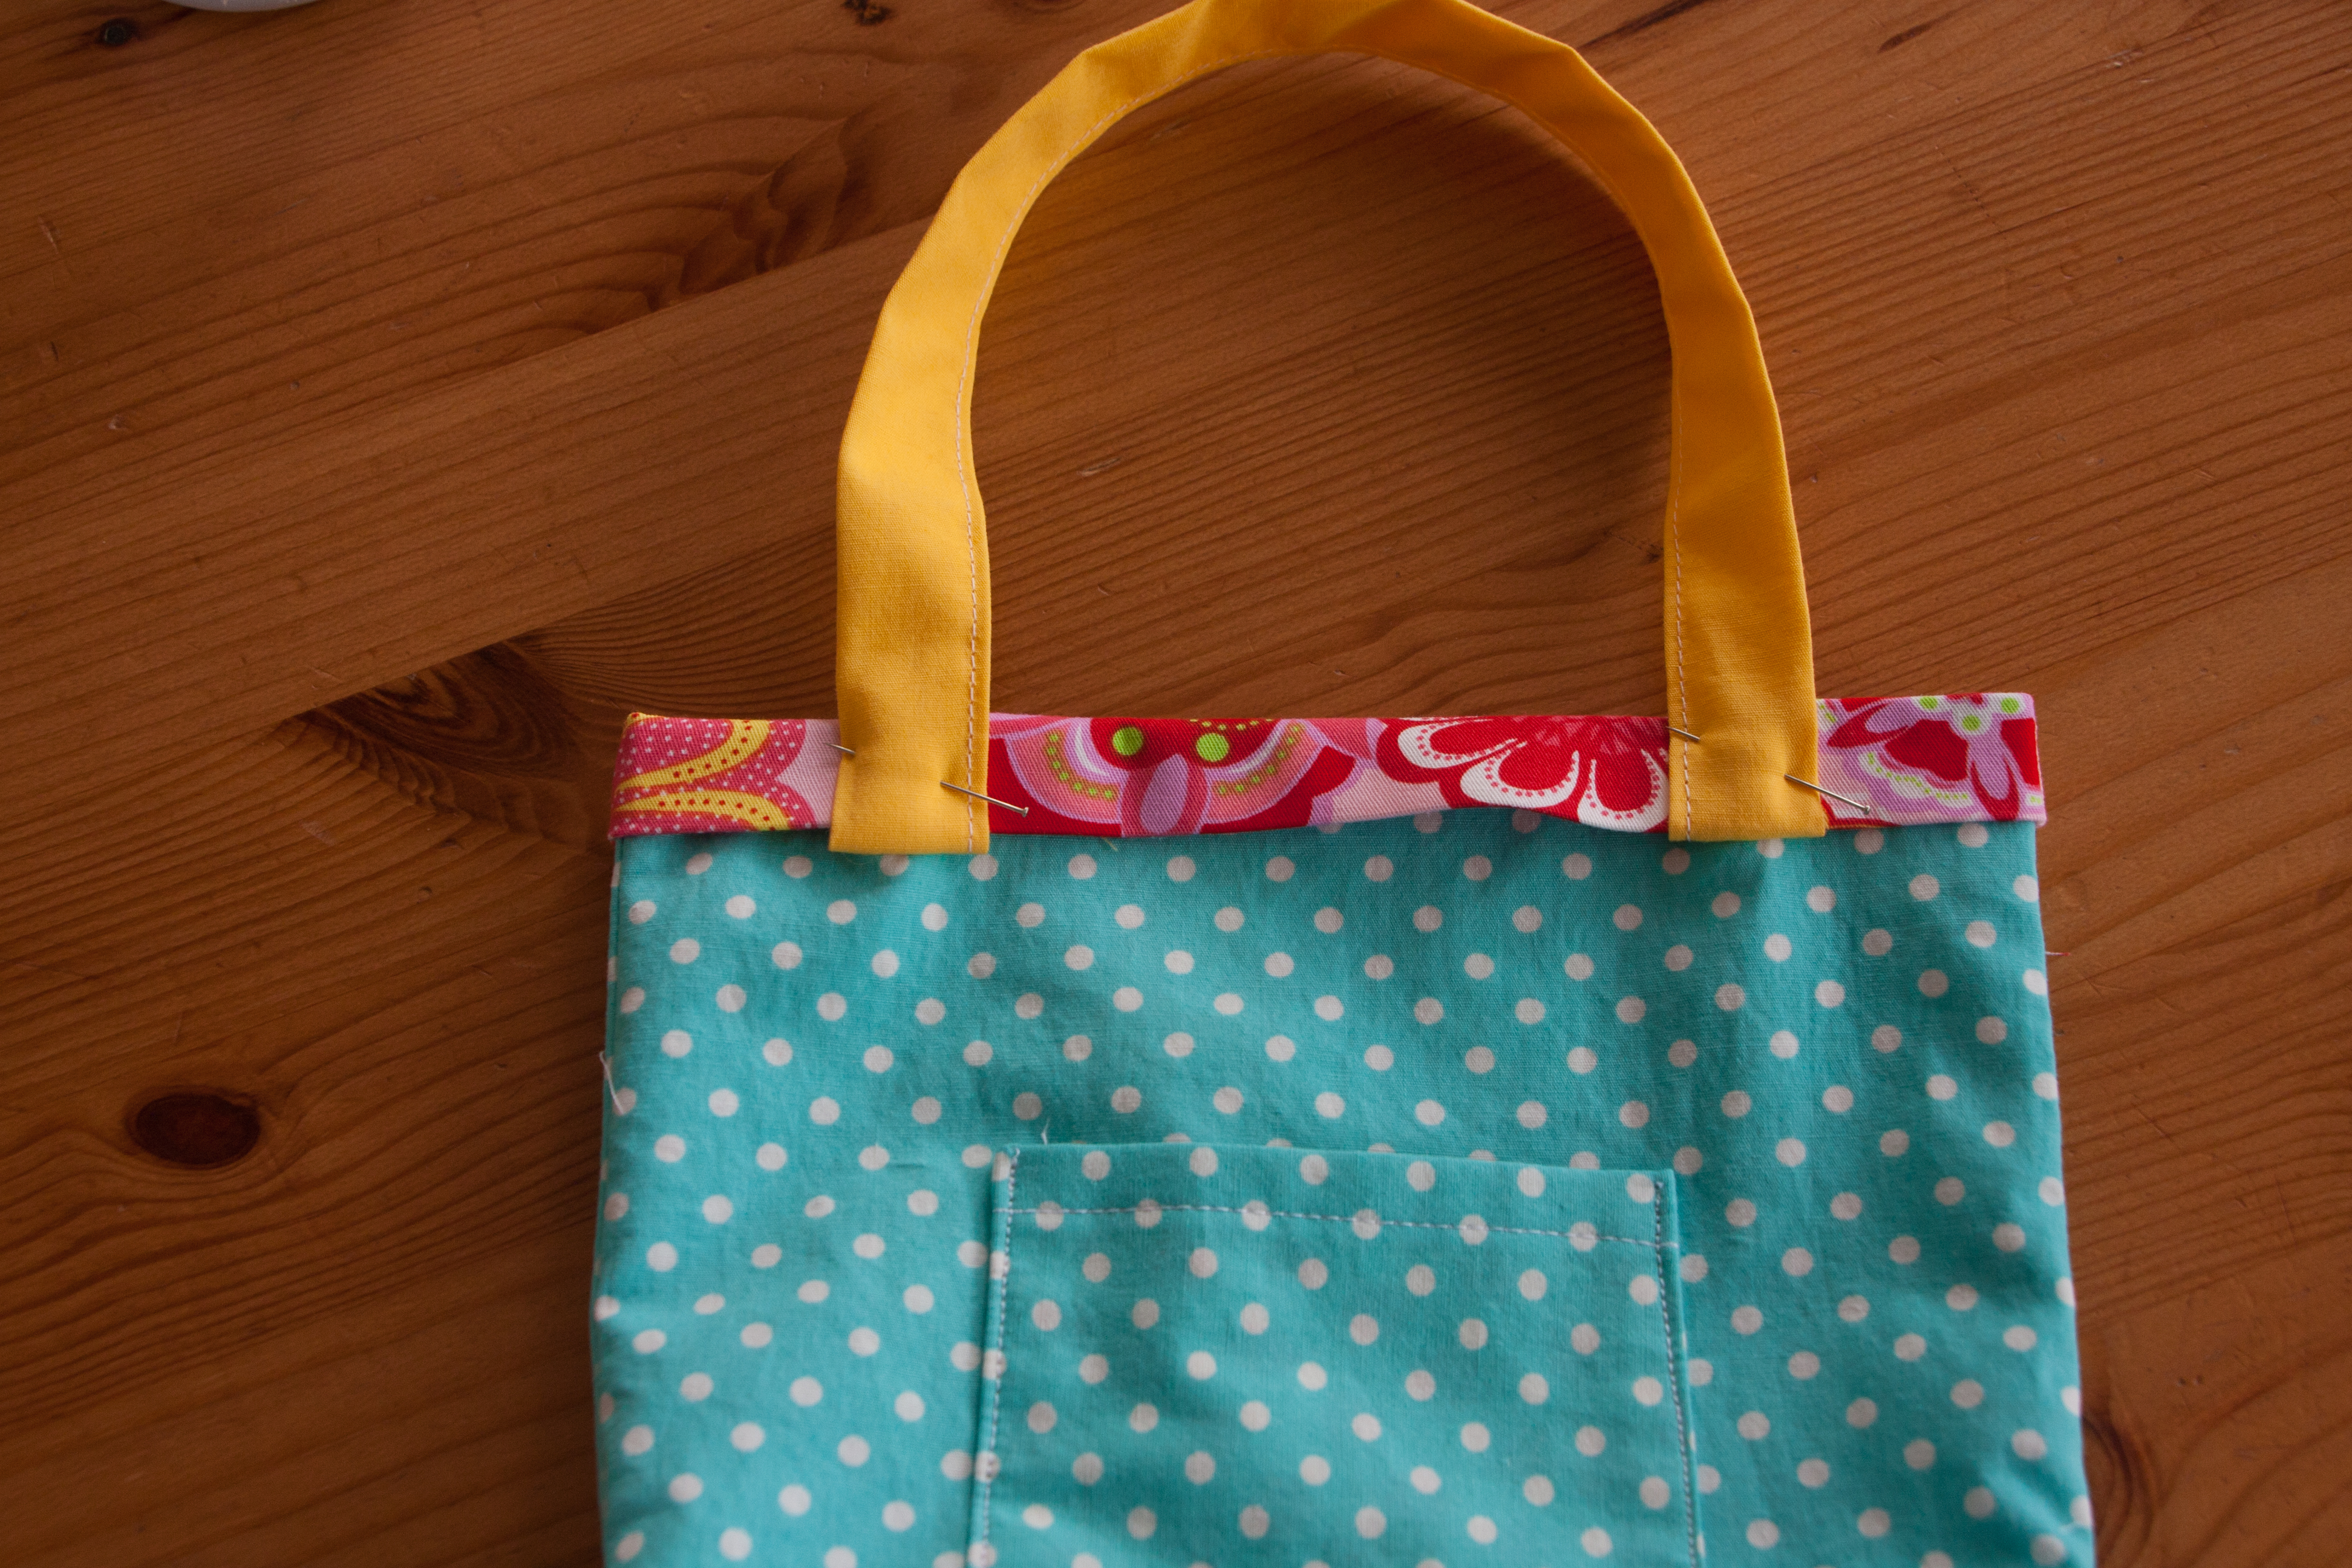
Top stitch close to the edge all around your bag, securing all 4 ends of the strap at the same time.

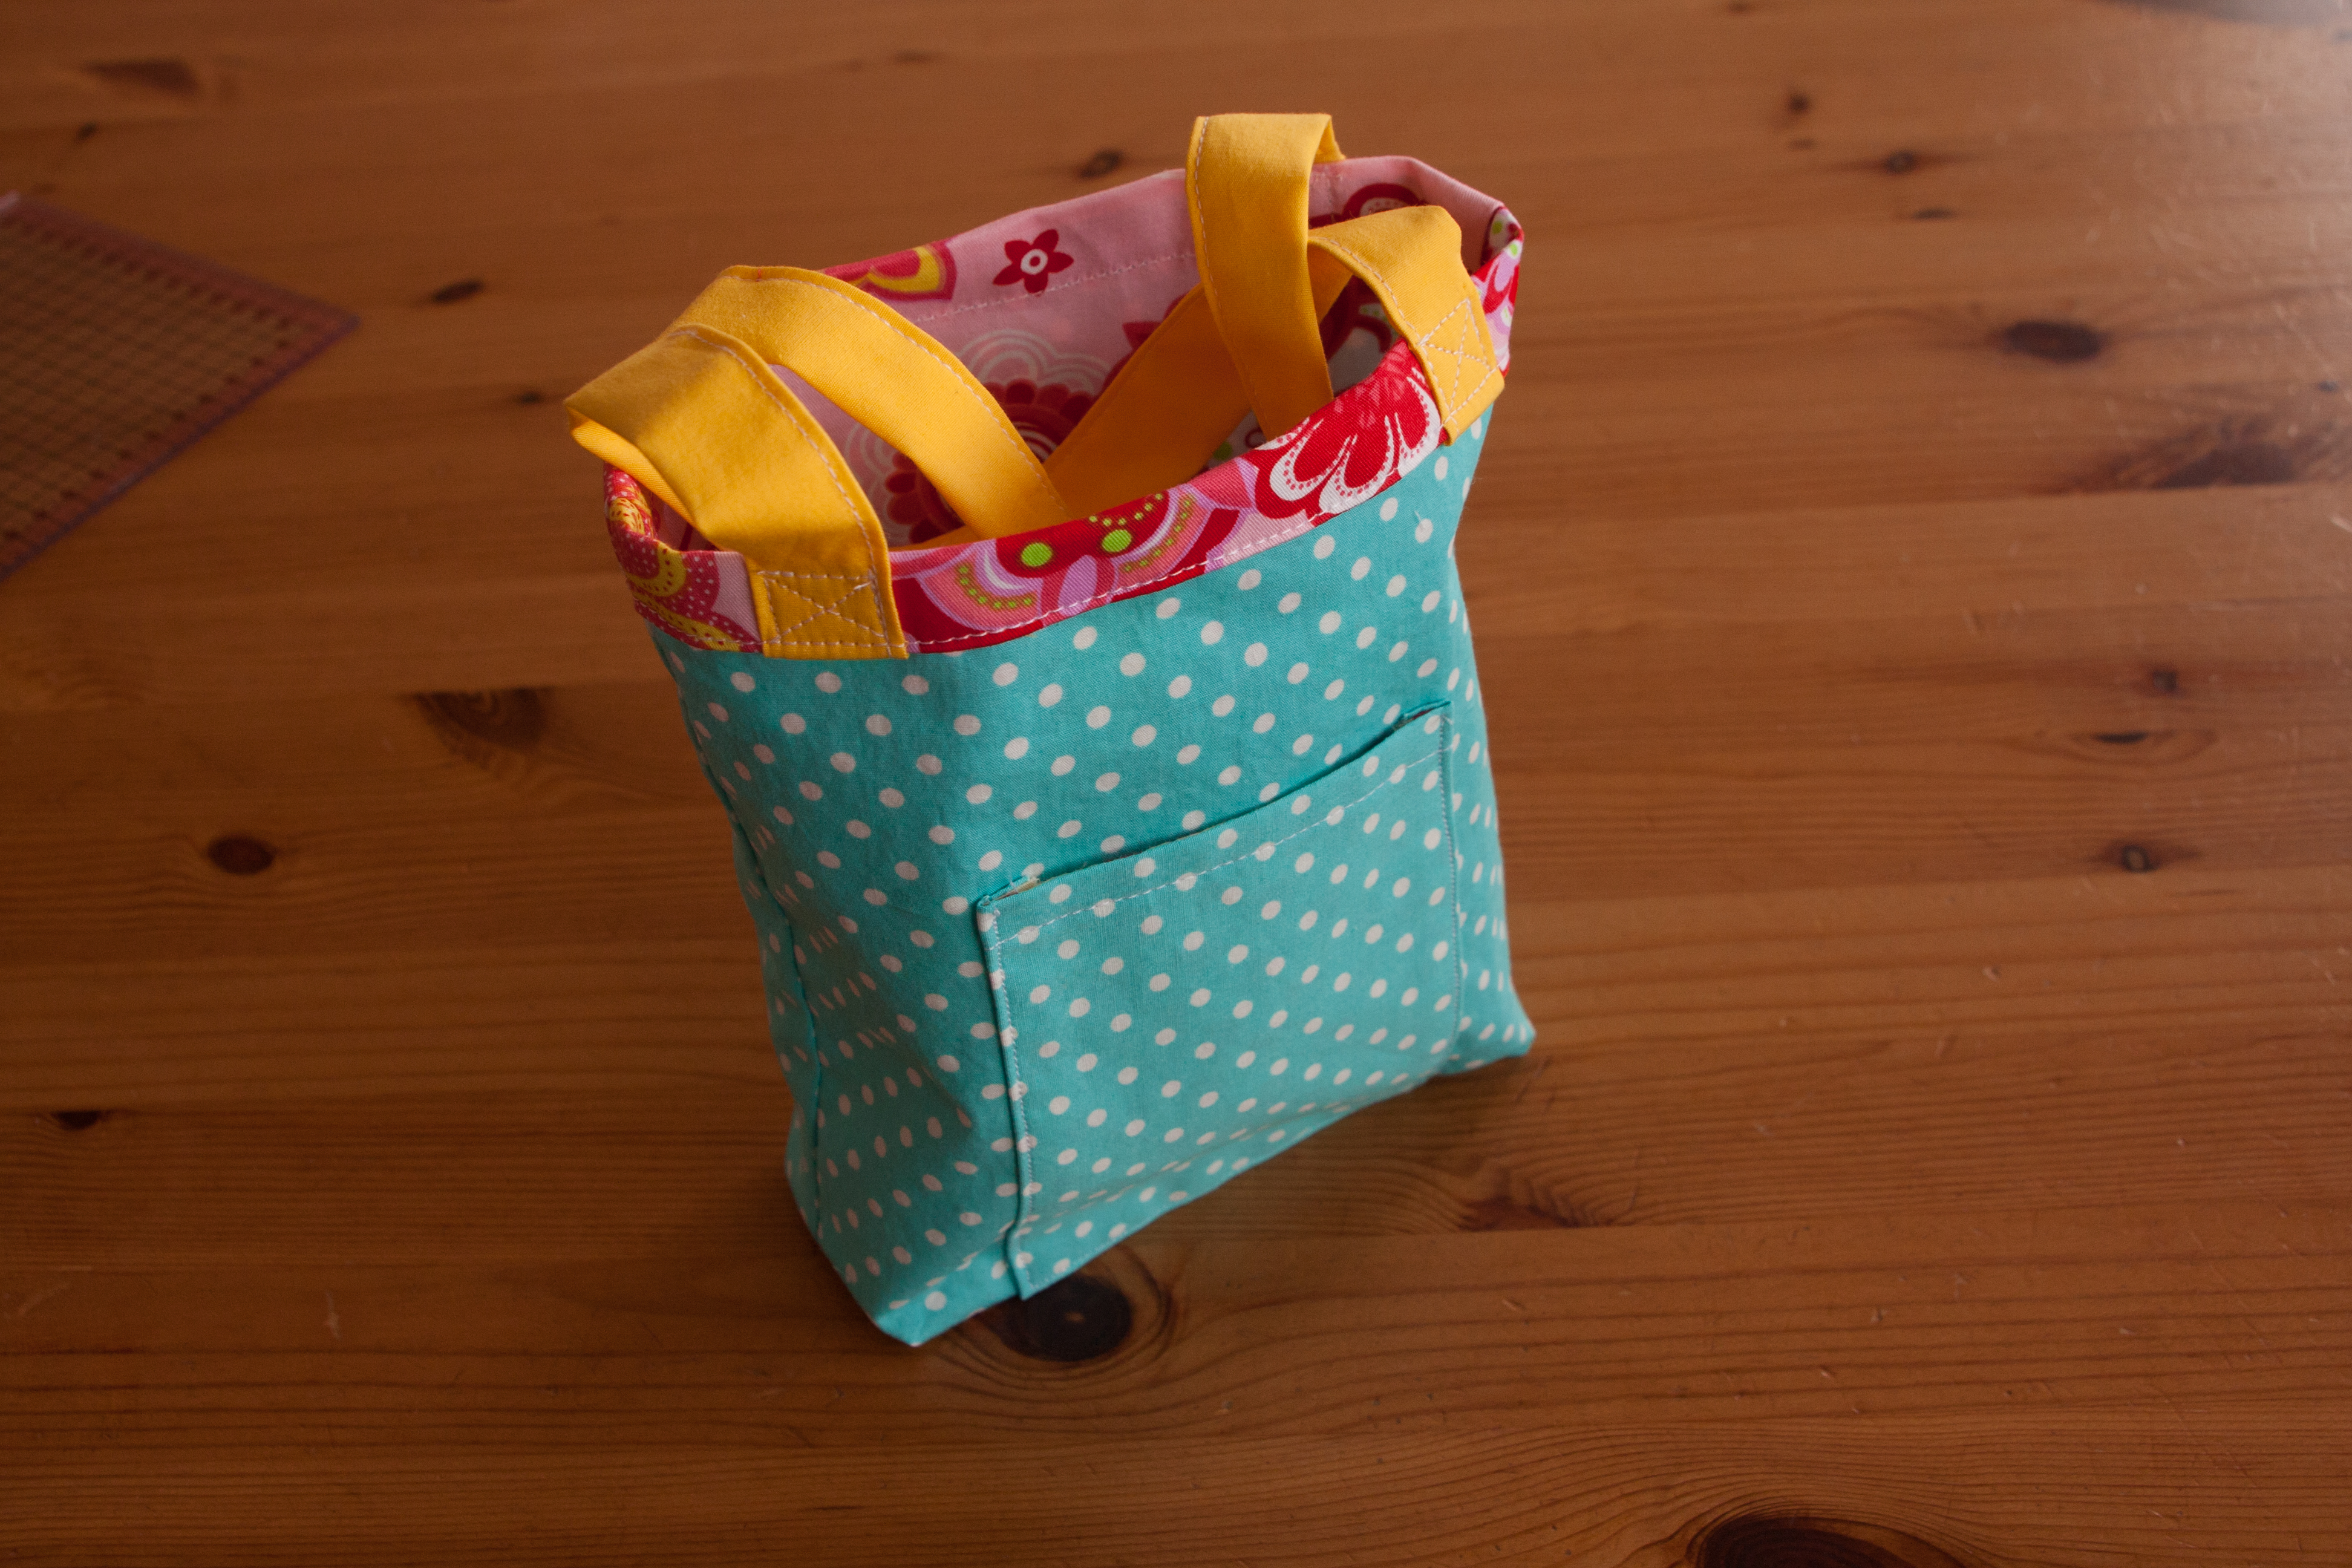
Then secure all 4 ends with a little X. I seam to have forgotten to take a picture of this step. But here is a picture of an other bag and at the bottom of my tutorial for a very similar cotton bag you will actually find a more accurate description the sewing directions.

And we are done 🙂
And another version, where I used a lovely corduroy for the outside: