Ok, ok, there might me the occasional addition to my window display in the future, maybe a hungry caterpillar maybe another flower but for now I am done.
After the octopus flowers I was a bit unproductive and only managed to make a few more flowers and a few lovely mini beasts.
The improvised bee, as requested by my daughter:
And two butterflies.
I was looking for patterns and could not quite decide which one of these two I prefer. The small and simple knitted one from Spud and Chloe or the crochet one following a video tutorial by nadelspiel.
I think the simple knitted one corresponds maybe more to my generally rather childish style and I have already gotten a firm request to make one of these to be fixed on a hair clip 🙂
The crochet one is beautiful (just as butterflies are) and it was another good crochet experience for me.
From a linguists point of view it is really interesting how much easier it is for me to refresh my almost inexisting crochet skills in German rather than English. Even though I do not remember how to make the different stitches, hearing the familiar words Staebchen and feste Masche has a very comforting effect. And I guess, following a very clear video tutorial is helpful too.
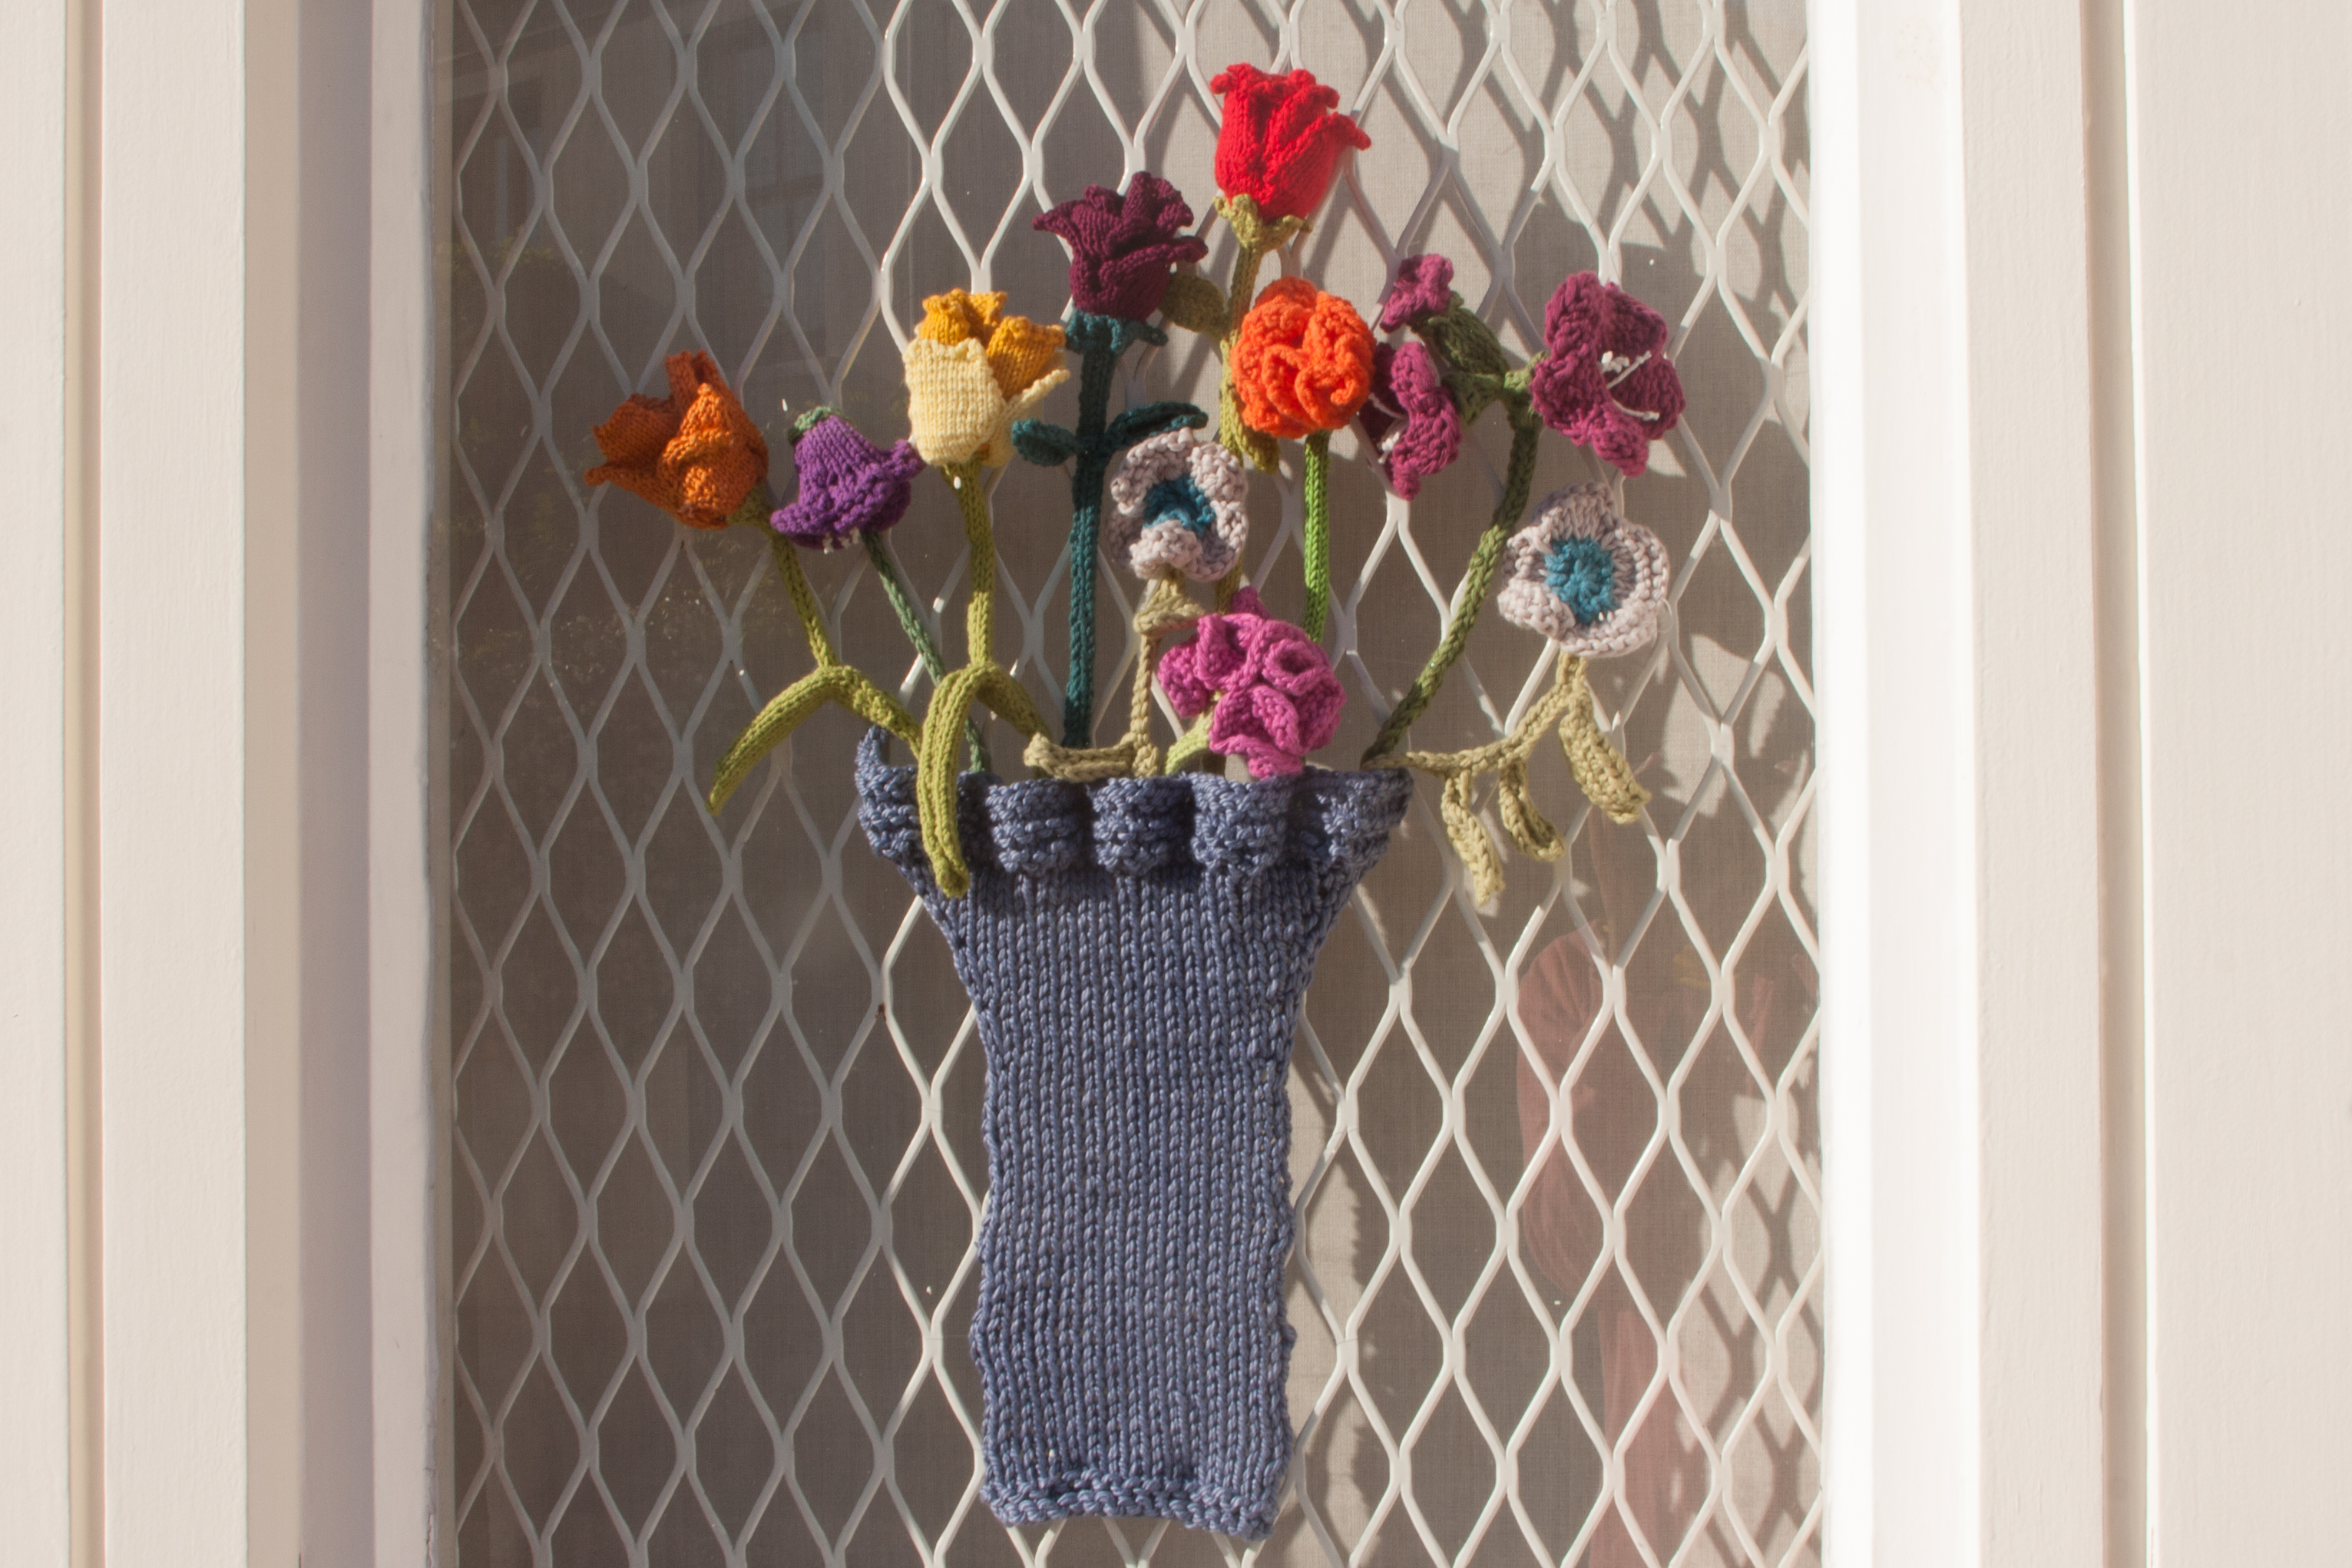
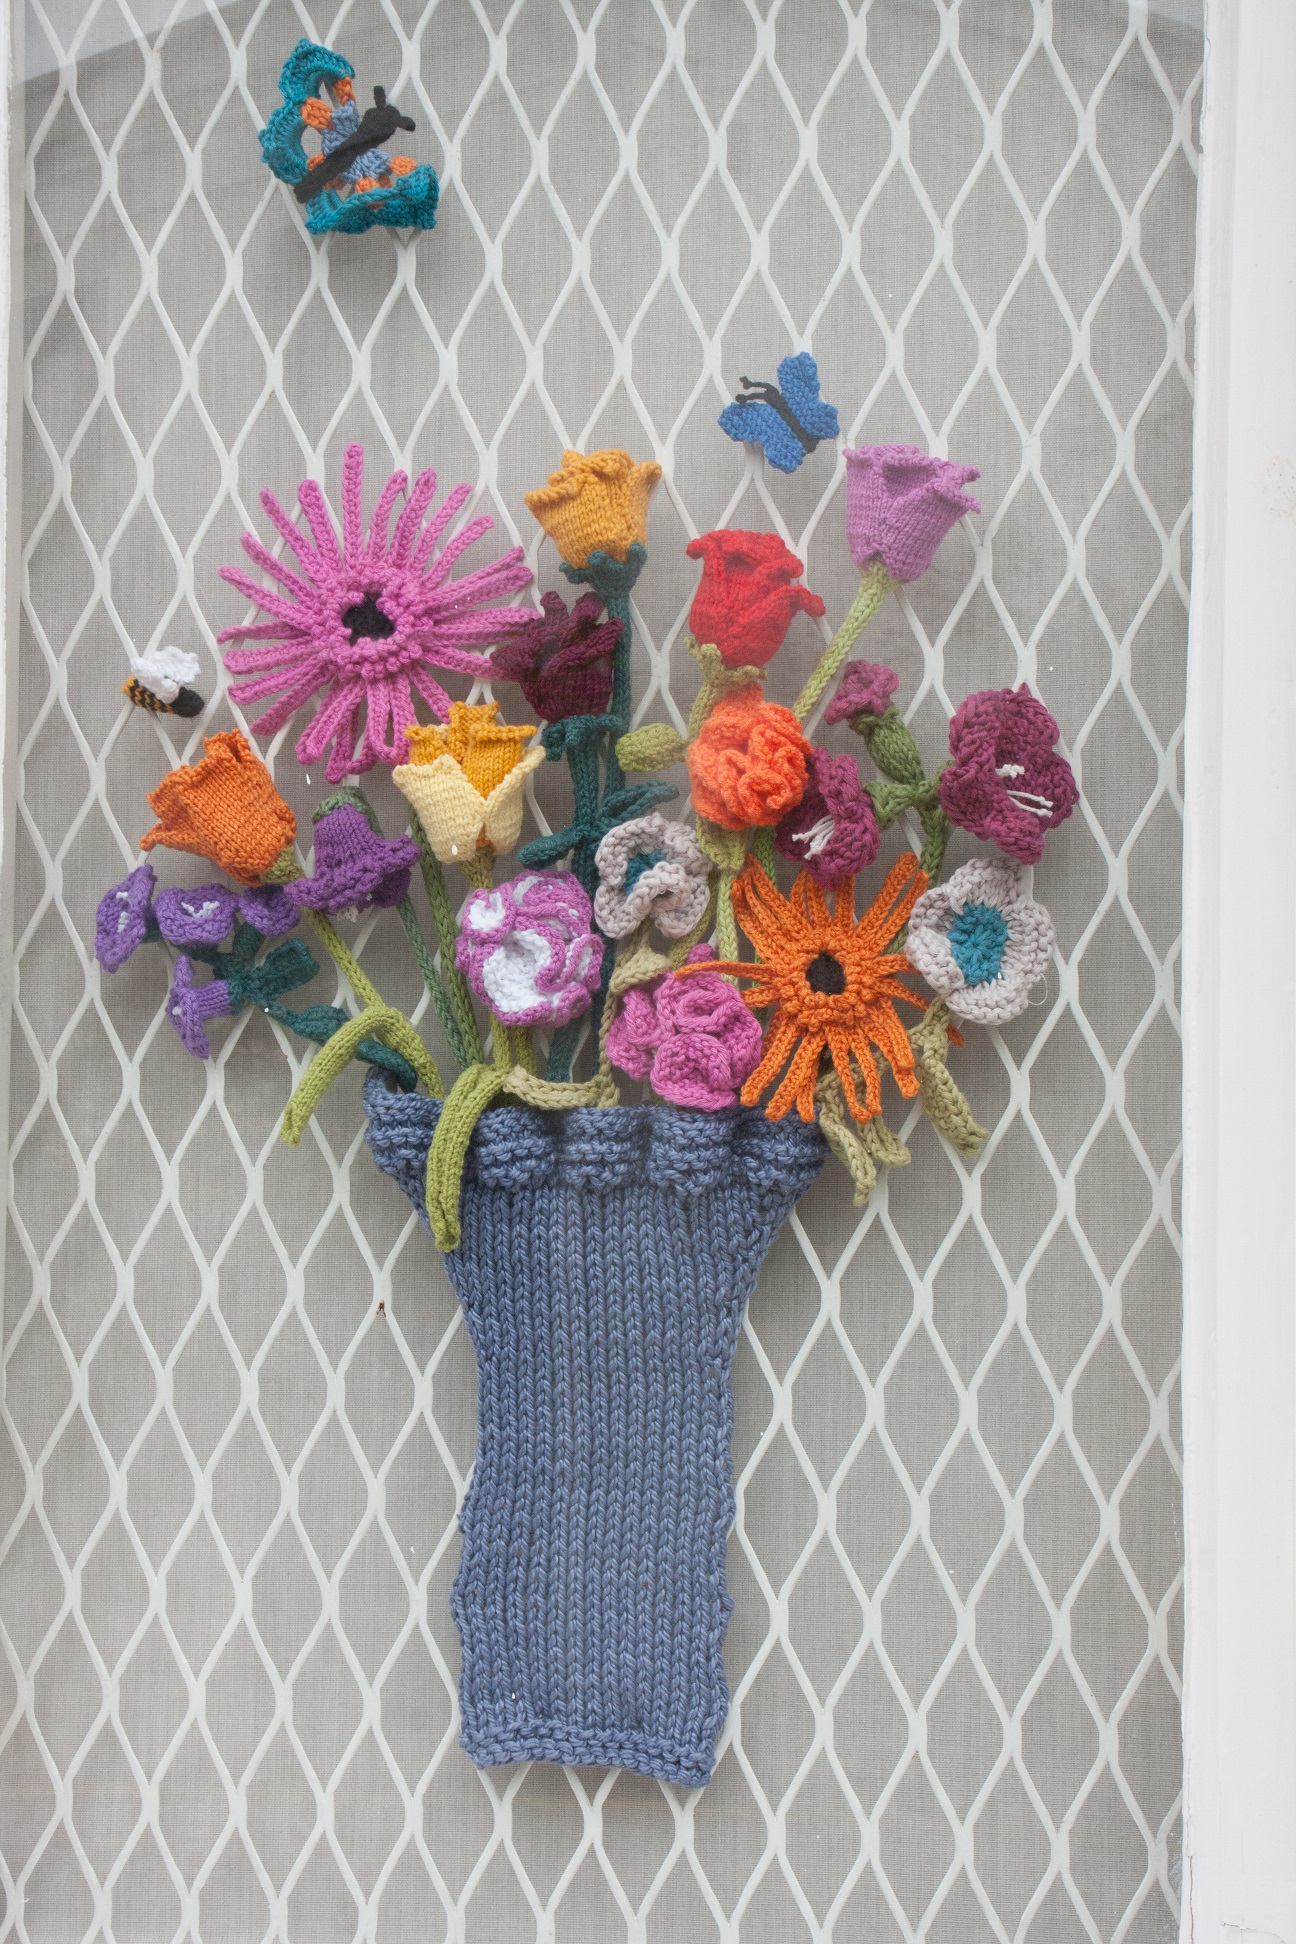
I decided to arrange two of the mini beasts rather close to the flowers.
They might not be spotted from far away or from people just passing but they will be the fun little surprise for those who actually look at it properly. I really think having them there makes a lot of difference. The flowers are nice and people might even admire the knitting skills (if they can not knit at all) but discovering bee and butterfly will hopefully make them smile. Especially if they are on their way to the dentist next door 🙂
And just for those who think that I am always overcritical with myself: I think I should have planned the arrangement in advance rather than just putting them up when knitted up. They are not very well mixed colourwise nor specieswise. And as all tulips and roses are rather high up it is difficult to actually see the difference between them when standing on the pavement which is a bit of a shame because they are both made from very good and accurate patterns. But don’t worry, I am very pleased with the finished display. I just don’t know what to knit next… HELP!!!!
I thought my flower window display is the perfect opportunity to brush up my crochet skills dating from primary school days. And since I was unable to knit the beautiful Gerbera on oddknit I looked for a crochet pattern and found lovely flower patterns on the Meli Bondre blog and because of the rather deadly combination of crochet skills dating from primary school and trying to understand a pattern in a foreign language, I looked up all the strange letter combinations in Cherry Hearts Crochet Corner, an incredibly useful and also pretty site for anybody who wants to know about crochet with great tutorials to all sort of crochet stitches.
But back the Octopus – tutorial:
Choose a Gerbera pattern, ignore completely yarn and hook suggestions, take the one hook that you have and ideally too thick yarn for that hook.
Don’t bother counting the stitches when creating the inner circle. It is late and the yarn is dark. It will be roughly enough.
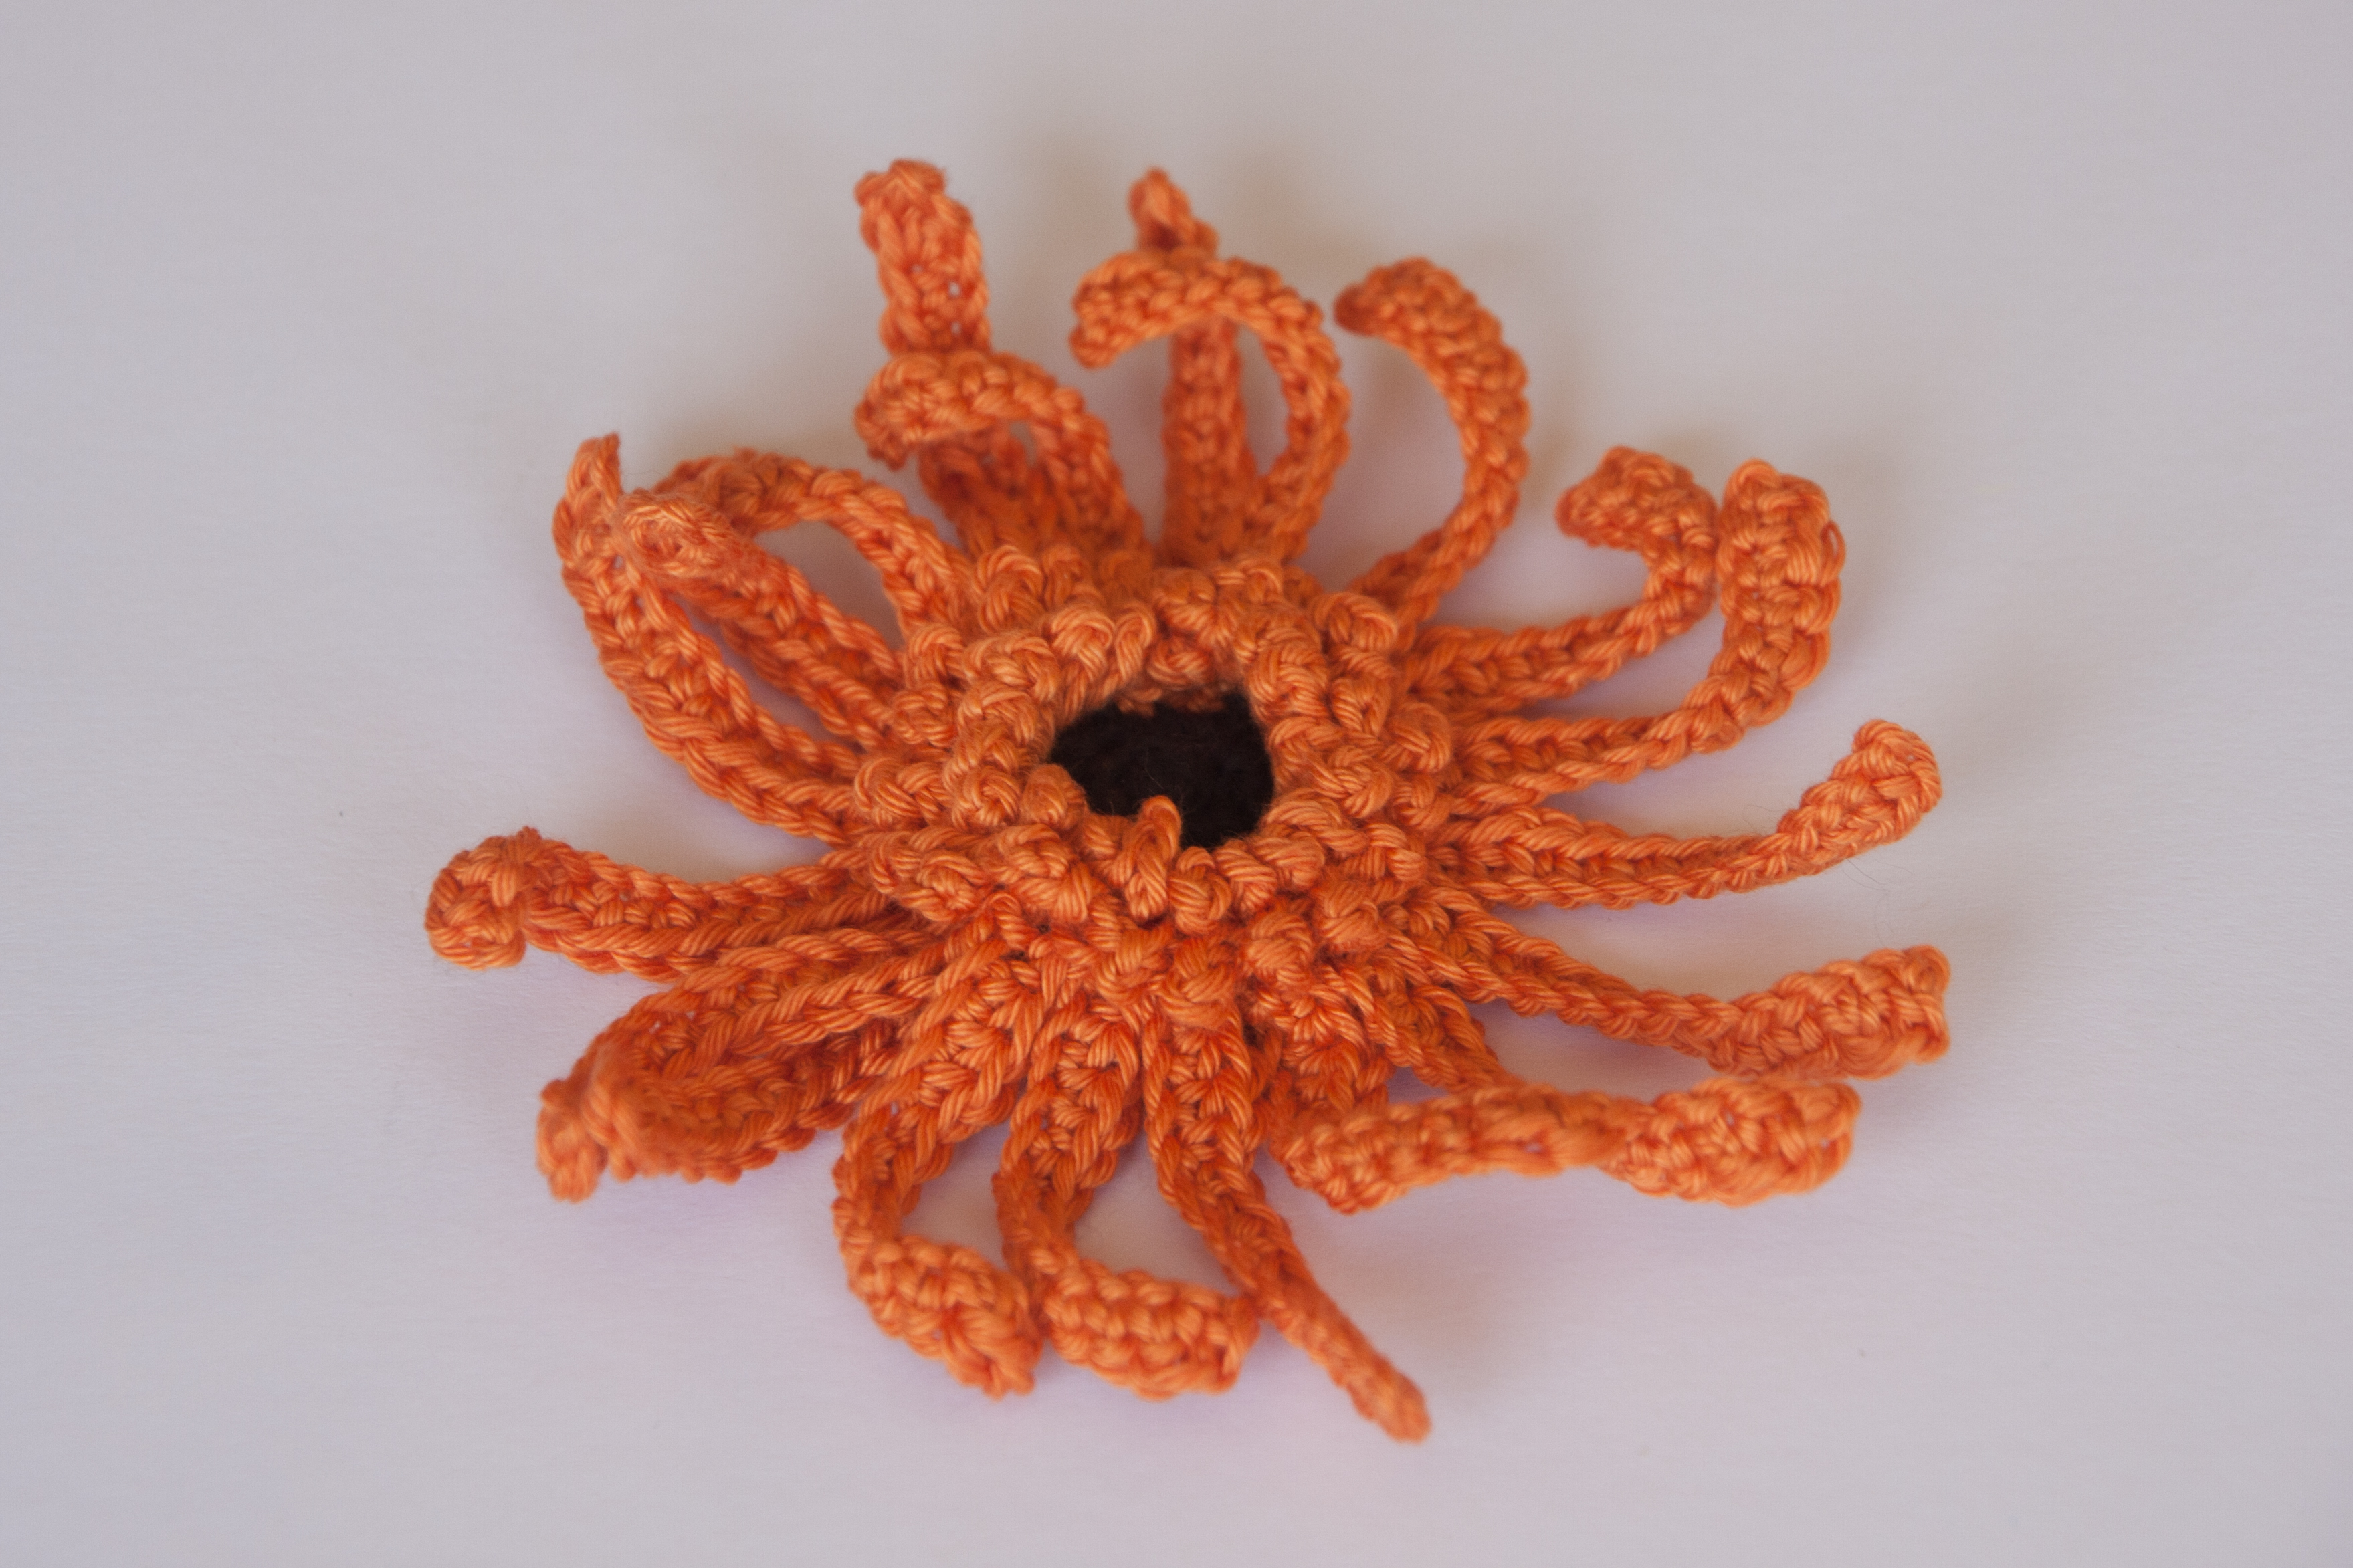
Continue until there is no more space to add any more petals legs. I know, from a marine biologist point of view, an octopus should have rather 8 legs (and probably that same marine biologist would not necessarily call them legs) rather than a good 30 but the crocheted octopus looks good with that many legs or arms or whatever.
(As my daughter has pointed out, it clearly isn’t an octopus because it doesn’t have eyes.)
If you like it but still want to crochet a Gerbera, just do the same again, maybe with different yarn, but don’t be surprised to get another octopus.
The octopus tutorial finishes here.
After a bit of ironing the seafood actually turns into something more flowery
but size wise they are not quite at the same scale than my lovely knitted roses and tulips.
A little overpowering I guess and not recognisable as Gerberas next to the smaller flowers, maybe weirdly dyed sunflowers? But then it helped a lot to make the bouquet much fuller quickly. And they work well to attract views from further away which was the point of the whole window display anyway.
Just a quick picturesque update on the window yarn bombing. Somehow I am not as quick as I thought, slowed down by all sorts of things, visitors staying, possible bronchitis in combination with stiff neck, children refusing both to cook or going to nursery by themselves,….
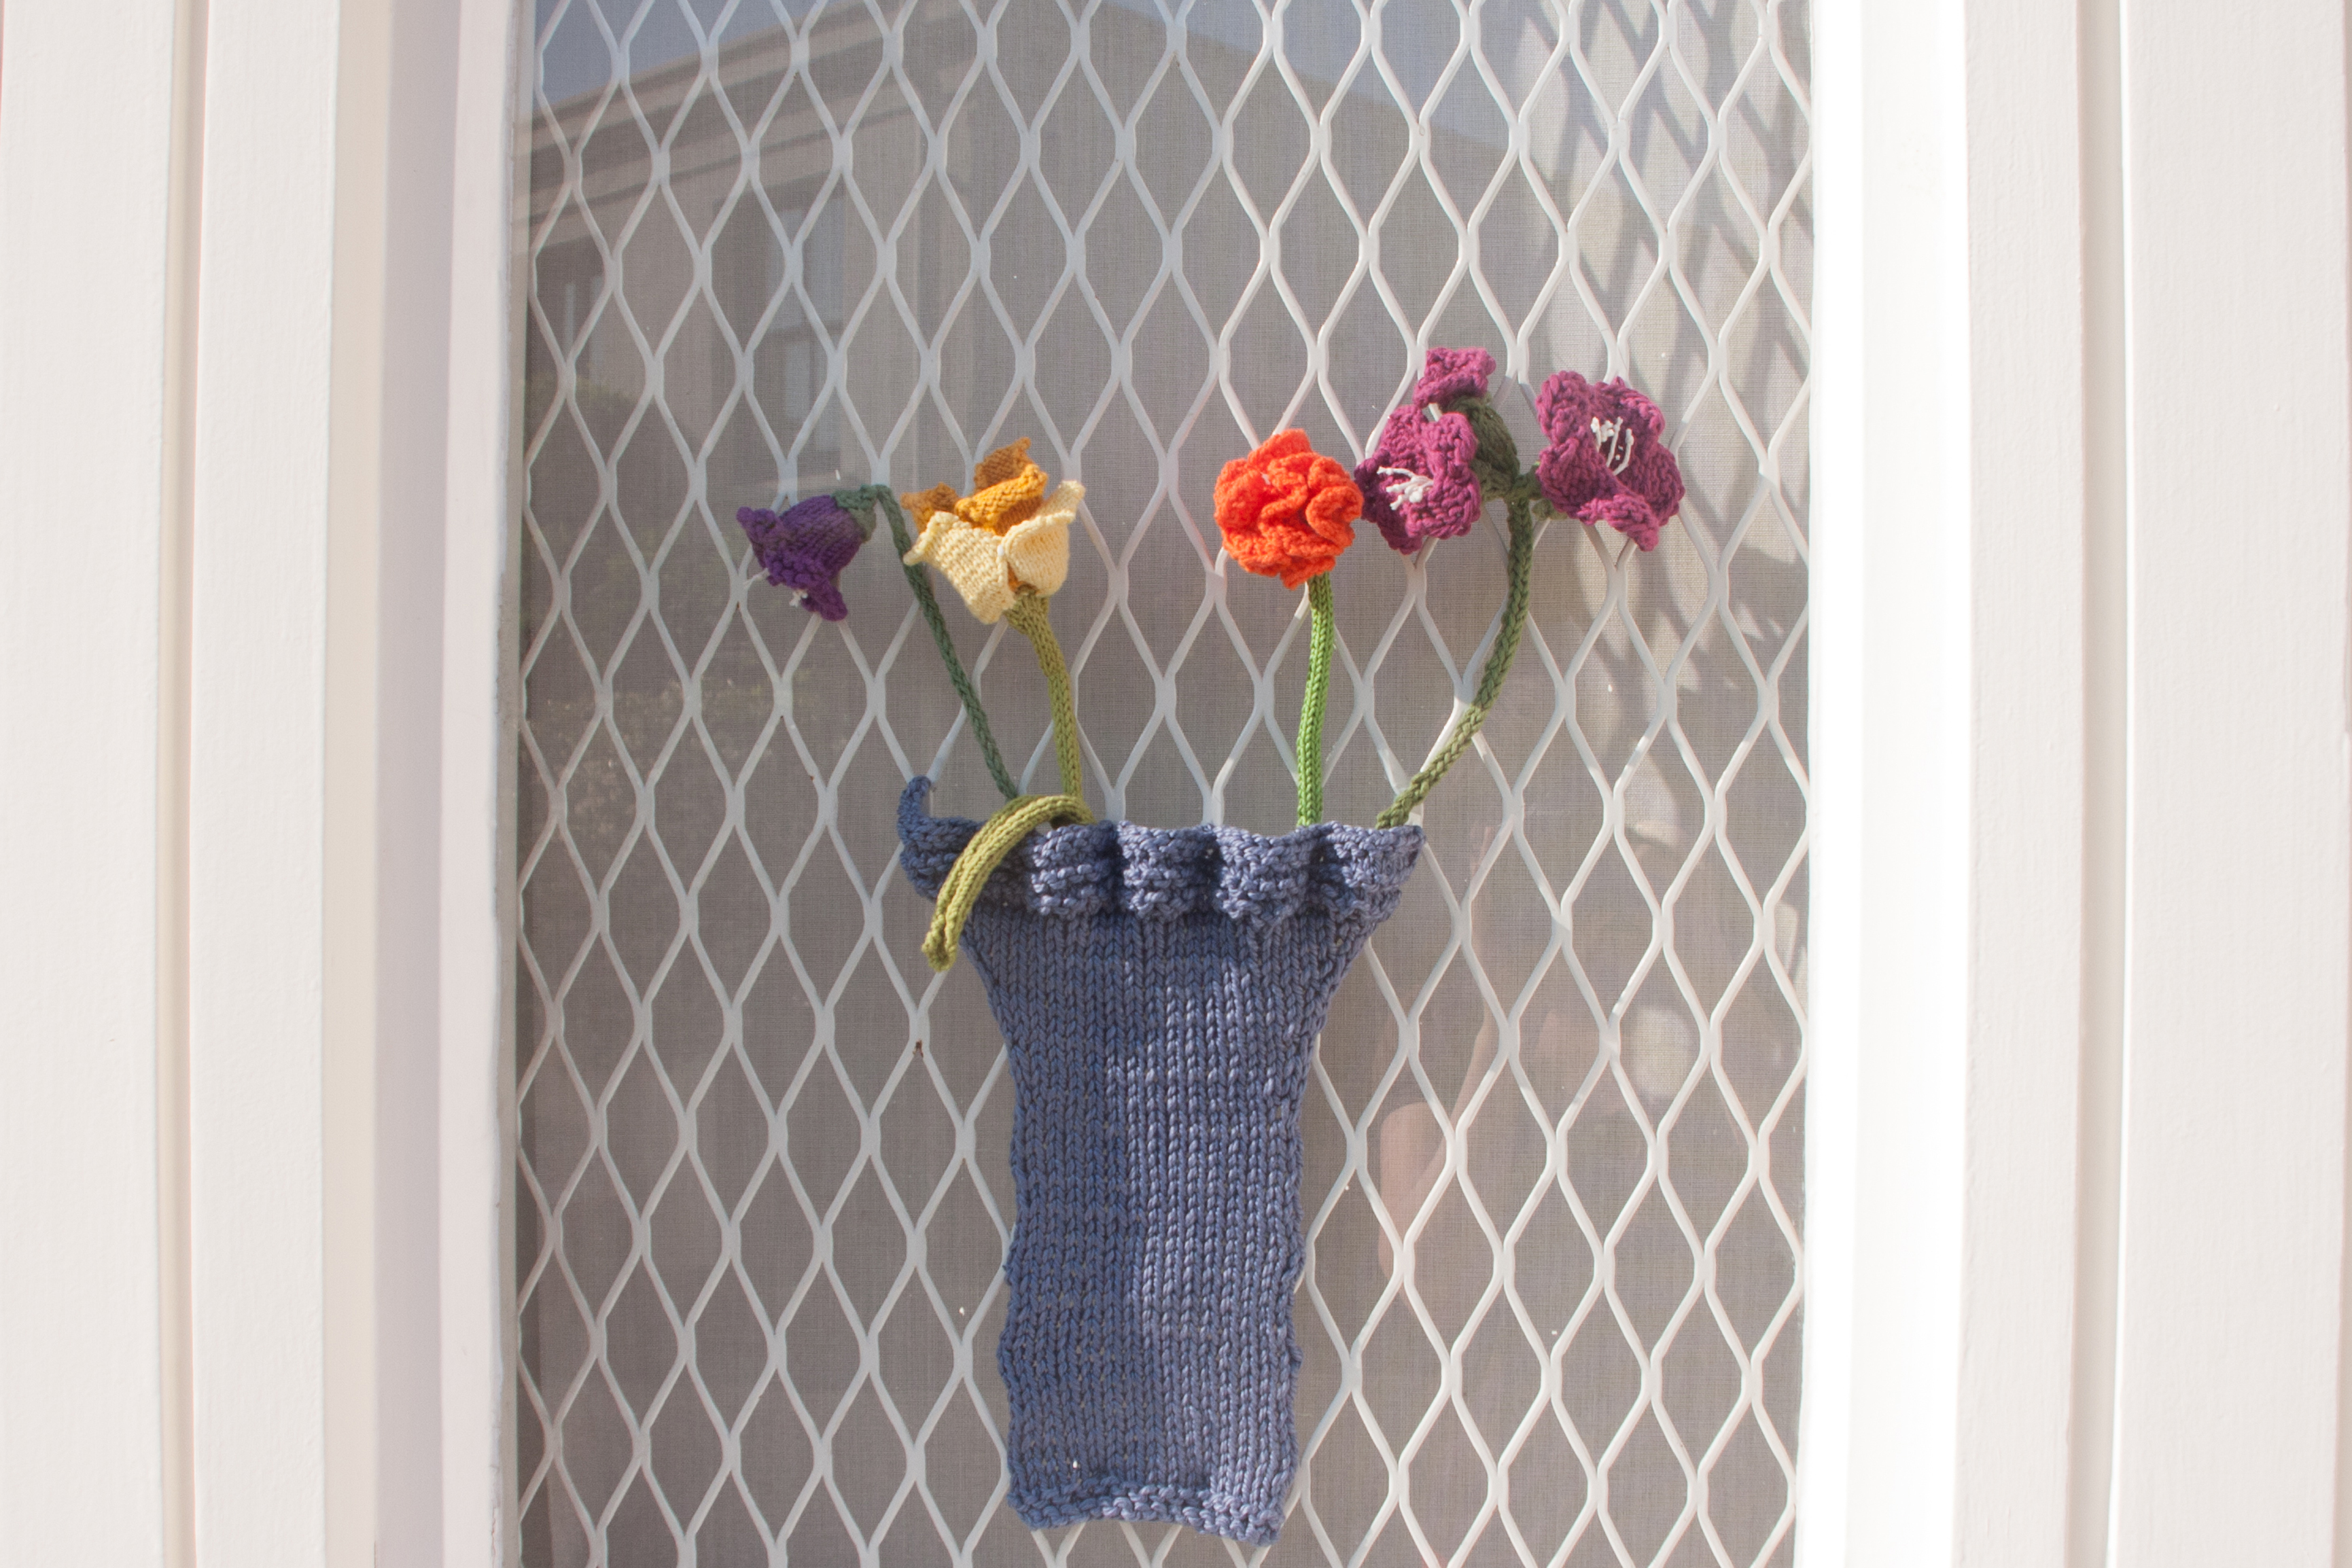
Anyway, there is still lots to do but this is how far I got:
I put the vase up first and left it empty for a couple of days so people passing and eventually noticing it could wonder what on earth that thing would mean.
The initial plan was to add one or two flowers each day but as I said, I am producing them much slower and I am nowhere near the end. There is still lots of space for more….
And as my daughter suggested, there should also be a bee and maybe a butterfly. I really like that idea and will definitely add them.
Some of the flower pattern I found at oddknits, others are variations of something that I had seen in a book ages ago.
I also want to pick up crochet again and add some crocheted flowers, so far only some of the stems and leaves are. I kind of used the tutorial at the twisted yarn but without actually knowing English crochet vocabulary … so I might have gotten it totally wrong. They still look like leaves though.
I am very pleased with it so far, and I hope it cheers up people who pass, especially those who continuously mistake our house for the dentist next door 🙂
but considering the slow pace I wonder if I will ever get to do the two other, much bigger, windows.
After a rather beautiful but actually not quite summery 3in1 I wanted to knit another jumper for myself. I really liked the Rowan Savannah – a cotton and silk blend in really nice shades – and was looking for a pattern. To be on the safe side I decided to buy the Rowan Summer Textures booklet to knit Navajo – a pattern designed for that yarn. Now, the pattern itself would probably be worth its own post but lets just talk about my mistakes for now.
First of all, I realised quickly that the jumper would be far too short for my liking so I ordered another two balls which were obviously from a different dye lot and very even visibly different from the others. I decided to knit the ribbed parts at the bottom in the new dye lot so the colour change would go hand in hand with pattern change and therefore be less obvious.
That worked really well. Until I reached the rather hidden section of the front – chest height – where I confidently checked the ball numbers. And took the wrong dye lot to continue.
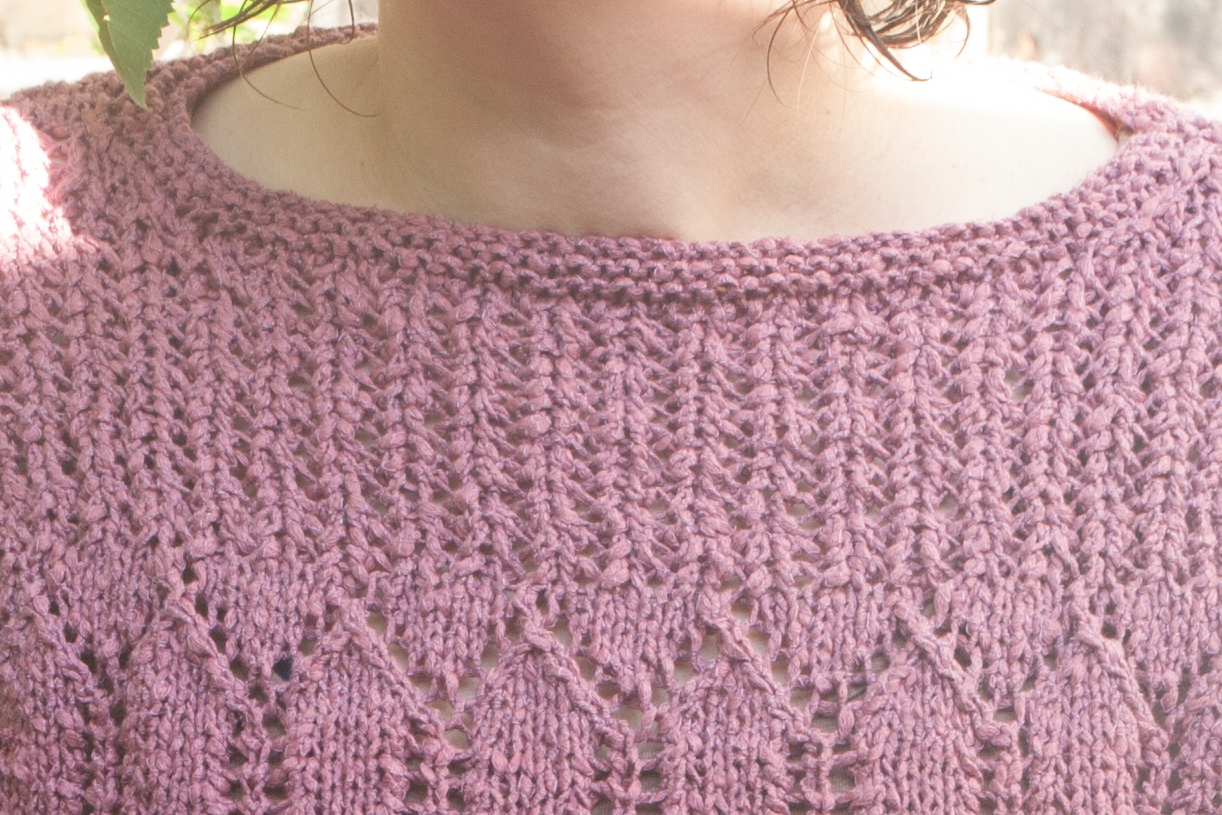
Can you spot the line?
Once I realised that I had only balls from the same dye lot left, I could easily see where I had gone wrong. On the picture it is hard to spot but you can actually see a line just under the top zig – zags and one would be just under my chest – another classic example of me not only making an easily avoidable mistake but also whilest being fully aware of a potential source of errors.
But all that nothing compared to my other, in the end rather useful, ahem, lets call it creative interpretation – the mystery of yfwd (yarn forward round needle)and yrn (yarn round needle)…..
When I started using English (as in the language spoken in many countries all around the world) patterns, I came across YO (yarn over) first, found out what it meant in German and did it. Later I came across Ysomething and found out that it was YO in English (as in the Pimmsdrinking teasipping country I currently enjoy living in) knitting.
Now, when knitting the Navajo, I suddenly realised that both terms (yfwd and yrn) were used. Which might possibly mean that they could be two different things. So I googled and watched a tutorial on youtube.
I watched it without sound as I did not want to attract my two lovely children who would have taken that as an invitation to watch a series of nursery songs on youtube. And I stopped at 1.45min. Obviously there was no need to watch the remaining 3min or listening to the accompanying explanations ….
So for all those who know what yfwd means, go to 1.35min and watch without sound for about 10 sec …..
After this amazing revelation (If I had listened to the accompanying explanations OR watched the rest, I might have realised that this was the “how not to do it” part), I incorporated the “new” technique in my knitting (I had to do it about a zillion times only) and decided to not only write a post about the YO mystery in English knitting vocabulary but also to create some kind of tutorial.
After I had found the brilliant Let me explaiKnit I gave up on the own-post-idea as it is all there anyway but I still wanted to take pictures of the differences, knitted a few samples, consulted my knitting book for some reason and realised ….. there are NO differences. I mean the result is always the same. The Ysomething goes from the front over the (right) needle to the back. There is no need for a yfwd, a yrn and a yon. If you still want to know, check out Let me explaiKnit!
This is now a serious question to all those English knitters, please correct me if I am wrong, because I might be missing something that comes natural when you knit continental style?
Are not all three basically the same? No matter if you are between two knit stitches, two purl stitches or a knit and a purl stitch, you start with the yarn in front (so yes, if it is initially at the back you need to bring it forward), you put it over the right needle to the back and you continue with whatever you need (which might mean that you need to bring the yarn forward for the next stitch).
As much as I appreciate the attention to every single step when describing those three techniques, I do wonder if it doesn’t make things more complicated than they are if you are actually splitting the YO into three different ones. Anyway, back to my jumper and the amazing new technique.
Let’s call it YOB – yarn over backwards
Maybe this technique existed already under a different name but I did not actually come across it. So:
This techique is incredibly useful, if you are supposed to k2tog first and next a – lets call it neutrally – YO which will then both purled together through the back loop (p2tog tbl) in the next row.
It is especially useful if the recommended yarn is a pain to knit (cotton fibres with one silk thread wrapped around to hold it together) and makes the p2tog tbl virtually impossible. And lets say that you have to repeat that p2tog tbl to the end of row and for about a million of rows. Then the YOB comes in really handy.
All you have to do is to bring the yarn from the back over the right needle to the front (rather than the other way round)
revolutionary YOB:
yob
yob when finished
yob on the wrong side
compared to traditional YFWD:
yfwd
yfwd finished
yfwd on the wrong side
When you are on the wrong side of your work and have to do the p2tog tbl, the newly created loop leans actually the other side which makes it so much easier to get through both stitches from the back.
I honestly would not have knitted that whole jumper if I had not accidentally invented YOB. Before checking out the differences of yfwd and yrn, I had done it correctly and it was a fight to get the needle through. It was as if I had never knitted before and each stitch was difficult to form. I would definitely not have done that for such big sections.
I have also knitted two samples of the ribbed section, once with yfwd and once with yob, to see the differences.
Once they were knitted I could not see any, when I stretched them out, I would say that the bottom one (yfwd) is actually a bit neater.
I tried again with a plain cotton yarn to see if that would make any difference. P2tog tbl with one of the two stitches being a yfwd created in the previous row is still annoying but not as fiddly as with the Rowan Savannah and it is still a bit neater.
Yob again on top, yfwd at the bottom.
So, when opened up, there seams to be a difference in regularity (probably because there is no flow whatsoever when doing the purl row of the yfwds and you have to work hard each time) but I don’t think it makes any difference in the actual jumper.
So as a conclusion, yob turned out a very useful mistake, as the p2tog tbl is certainly much easier to be executed and I can only recommend it for this particular project. I do however wonder if this is really the only way to get this bold ribbed look or if there would have been a much simpler way for a similar effect…. but that is a completely different question.

 Ok, ok, there might me the occasional addition to my window display in the future, maybe a hungry caterpillar maybe another flower but for now I am done.
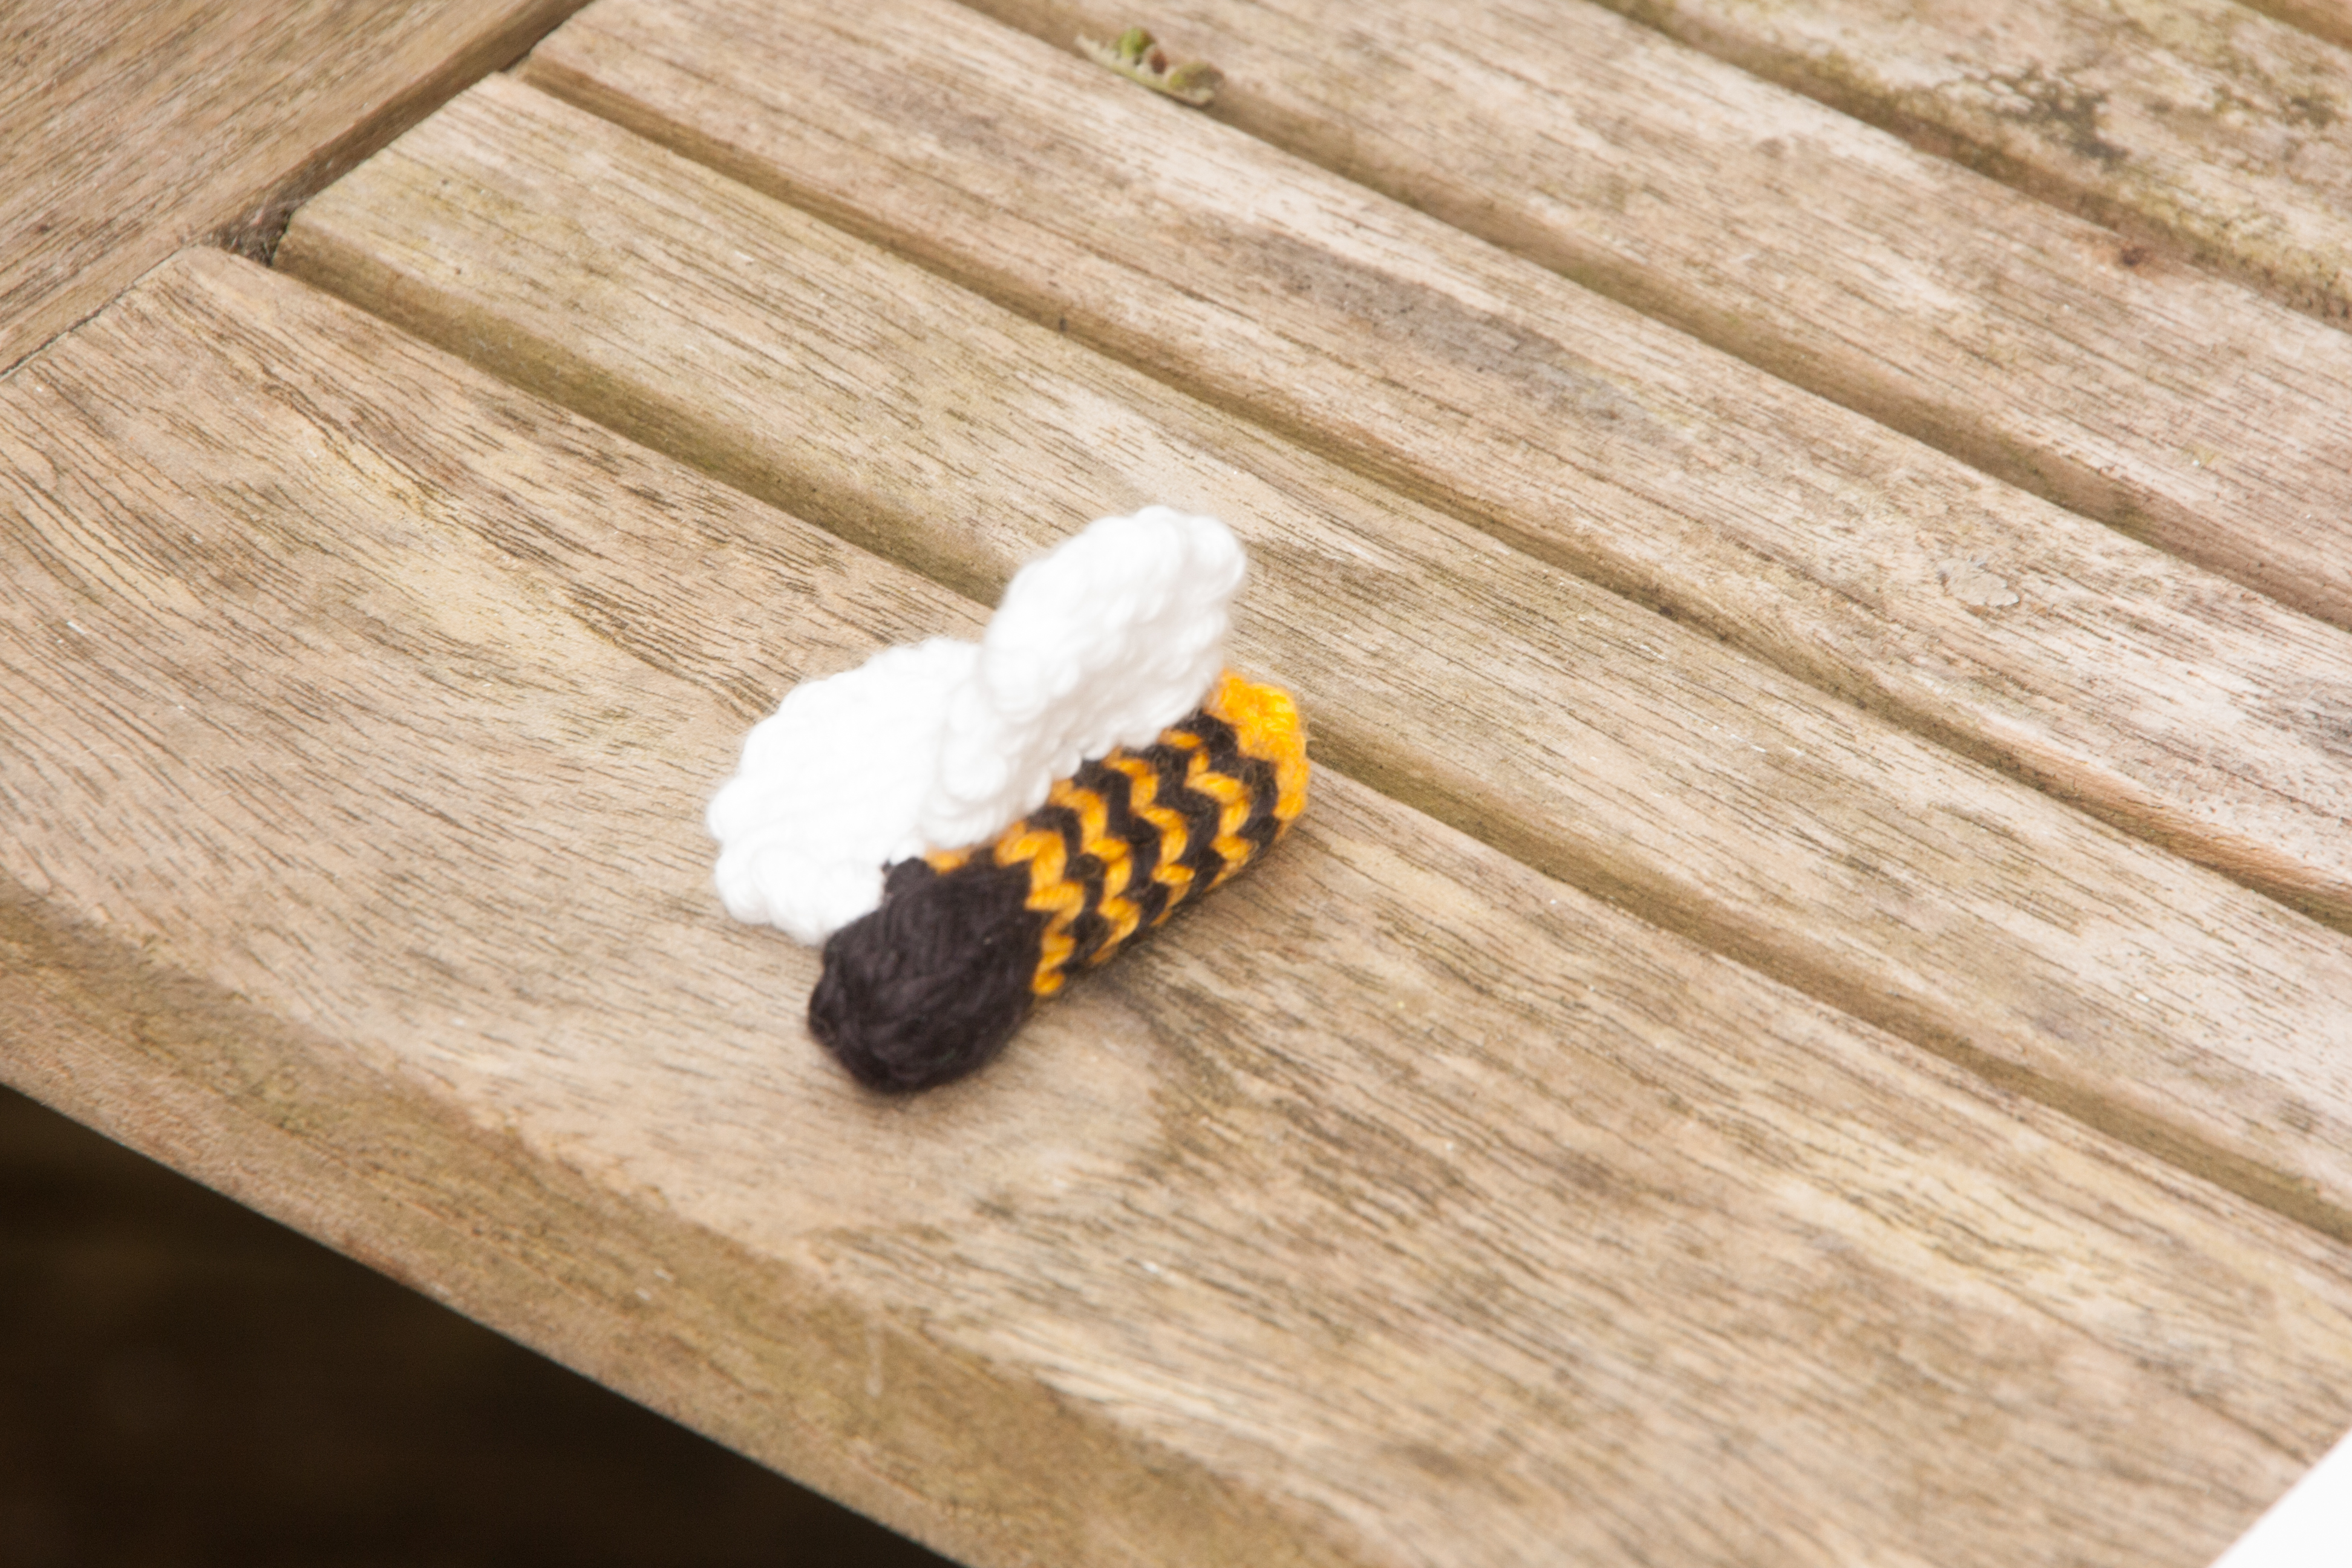
 I was looking for patterns and could not quite decide which one of these two I prefer. The small and simple knitted one from Spud and Chloe or the crochet one following a video tutorial by nadelspiel.
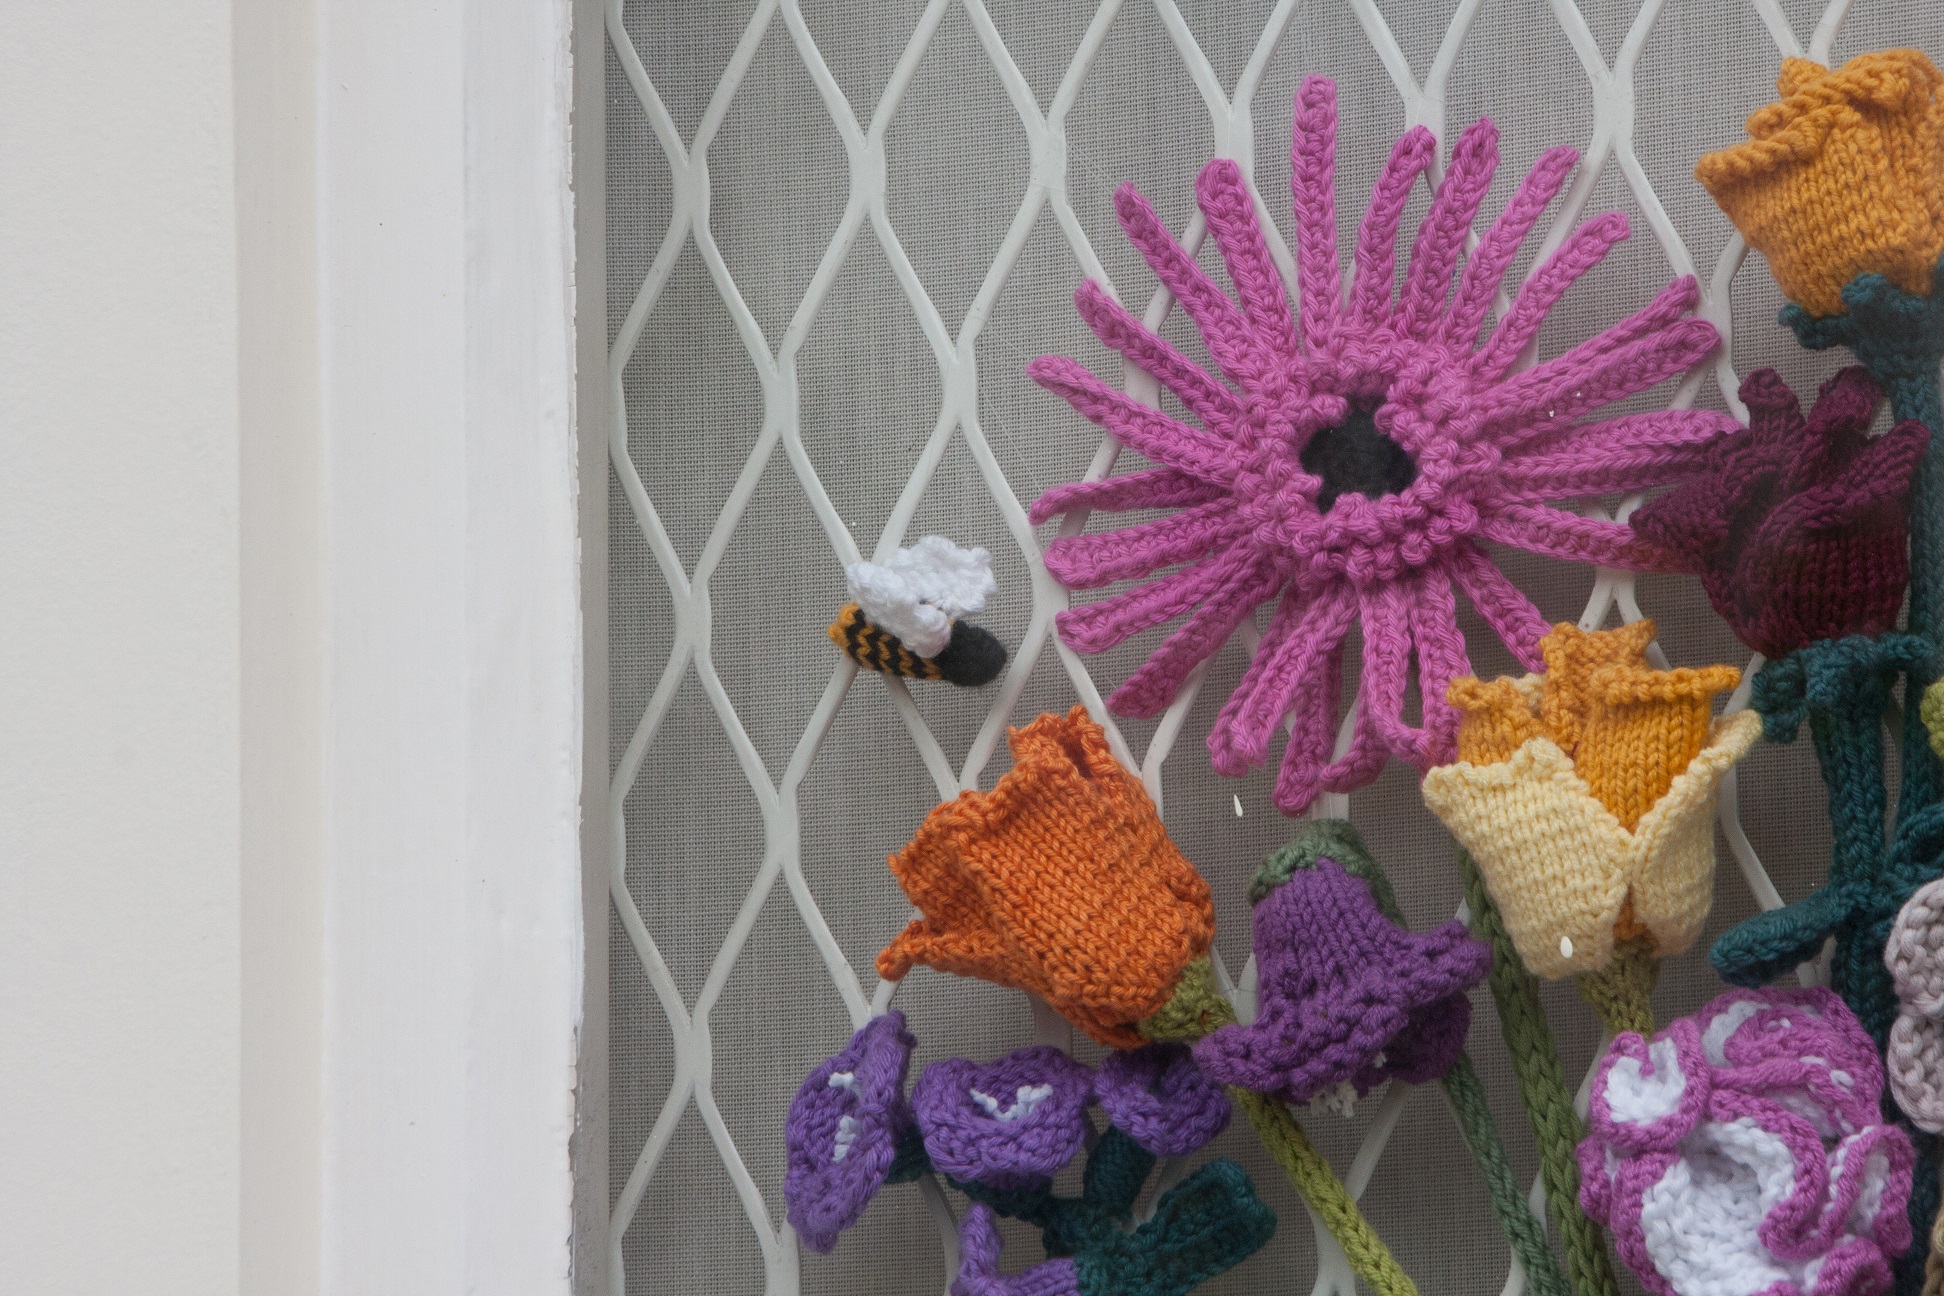
 They might not be spotted from far away or from people just passing but they will be the fun little surprise for those who actually look at it properly. I really think having them there makes a lot of difference. The flowers are nice and people might even admire the knitting skills (if they can not knit at all) but discovering bee and butterfly will hopefully make them smile. Especially if they are on their way to the dentist next door 🙂