Why the working title “Have you ever pressed a prefolded bias tape open?” needed to be changed to “The danger of the seam ripper”

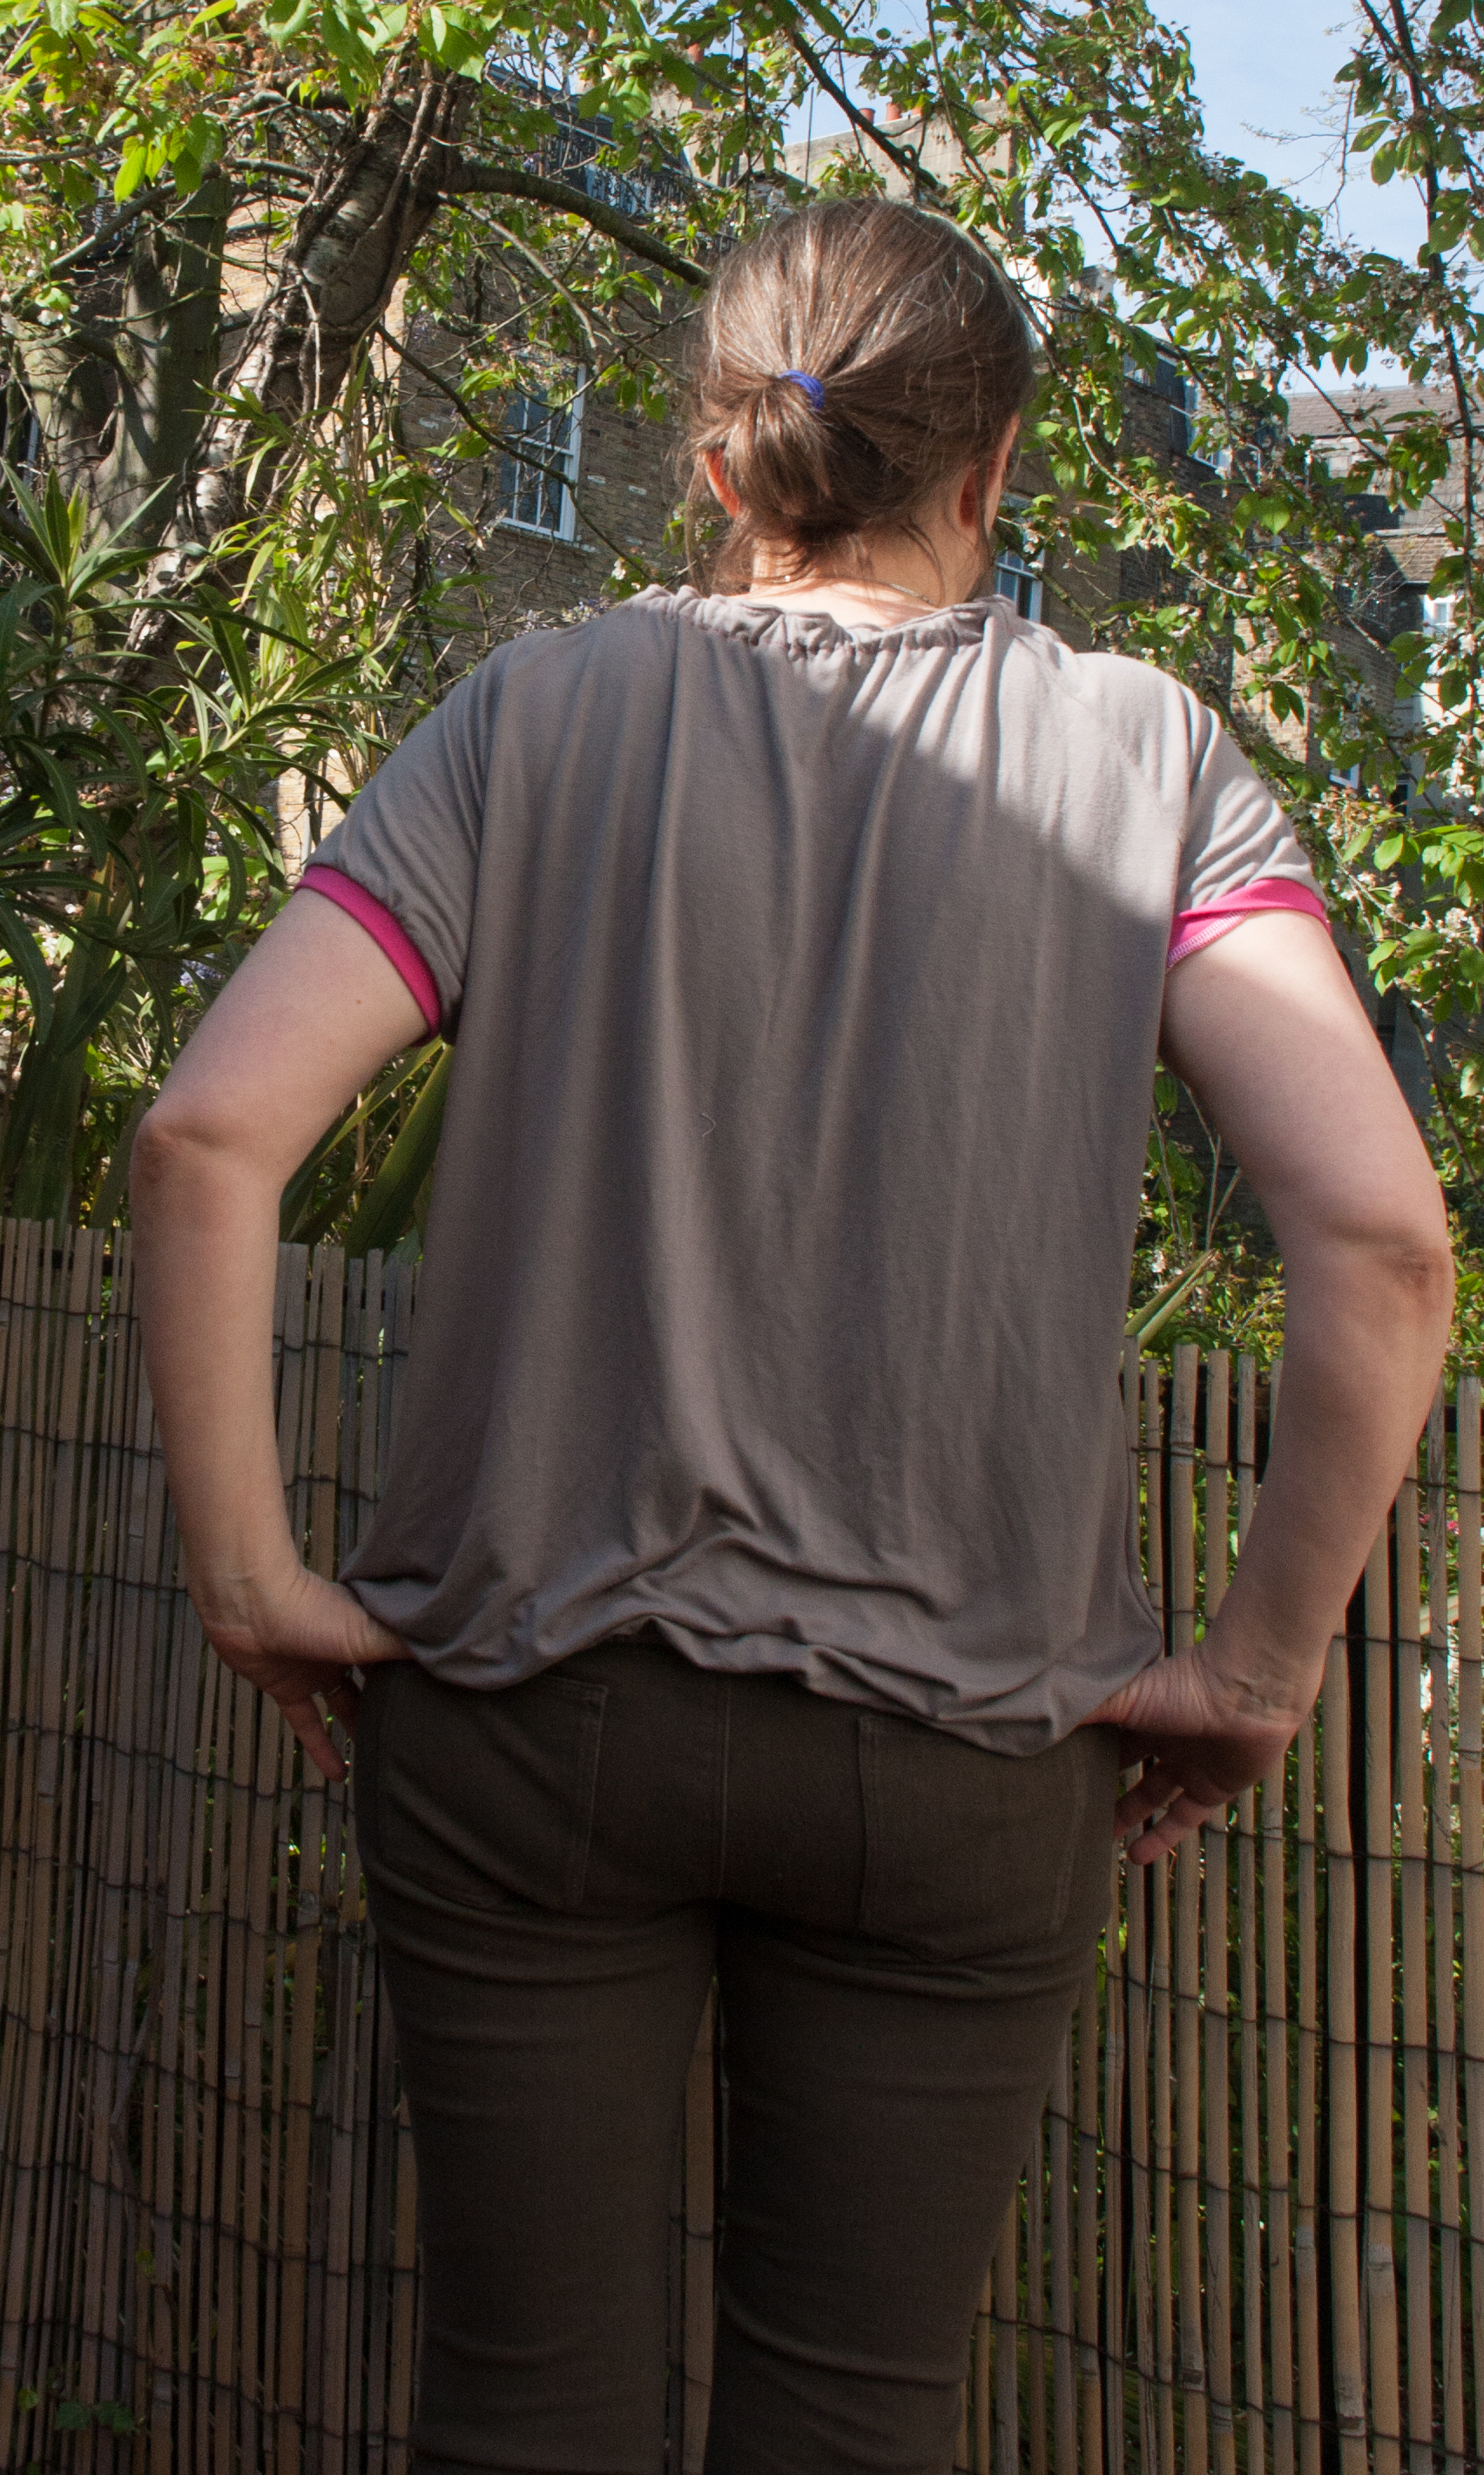
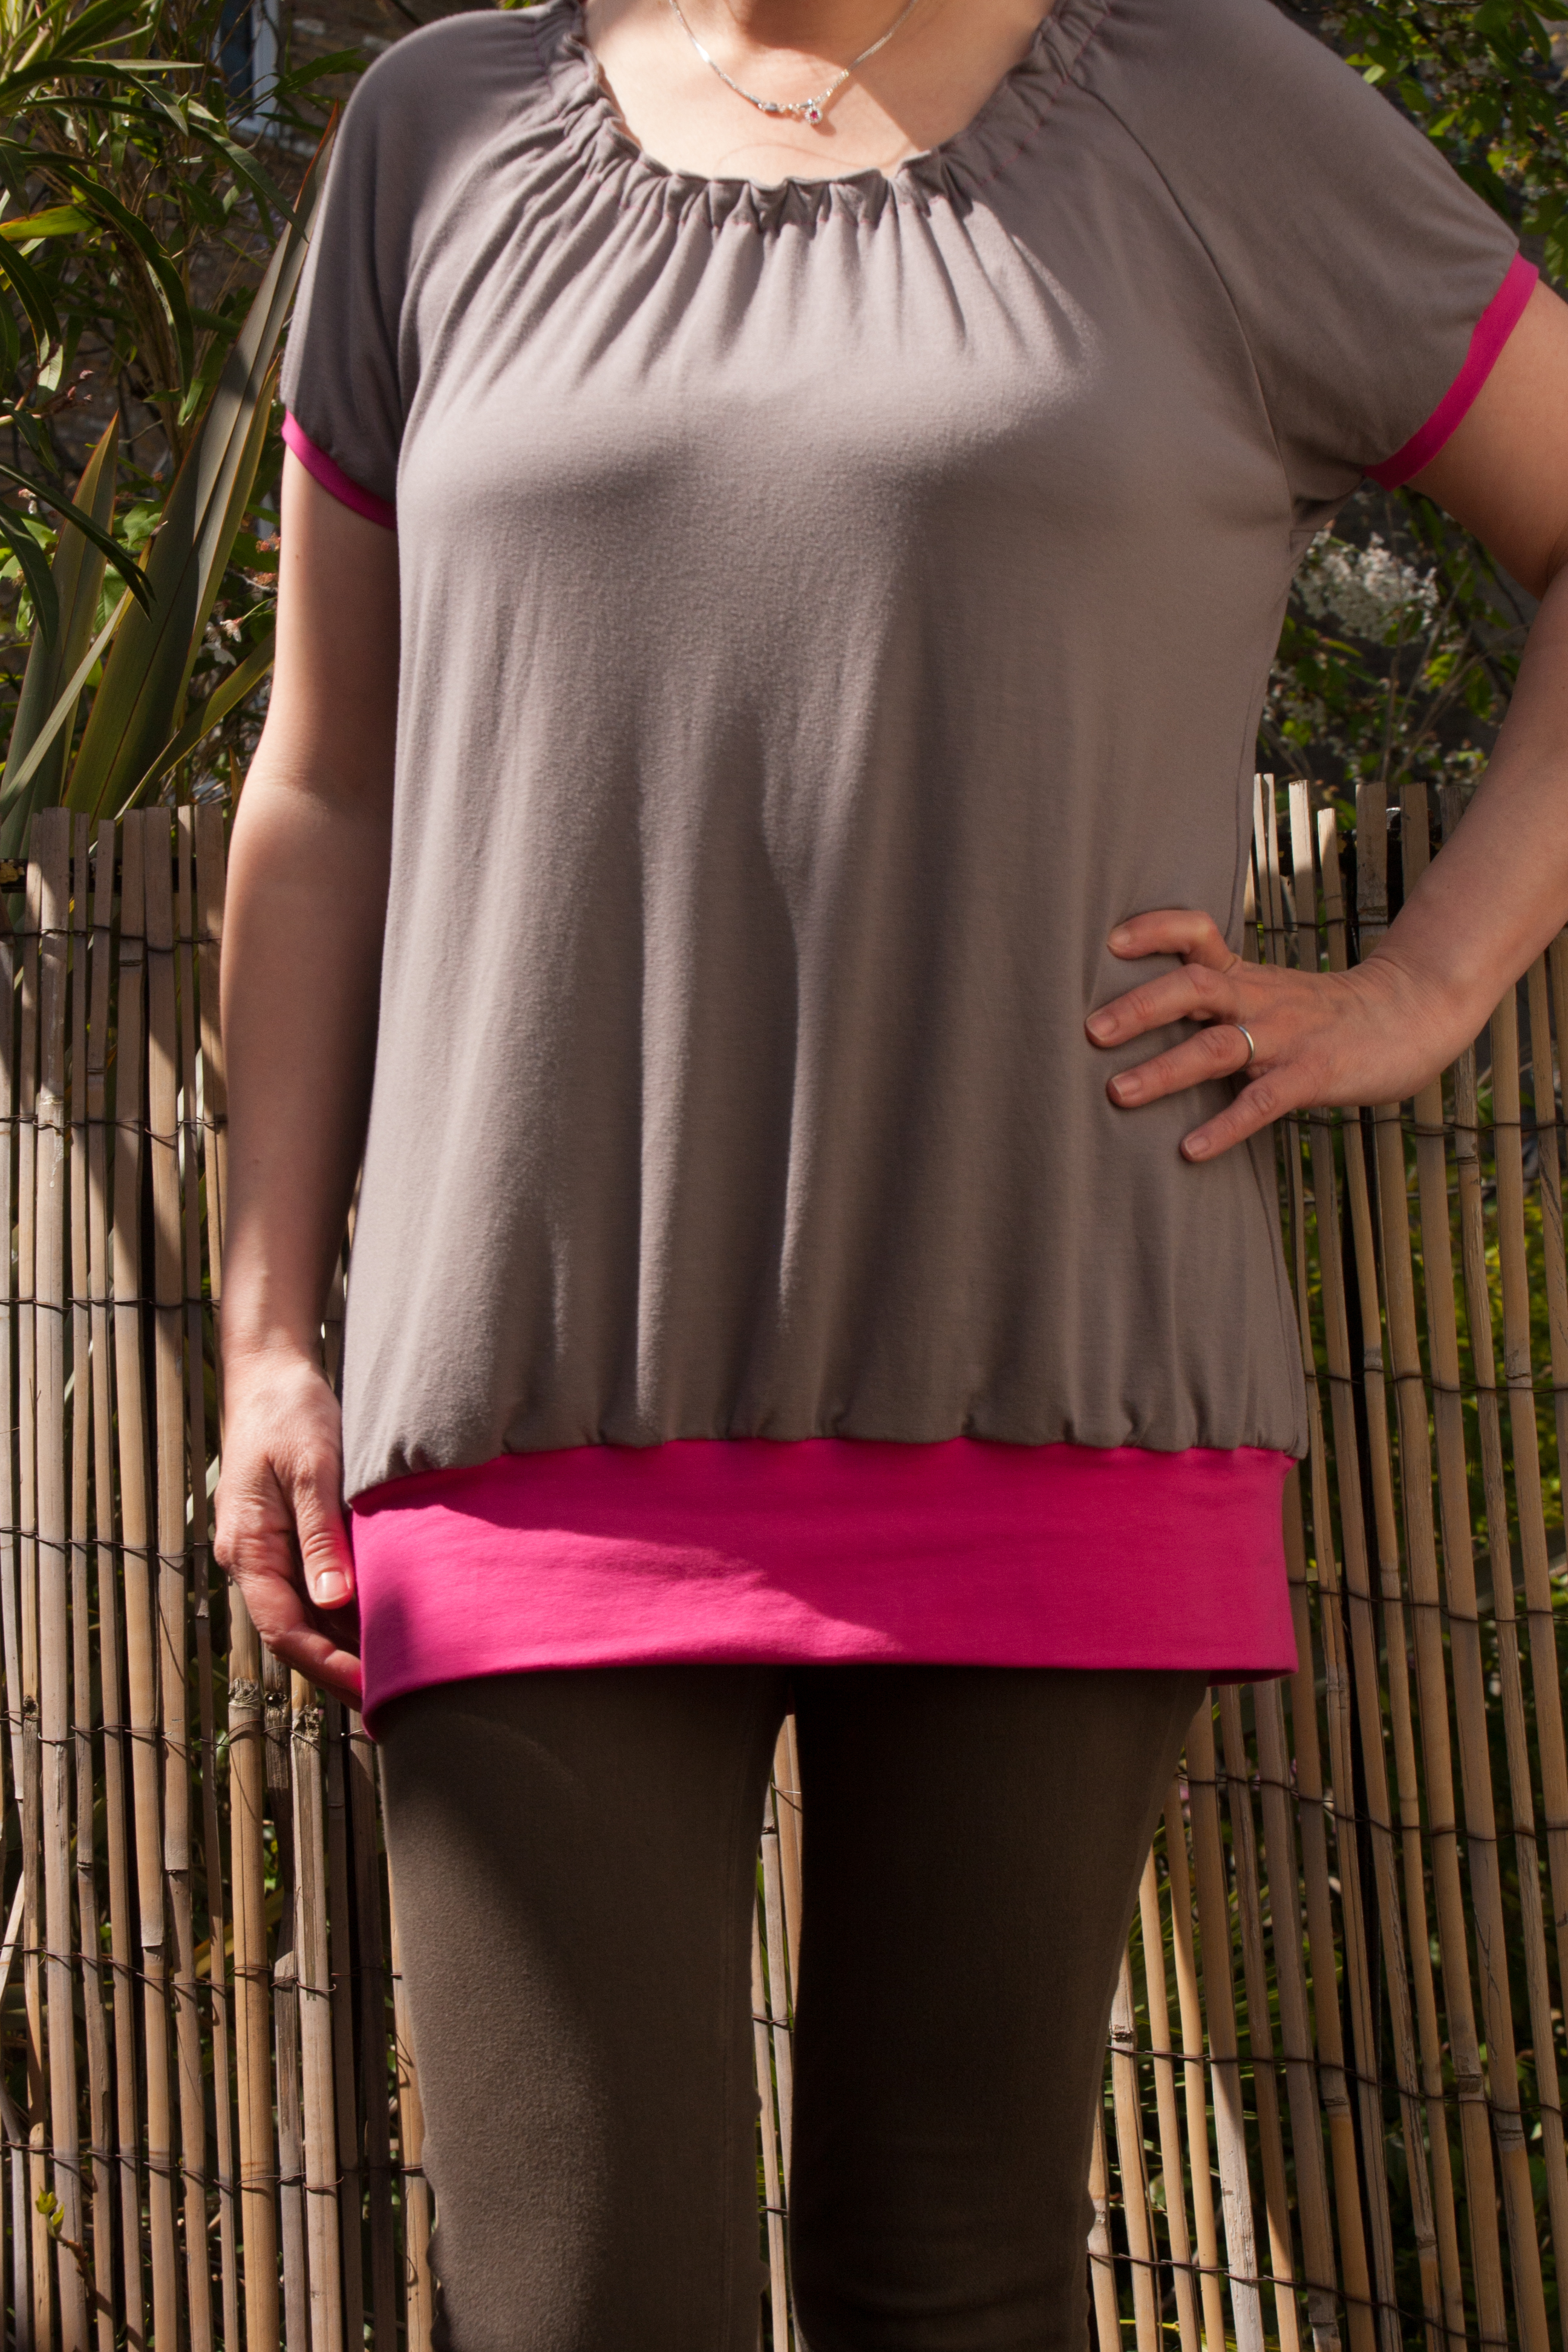
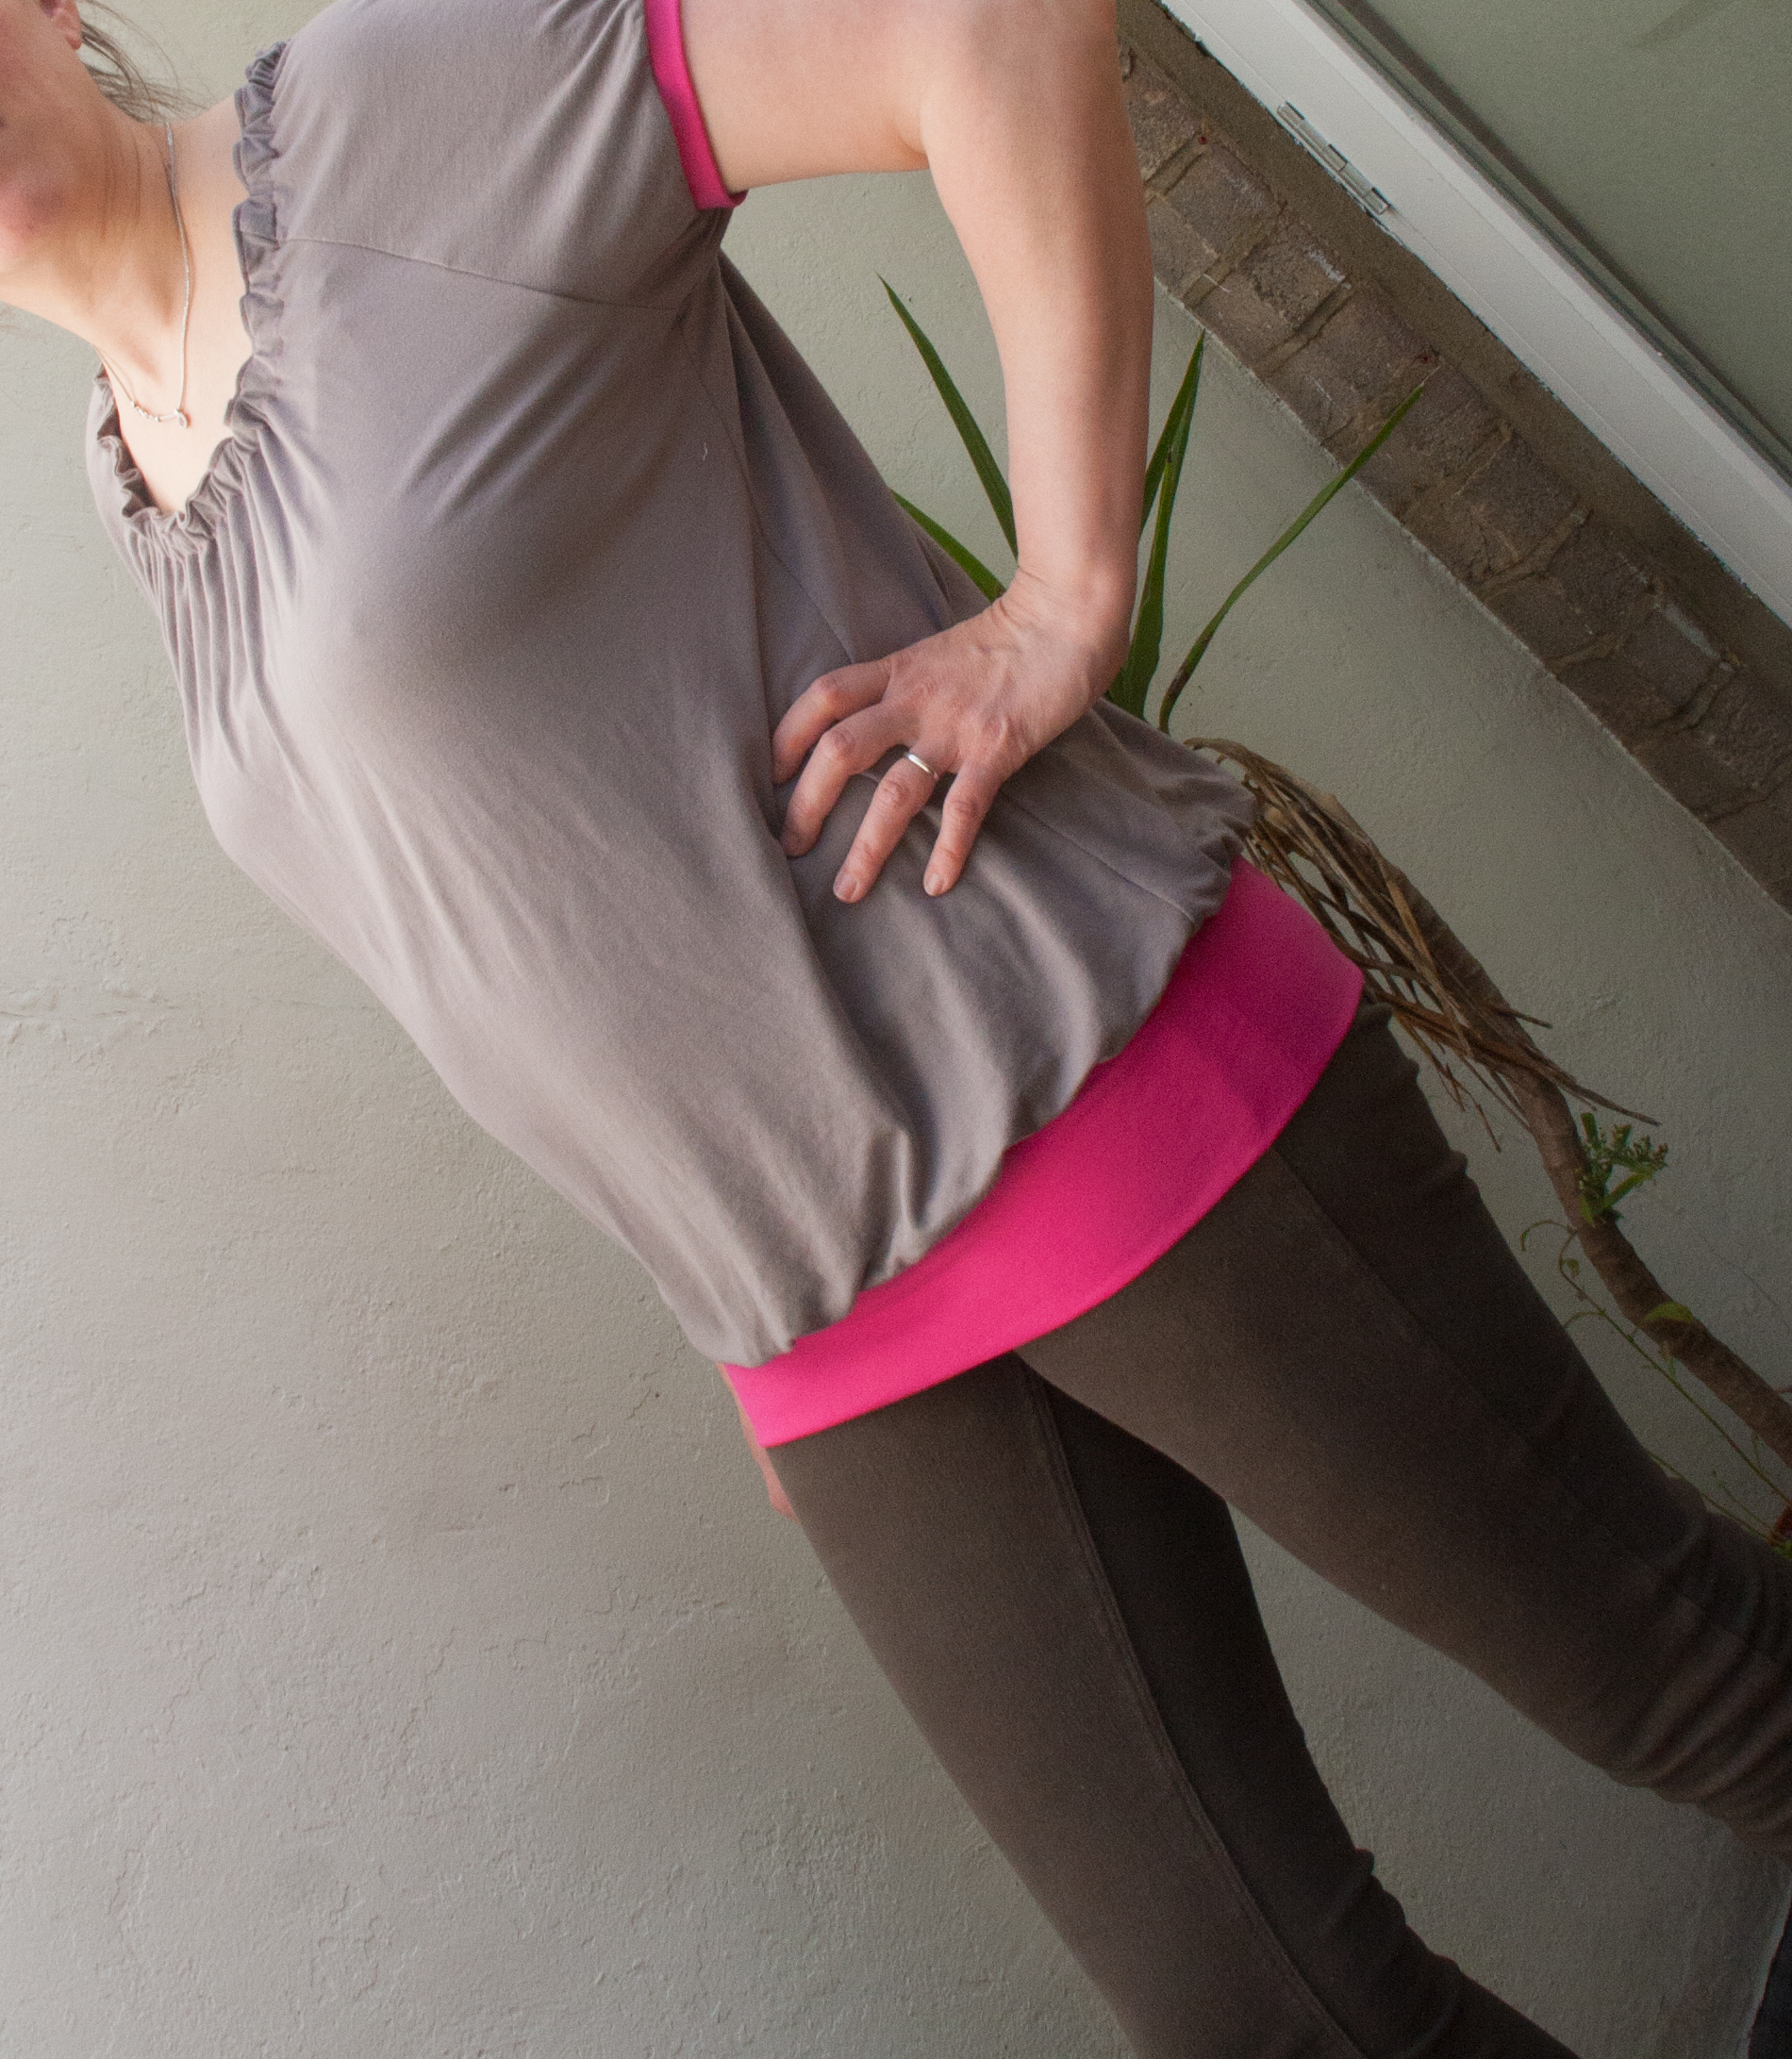
Time for a little Me Made May update. I did manage to wear me made outfits three times this week, but there hasn’t been much variety and I have realised that I can not really combine those items with anything else. The wardrobe remains unsorted but it really has to be done until next Thursday.

So I have mainly been busy working on a dress. I was looking for  a breastfeeding friendly dress. I have used “breastfeeding friendly” a few times in my last posts but what does it actually mean? It is just a normal piece that allows to breastfeed a child without taking the whole thing off. My prefered choice is the two layer look, one up one down. Obviously with a normal dress this would be a bit difficult….

So, I was looking for something with buttons and found The Vintage Shirt Dress by Sew over it.

I bought a lovely vintage-y fabric with cherry print in Goldhawk Road but ended up making a very quick calico version first to not waste the trial fabric and to see if it would actually fit me. As usual, the dress would have been too wide at the shoulders and I also decided to make the skirt just a tiny bit narrower to even out the different sizes my body actually needs. I also decided to use a plain colour for the colour and the facings as I had seen one lovely version somewhere on Pinterest. As it turns out my alterations let me cut out so much more effectively that I saved roughly a meter of fabric.

But enough talking, let’s have a look. (Note: I had to use the self-timer with the camera balancing on some books)

IMG_4918

IMG_4913

IMG_4915

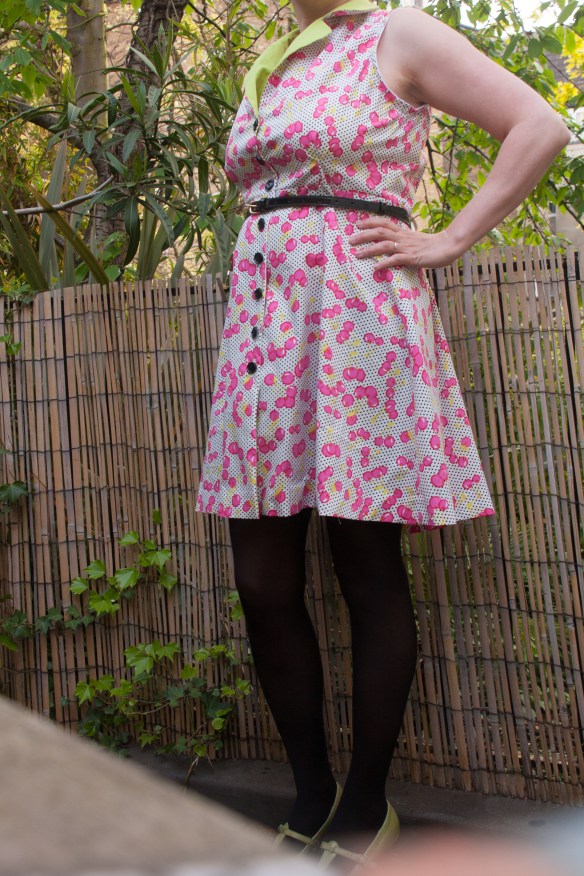
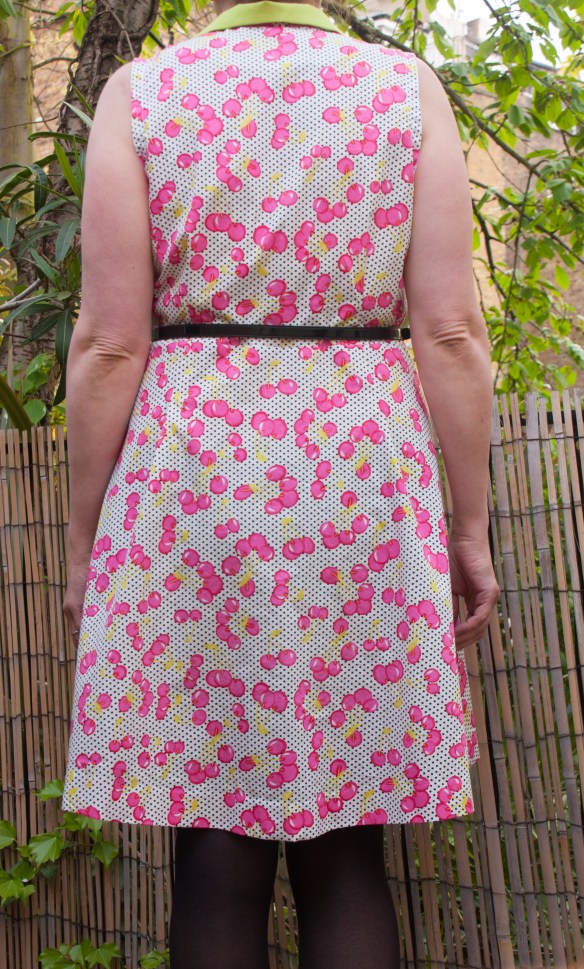
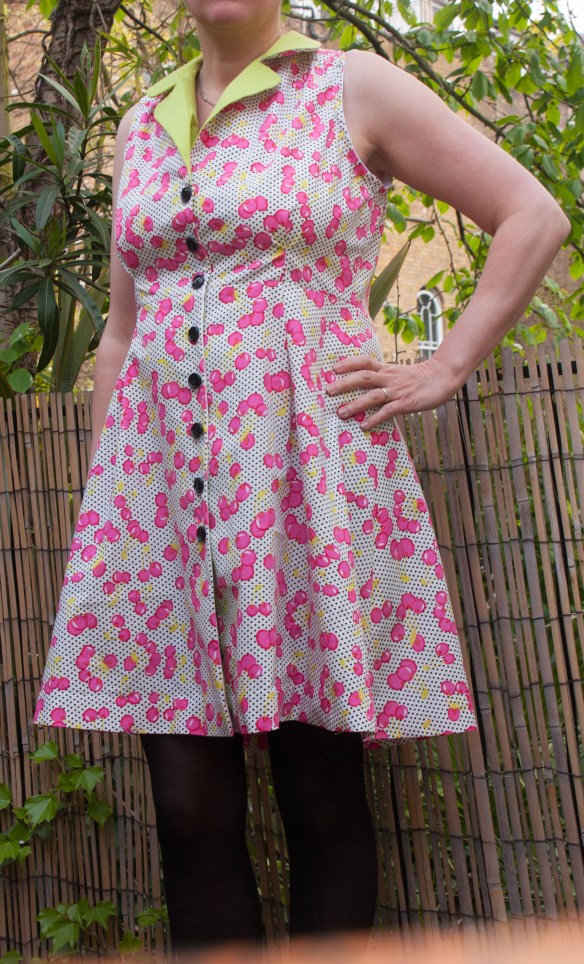
So it is definitely a wearable trial version but lets use it to improve the next version. I am not sure about the green collar.

IMG_4919

I think black would have been better but guess what, I do not own black fabric.However, the buttons in black just show it would have been the better choice. Plus, I am not sure anymore if a contrasting collar is really what I want.

The waist is a bit too high, after the photo session I pushed down the belt to where I think my waist really sits and I liked the look much more. So I might make the bodice an inch longer and the skirt a bit shorter.

The finish of the armholes with the bias tape at the inside was new for me. When I read the description I got confused and decided to follow step by step. Apart from cutting my own bias binding. I felt that would be a waste of that lovely fabric. I realised that my shop bought bias binding was slightly wider than the requested 4cm so I decided to trim it and ended up pressing the bias binding flat to make sure it had no more folds! (Title No 1), then I trimmed it and followed the instructions from there.

IMG_4925

I really don’t like it, I am not sure if it is only my fault, there was a lot of tension on the binding and I am not sure if it would be that easy to slip stitch it. I might try again on a little sample before ruining the next dress 🙂

I guess you are by now really excited to learn the reason for the danger of the seam ripper title, so if you feel you are strong enough, here it comes:

IMG_4924

I had just finished the second button-hole and opened it with the seam ripper when I slipped and slashed the whole dress open over a length of about 4cm. Great.This has been my first ever button hole accident and I usually cut it open with scissors. Sometimes huge fabric scissors. Never ever anything has happened.

I fixed it quickly with two layers of interfacing in between main fabric and facing and then I panicked and zigzagged over it. Maybe I should have thought about other options first. It is not too visible but there might have been a more discrete option. And it is just one of these things, no one might notice but I know it is there.

Up until that incident I thought this might actually be the dress for the baptism not just a trial version. But now that there is this mistake sitting on my waist, I will just keep thinking of it and that zigzag line with eventually burn a huge hole into my dress. We will see if I consider it suitable for the school run. I would definitely get a few looks. After all they only know me as a trousers and top kind of person. I definitely like making dresses much more than actually wearing them.

But enough of me, I’ll send this over to RUMS and will then have a look if others have made things to wear or trial onlys.


More Oh dear, oh dear

I have looked into ticket prices to move to the north pole for the rest of the Me Made May challenge and decided it might be cheaper (and healthier for the baby) if I stayed here and actually made a few items to wear for the rest of the challenge.

I think I mentioned a while ago that I am experimenting on the perfect breastfeeding top. I am thinking of a loose double layer top where the bottom one has two slashes for easy access. This is still in progress, I struggled with neatening the edges of the slashes properly and threw it in a corner. In the meantime I decided to order a schnittreif pattern that I had seen on a blog somewhere. When browsing their shop, I bought other patterns too. Some of them are extremely unsuitable for breastfeeding but I guess I will stop at some point.

Anyway, I decided to make first a Frau Emma to see how it goes before I will make the much cooler Usedom. I think, whilst those two might not be the perfect breastfeeding tops, they are at least breastfeeding friendly as they are loose and can just be pulled up. Which is why I made my trial Emma even with a loose hem rather than a ribbing. I started with it last weekend. First, I took my measurements to see which size I’ll need. Let me just say that my measurements have changed slightly over the years, pregnancies and children….

The good news is that all of a sudden, my chest measurements are about the same as my hips. That sounds a lot like an hourglass figure. Which is the ideal female bodyshape in my opinion. So, I am two thirds there. Hurray! Lets have a look at my waist then just to confirm! Oh, the same number! Is the measuring tape broken? No? Hmm. So, what does that make me? A stick? (sounds slightly more flattering than barrel or drum).

Anyway, I made a Frau Emma, size L, using a cheap viscose jersey from Shepherds Bush. It is just a trial but if if works well, it will actually be a nice top.

Hmm.

IMG_4828It is not flattering, that’s for sure. I think I should have made it a size smaller. But the hem is not cool. Easy to pull up the shirt but not cool.

IMG_4835I used contrasting pink for the sleeves and for the hem line seam. The orange of the 80’s skirt looks much cooler. Great, now my 6 years old is cooler than me.

I am also not sure of the neckline.

IMG_4837Actually, I am sure about it. I am sure I don’t like it. It is not the patterns fault. It is me. Maybe I liked it better when made with an even thinner material, possibly woven fabric. The ruffle is too bulky for my liking. But lets move on.

I am usually quite a fan of those loose tops with a stretchy and tight hem. Which seems to be called “bubble hem”. Right. So I quite like bubble hem tops. Except that they are always a bit short and keep coming up. Which is bad in combination with those low waist trousers. I don’t like them. They expose my kidneys to cold draft. I am an old, uncool woman. I don’t like that. I want warm and cosy kidneys. (I have recently invested in two Japanese belly warmers. They are nice. But I would just prefer long enough shirts and high enough waistlines. )

Anyway, I thought, I might give it a go and just cut a hole into the existing hemline to insert an elastic.

IMG_4845Not too bad from the front.

IMG_4844But still too much material at the back. Which I take as a definite sign for a size too big.

As I was experimenting and the shirt was now in a rather unexciting state, I wanted to take it a step further and replaced the existing hemline with a wide-ish stretch jersey to make it more jumperlike. This would have been one of the initial options of the pattern anyway. Except that there would have been a cutting line about 6cm higher than my hemline. I decided to just cut off those two cm where I had stitched the hem to make it longer.

I measured the needed width by putting it actually around my hips. I needed to really stretch it when I stitched it to the grey fabric.

IMG_4865Which doesn’t look great as you can see.  Another sign that large was actually  a size too big for me. Thankfully.

Normally I wouldn’t wear it like this. It is not meant to look like a mini dress. So:IMG_4851 IMG_4853The back still looks wrong. And actually it is too long now. Ha, who would have thought. I’ll leave it as it is for now. But it will probably still only be something I want to wear at home or to exercise.

If I used the pattern again, then definitely size M and with a waistband. But to be honest, I am not sure if the ruffled neckline and I will ever be friends.

Next step will rather be the Usedom. And I guess I will go for size M this time.

For now, I will just quickly put this online. Wow, two posts in one day.

But there is not only Me Made May – in the German blogging world there is RUMS on Thursday, where female bloggers show off what they made for themselves. So I guess, I should always do my MMM posts on a Thursday and link it with RUMS to then see what others have made. Off we go.


Scrap Sunday: Remember how lucky you are

Do you sometimes need a reminder that actually you are a really happy person and should stop complaining about little things? I certainly do. I guess because I am Austrian. Austrians loooove moaning. We have lots of words for it. I am also quite good at wallowing in self-pity. Especially after tiring nights. And that is when I need a gently reminder that actually it is all good. Really good. I only seem to see that when I hear from other who aren’t as lucky as me.

Someone I actually don’t know that well just had a premature baby and I just wanted to make something nice for her.

I found two lovely freebooks for premature baby clothes but only used the one for the wrap cardigan.

IMG_4784IMG_4787 IMG_4786 It is incredible how tiny this piece is when you see it next to your healthy and well nourished 5 months old.

Clearly this is one of the more useful and meaningful ideas that I have ever published for Scrap Sunday and I will definitely enquire in the local hospitals to see if there is a need for premature baby clothes and what kind of donations they would want. It would be nice to know that actually some of these odd small pieces in my scrap box could make someone else happy.


Quick catch up

As you know, I am most productive when I have my children around. Still not sure why. But I can definitely get a lot done when they play next to me. At least as long as they don’t fight or try to burn the house down.

So actually I was really busy during the first half of the Easter break. I am still working on a big yoga bag order but I did take some breaks (when I had done my daily task) and made a few things for my children.

The least exciting one would be this shirt, using the left overs from my niece’s shirt in combination with a stripy jersey that was once in a “surprise bag” from Michas Stoffecke and a cheap grey jersey from Shepherds Bush, initially intended as trial material on my search for the perfect breastfeeding top (which I will ideally make while still breastfeeding)

IMG_4706

IMG_4707

I used my usual pattydoo pattern but I am now normally hiding the seam at the neck which looks much more professional:

IMG_4708

and I am trying out a new stitch for the hem. I used the twin needle in the past and was really pleased with the look but that seam actually fell apart in some of the shirts which is not exactly ideal.

IMG_4710

I am not sure if I have even posted a picture of the initial girl version, made in February already:

The second most exciting item was a dress, using a klimperklein pattern and a pink flowery sweat that I have since a while:

IMG_4719

I find this dress really cool. I think the sporty raglan pattern and the colour of the heart go very well in combination with the rather girly fabric.

So two lovely projects for two lovely children but the loveliest (project, not child – they are all exactly the same lovely) of all is still to be shown:

IMG_4701

A reversible jacket with a pointy hood. Just right for the “in between seasons” season.

IMG_4705

I didn’t have enough of the brown car sweat left for the whole jacket so I made blue sleeves. Then I thought that the inner jacket should similarly have different sleeves but I am not entirely sure about it. It looks a bit odd. Maybe I should have done the hood in the orange stripes as well. Plus the teal of the star fabric doesn’t go with the blue of the sleeves but I was really keen on using it. It is a lovely fabric, almost a bit of a waste to be used as lining only. I can’t wait until the outside gets vomit on it so I’ll have an excuse to turn it.

I have used another klimperklein pattern, this time from her book. I was so excited to get that book. When it finally arrived I was slightly disappointed at first. I guess, after all the great e-books I expected much more pictures and variations of each pattern. Which is silly and totally my fault. A book simply can’t provide the same amount of  step by step pictures and 20 variations of each item. And actually the author Pauline Dohmen must have thought the same as she is now even publishing amazing tutorials on her blog for the most crucial questions. Like how to properly sew and turn a reversible jacket…. or a lined coat :). The tutorial landed in my inbox just about a week after I had struggled with the coat! What a bad timing. But I will now know forever how to do this 🙂

Just a few pictures of my little jacket, a proper tutorial  can be found on the klimperklein blog.

First, the two jackets sewn together, except at the sleeves. The two jackets are NOT to be put inside each other. (And obviously, there is a gap at one of the side seams of the inner jacket so they can later be turned inside out):

IMG_4695

Now, join the sleeves, being careful not to twist them. Pauline Dohmen refers to it as kissing elephant trunks. What a useful image!

Finally, the jackets fully sewn together – except the turning gap at the inner jacket, you can see it on the left side.

IMG_4699

I love that little jacket so much, I have never been happier to live in England where it will be just the right weather for an “in between season” jacket for another 6 months 🙂