Scrap Sunday: The doll carrier

I am currently writing this post whilst waiting for a couple of babies joining the family. I am scheduling it (the post, not one of the babies) for Sunday, so when you are reading it, we might not be waiting anymore πŸ™‚

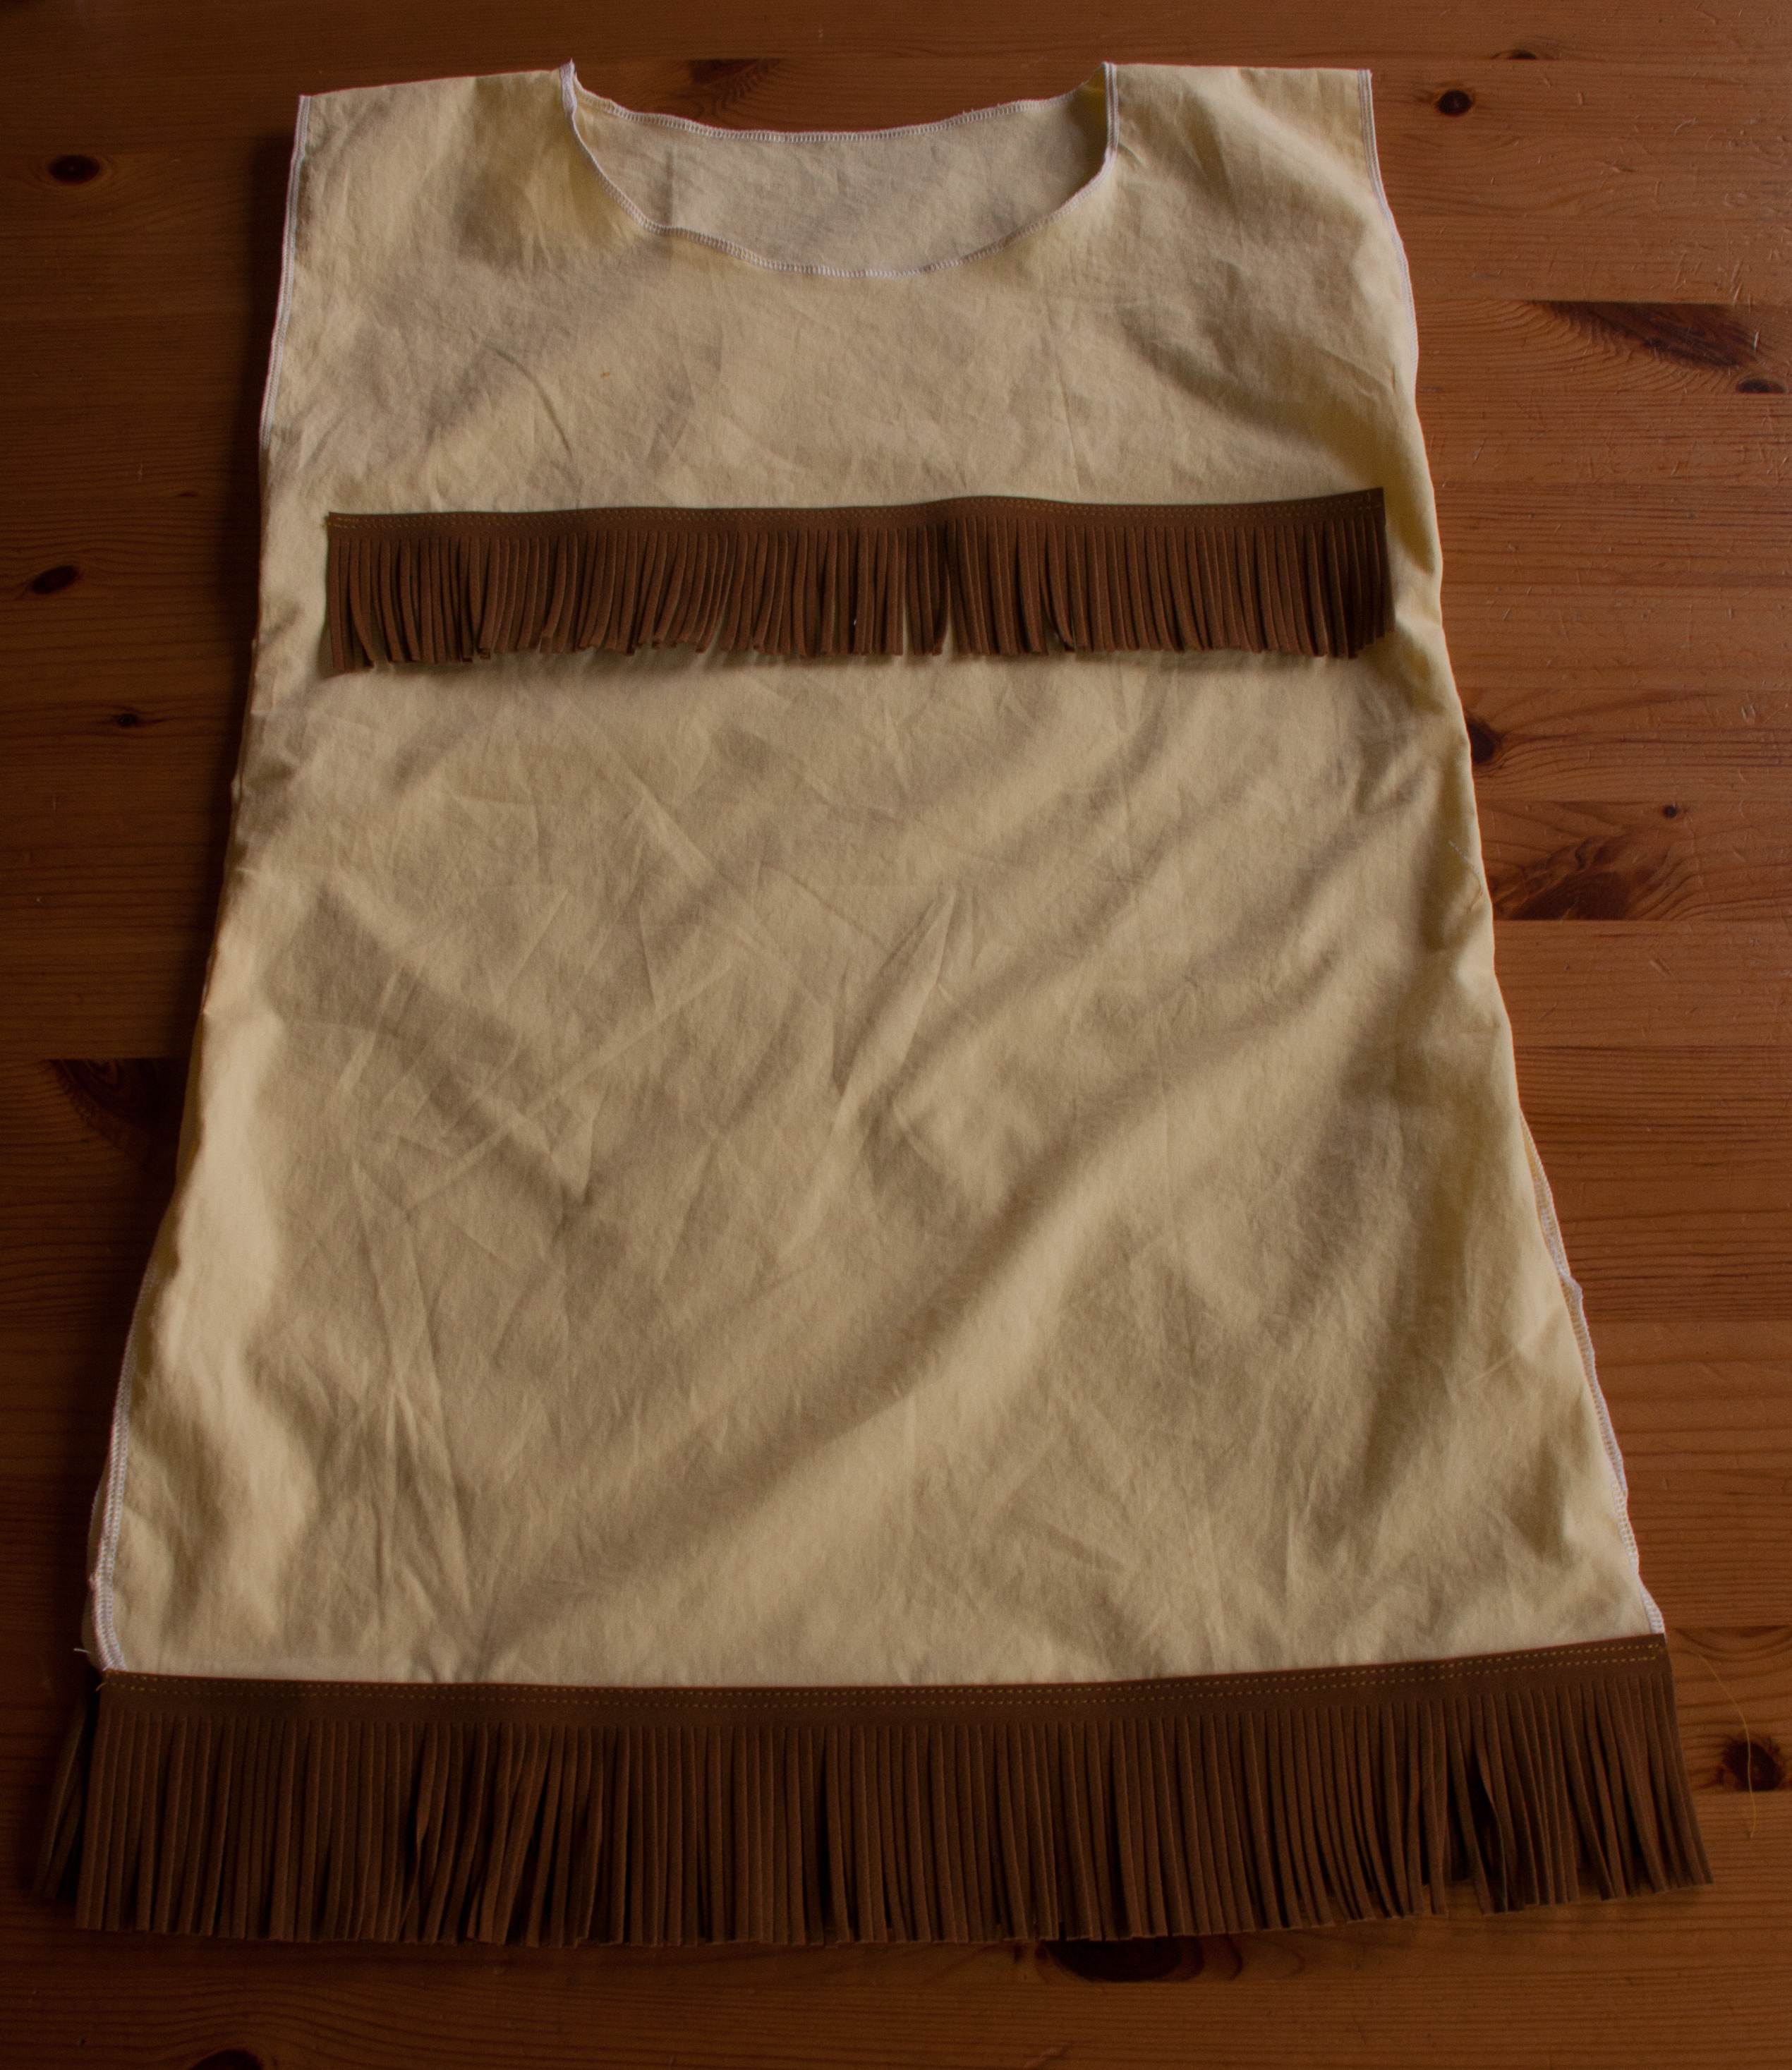
Anyway, I made a doll carrier for the soon-to-be big sister of my future nephew and I am quite pleased with it. And I am not the only one, in fact I have already gotten complaints why ours is not so pretty. For the record, 4 years ago, I was running through all the fabric shops in Shepherds Bush to find the requested “airplane” fabric for the doll carrier of a certain young lady. Which then really wasn’t cheap. But I guess, taste can change, particularly if you are not 2 anymore but 6. And I have to agree, we chose really nice fabrics (you might recognise them from other projects) for this one.

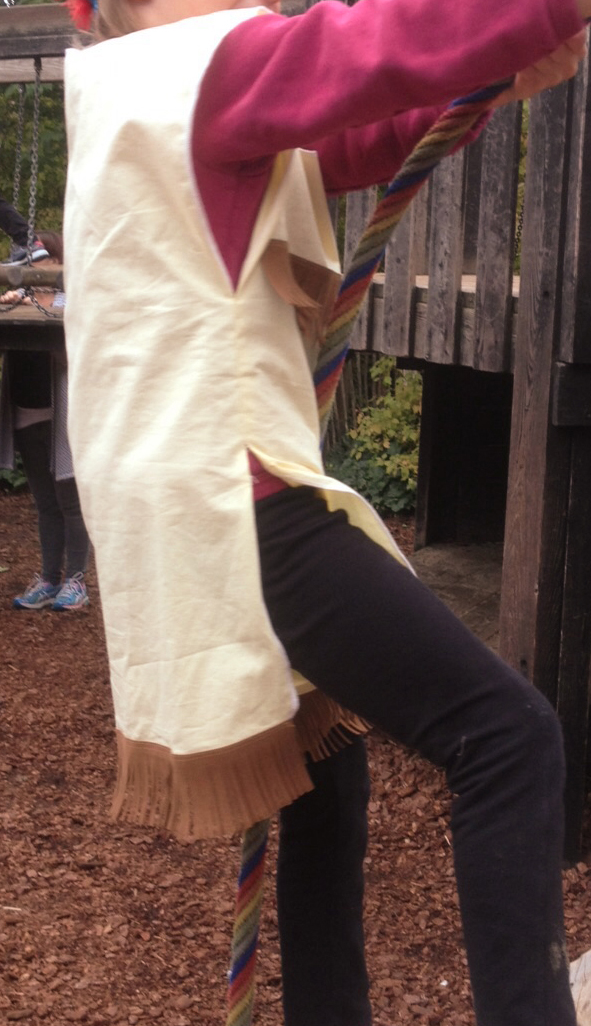
I think this carrier is suitable for slightly younger children, so the straps look a bit out of proportion on the following picture because of the model being a bit taller. Or should the strap be fixed slightly deeper? Maybe.

IMG_3873

The carrier can be worn in front or at the back.IMG_3874

I made the straps a bit longer, same for the waist strap as it was already a bit tight on my children, depending on what they are wearing and they actually tend to be on the slimmer side.

I found the ebook initially on Etsy (at the time not even knowing what Etsy was) and whilst I am happy that I found it there, I would do a few things differently next time. Which I would like to point out (to myself) as I am sure that 4 years ago I had already thought the same but didn’t remember it this time round.

When you print out the pattern, the line is actually a couple of mm thick so it is hard to know where to cut to make sure that the straps will match their positions on the main body. Also, I couldn’t read what seam allowance is included, I do think it is meant to be 1/4 in.

IMG_3871

The pocket fabric is folded, which is a bit too stiff if you are using a thicker cotton as I did in this case but perfectly fine when using a thinner material.

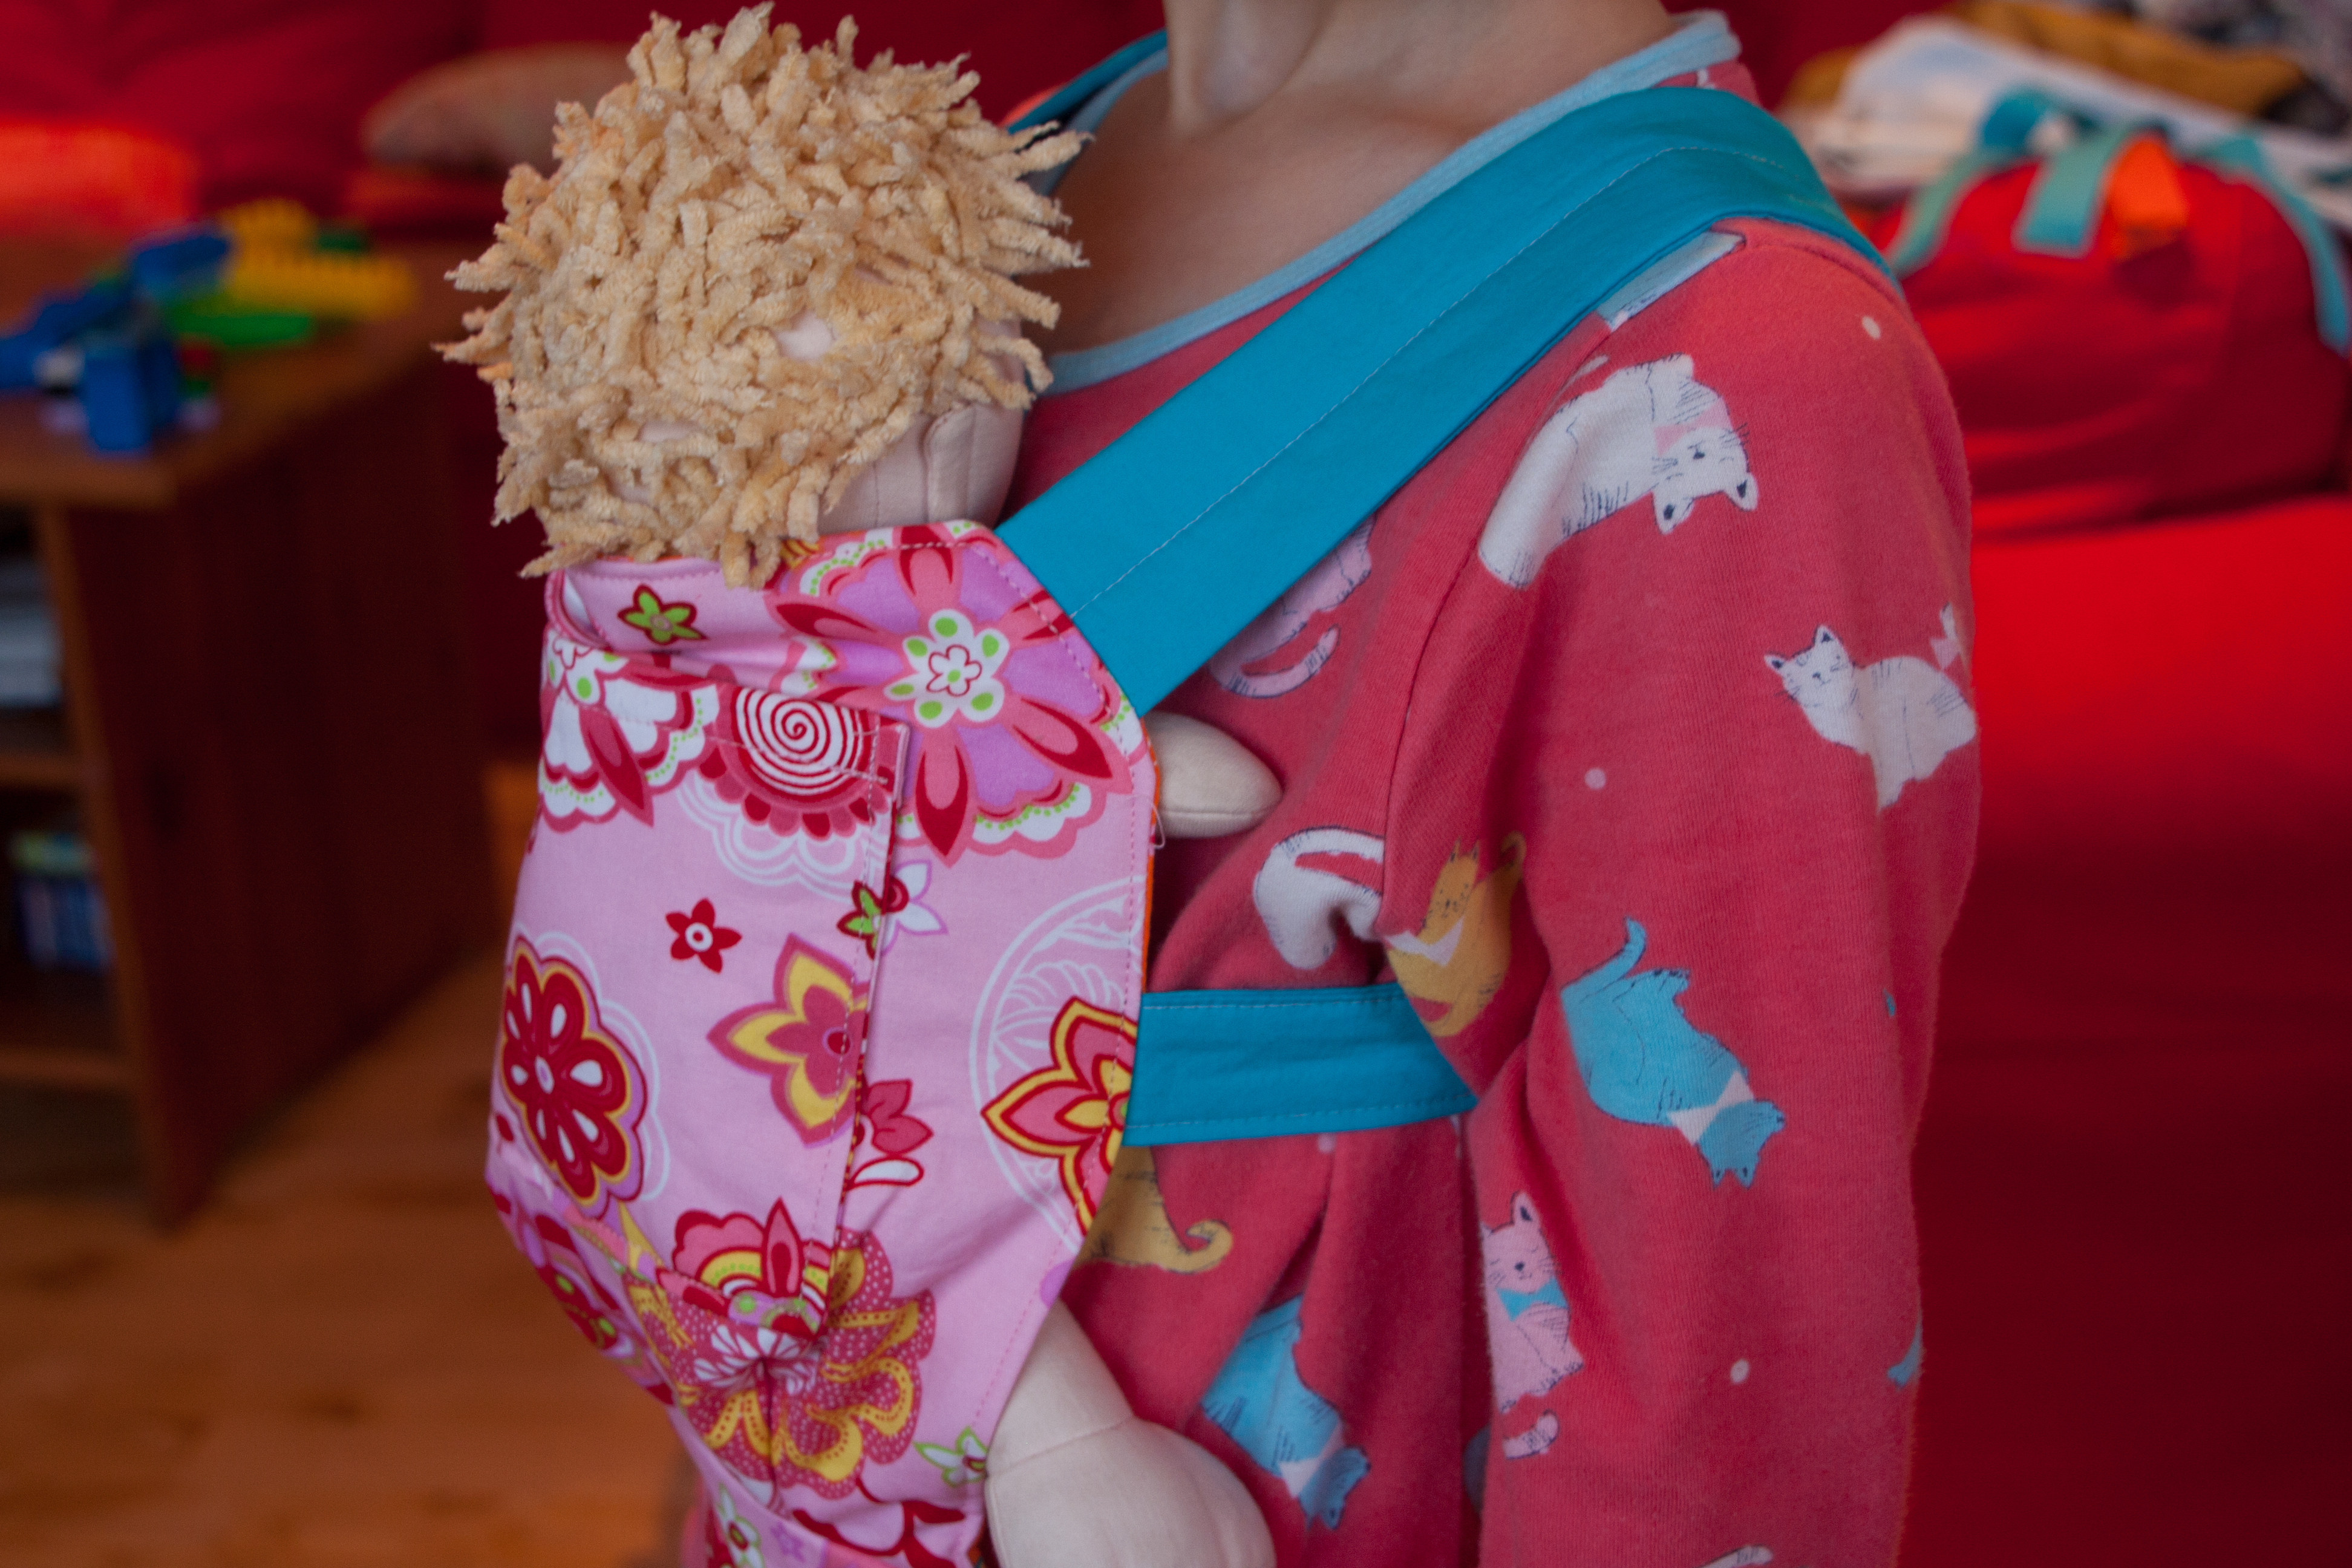
I struggled quite a bit with the waist. First of all the little curve between waistband and main body but also where the waist thingy joins the strap. In the pattern the waist thingy doesn’t end in a straight line but in a slightly sloped line so I have now an edge in between the main waist thingy and the strap which doesn’t make much sense. So next time, I will have to make sure that I even this out when placing the strap:

IMG_3872The waist strap is closed with a proper side release buckle, but the shoulder ones only by sliding the strap through a bar slide buckle which I find a bit too loose. In the case of the pictured carrier it is actually ok as the material is a bit thicker and I made the straps on purpose a tiny bit wider but the first one was made of a rather thin cotton and the straps just didn’t stay in place. So maybe a proper buckle like for the waist might be better. But then it means that the carrying child needs a lot more help to get it on an off. So the loose version might be the better option anyway.

The e-book itself is done very thoroughly, lots of pictures and explanations, I was actually a bit overwhelmed and maybe for me personally, a little less would have been better. I guess this is due to me struggling a bit with many unfamiliar terms on one hand but maybe spreading the whole thing out on more pages would have been good… Which makes me realise that I tend to squeeze things when writing patterns to save paper. So this is another lesson learnt, I hope.

I didn’t mean to criticize the e-book as it helped me make already three wonderful doll carriers but for me personally there are a few things that I would do differently and hopefully these comments will help me or anybody else when using the pattern next time.


Scrap Sunday: It’s raining hats

First of all, a couple of months ago, against all my objections I opened a Facebook account to be able to connect with others to save our nursery. And as too many people have been annoying me to open a page for Facebook Atelier Oursonne, I have finally done that and created a few albums with pictures of previous projects. So like it or not but if you are on facebook, please share it with your friends πŸ™‚

But back to the actual purpose of this post: Scrap Sunday

When I bought my e-book for the children jacket from klimperklein, I just couldn’t resist a few of the other e-books. So I also bought two for hats:

One for baby hats which you can tie under the chin and one for older ones with lots of variations.

Obviously these hats are great scrap projects and I have already made one for each of my children.

Although I have to admit that for the two big ones I had to cut into newly bought huge pieces of fabric, so not quite a scrap piece. I bought them to make onesies pyjamas to be ready for chilly nights but haven’t found the right pattern just yet.

IMG_3916I was really trying to convince my children to use more contrasting fabrics inside but they both went for the most boring possible option. Such a disappointment. I will never ever make anything for them. Ever. At least I am not going to ask them their opinion again. Ever.

I have also realised that actually a newborn will not like the hat to be tied under his chin, so I quickly made a new one without straps. Unfortunately there was no more blue jersey left (as I had been forced to use it for the pirate one!) so I ended up with another stripy fabric and in theory it can be worn both sides but I think the blue and red one might be too strong colours for the very newborn. I guess we will find out in a couple of days. πŸ™‚ IMG_3926 IMG_3927In any case, those stripy fabrics are the softest ones you could possibly imagine and I want to make myself a huge whole body suit out of it and spend all day in it πŸ™‚ And I am so close to buy all of the existing colour combinations.

And as I really like those baby hats, I made quickly one for my baby niece.

IMG_3928

The fabric had once been chosen by another niece for a shirt. But I think she wouldn’t find it “cool” so it is better used for a baby hat. It is lovely to see how these things travel through the family.

I have a feeling that I need to cover a few more ears πŸ™‚


Scrap Sunday: A little innovation

I actually meant to post a lovely tutorial for an even lovelier little handbag made of lovely scrap fabrics but as I had to quickly make another lovely bag for a birthday party this afternoon, I will leave you with a picture of a creative idea that I tried out when quickly making the little bag 2 hours before the party started.

So this is the finished bag lining with a small pocket which I positioned a bit more creatively than the usual “opening looking up”. I mean that is sooo last year. IMG_3907

The actual tutorial will follow. At some point. And don’t worry, for the tutorial I chose the conventional way, I know avant-garde pocket placing is not everyone’s cup of tea.

Scrap Sunday: dressing up made easy… if not a little too easy

When I posted my to do list a couple of weeks ago, I might have mentioned two costumes for a party where my children were asked to turn up as Tiger Lily and pirate.

I wasn’t too keen to be honest. I guess it is just my natural dislike of doing something that wasn’t my own choice but someone else telling me what to do (Believe it or not, a part of me (qualified teacher) doesn’t want my children to do their homework properly πŸ™‚ )

Anyway, I didn’t want to spend too much time on the costumes plus I actually like the simple ones that leave enough room for imagination much more than those sets that make every little girl look like a certain princess and every little boy as a certain super hero. Considering that I have made quite a few costumes in the last few years, I guess I should at some point put them all together in one post put for now let me just remind you of the Room on the Broom witch and her dragon. I think the latter is one of my favourites.

But back to the Peter Pan party.

For the pirate, I decided that an eye patch (shop bought and plastic, was better than the one I had made a few posts ago), a triangular pirate head scarf made of two scrap pieces of a shark themed cotton and a belt together with a stripy T-Shirt and some shortish leggings would be enough.

I was once again convinced that the red and white stripesΒ  used for the knight costume would make an ideal pirate belt and I decided to do a double sided belt as I did suddenly feel a bit guilty about my negative approach, I guess any scarf wrapped around the belly would have been just fine.

IMG_3756

To save on the precious stripes I chose the blue dots for the other side – also to give the pirate a choice, depending on the mood and the rest of the outfit.

I then put in some kam snaps as, once again, they seemed perfect for this occasion.

IMG_3762

I decided on two rows of snaps to make sure that the belt can be worn for longer, or by different children. I guess, that was a bit unrealistic, but if there is already a choice of designs then surely there should also be a choice of sizes to make this the ultimate pirate belt.

IMG_3763 IMG_3764

Unfortunately I can’t really show you of the belt worn by a pirate, first of all he refused to wear a suitable T-shirt and put it over a jumper which did not really make him look like a pirate at all and secondly I do not have any pictures of the worn outfit which would pass my “no faces online” policy.

For the Tiger Lily, I took a left over light yellow cotton and cut two rectangles (length: shoulder to knee-ish, width: shoulders plus a few cm)

On one of the shorter sides, I created the shoulders, leaving the middle of the edge open for the neck, then I cut out a neckline. With the serger I just went around all the edges and made a rolled hemΒ  and then I closed the middle of the longer edges, creating armholes but leaving it open at the bottom to make sure that the “dress” has enough room to move around and climb on pirate ships.

IMG_3765

As I had known that the Tiger Lily was particularly unhappy about her forced costume, I wanted to make up for it with fancy trims and so I had, already on my last shopping trip, bought some leather fringe and put it on the hem and also across the chest, rather than just cutting a fringe into the hem which would have been my initial idea.

IMG_3767

And for the headdress I had chosen a pretty blue trimming, closed it with a piece of elastic to make sure it would fit and just sew on a red feather.IMG_3768

IMG-20150906-WA0007I am afraid that is the best picture I can offer you but at least you can see that it is really a perfect costume to play and climb.

So just like the simplicity of the costumes should inspire the children’s imagination, I am hoping that the lack of quality of the pictures will inspire the imagination of my dear readers πŸ™‚