Scrap Sunday: The fabric mosaic or Please welcome my first guest writer

A couple of weeks ago I was working on this apron for a teacher whilst my daughter was sitting quietly next to me…. cutting fabric into little pieces. I am so proud of her, she really embraced the rule that the big fabric scissors can only be used on fabric and not on anything else.

Anyway, then she had the rather brilliant idea to use those little pieces to make a card with a carrot on the front (we had printed carrots on cards as Christmas cards for the nursery teachers).  The card looked great but stupidly enough I did not realise that I could use that idea for Scrap Sunday so I did not take any pictures of it.

So a couple of days ago, we reincarnated the scene (and we did it properly this time, not just green and orange fabric were harmed in the making of this picture series.

But enough said, it was her idea, so I thought, she should write the post. Lovely idea anyway to ask friends, family and readers to write a post for my blog. So if you have any good ideas you wanted to share, please step forward now. It would mean so much less work to me. Ok, not all at once… Oh, well, it was worth a try. (And I do know where some of you guys live, so you better start writing)

Anyway, back to this weeks guest post:

Stoffmosaik Anleitung

IMG_3217 IMG_3230 IMG_3238 IMG_3239 IMG_3240 IMG_3247 IMG_3242 IMG_3251

New year, new ideas, new projects

I know, I know, the new year is not that new anymore, but I am honestly working on these new projects (spoiler alert: bags of various shapes, sizes and purposes) since a couple of weeks, I am just awfully behind with posting. So lets make the first step today.

One of my lovely friends had seen the yoga bags taking shape whilst I was working on my very first ones and wanted one as a gym bag. Together we agreed that the shape of the yoga bag is not ideal if you do not actually carry around a yoga mat… or a trombone I guess. So I made a bag for her which had  square, well probably rectangular, sides and was shorter than the yoga bags.

IMG_3111

I kept the long strap from side to side but added very last minute (I even had to open the lining again) two handles as I thought a bag of this shape and size might be wanting to be carried more like a pretty handbag (my friend later disagreed, but then we both don’t really know what a bag thinks).

I also made an extra easily washable cotton bag for the sports shoes (so that my lovely pretty bag does not get dirty 🙂 )

IMG_3117

Inside I used polyester lining for once – it just seemed to be more suitable than cotton. Not sure why though. And if you spy with your little eye something pink on pink you might notice the simple slip pocket I added to keep some important belongings separated from the main sports mess.

I am quite happy overall, maybe I should have added a fancier pocket.

And best of all, I could hand over that bag as a birthday present (request a long time before Christmas) just about one week after the birthday of said friend. Not bad, considering that I have just finished a Christmas present (for 2014 in case you were wondering)  2 days ago.

Ok, sports bag done, there will be an office bag, a crafts bag, a book bag and a yet undecided purpose one – so keep looking for new posts.

Scrap Sunday: Post Valentine scrap

A couple of days ago, my daughter found in her mess carefully chose the hairband that I had made in 5sec out of some left over from her shirt and dress.

This one, you might remember it: IMG_2272detailI love it but I really should have done it properly. It is the sewn version of one of these  (I am obviously talking of the yellow and the pink one in the front and then again the red a bit more up and to the right.)

IMG_2142sIn both cases it is a long strip that twists into a spiral naturally because one side is much longer than the other.

In the knitted one, this is done by increasing (or decreasing, depends if you are knitting from bottom to top or top to bottom), in the fabric one, I gathered the bottom edge.

Anyway, I thought it would be a good idea for a Scrap Sunday post to finally do it properly. Initially I meant to use the same stretchy jersey but then I thought, I will try a woven fabric instead to see the difference and just took some red cotton.

Just one thing before we start the series of pictures: I meant to do a tutorial but after finishing the rose, I realised that I would actually make a few things differently, so calling it tutorial is a bit silly, but I would still like to share the journey of making a rose with you and it will be up to you to do those few things differently (surprise, surprise, but I am too lazy to make another one whilst simultaneously taking pictures of it 🙂 )

First, you need to …… sorry, journey, not tutorial, so

First, I cut a stripe of fabric on the bias to make sure it gets a bit stretchy.

To do this, I took a piece of fabric (doesn’t have to be square),….

IMG_3194

folded it along the diagonal in half to get a 45 degree angle.IMG_3195

Then I cut my stripes (through both layers), parallel to the folded line, about 8cm wide.IMG_3196

I then placed the two strips on the short sides together in a V-Shape (will be a straight strip when opened up) and sew along that short side.IMG_3197

I opened it to iron the seam flat open and to get a longer bias strip. It was about 50cm long, which is a bit too short really. And obviously one single strip without seam would have been better but it is a project to use up scrap yarn. IMG_3199

I folded the fabric lengthwise in half and trimmed the short sides. A slight curve seemed ideal for me, not sure why.IMG_3200Initially, I meant to zigzag with the wrong sides together and just work from there and to use a contrasting thread to show things better in a potential tutorial (really because the machine was threaded like this).  But halfway through the zigzagging I decided to make the right side to wrong side and and left a gap to be able to turn it inside out.IMG_3203Why? Because the edges looked suddenly silly and because I have a cool turning tool which I wanted to show off.

IMG_3204After turning the strip inside out I ironed it flat to get a sharp edge on top of my “petals” rather than the fluffy mess of the initial jersey rose. Just to see how that looks.

Then I stitched straight  next to the seam with the longest stitch length and started to gather the fabric by pulling one of the threads. I left one end rather ungathered as I wanted to roll the rose  at the beginning tightly to get something like a still closed rosebud. IMG_3205I started to roll up the strip and kept securing it with stitches going back and forth through all the layers. That was quite tricky as my fabric strip had gotten quite thick at the bottom because of the seam allowance that was now inside my strip. So, if I do this next time, I will either zigzag on the outside or stitch together with a straight line and trim the seam allowance before turning.

In any case, the result looks pretty good, you can almost not tell the difference 😉IMG_3211At least not from the front / the top. Obviously the bottom is quite messy and depending on the use (other than some picture taking from the pretty side only), one might have to hide that mess somehow.

Scrap Sunday: Confessions to a bishop

You might be wondering why my Scrap Sunday posts are really lacking of inspiration lately. Well, I have a confession to make: Somehow my brilliant and very sensible resolution to not only not buy any excess fabric or yarn (only what is needed for a particular project) but also to use up my huge amounts of stash has been replaced. Without my knowledge or agreement I hasten to add. Apparently buying sensibly is so last season. 2015 I am worried that fabric and yarn shops could all shut down over night so I better buy enough for a few very vague projects in mind. I have fully embraced this new resolution – to a point where I am buying a beautiful woolen fabric with embroidery on it, enough to make a dress out of it. Back home I then decide that a coat would look gorgeous.

Have I ever sewn wool? No.

Have I ever made a coat? No.

Does that stop me? No.

So I am going back to the shop the next day to buy what is left on the roll. So, for the slightly disappointed reader, there is at least one thing to look forward to. One day, there will be a post about a beautiful woolen coat. Progress is going well, you can expect pictures no later than May.

Other things to look forward according to the fabrics and yarn creeping you of their dedicated boxes? Light summer jackets for the children (need to work my way around the school uniform, jacket over school cardigan? probably not very realistic), baby blanket for my future niece (or nephew who will just love purple and turquoise), about 375 knitted cardigans, jumpers and tunics for babies (now, that I have plenty of time, I really want to get my shop going) and quite a few bags of all sorts.

But lets go back to the title of this post:

Confessions: done

Bishop: oh yes, lets talk about the Bishop

As you might remember (have read every single post or not?) I am currently back in school. On Tuesdays I am doing a Fashion Course. Yes, you did read Fashion and yes, this is what I am doing secretly on Tuesdays, and no, it does not show in my thoroughly put together wardrobe. I was looking for a one day sewing course but all I could find was this fashion course. It is a lot about designing and pattern cutting so even though it is not quite what I wanted, I still learn a lot of useful things. But I am dreading the final piece. We will have to design, cut the pattern and make a dress for a celebrity (who does obviously not know about her luck) for an occasion that we had to choose from a list of occasions.

As you can imagine, choosing a celebrity was super easy for me. I just went through my collection of celebrity pictures in my celebrity picture albums. There she was Michelle Williams, proud wearer of colourful dresses (rather than black and white which would be veeeery hard for me to even think of).

I will have to make a cocktail dress for her and I am struggling to imagine anything other than a very simple sleeveless A-line dress out of the 60ies. I guess I should incorporate the things that we have learned in class and I also kind of have in mind to add some knitting to it. After all, if any celebrity would ever ask me to make a dress for her it would probably be because I am a famous knitter.

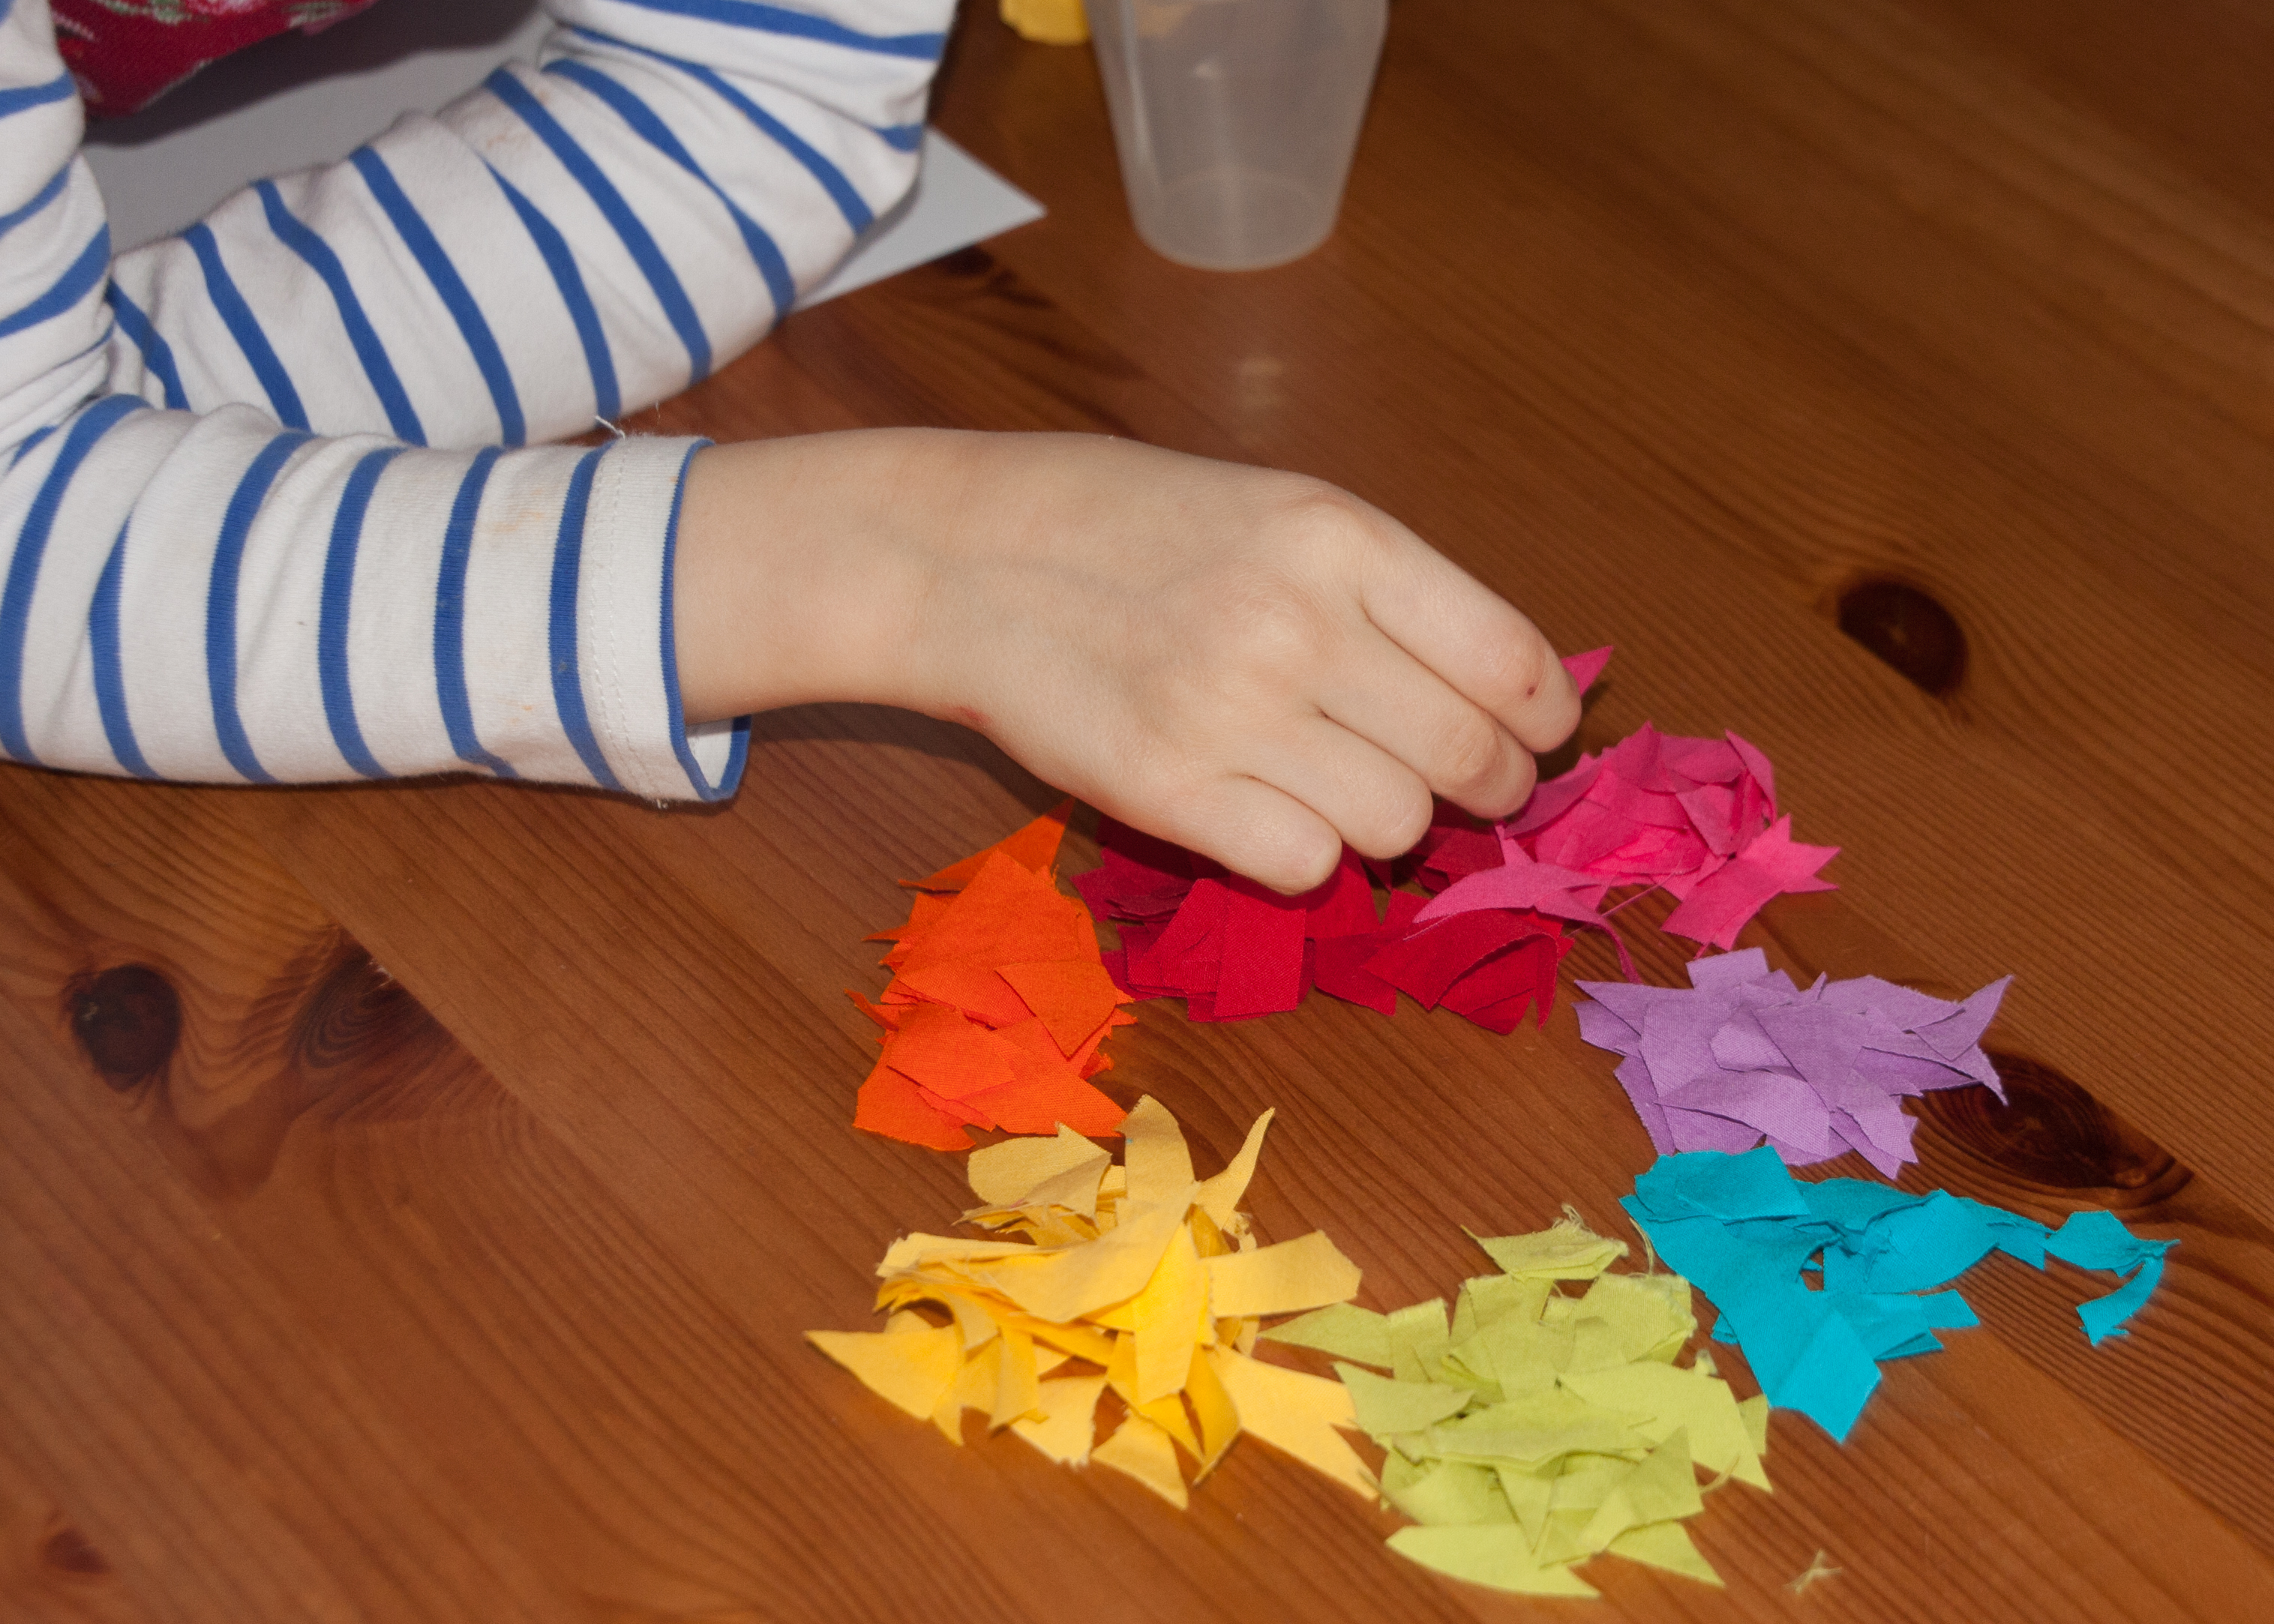
But back to the bishop. In the last lesson, we have been talking about different types of sleeves and our homework was to “interpret”  one of them. And this is where we are back to using up scrap fabric (phew).

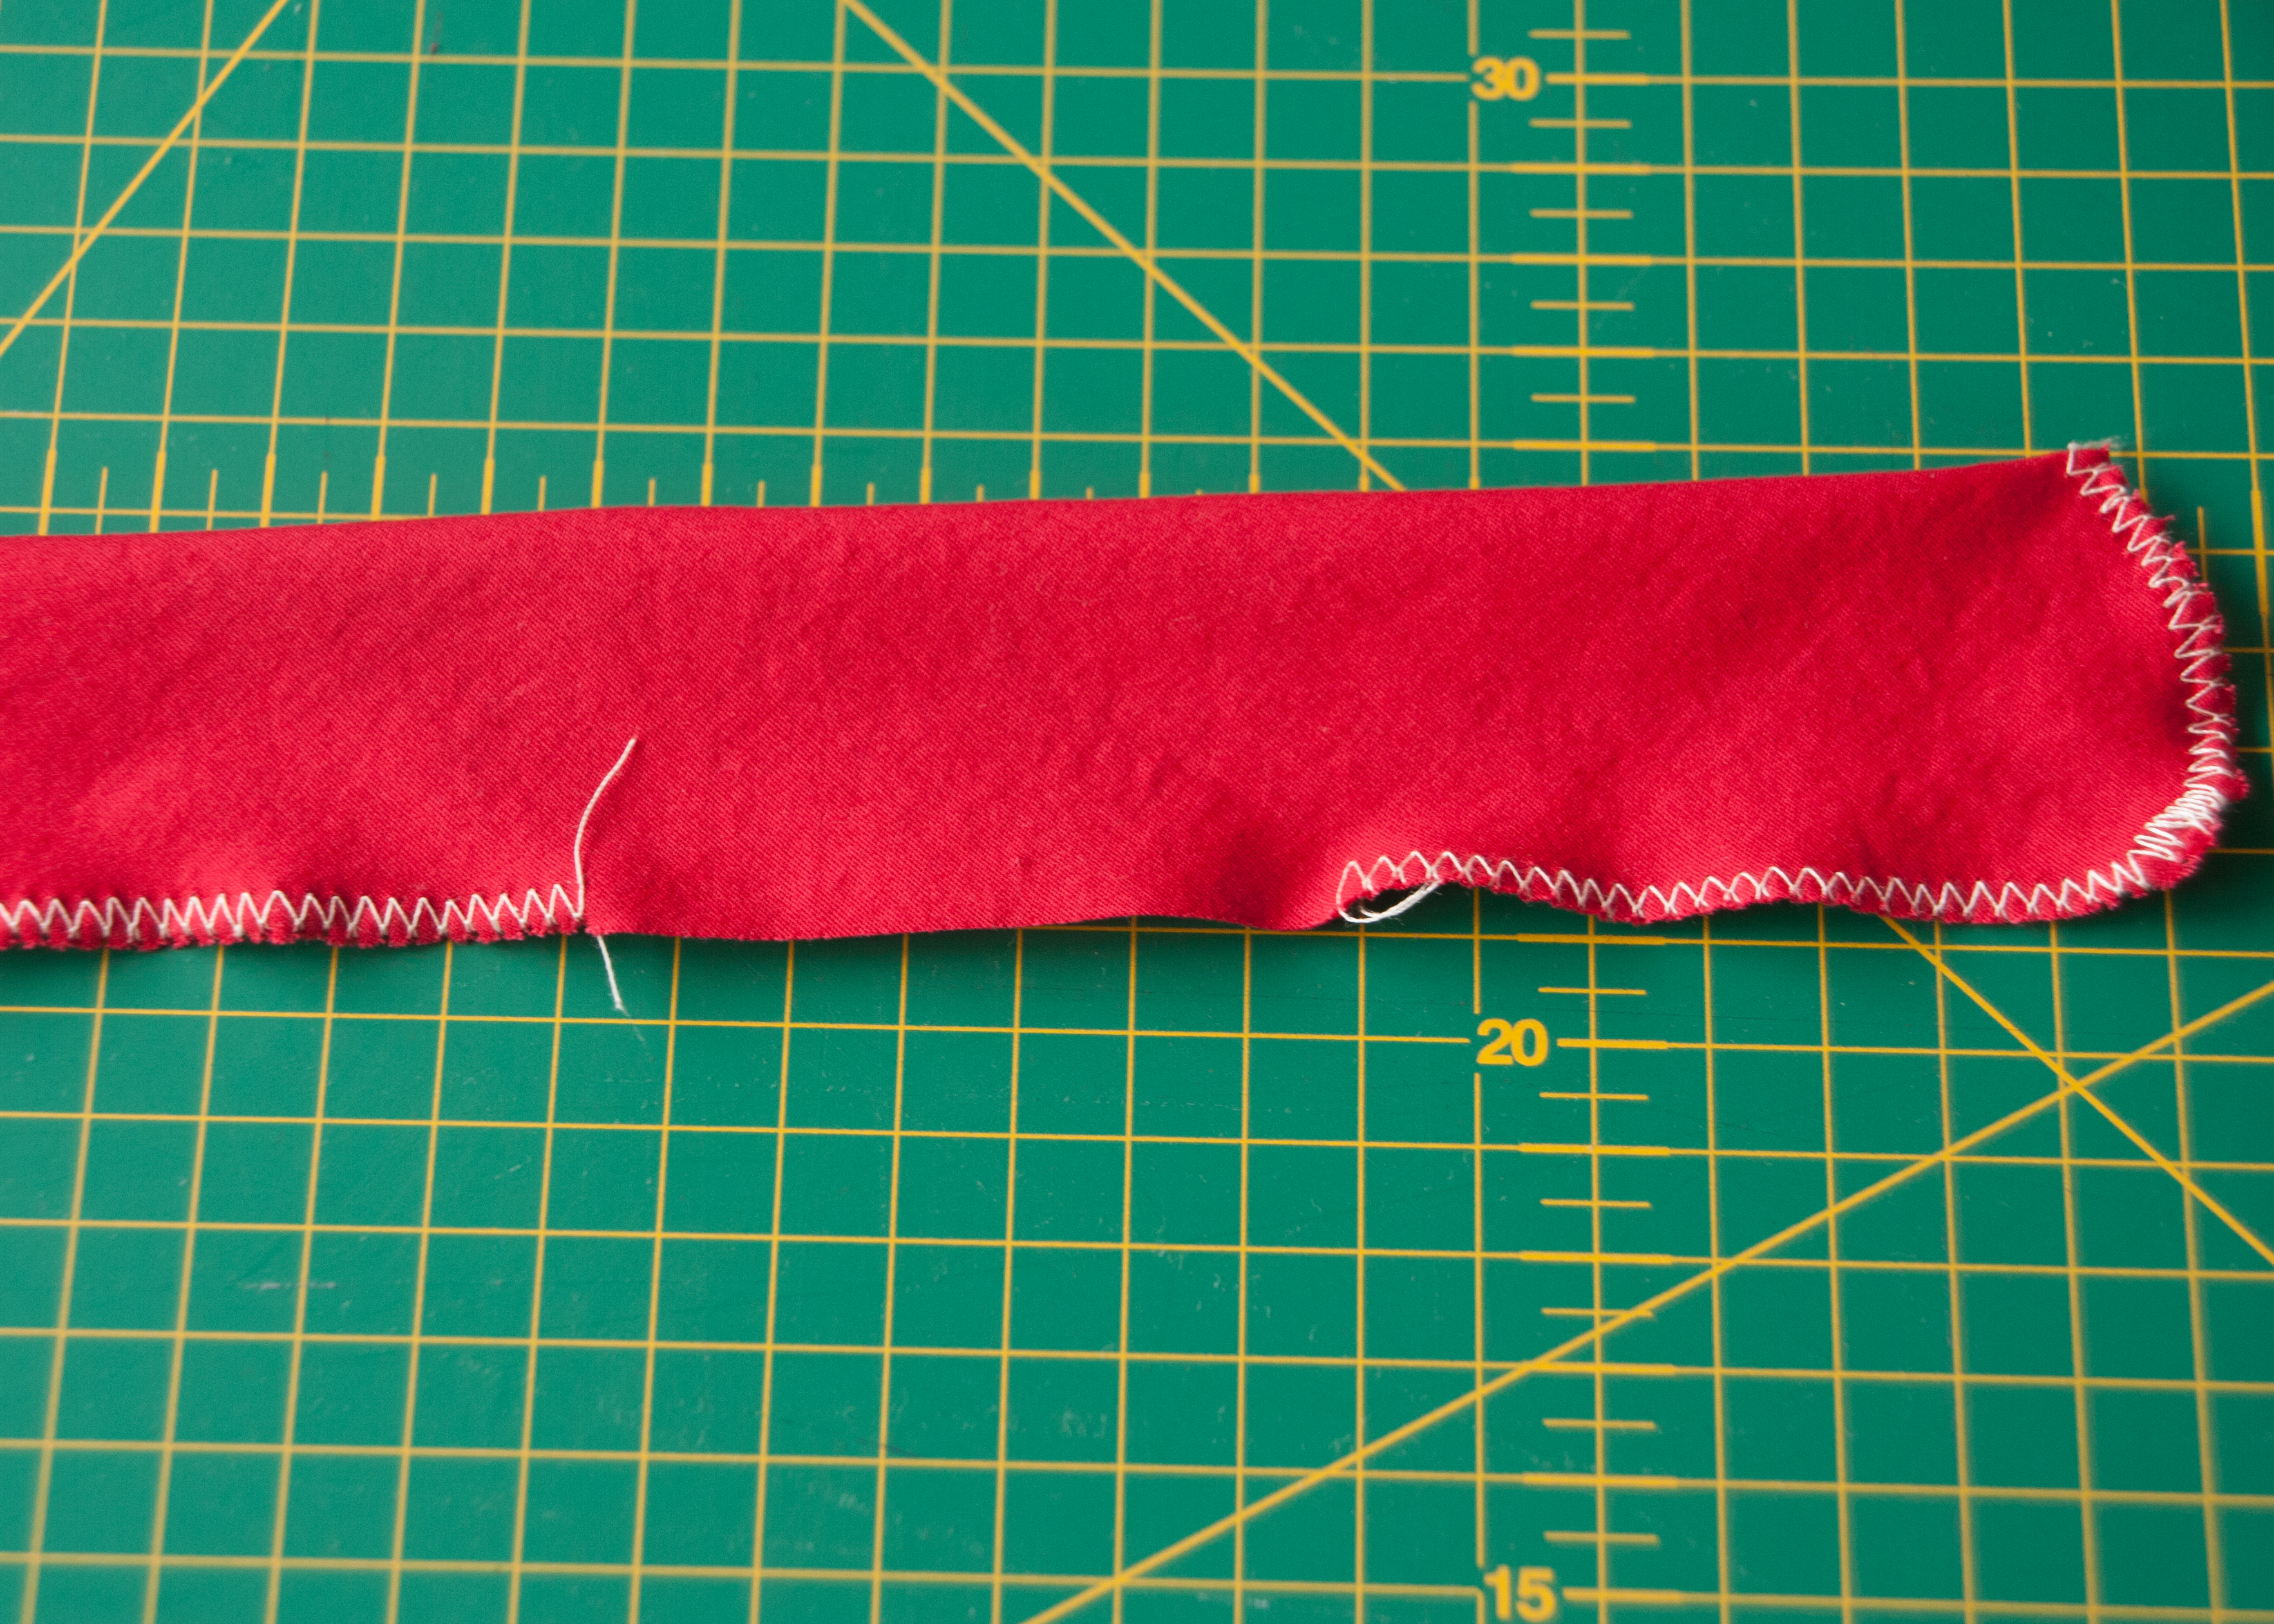
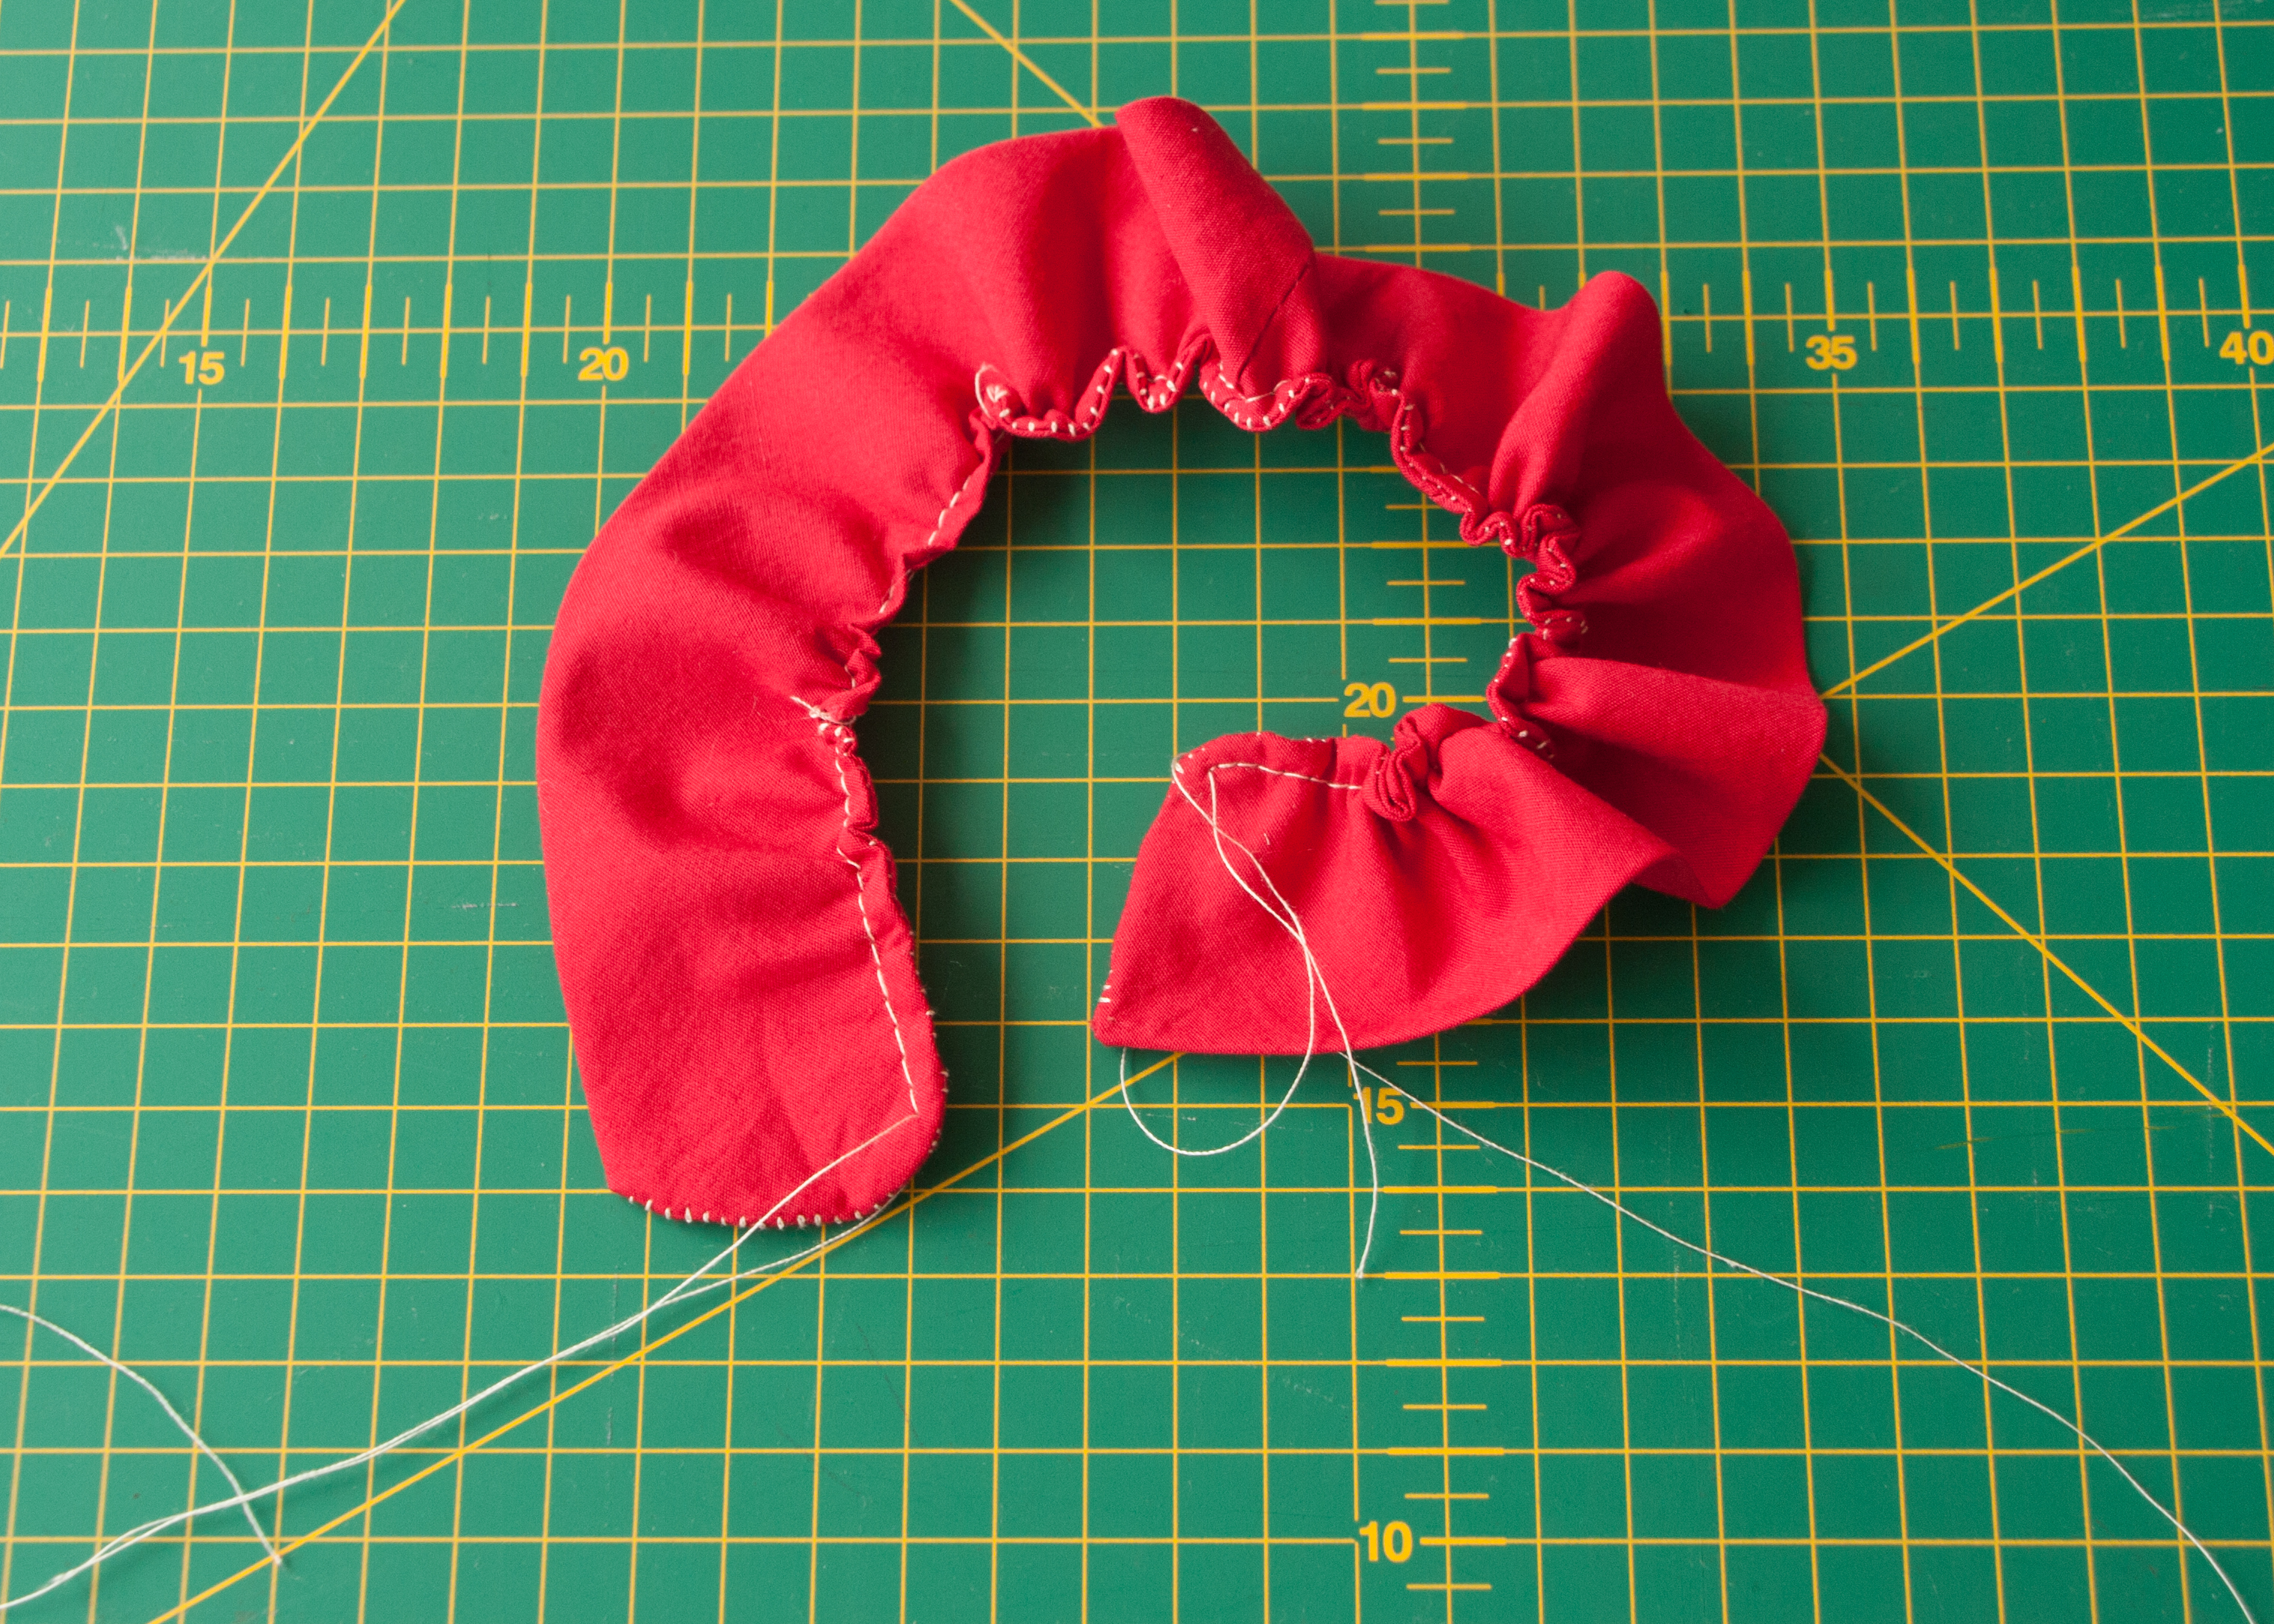
I decided to make a bishop sleeve, a sleeve that gets wide at the bottom but is gathered up and hold together somehow, either by just an elastic or a cuff.

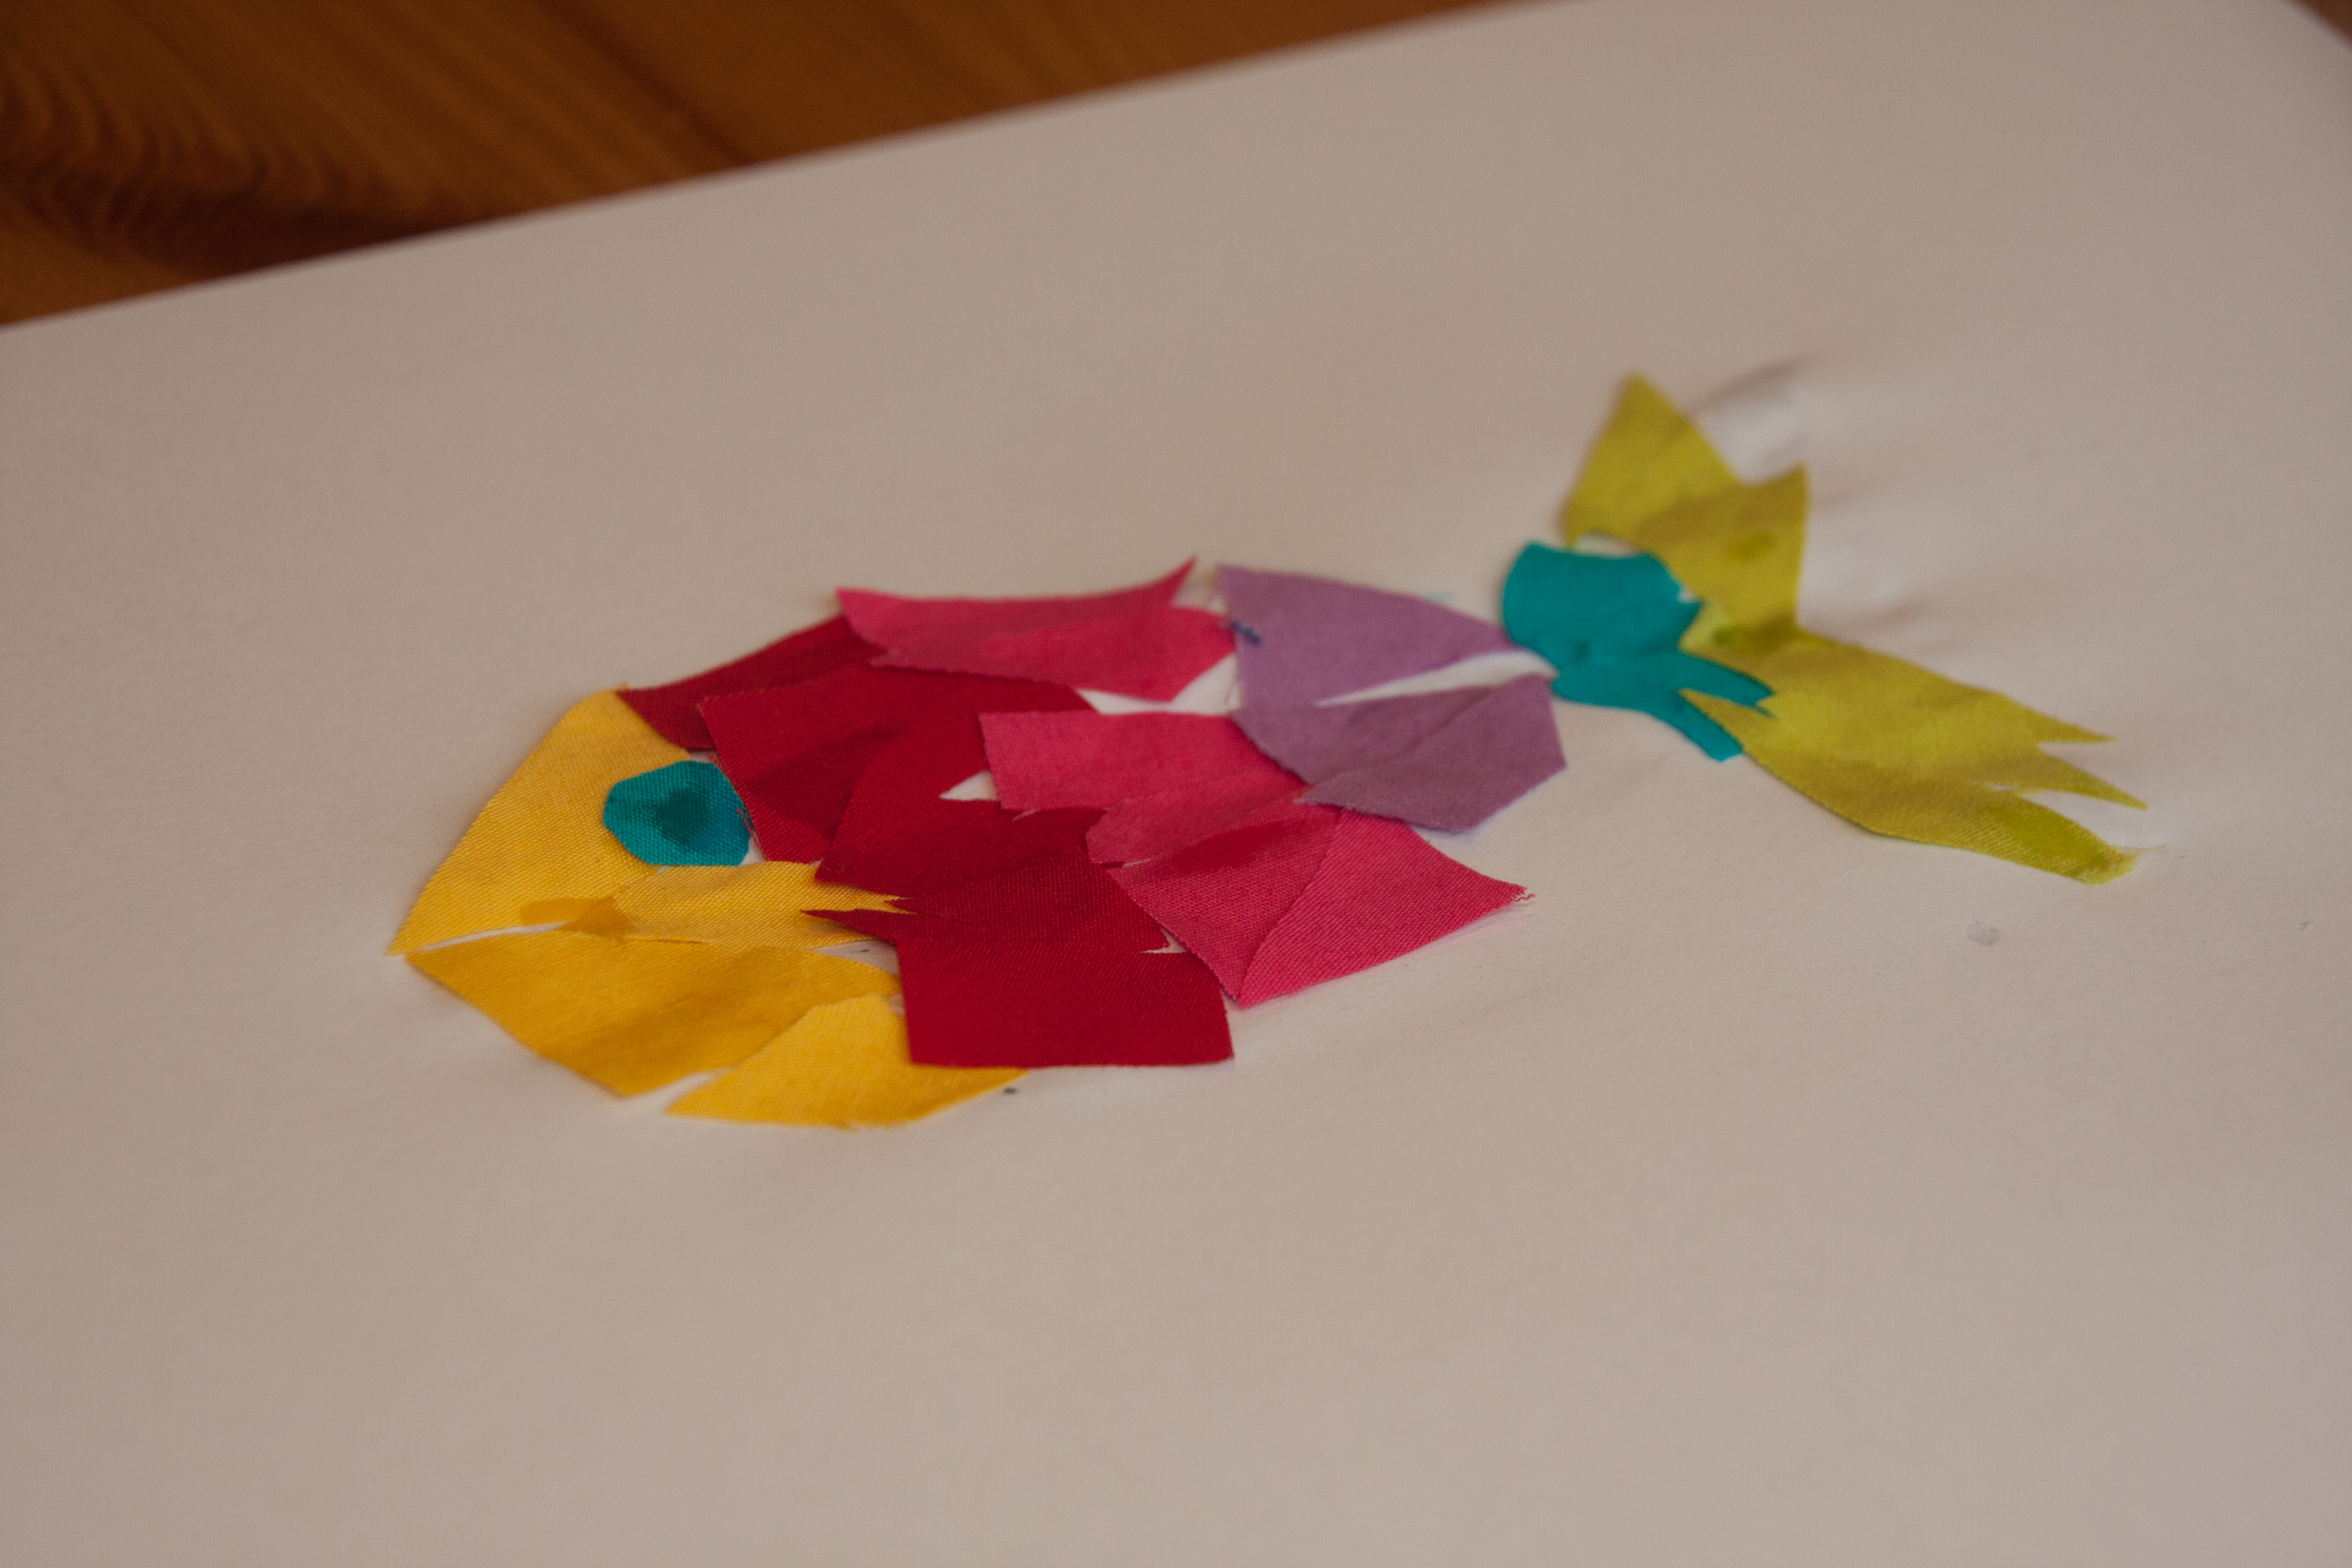
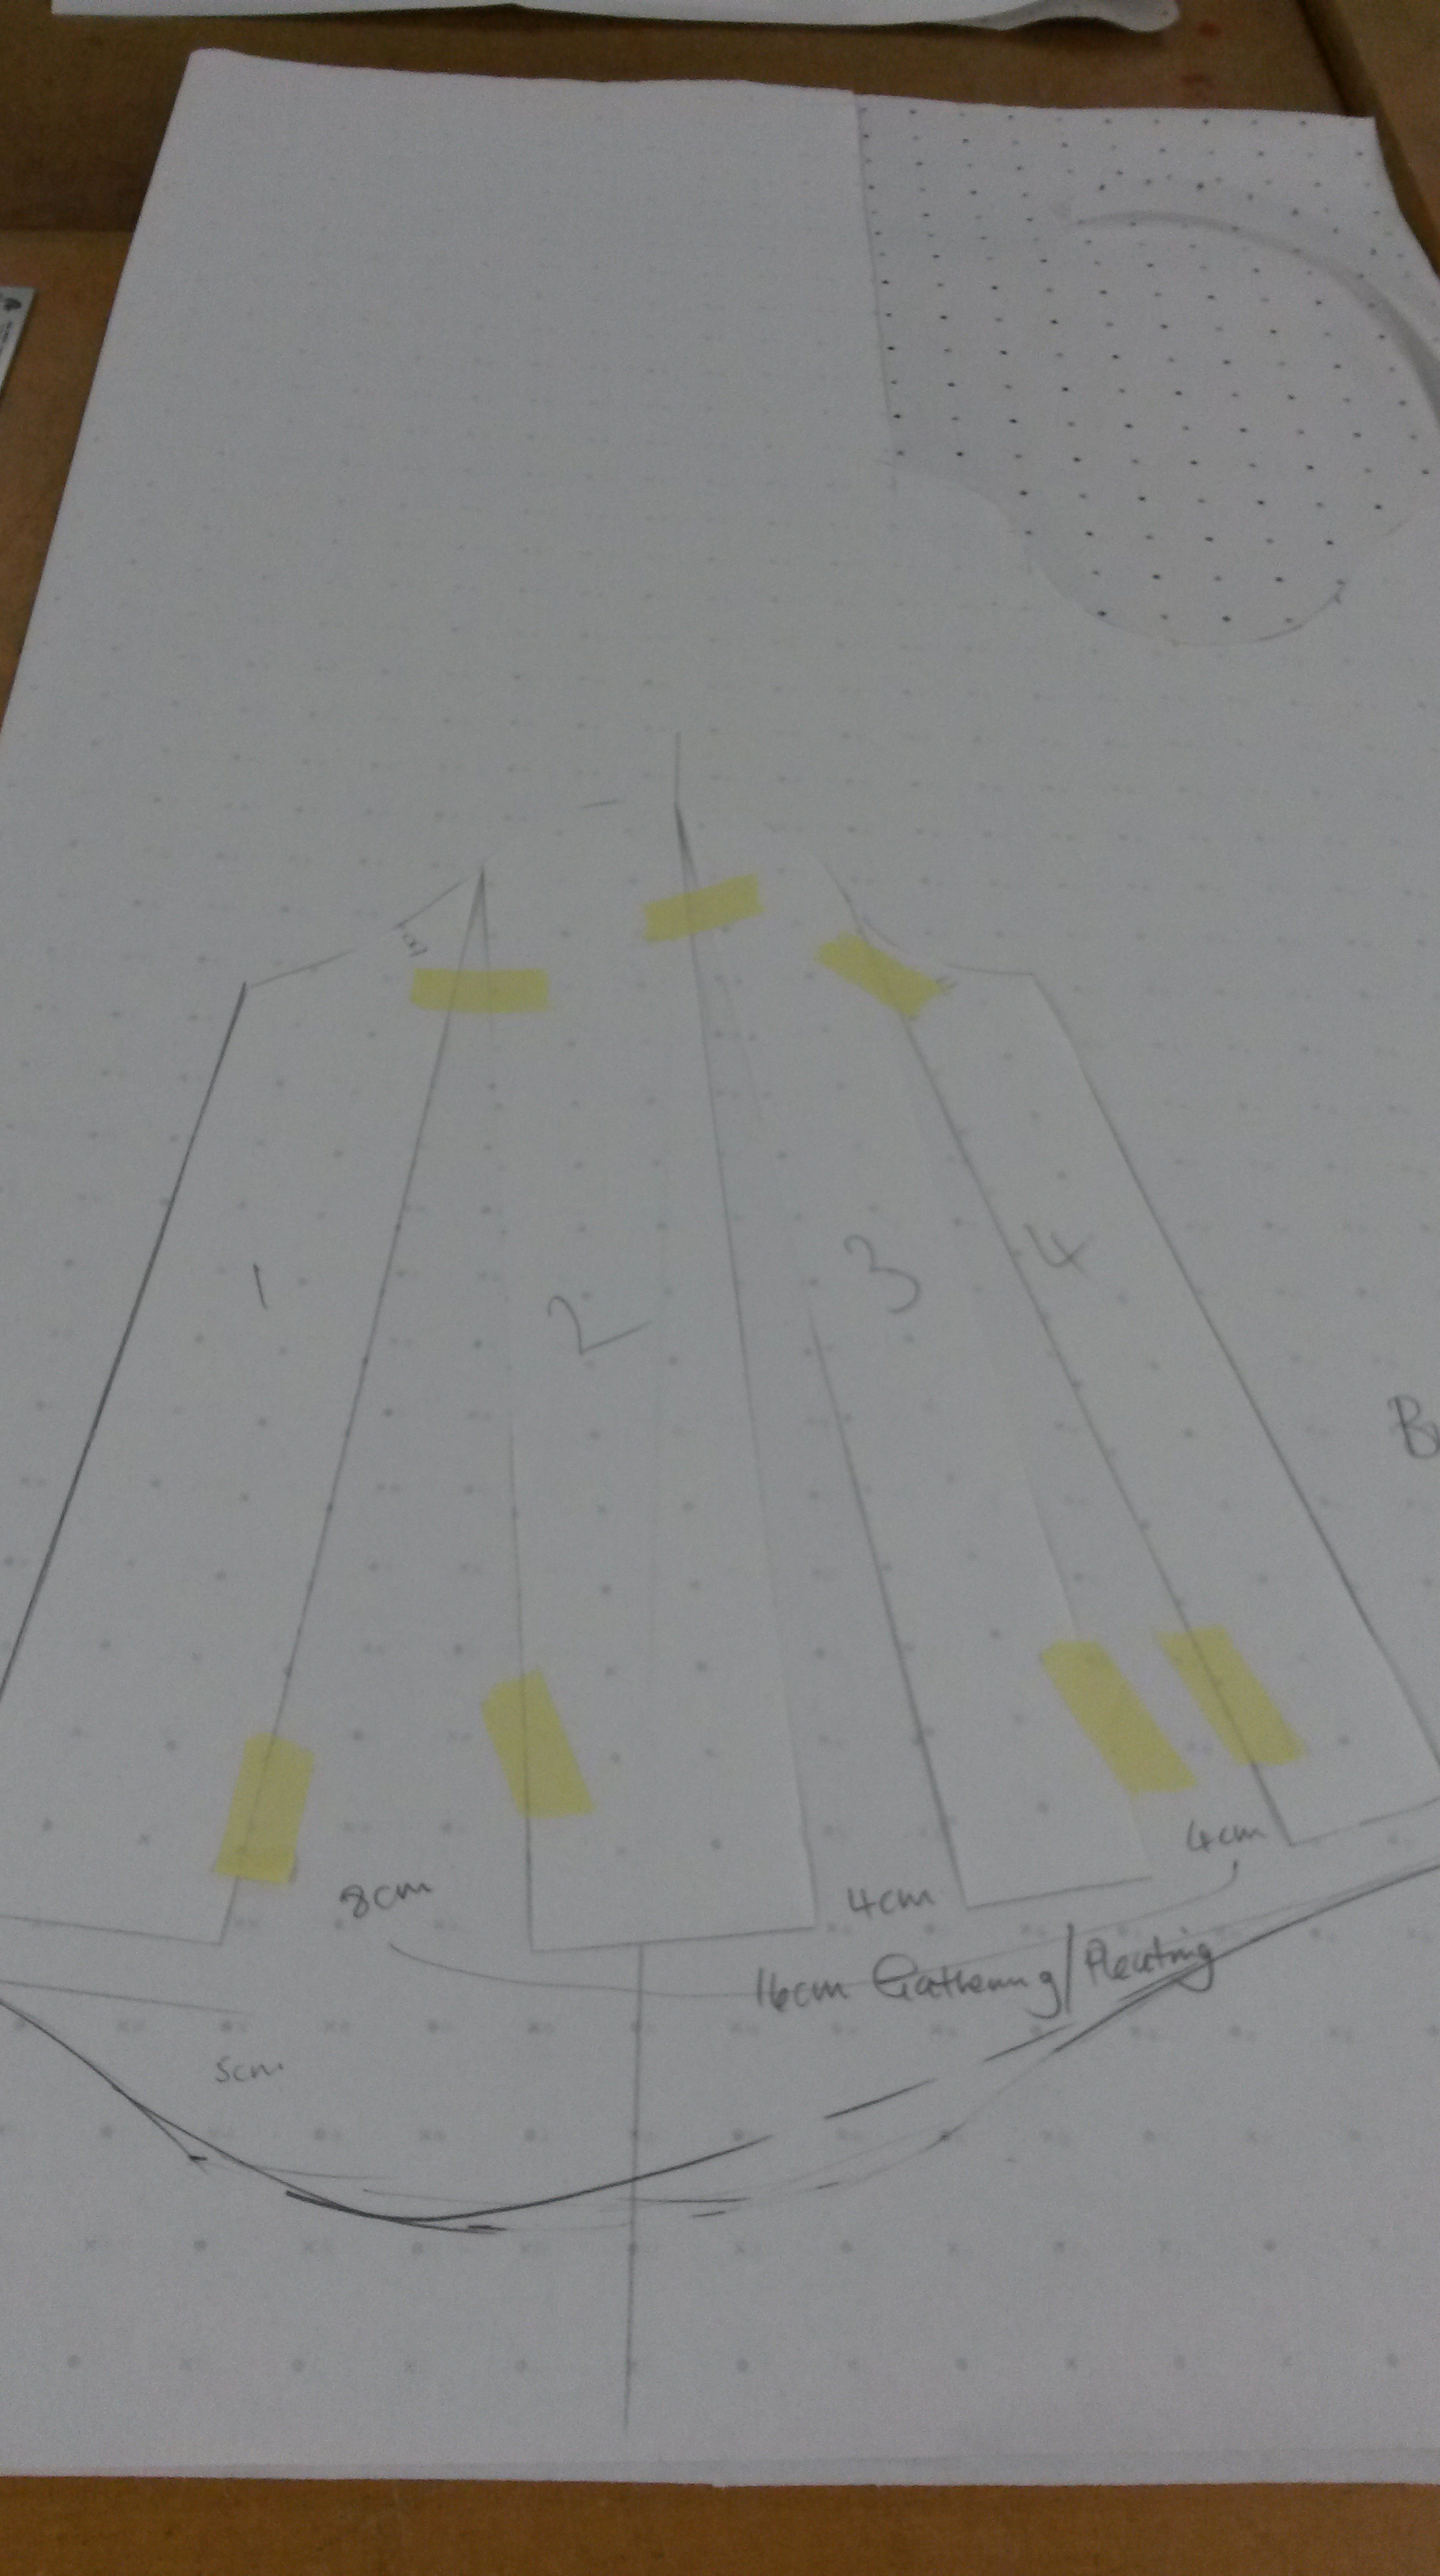
So here is the pattern draft. Pattern cutting really is cutting a big shape into small pieces and then sticking them onto a bigger paper. Luckily, I know two experts in cutting and sticking 🙂 …

20150127_110455

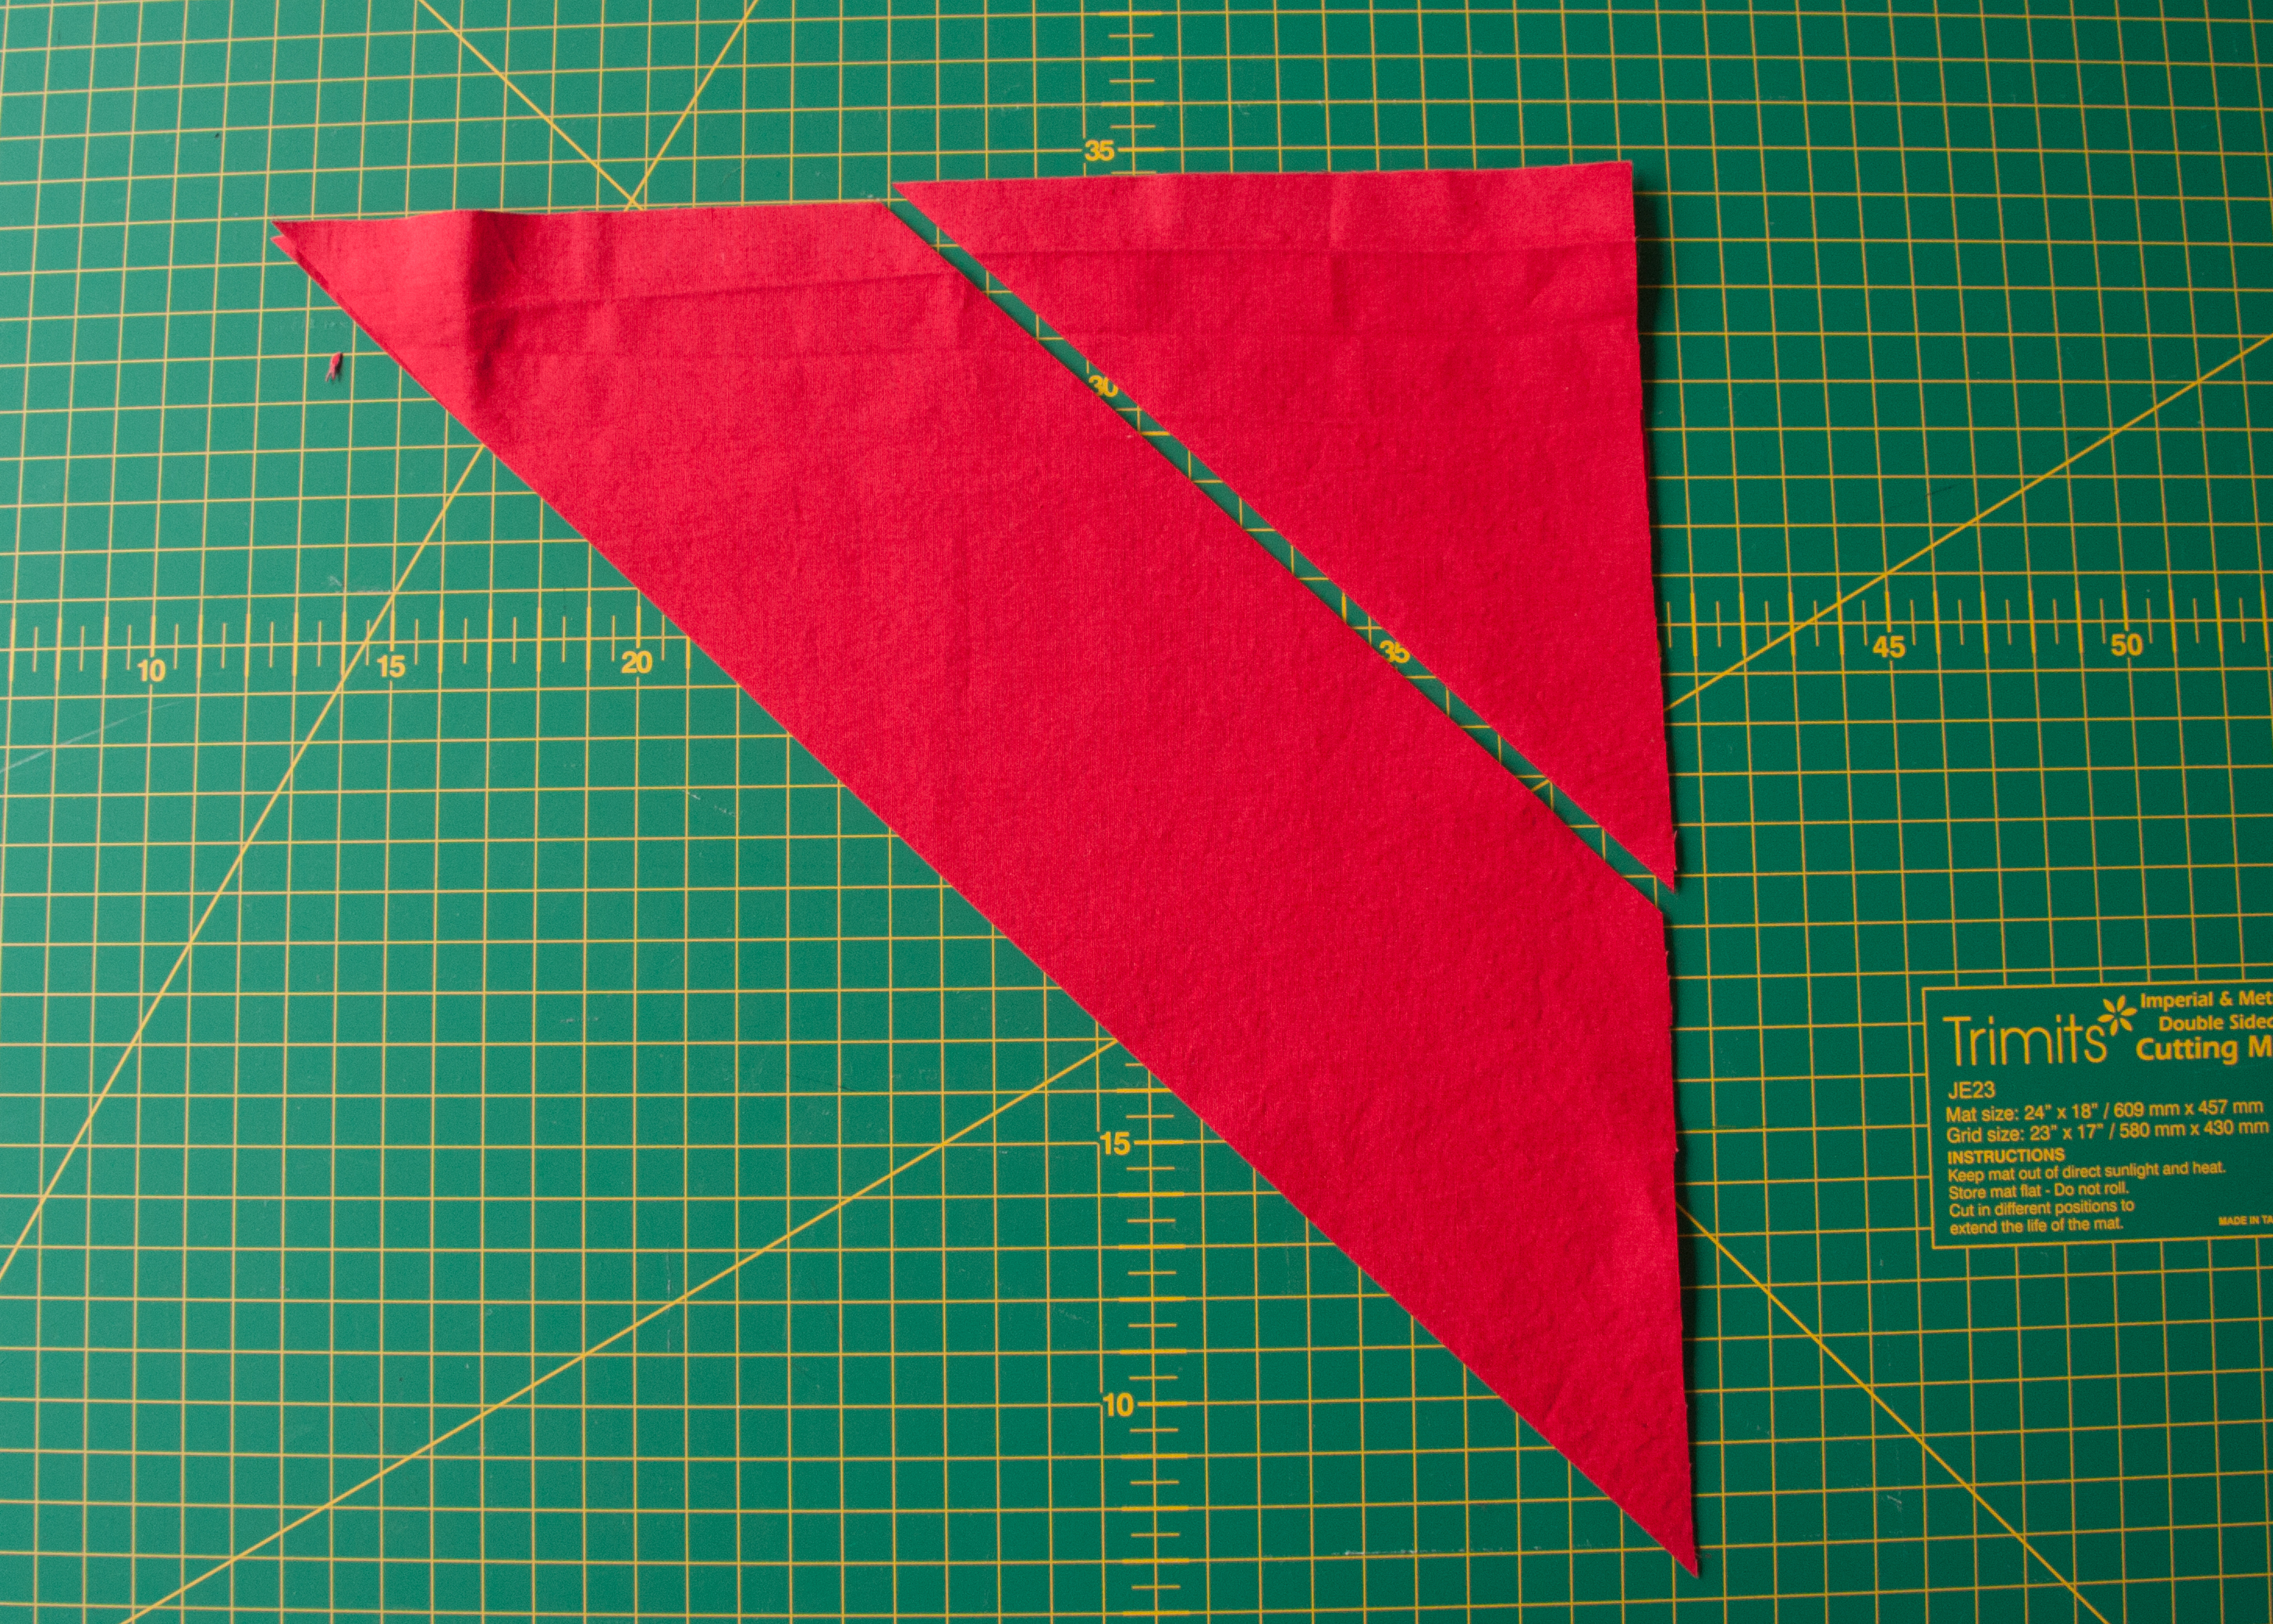
… then you take this pattern draft and copy it onto a clean piece of paper, add seam allowances, notches, marks, grain line, other clever things….

Insert mental picture here as I am too lazy to get it done for you, sorry but I am up since 5am.

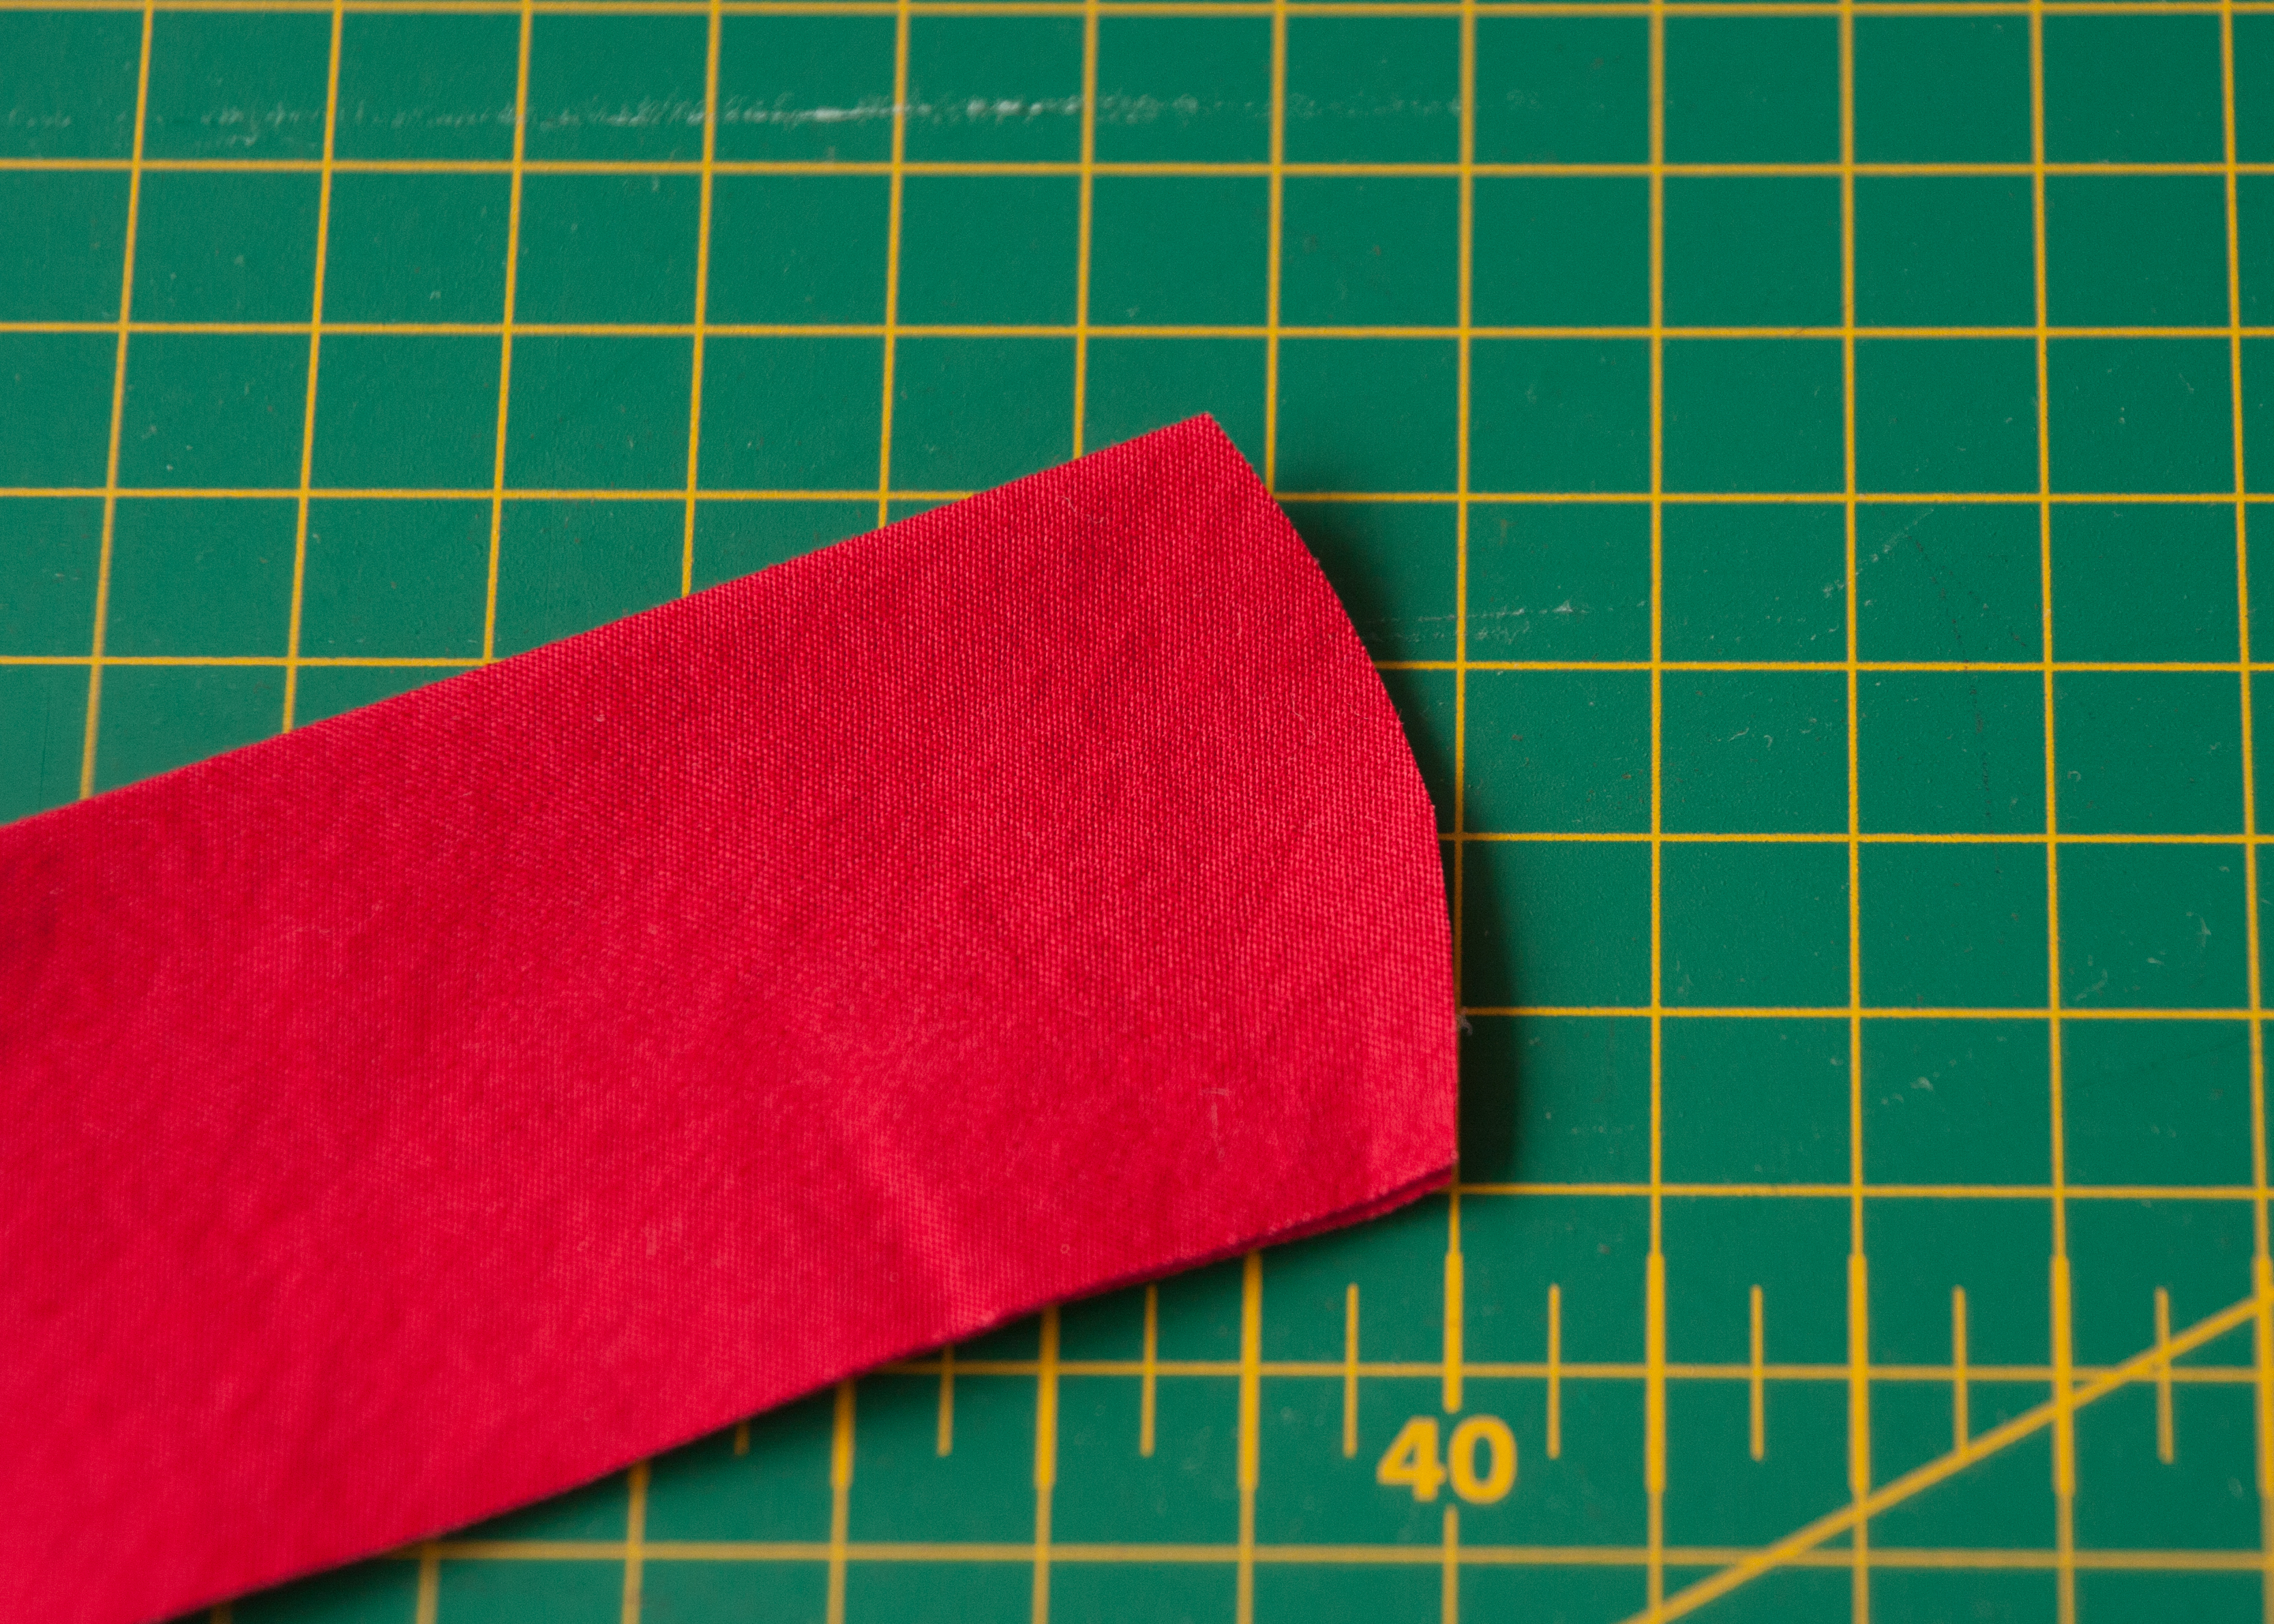
… and then you just sew the sleeve, attached to half a front and half a back, as you obviously have to mount it somewhere…

As it is a model only, it is actually not the right size but 3/4. I have used some left over lining as I wanted to practise working on flimsy material rather than my usual cotton….

IMG_3131

… I will have to include some historical fashion detailing for my final garment chosen at a Wedding Dress exhibition and in my case it is for some reason surface decoration. So I decorated my cuff with some lace knitting to see how this would work (see another clever use of scrap yarn here) …

IMG_3132So far, I am not impressed and definitely would not want to wear it (haven’t asked Michelle yet)

Ok, I have chosen a rather thick (compared to the flimsy fabric) cotton yarn for laziness practical reasons but I also think it would not work that well in a better fabric-yarn combination at least not for a cocktail dress. It will definitely be easier, quicker and prettier to just buy some lace and put it there. If lace it the kind of surface decoration I want to use. You see, I really know what I am doing, clearly this is just the right class for me and considering that I am fully committed and doing my homework no later than Monday evening it will be a huge success.

So stay tuned! I guess once I press that “publish” button there is no way out of it anymore , I will have built up too much excitement and too high expectations….. Should I, should I not? I guess I should.