Learning from mistakes… and I have learnt a lot lately

I seem to go through a rather brainless period lately and I do not really know on who or what to blame it. Staying at home with children doesn’t seem to help me personally to keep my brain fit and healthy. I guess I should look for some kind of activity… say cross words or…. knitting. Isn’t that supposed to be one of these activities to keep your brain active? Clearly not true over here.

And sadly I seem to make more mistakes when I am particularly pleased with my own cleverness.

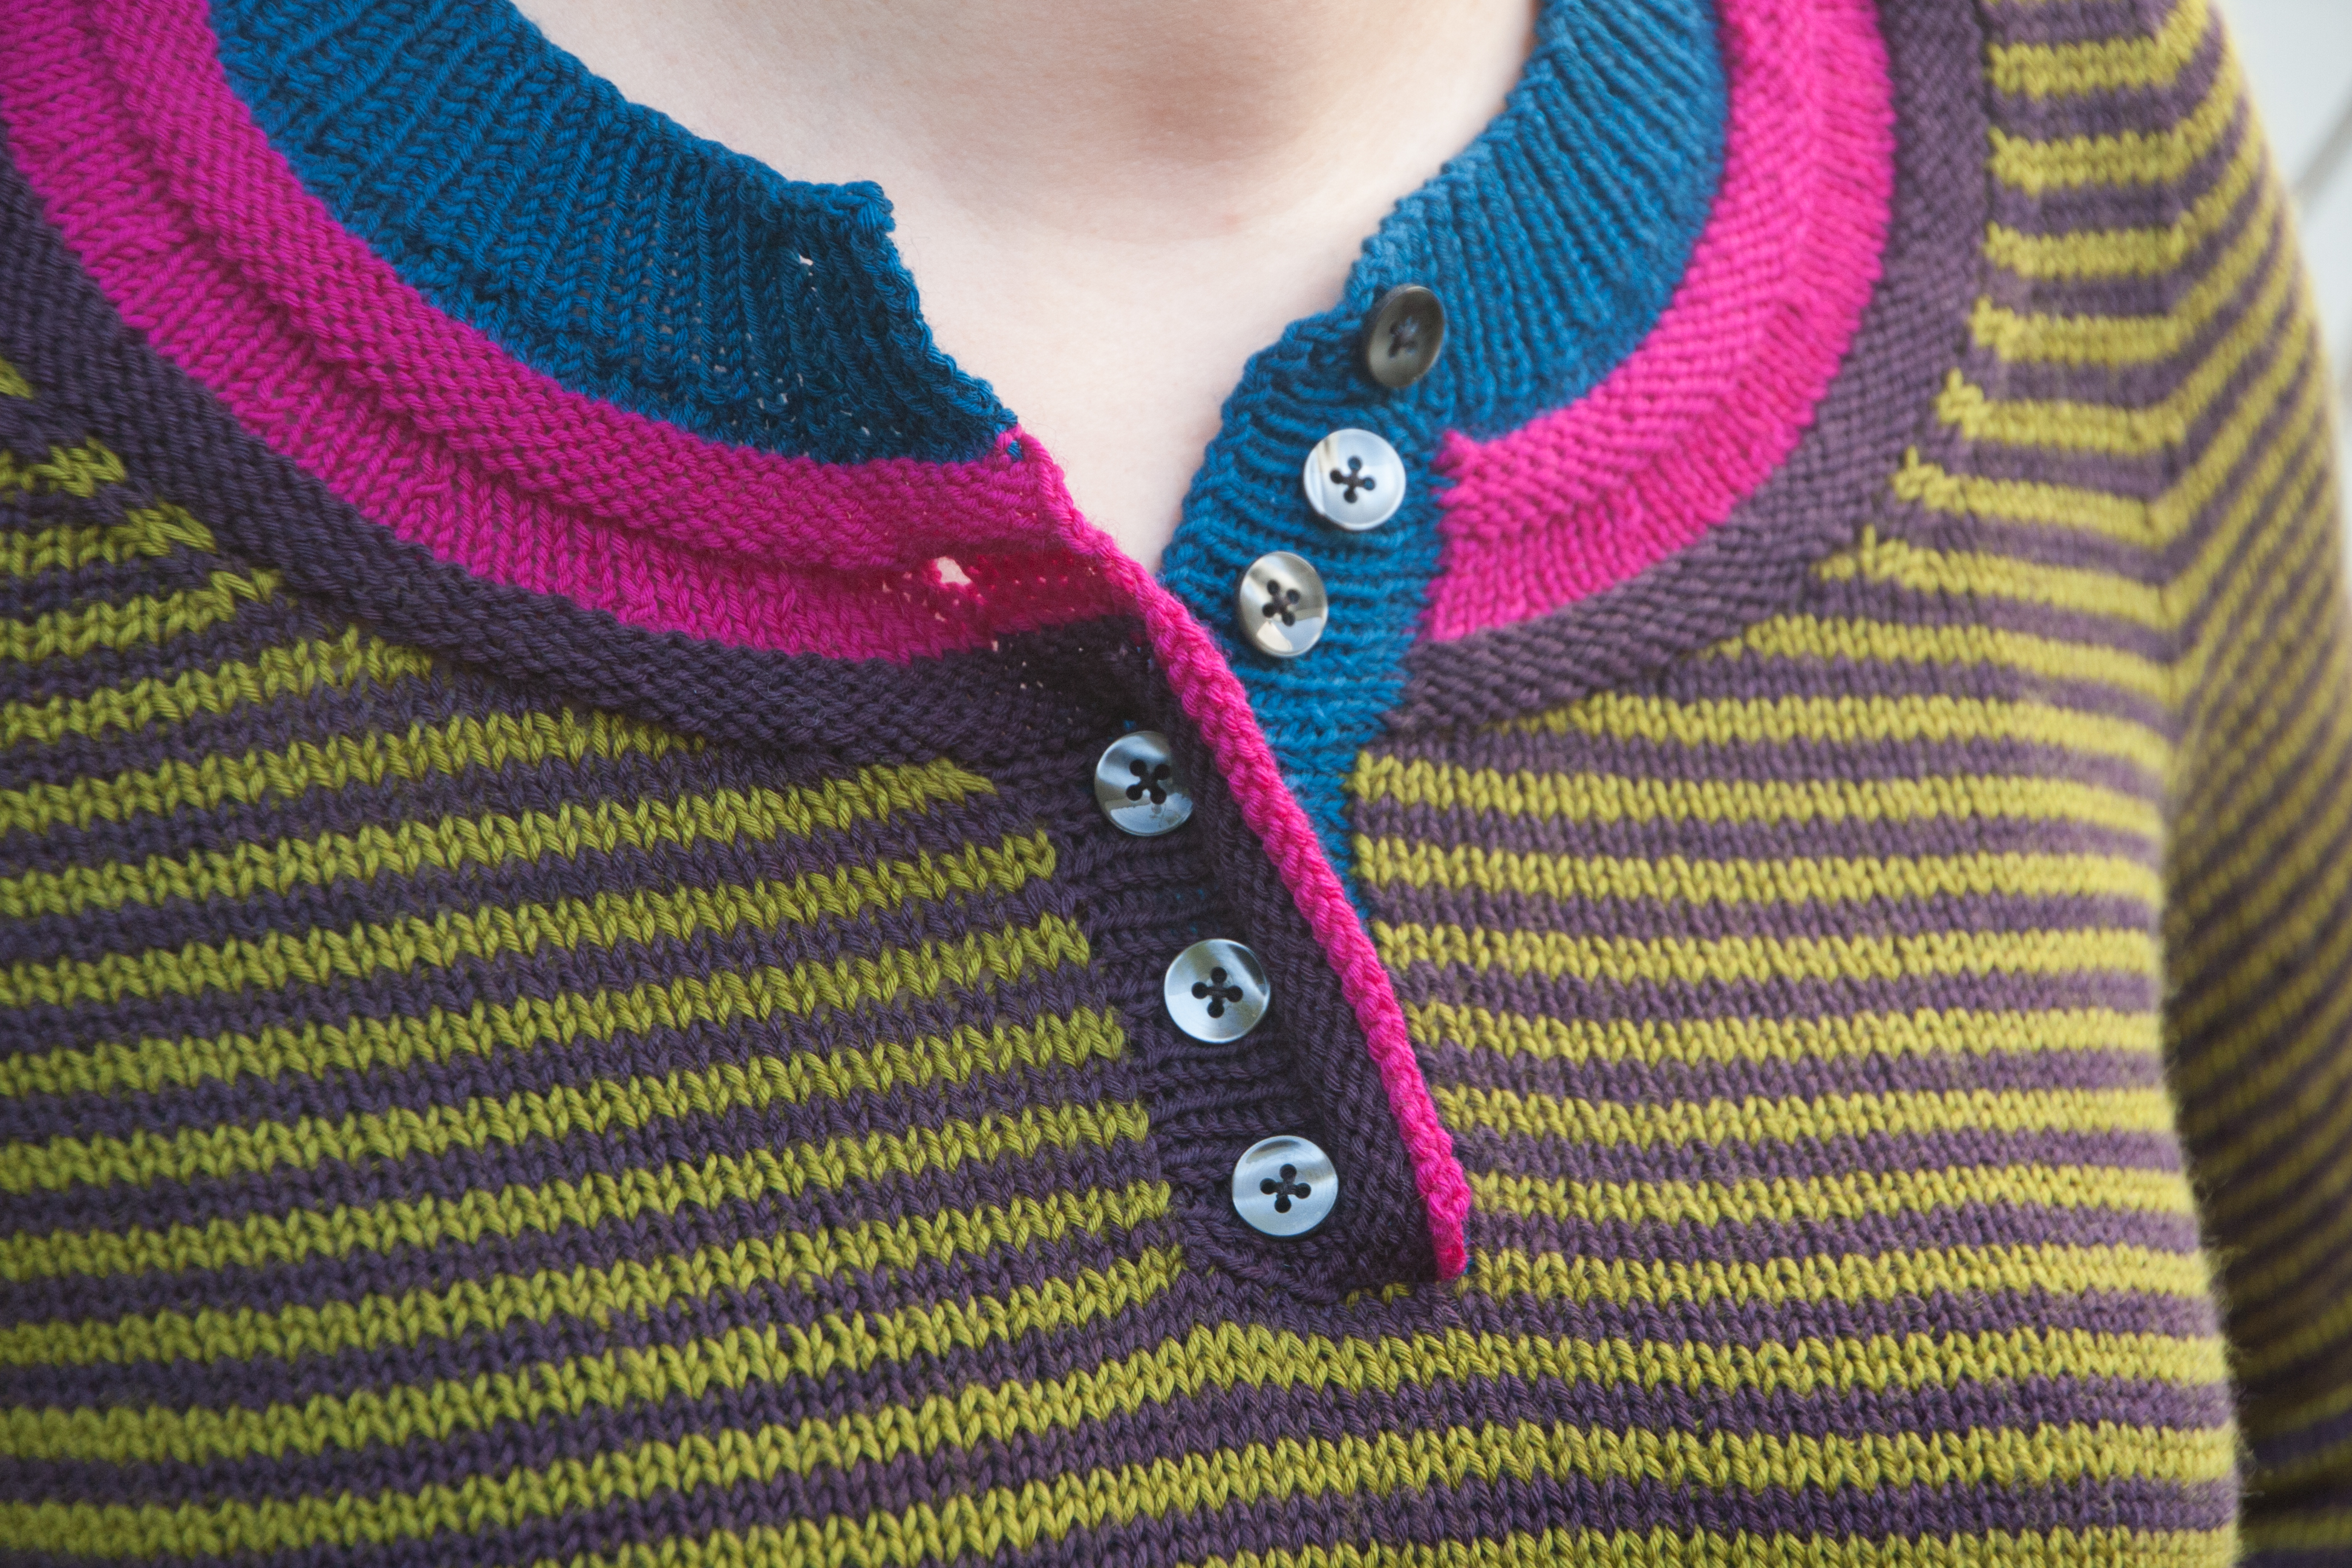
Example No1 “The Dress”

I am currently sewing a dress for myself. Well, I try to.

I always pre-wash new fabrics and put a little old cleaning cloth in the washing to see if the colour of the new fabric would discolour other items. Clever, isn’t it. Except if you put several new fabrics in at the same time.

So my lovely orange flowers on white background were suddenly orange flowers on a yellowy-peachy background. Slightly disappointing but still pretty enough to be used.

I placed the pattern on the fabric and was extreeeemely pleased with myself that I not only managed to put them so close together (loosing 5mm of the edge of a dart) that I might actually be able to make a skirt from the left overs but also that I remembered for once to transfer all marks onto the fabric,…. shaking my head smugly about the silly notch in the middle of the front-fold… If I cut there into my fabric I would have a hole in the middle of my dress…. silly.

Once I finished cutting out everything super carefully, I realised that I had placed them wrongly, with the front cut in half instead of one piece and the back as one piece instead of cut in half. I guess, I could fix it by adding a stripe in a contrasting colour which would “cut” the front in two halves but that would mean that I had to buy new fabric so I just bought the same fabric again and I’ll not make that mistake again ever….hopefully

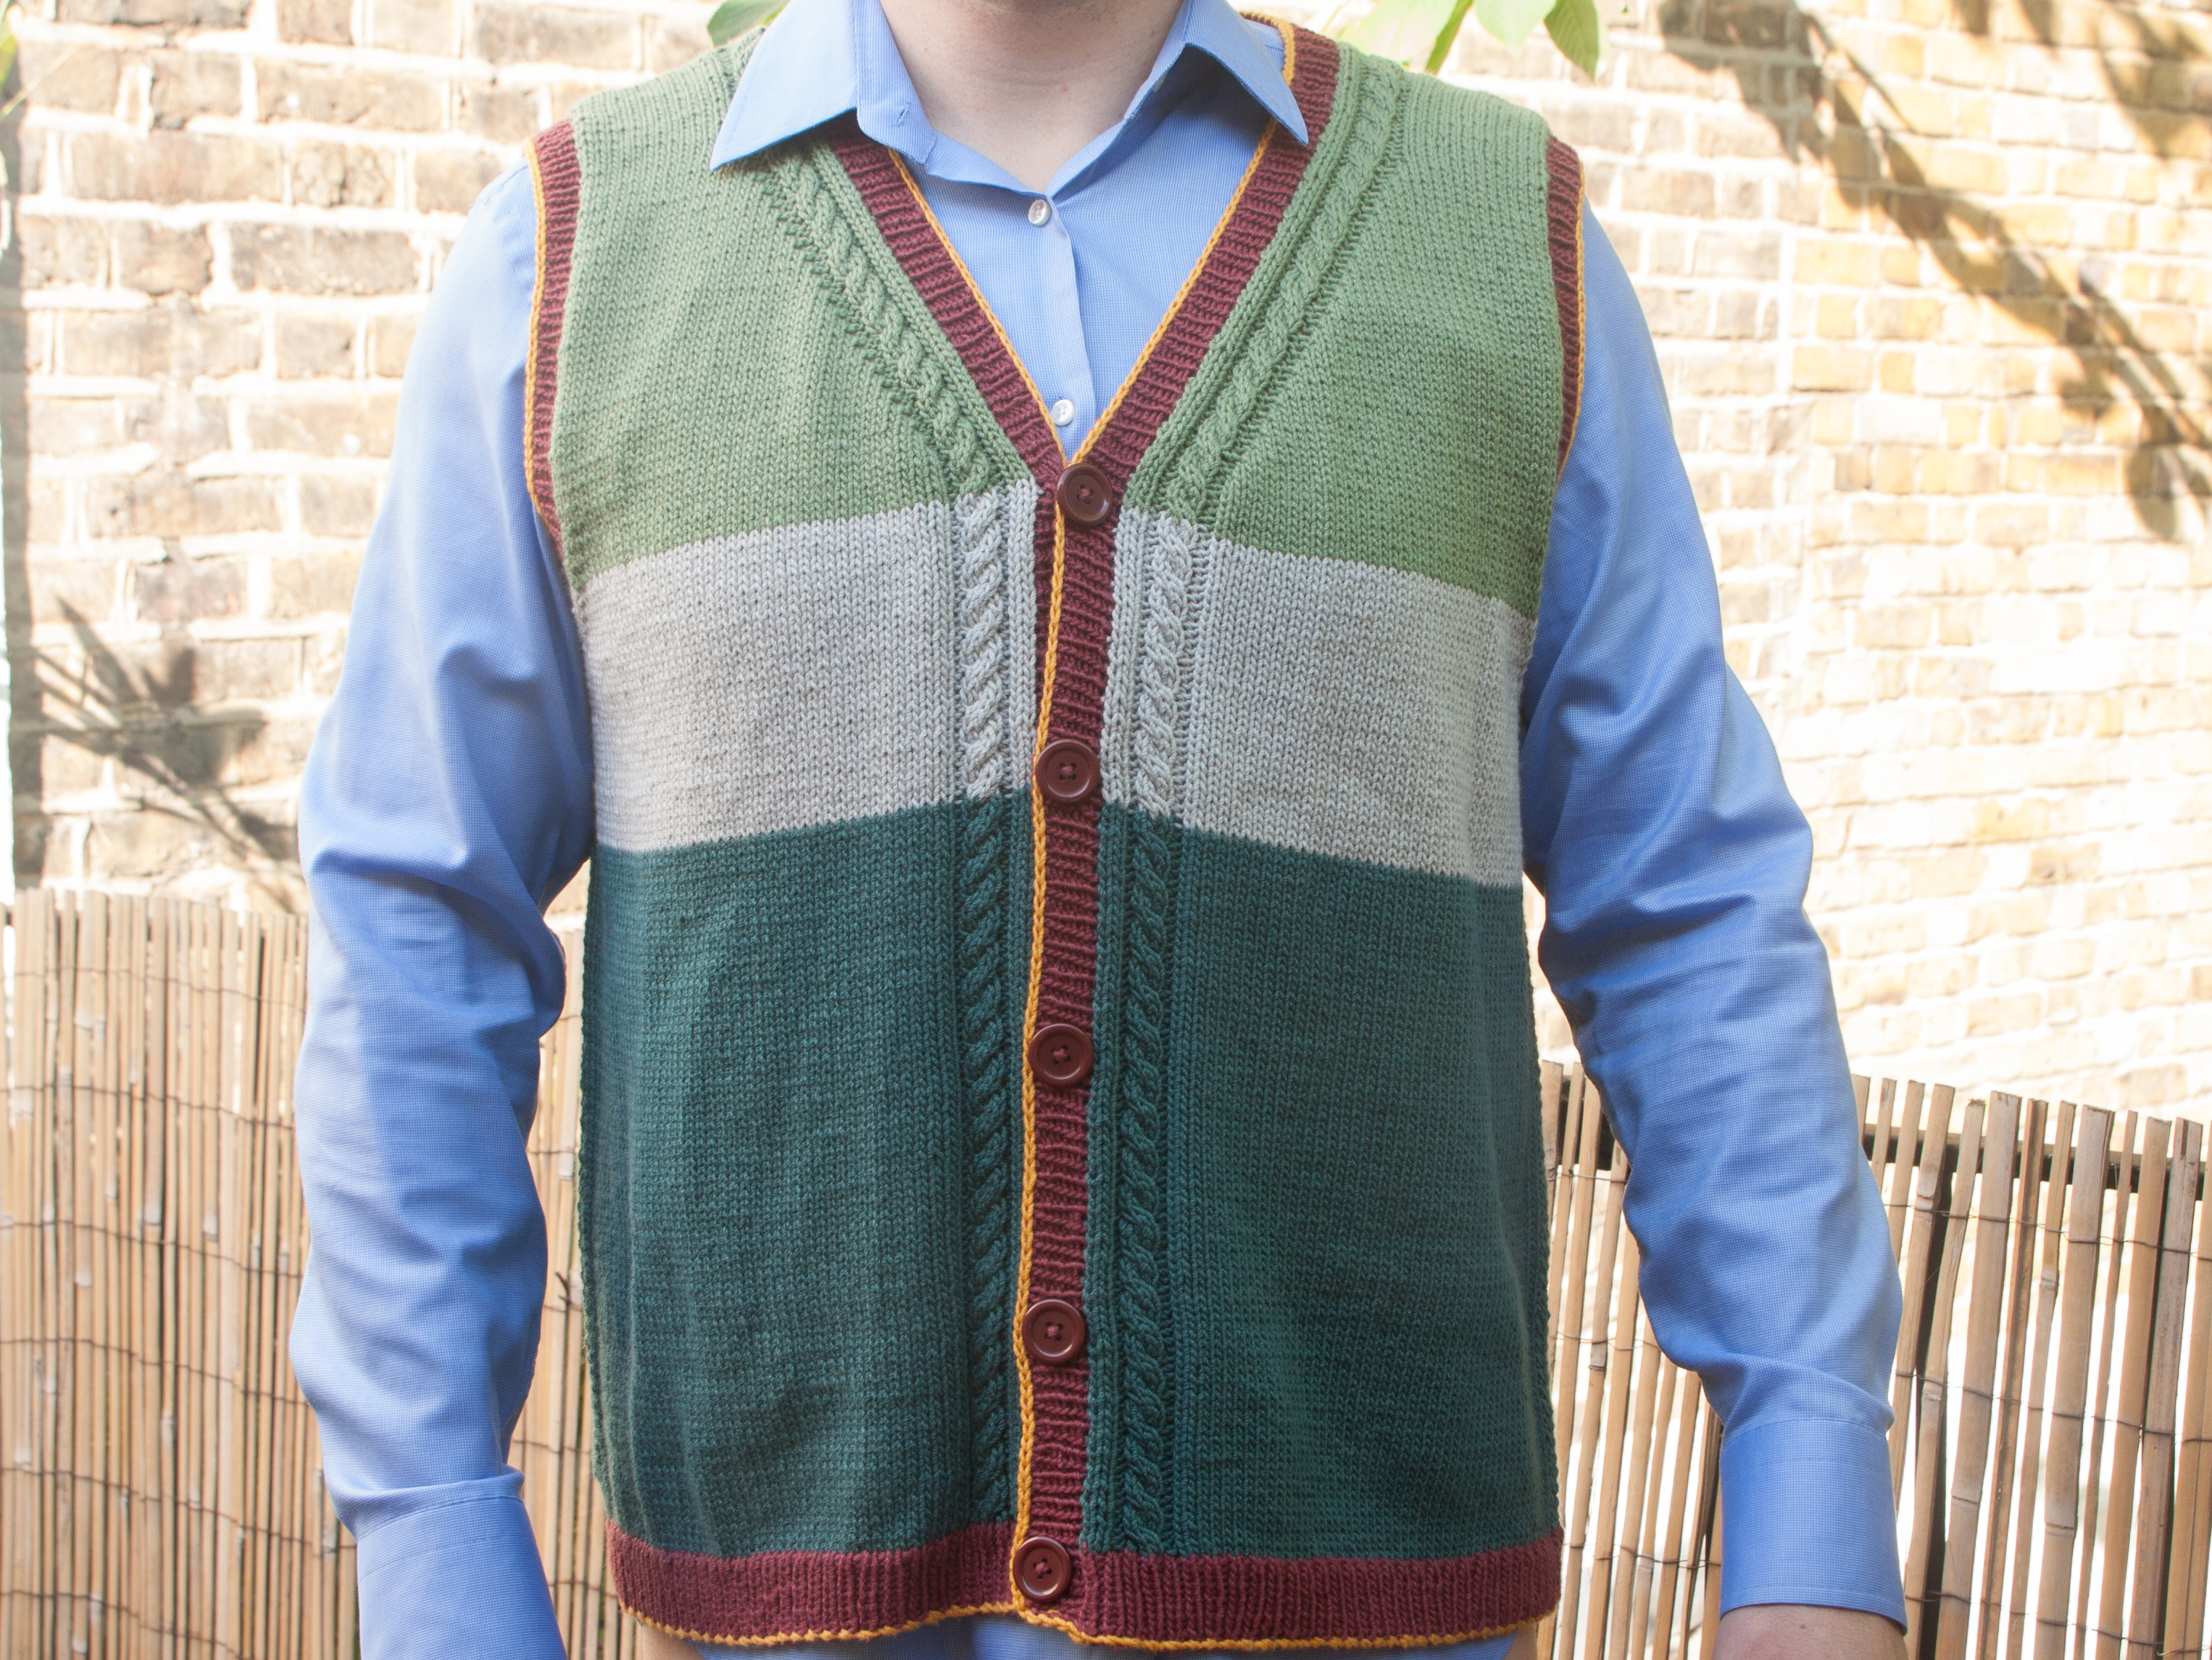
Example No2: “The vest”

My mum requested a sleeveless vest for my dad with “a fun design, maybe stripes”.  As usual I skipped the rather useful planning and calculating before ordering and ordered a main colour and a few single balls in other colours…. which was then rather tricky to put together.

I guess that is something I will never learn so I should not count that as a mistake anyway.

At least, I did a proper counting job and counted all my rows and wrote down all the numbers on little scrap papers which I placed carefully around the house.

So I was really surprised when I made the buttonhole band and then the armhole band and things clearly did not match.

It took me two hours of counting again and again until I actually found the mistake. And I had to rip at least one day worth of knitting.

Lesson learned here: Don’t bother counting rows if you are actually to stupid to do it properly.

And last but not least, I was again very proud of myself that I remembered that I will have to take care on which side to place the button holes as my father is not exactly the cross dress type of man who is used to wear his buttons on either side 🙂

So, I finished the vest, asked my husband to wear it for the picture, wrapped it carefully, sent it to Austria and waited for the thank you call.

IMG_1831Which came a couple of days later. Beautiful, super soft material, nice colours, fits perfectly but by the way, the buttons are on the wrong side….

At least that is easy to fix 😉

IMG_1831spiegel

Next time: Yarn over and their English equivalentS and why it is actually really useful to watch you tube videos only half way through and with the sound switched off.


Chloe

I have quite a few things lined up but Chloe has jumped the queue.

In my knitting classes I always suggest several mini projects and a little bag for children was one of the ideas. Something like this:

But one of my students, Aksana, was not happy with this. So she kept asking “what if I do this, what if I add that” and I kept replying “you are the designer of your bag, go for it”

So, she made these two for her girls:

Aksanas bag1This is clearly much more exciting so I decided to steal her idea (don’t worry I did ask for her permission 🙂 ) and designed Chloe – a shoulder bag for children. I made two versions, one very simple and one with a few more skills required. I am hoping that this will help not only my students to finish an easy yet fun project which they can adapt to their level of knitting.

I have decided to include a few explications of knitting techniques with would be new to a beginner but no proper tutorials. There are so many good ones out already, I don’t think I could do that any better.

In the meantime you can download Chloe and start knitting 🙂

How to take good pictures of your knitting

I have a fairly long to do list at the moment and one of the things on it is obviously “writing clever posts on my blog” so today I want to share my thoughts about an important part of knitting and blogging…. taking good pictures.

So here goes.

1. Don’t plan your photo shoot ahead. Just do it.

2. Don’t look for the perfect location. Just take the pictures where it is convenient for you, for example your back garden. A nice location will just draw away attention from your knitting.

3. Don’t wait for the sun. It will just overexpose the picture.

4. Just throw your knitted object over railings or a coat hanger. It will show its full glory all by itself.

5. Ask someone to pose in your pictures who wants privacy and doesn’t want her face everywhere on the internet. If that applies to you, just do it yourself.

6. Take the pictures yourself. Don’t ask anybody for help. They will just do it wrongly anyway.

6. Use a fancy camera with lots of buttons on it. You’ll find out eventually what they are for. If Point 5 applies to you, use the automatic release… if you can find it.

7. Alter the picture on the computer, change colour temperature, exposure, clarity, contrast,… whatever you want. But most importantly cut that head of your model off. The picture will look so much better without a person in it.

8. Be proud of yourself and decide to put “writing clever posts on my blog” on top of your to do list.

See, not that bad 🙂

Space for more

IMG_1739So the 3in1 is done and I am really pleased with the result. The Wollmeise yarn is lovely, very rich and intense colours, the pattern is great, really my style, I love the extra long sleeves.

IMG_1755I wasn’t too happy with the buttons initially but once I had sewn them on, I found them rather perfect.

The only problem really is that I still don’t know when to wear it. It is too precious to be worn with my children and their sticky fingers in sight. And it is also a woollen jumper and even in England we do expect something like spring and summer coming up now.

Never mind, I haven’t knitted anything big for myself since ages and it was about time.

Now, I still have to pack for our Easter trip starting tomorrow and I am still undecided… should I finish my longtime WIP, should I finally write down a few beginner patterns for my knitting students or should I start the next project as I just got the yarn for it.

And there is still the window yarn bombing in my mind….IMG_1742That is the window next to our door. It would be very nice to have something welcoming there (or something to make it a bit clearer that we are in fact NOT the dentist next door 😉 ) But I am not sure if I should draw attention to this window as it is uncleanable and then the dirt of I don’t know how many years would just really stand out.

This is the main window and it definitely needs some kind of decoration.

IMG_1743. Sadly I am suffering from a severe lack of ideas and need help. Any suggestions are welcome.  I wonder if I should do some kind of work in progress as otherwise I will never be able to do it anyway. Maybe going with the seasons? So I could add bit by bit and then maybe replace things? (I guess I am a little too late for my Easter decoration)

Or just wrap the bars one by one in different colours in some kind of pattern.

But now it is time to fill the half empty suitcases with an overambitious amount of yarn.