What you all have been waiting for. Or haven’t you?

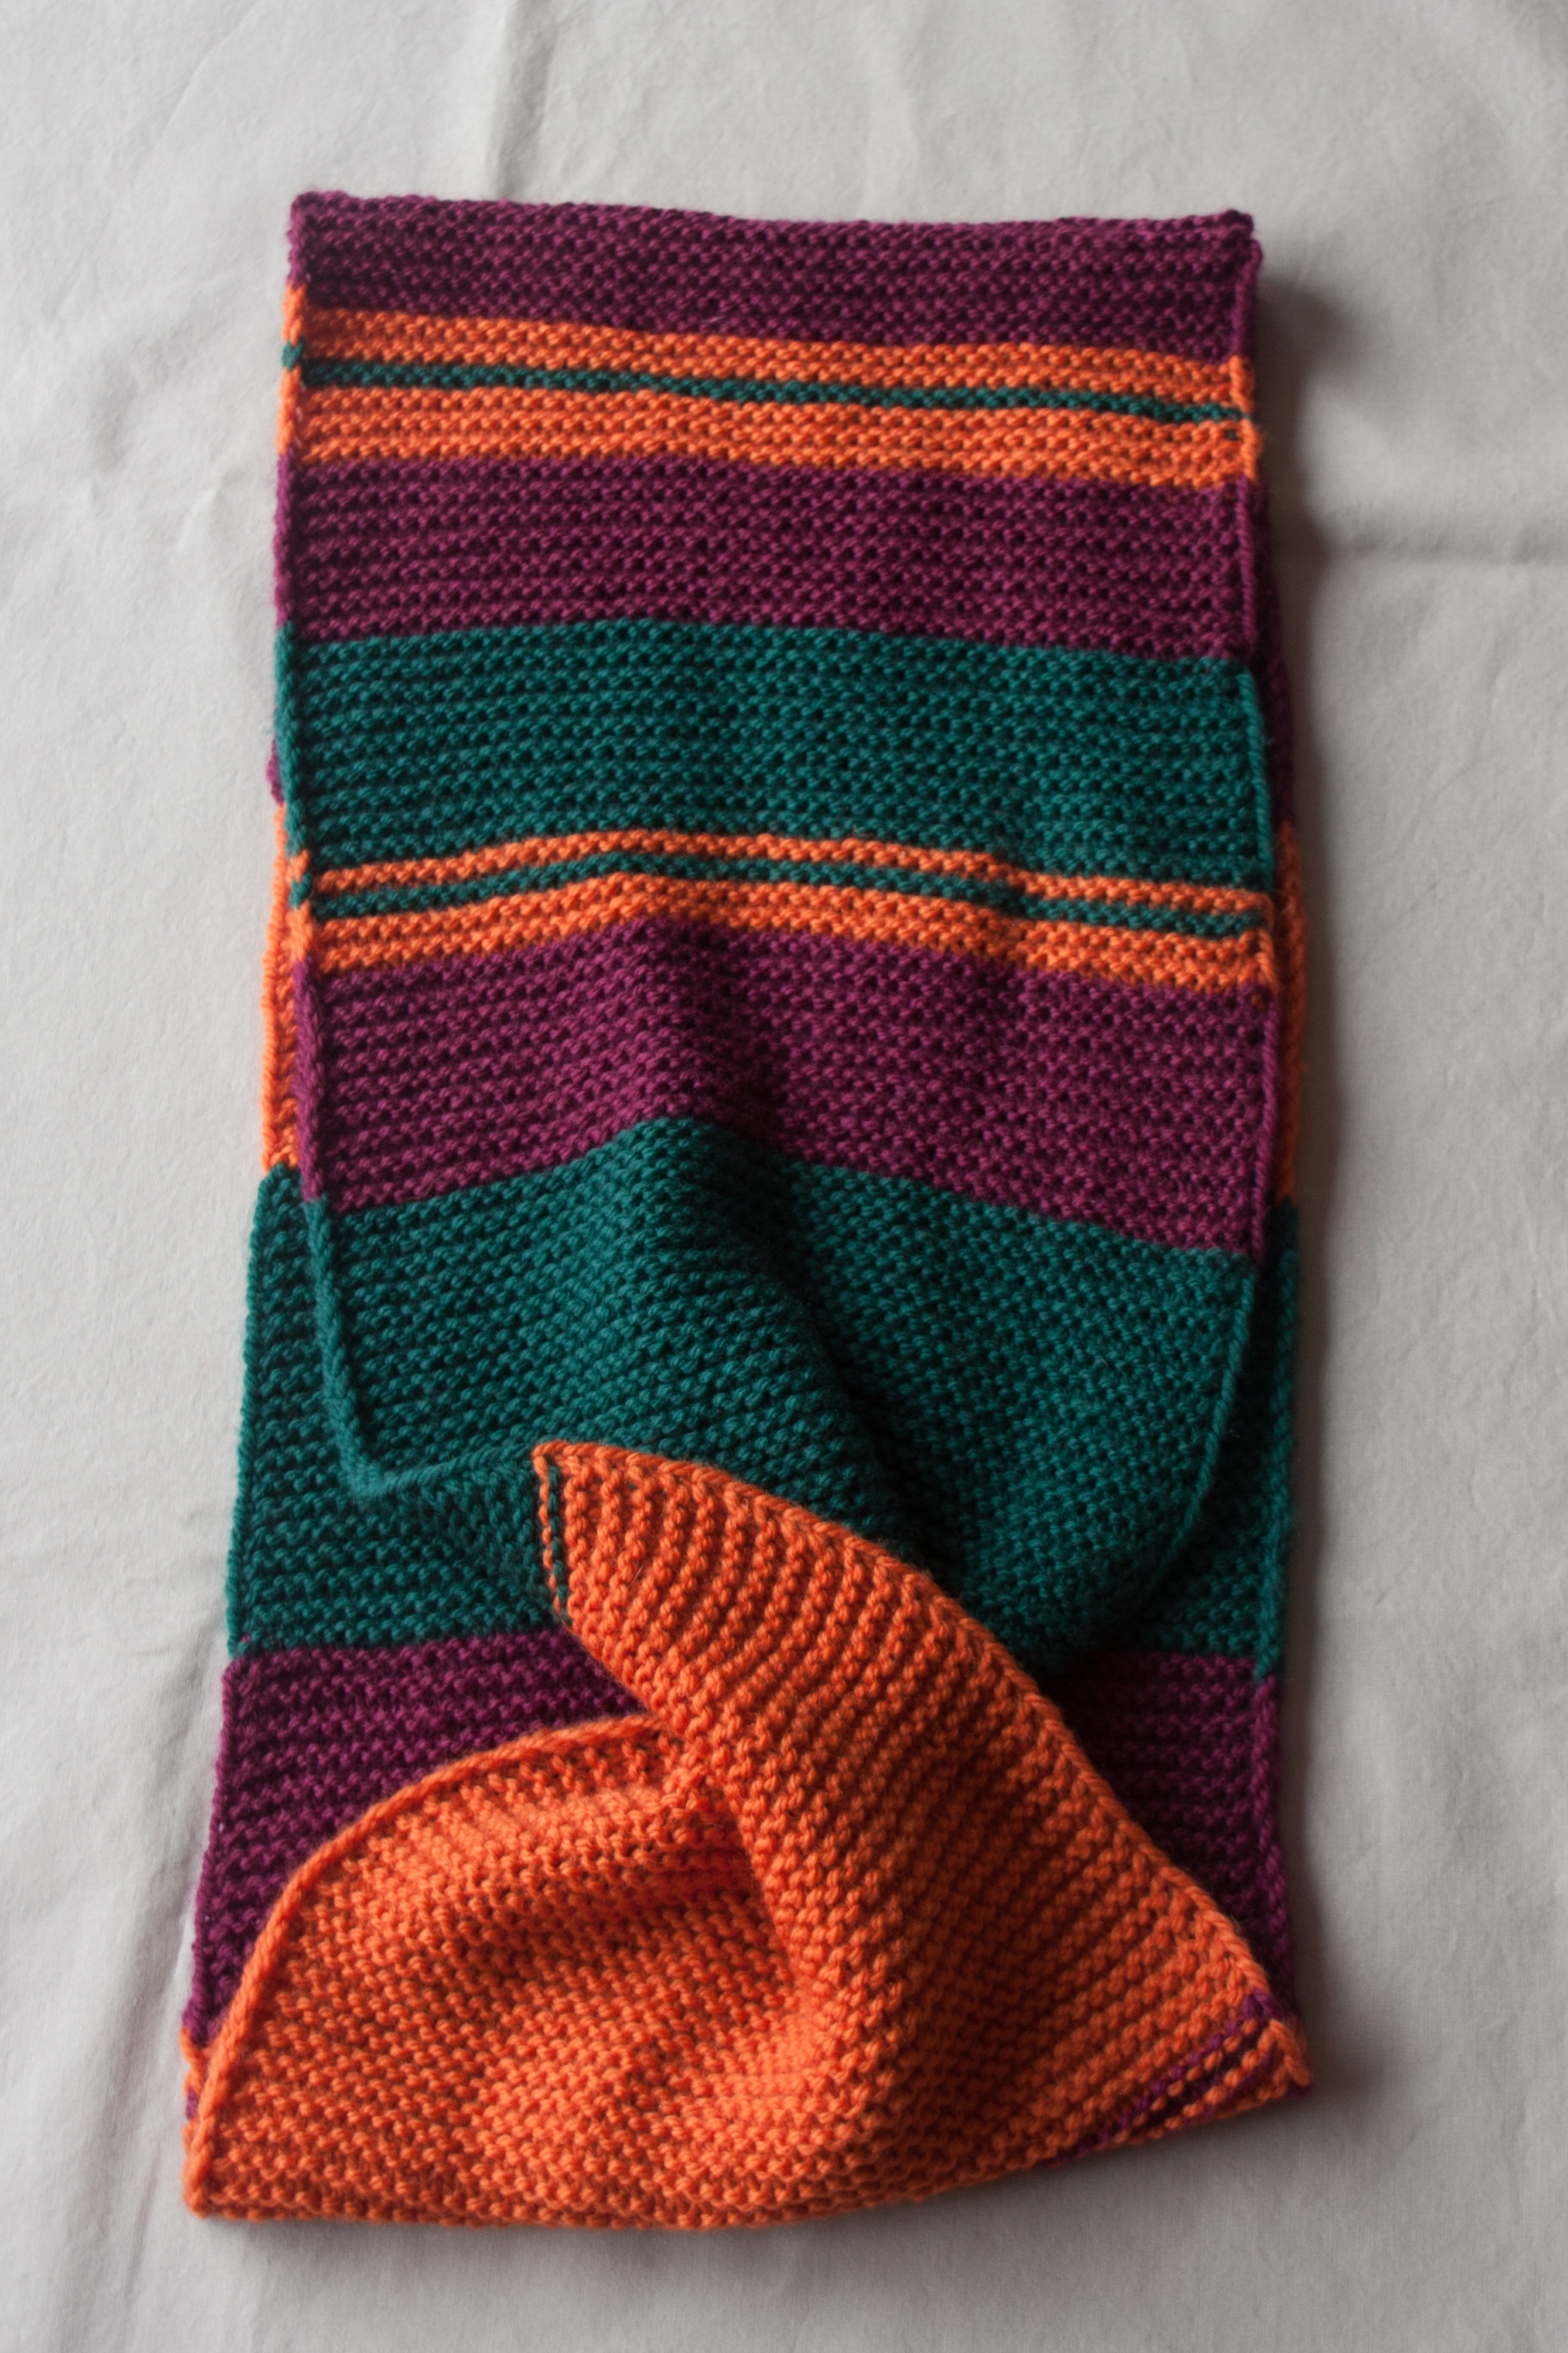
Right, this is a knitting blog, remember? No? Well, at least I do remember. When I spent my 4 weeks no sewing machine detox rehab  I started a new knitting project, a scarf for my mum.  As I had high ambitions, I meant to write down everything I did to release a new pattern. Well, I started writing everything down from about the middle so I meant to think hard and write down everything I had done from the beginning to the middle at a later stage. And I can proudly say, the scarf is still not handed over. Finished and blocked since Christmas but still not handed over. Because I meant to write down everything, remember. And even more proudly I can tell you that I finally got the a kick in the derriere to sit down and think and calculate and reknit the beginning and wonder about funny numbers in the original half written down pattern and recalculate and say “i knew that can’t be right” and type up everything and add some wise and clever thoughts and really rubbish pictures and voila, here it is, the latest addition to my wide range of easy patterns.

Elaine – a simple scarf with a slip stitch selvedge edge and eyelets for a touch of glamour.

DSC_0078

DSC_0054

DSC_0081

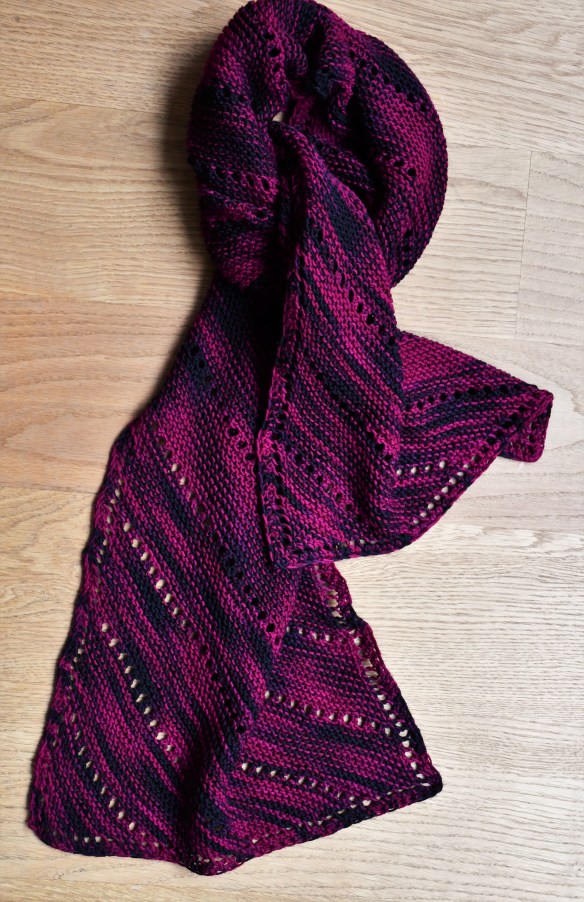
If you want to knit this scarf too, hop over to ravelry and download the pattern for free.

And you know what, this is not the only thing I have been up to.


How to take good pictures of your knitting

I have a fairly long to do list at the moment and one of the things on it is obviously “writing clever posts on my blog” so today I want to share my thoughts about an important part of knitting and blogging…. taking good pictures.

So here goes.

1. Don’t plan your photo shoot ahead. Just do it.

2. Don’t look for the perfect location. Just take the pictures where it is convenient for you, for example your back garden. A nice location will just draw away attention from your knitting.

3. Don’t wait for the sun. It will just overexpose the picture.

4. Just throw your knitted object over railings or a coat hanger. It will show its full glory all by itself.

5. Ask someone to pose in your pictures who wants privacy and doesn’t want her face everywhere on the internet. If that applies to you, just do it yourself.

6. Take the pictures yourself. Don’t ask anybody for help. They will just do it wrongly anyway.

6. Use a fancy camera with lots of buttons on it. You’ll find out eventually what they are for. If Point 5 applies to you, use the automatic release… if you can find it.

7. Alter the picture on the computer, change colour temperature, exposure, clarity, contrast,… whatever you want. But most importantly cut that head of your model off. The picture will look so much better without a person in it.

8. Be proud of yourself and decide to put “writing clever posts on my blog” on top of your to do list.

See, not that bad 🙂

Door 22 – the biscuit replacement

This year, I didn’t want to give another bag of biscuits to our very nice landlord and decided to knit him and his wife some scarves.

So the precious DyeForYarn found already some very good purpose.

IMG_1461It’s a handsome scarf knit in a beautifully soft DK merino/silk mixture for our landlord. For his wife, I made a triangular scarf with a few eyelet lines and a lacy edge using a Bluefaced Leicester fingering yarn in a greenish light blue.

IMG_9842Yesterday evening, the whole family set out in the dark with Christmas card and wrapped up present to go over to their house and deliver the presents. It reminded me of my childhood when we had to walk through the snow to bring presents to our neighbours. Very Christmassy indeed.


a little twist

Since quite a while now I wanted to knit a moebius scarf. A moebius band seams so simple, just take a strip of paper, give it a half twist and glue the ends together. Doesn’t sound very interesting, isn’t it. But I had an eyeopening moment which I would like to share.

So here is my first trial, just a simple stripy infinity scarf. I have used a provisional cast on and grafted the (twisted) ends together.

moebius band

moebius band

I am very pleased with it, I love the colours, especially when wrapped around my neck.

Nice scarf but I still didn’t quite get all the fuss about the moebius and how to cast on when knit in the round. I stupidly thought that just twisting your cast on row would end up in a moebius but when I decided to knit one in the round too, I realised immediately that twisting the first round would get me nowhere.

So I did some research and found Cat Bordhis Moebius Cast on here

As I only really wanted to try out how it works (without following a complicate pattern) I made a mini cowl

mini cowl

mini cowl

The cast on row is actually in the center, I added a few rows in red in the end to make the moebius twist more visible.

Making this little piece really opened my eyes, I finally understood (a bit) how the moebius band works, there is no inside or outside, no front, no back. It is really an amazing structure. And the cast on is incredibly clever too. I will definitely knit another moebius soon, maybe following a pattern for something really pretty. Well, at least I will put it on my never ending list.

Maybe all scientists should knit a moebius once in their life as it would really help them to understand the structure. I am now picturing my old chemistry professors sitting there and knitting… 🙂