Yesterday, I was accused of being obsessed by scraps and of only buying fabrics to produce scraps!!!! Can you believe it?! This is obviously not true! At all! If I ever bought new to have scraps than I would obviously just buy remnants like these that otherwise would die a lonely death in a shelf. So really I am not only saving a poor piece of fabric but also supporting the shop owner in her attempt of decluttering. And it has definitely nothing to do with me wanting to have more scraps… but now, thinking of it, I have just tried to save one of these pieces. After complaints from my personal stylist that my maternity T-shirts are all white, black or, even worse, grey, I thought I’ll try to adapt a normal pattern to my recent body shape.
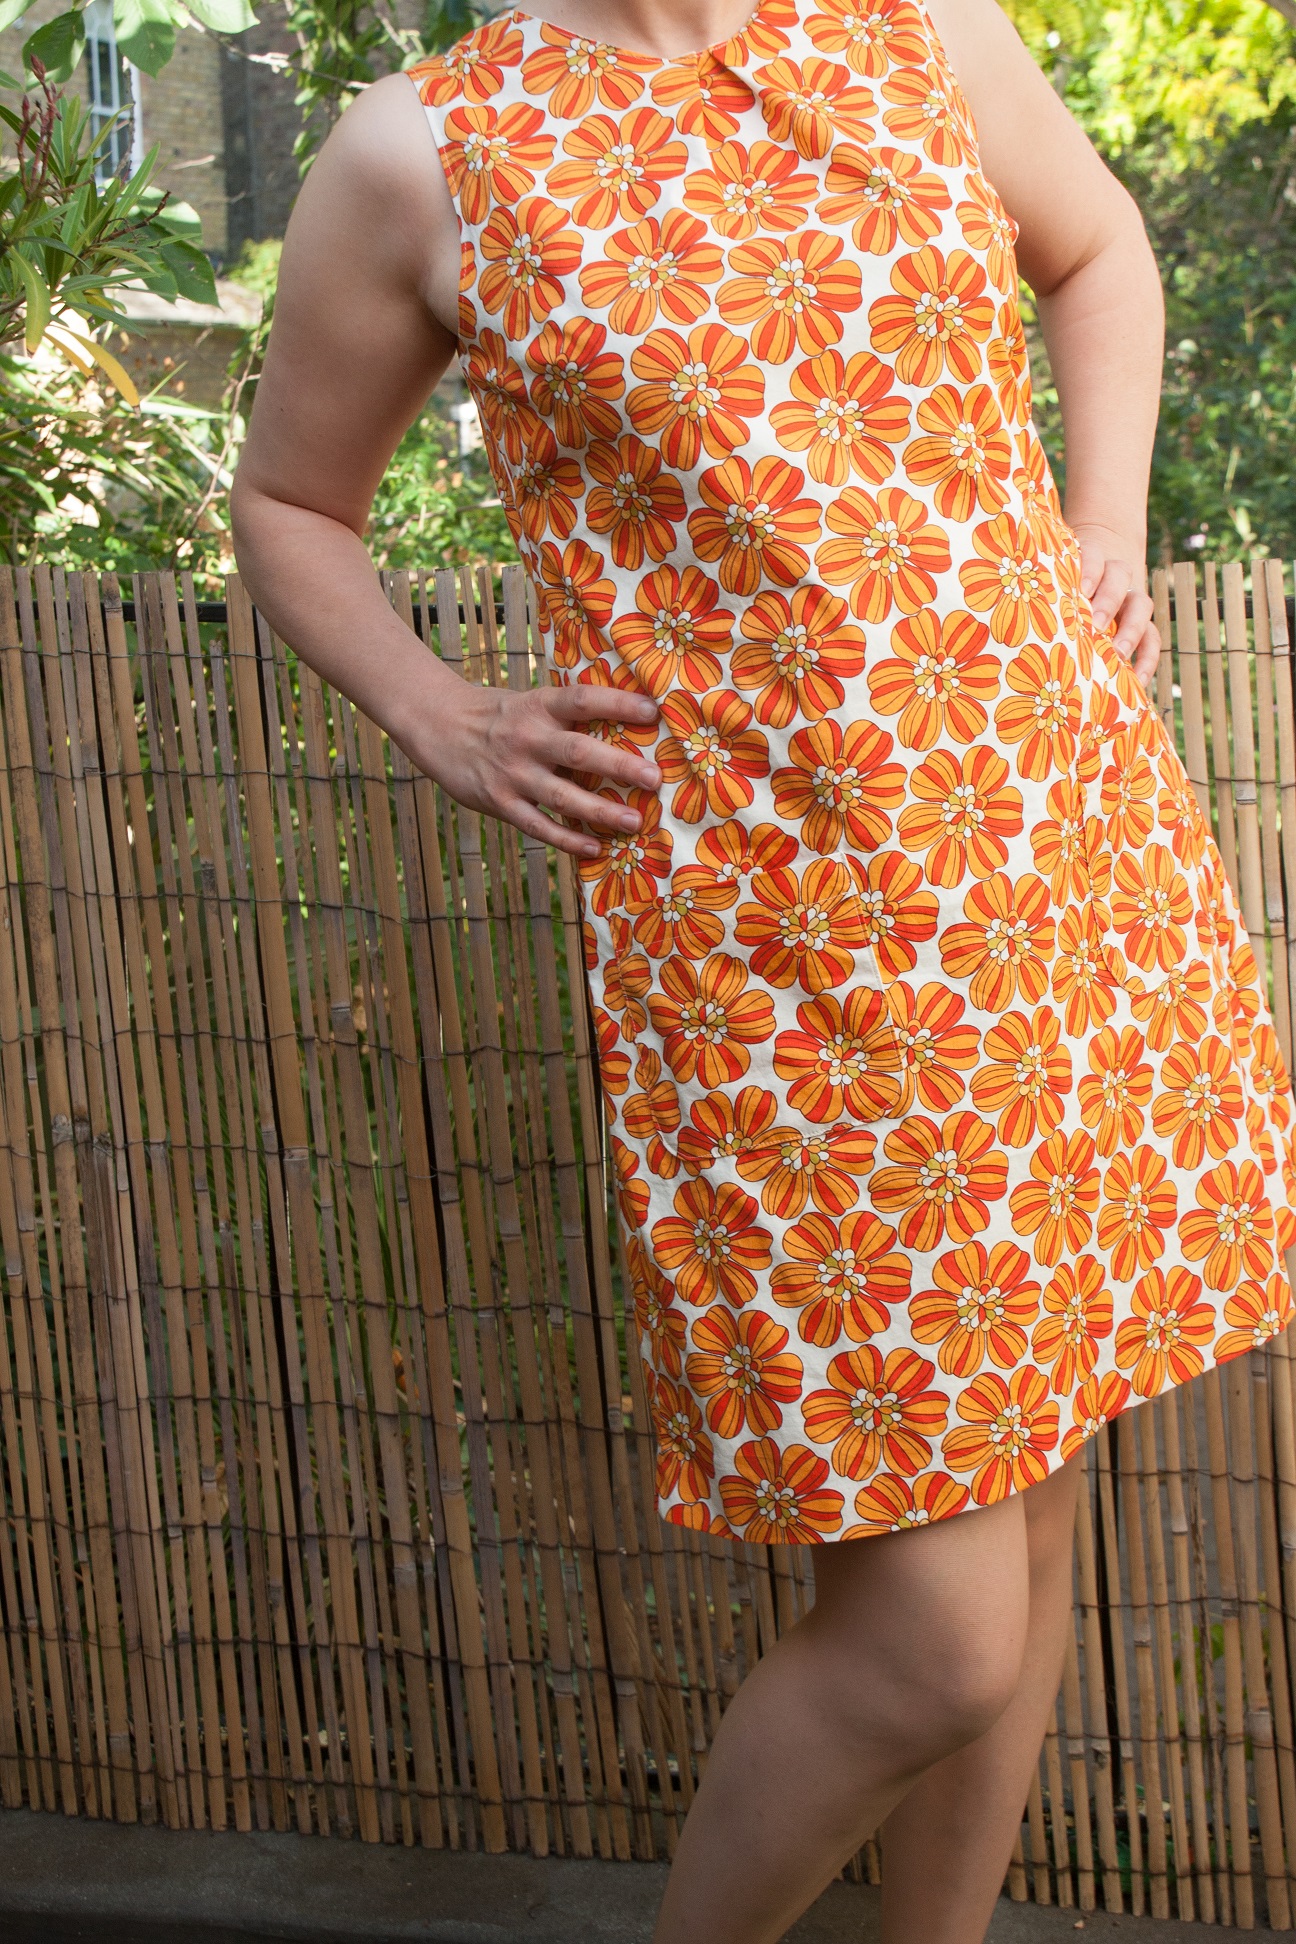
So, I used a pattydoo sleeveless top pattern for the first time and made it a few inches longer and the front a few inches wider around the middle. So far, so good. I think that went reasonably well, still a bit room to stretch. And I am also thinking that it will be fairly easy to just take away all those inches next summer. Otherwise it would have been a bit of a waste because it happens to be a beautiful Hamburger Liebe fabric.
I have also adjusted the top section as I know from previous experience with any bought standard sized pattern that I seem to have unreasonably narrow shoulders. So all necklines will be too wide, shoulder straps will slip down from my weird shoulders and it will just not look like something that was made especially for me. So I also decided – without having used this pattern before – to narrow the neckline and to just take the shoulder straps a bit more in. Before you are getting all clever and “you shouldn’t alter without knowing the pattern bla bla bla”, I can inform you that actually I was right, in fact, I should have taken them in even more.
So, this is the status quo, I am having mixed feelings of how to proceed:
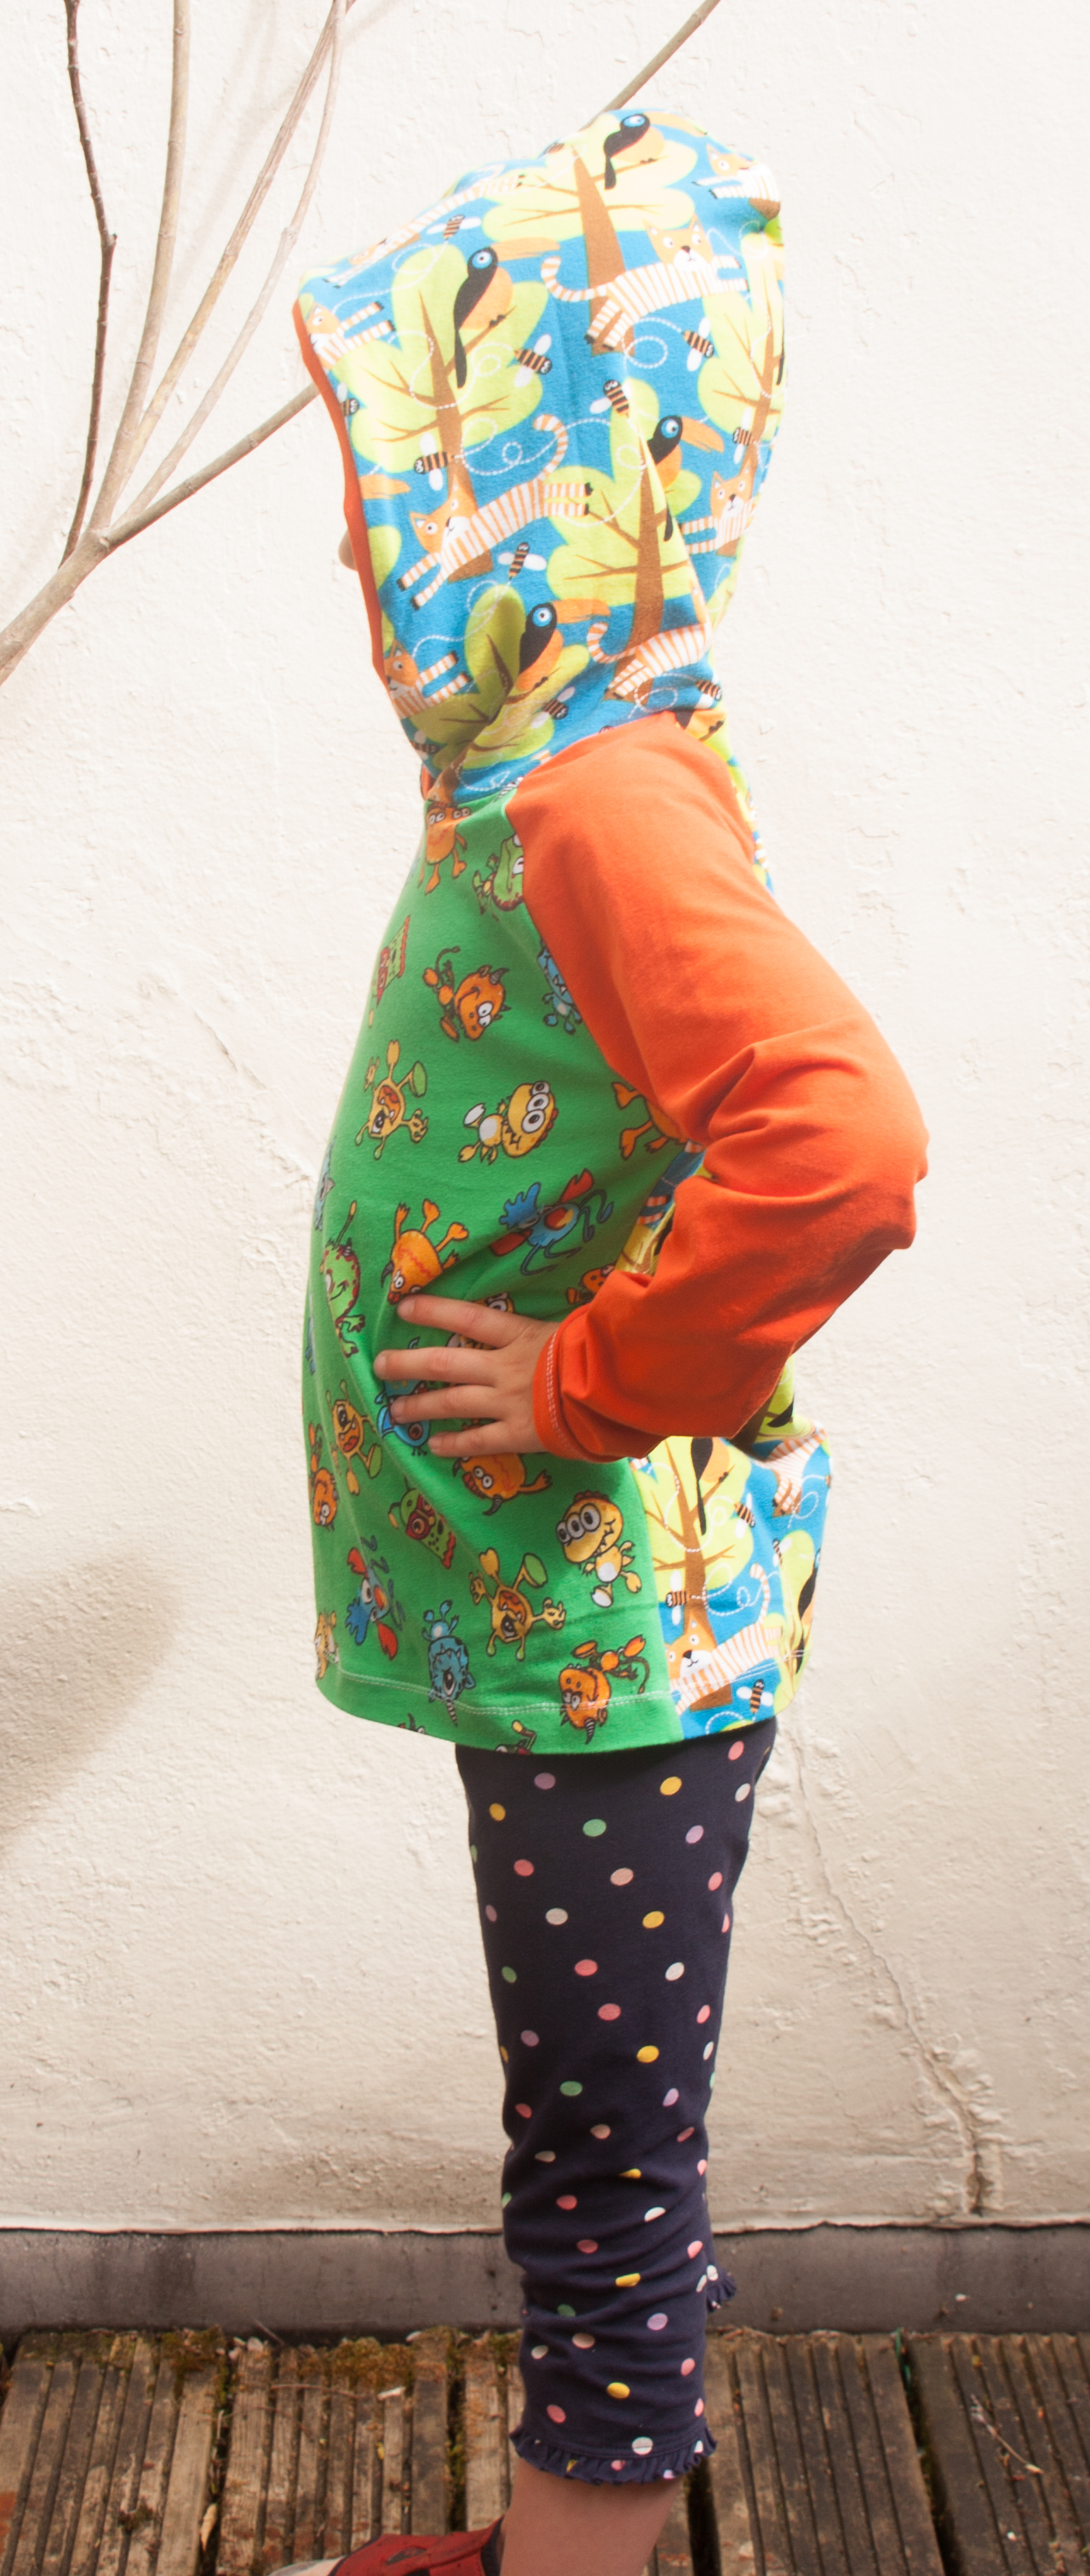
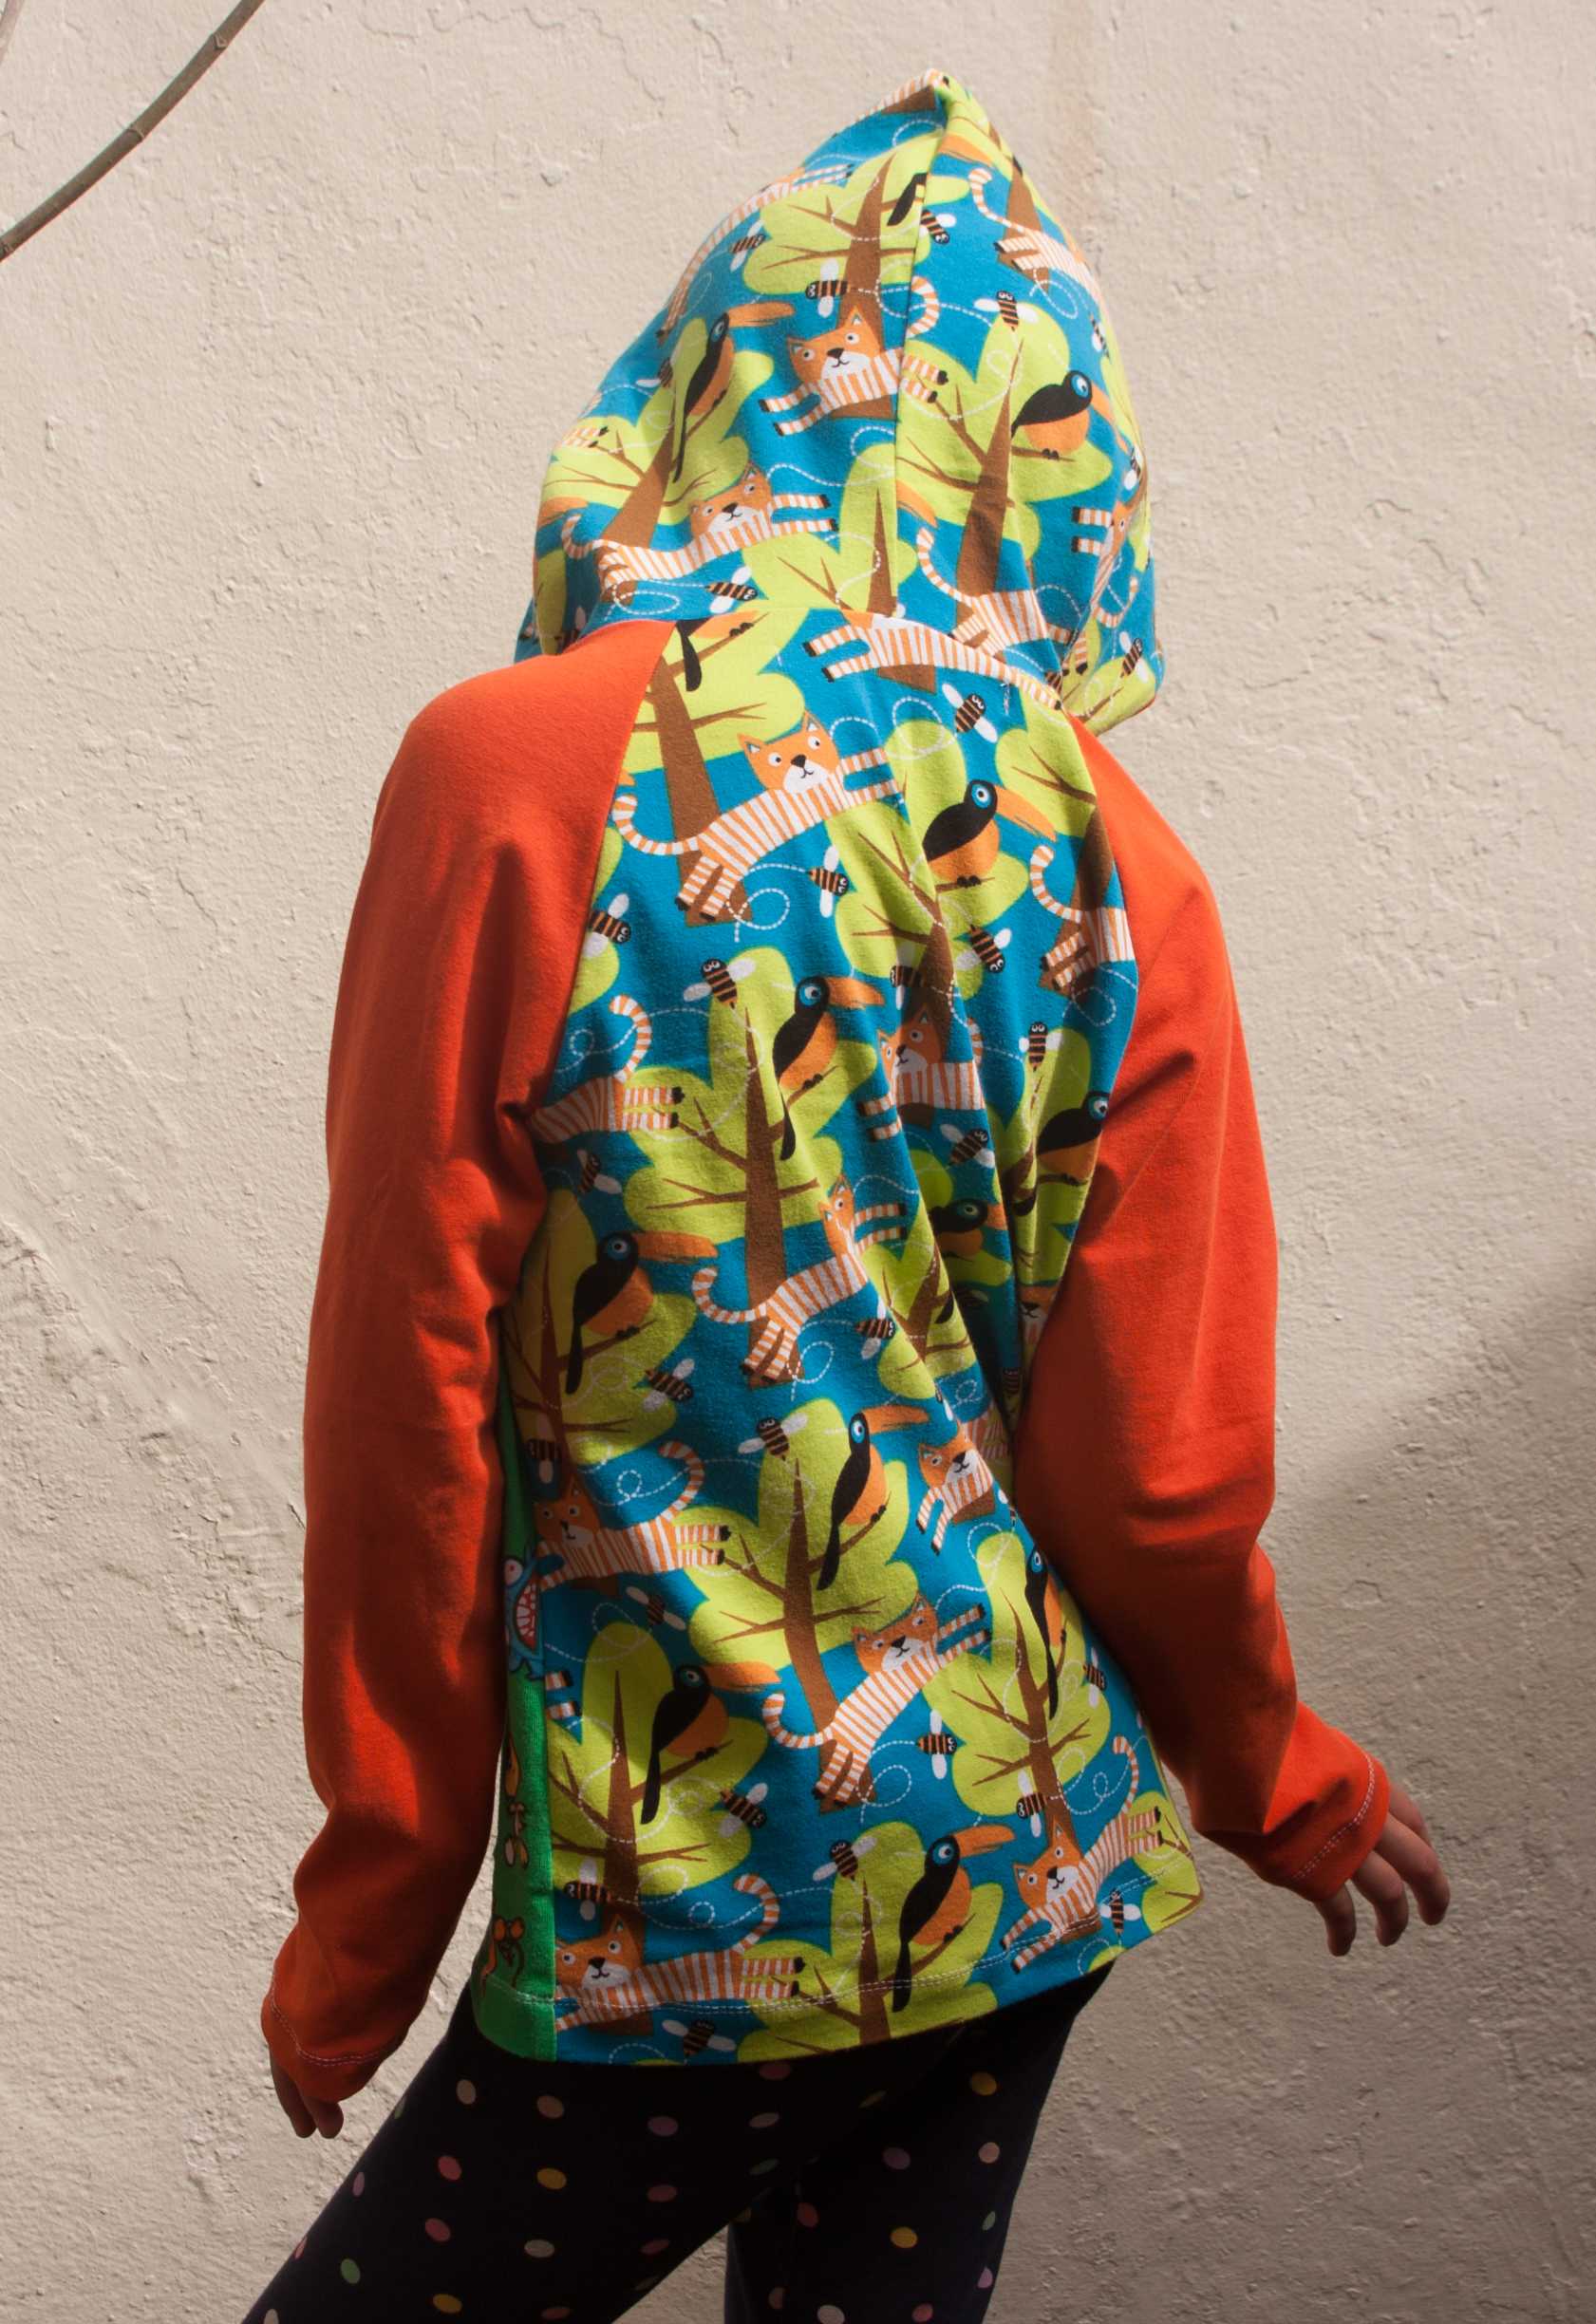
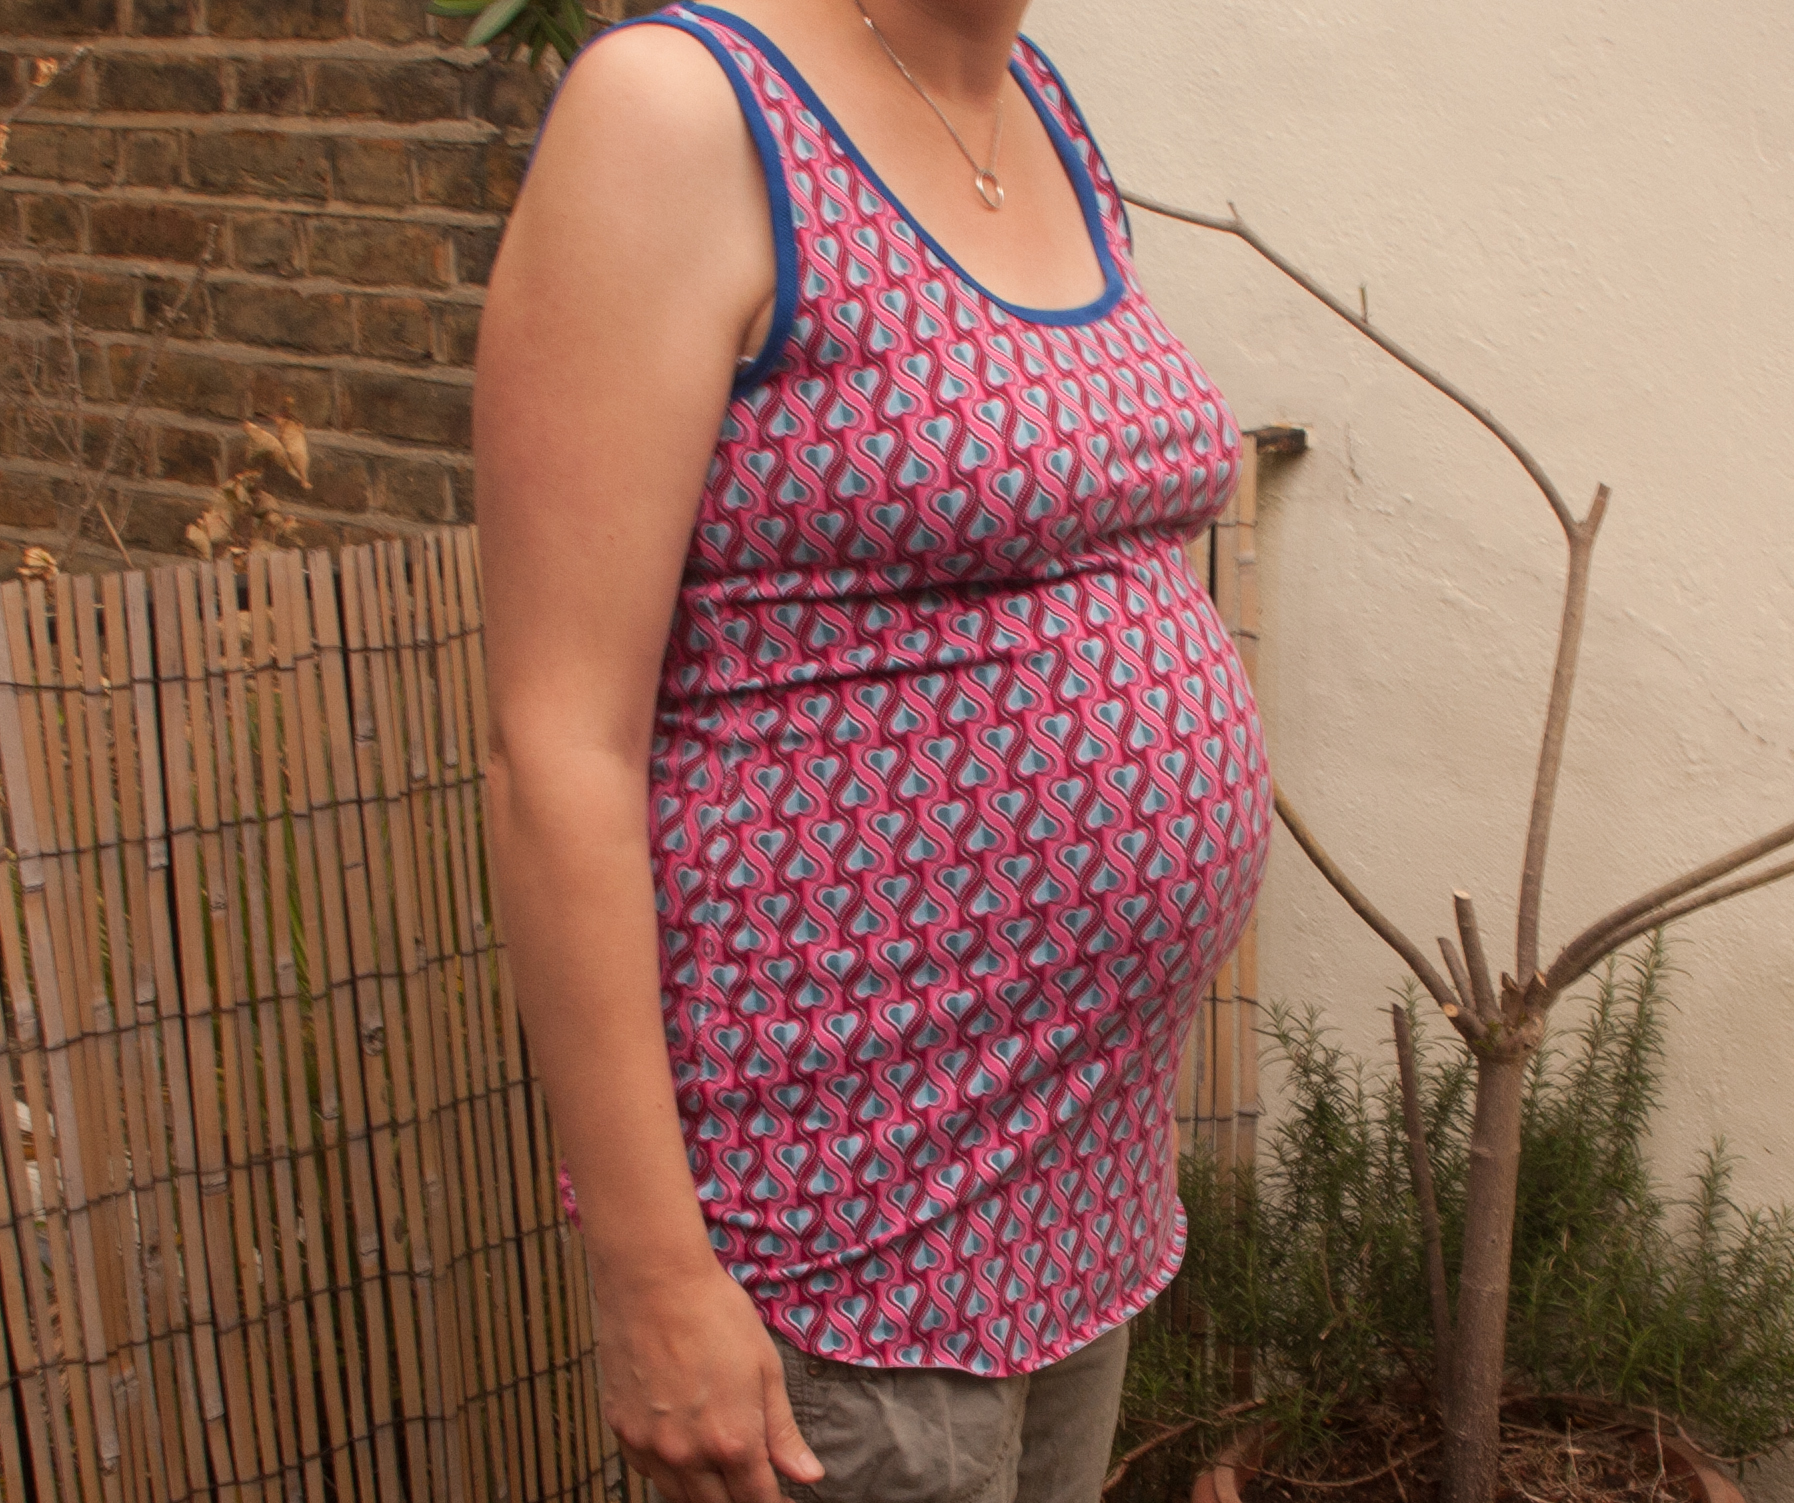 Well, the picture is actually not great, not sure if you can see all problems. No 1 is that the neckline is still too wide, No 2 is that I haven’t done a great job with the binding, I should have stretched it more and then it would pull things together much better. I have managed to arrange the front okish but as you can see, then it shows at the back
 Obviously I could get away with it but I know that every time I wear it, I will be super consciously trying to constantly arrange things. Not really worth it. I am relatively new to this type of shirts and elastic bindings. I wish I would have invested time in research as I think closing the seams before putting in the bindings would be much neater. Not only would I not have the side seam showing on top of the binding but also, I would have seen how it fits and would have been able to make adjustments before finishing the binding.
Now the armhole binding is locked with a overlocker seam and the neckline is also blocked by a shoulder seam. If I want to open things and do it better, it will get really complicated. I am considering to pull the straps up and add a new seam, that could actually work fairly well, it just might get a bit thick at the shoulder seam.
The only other option would be to dismantle to whole thing and I am not sure if I fancy that. I do however like the idea of my patterned not so boring maternity top and would make another one. Not sure if I should make something with sleeves though as I am currently staring into torrential rain.
Well, I guess there would be one other option, which would also sort out all future pattern problems…. plastic surgery to broaden my shoulders.
Oh, and if you think that buying a huge piece of remnants is cheating on Scrap Sunday, I would like to point out that we have been busy making fabric mosaics for the end of term cards:
 I still think this is actually the best way to use up scraps. Except that you are only using tiny bits so it is really something for people who want to super efficiently use up every single square inch of their fabrics.