The yoga bag story – that project I could not talk about and a give away

“Why is she suddenly making yoga bags? Wasn’t this a knitting blog? What is she talking about?” you might be thinking.

Well, it all started with a request from a friend who has opened his own yoga studio back home. He asked me if I would be interested in making bags which he could sell in his studio. This idea came at the right time. I was just thinking to look for shops in the area who would be interested to sell my (mainly knitted) stuff and I was also considering to expand my range to small make up bags as I would be able to use all those cute printed fabrics creeping out of my fabric boxes.

Now, obviously a yoga bag is not quite the tiny cute make up bag but it was a much more real thing.

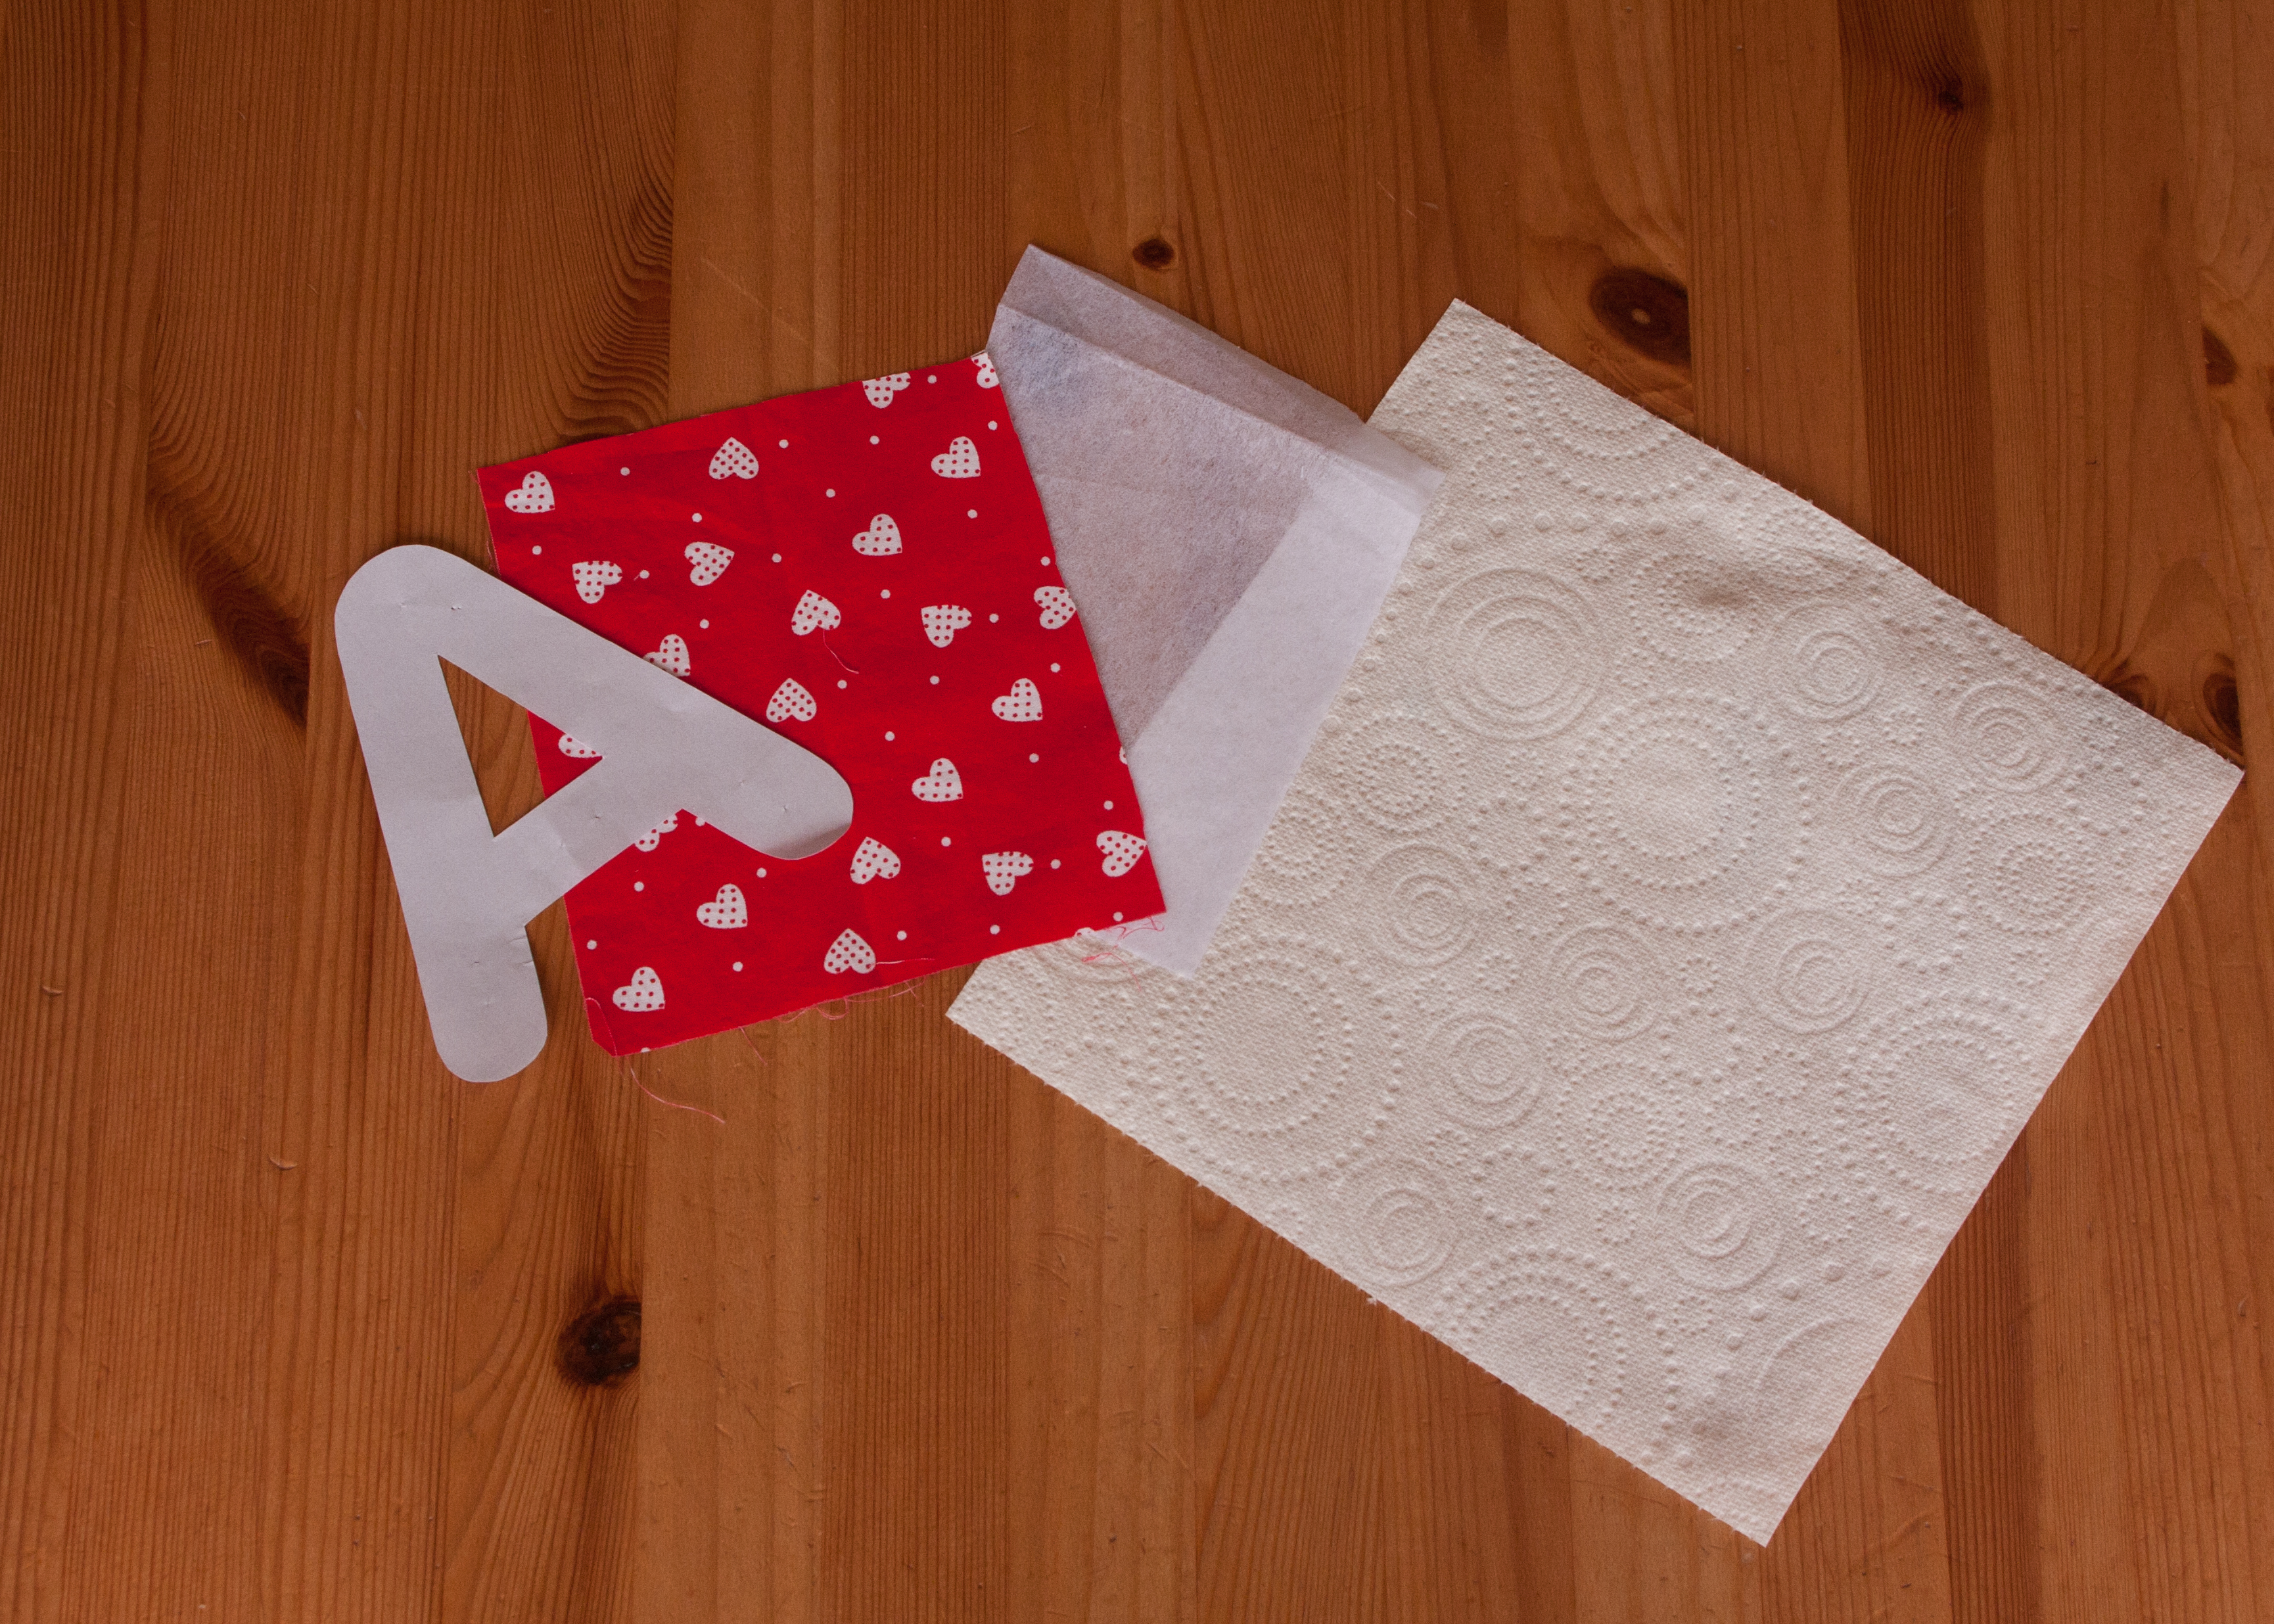
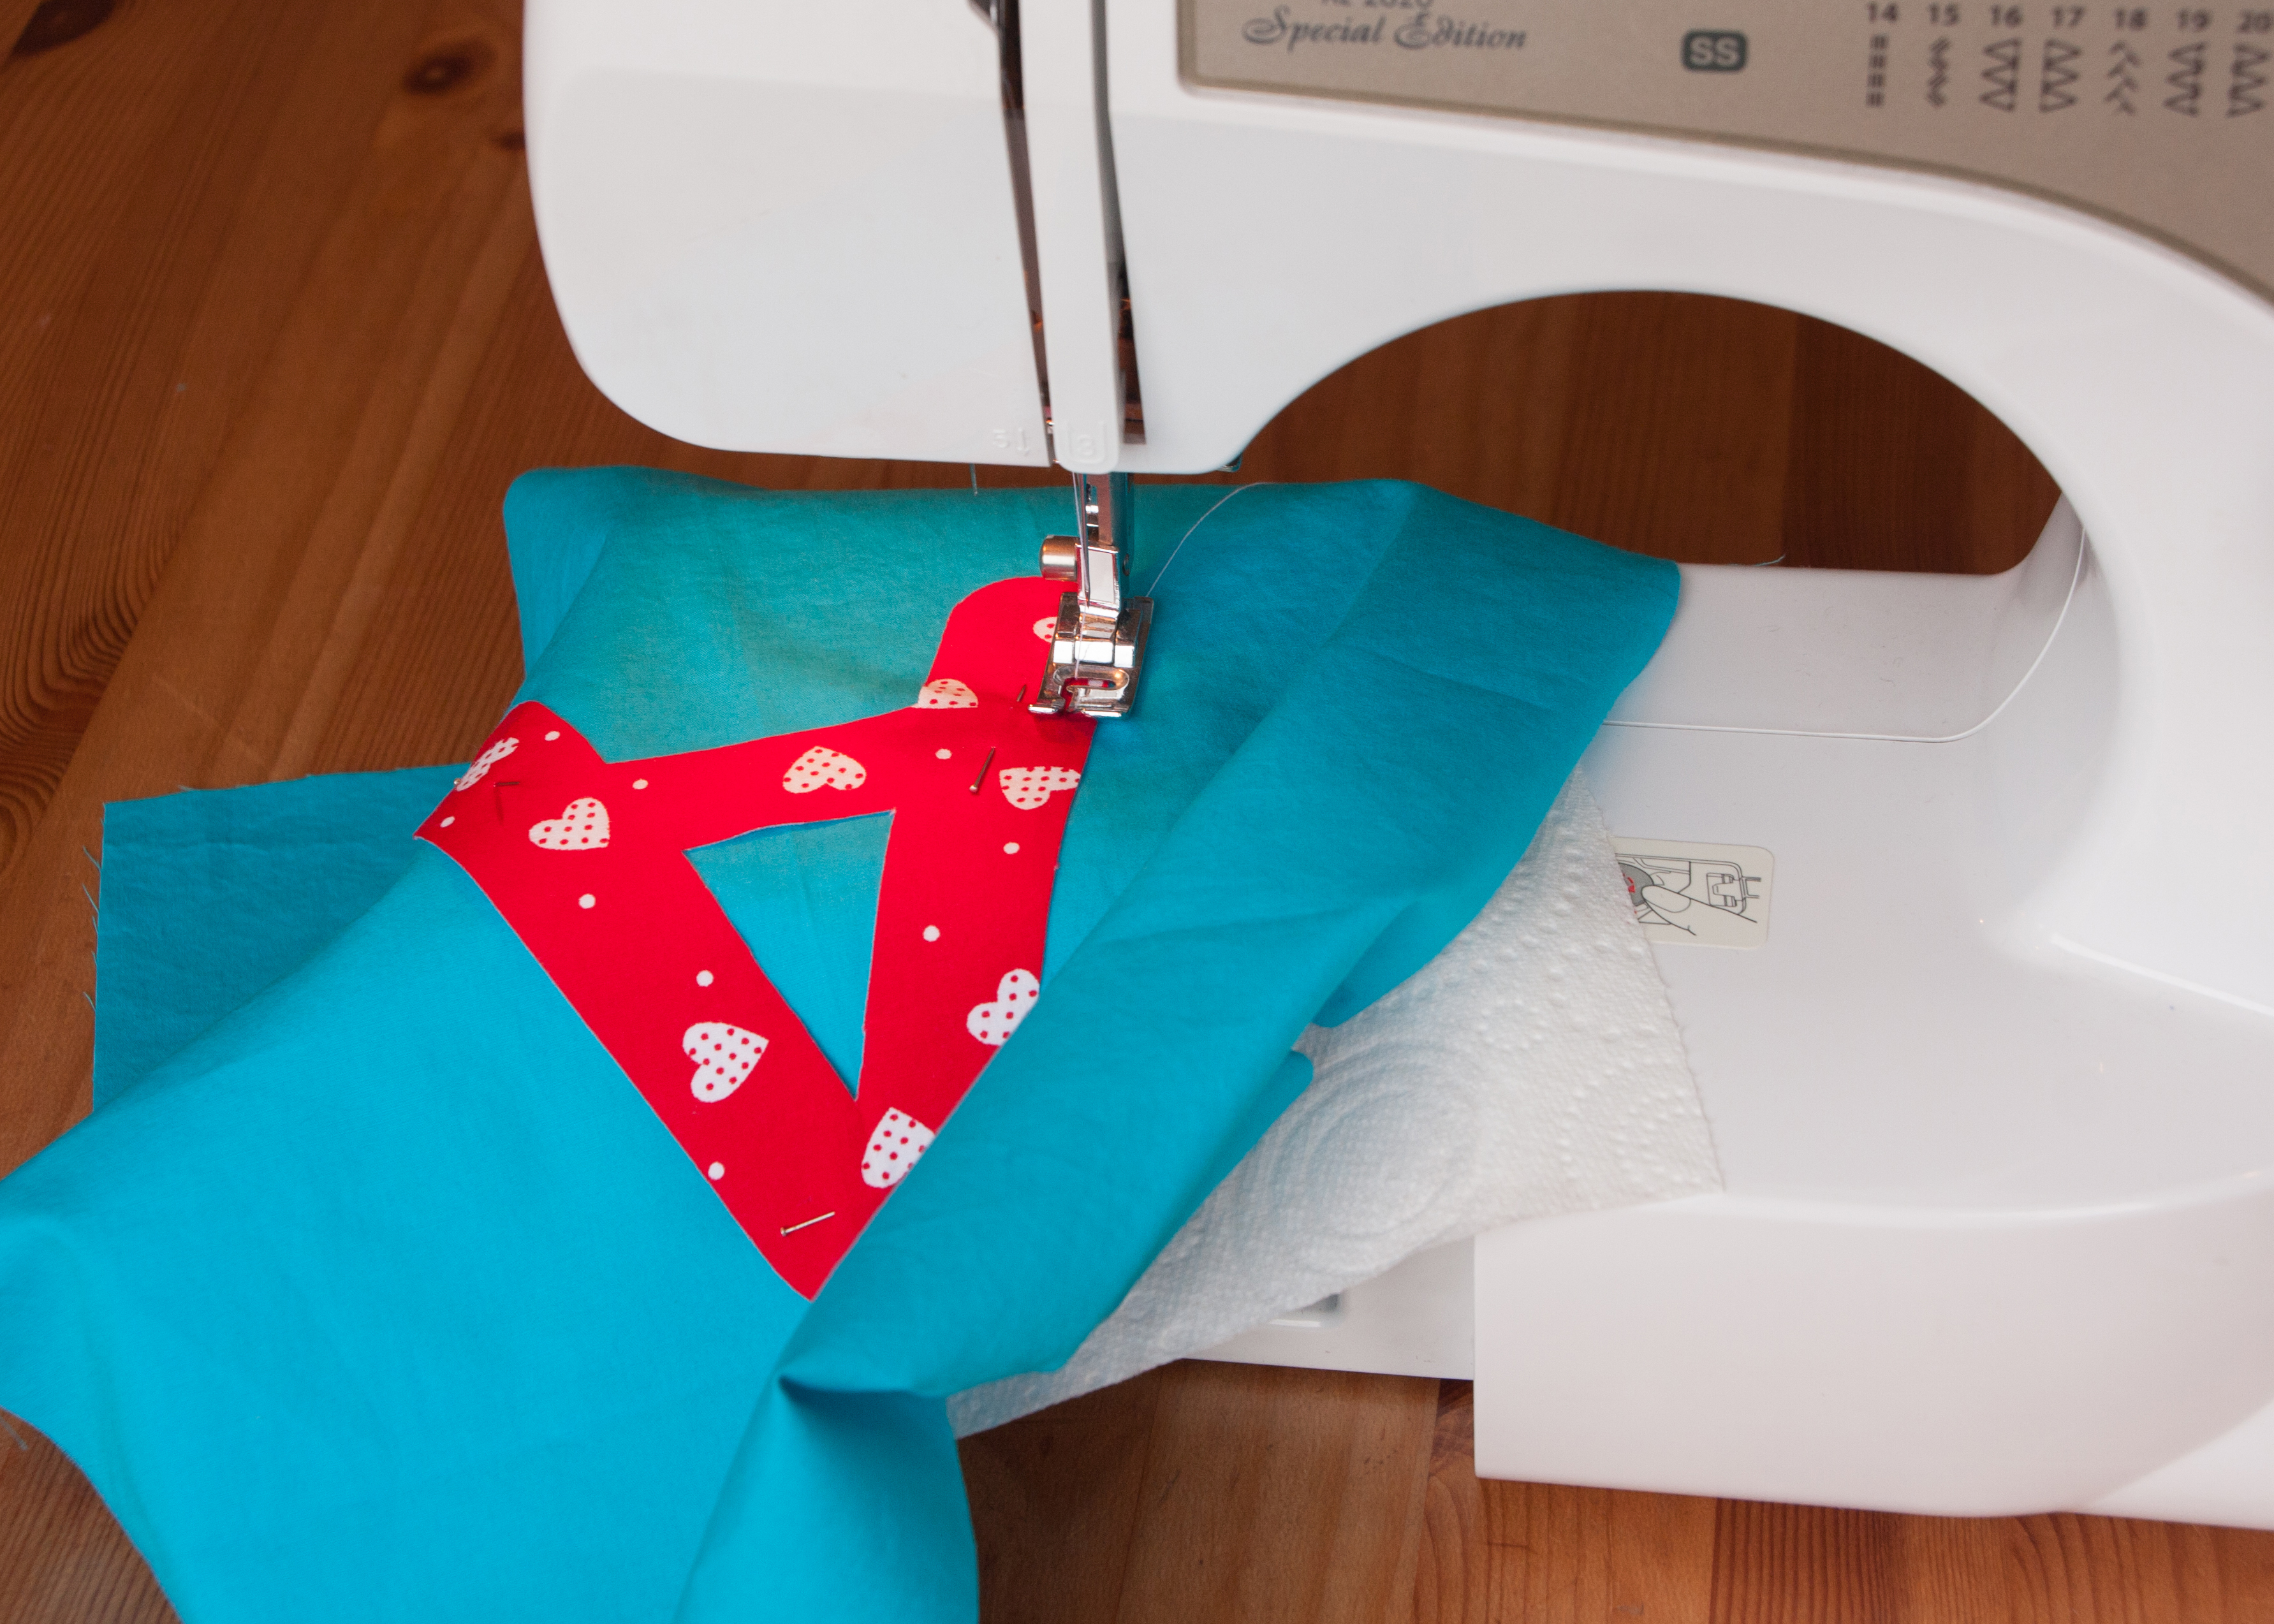
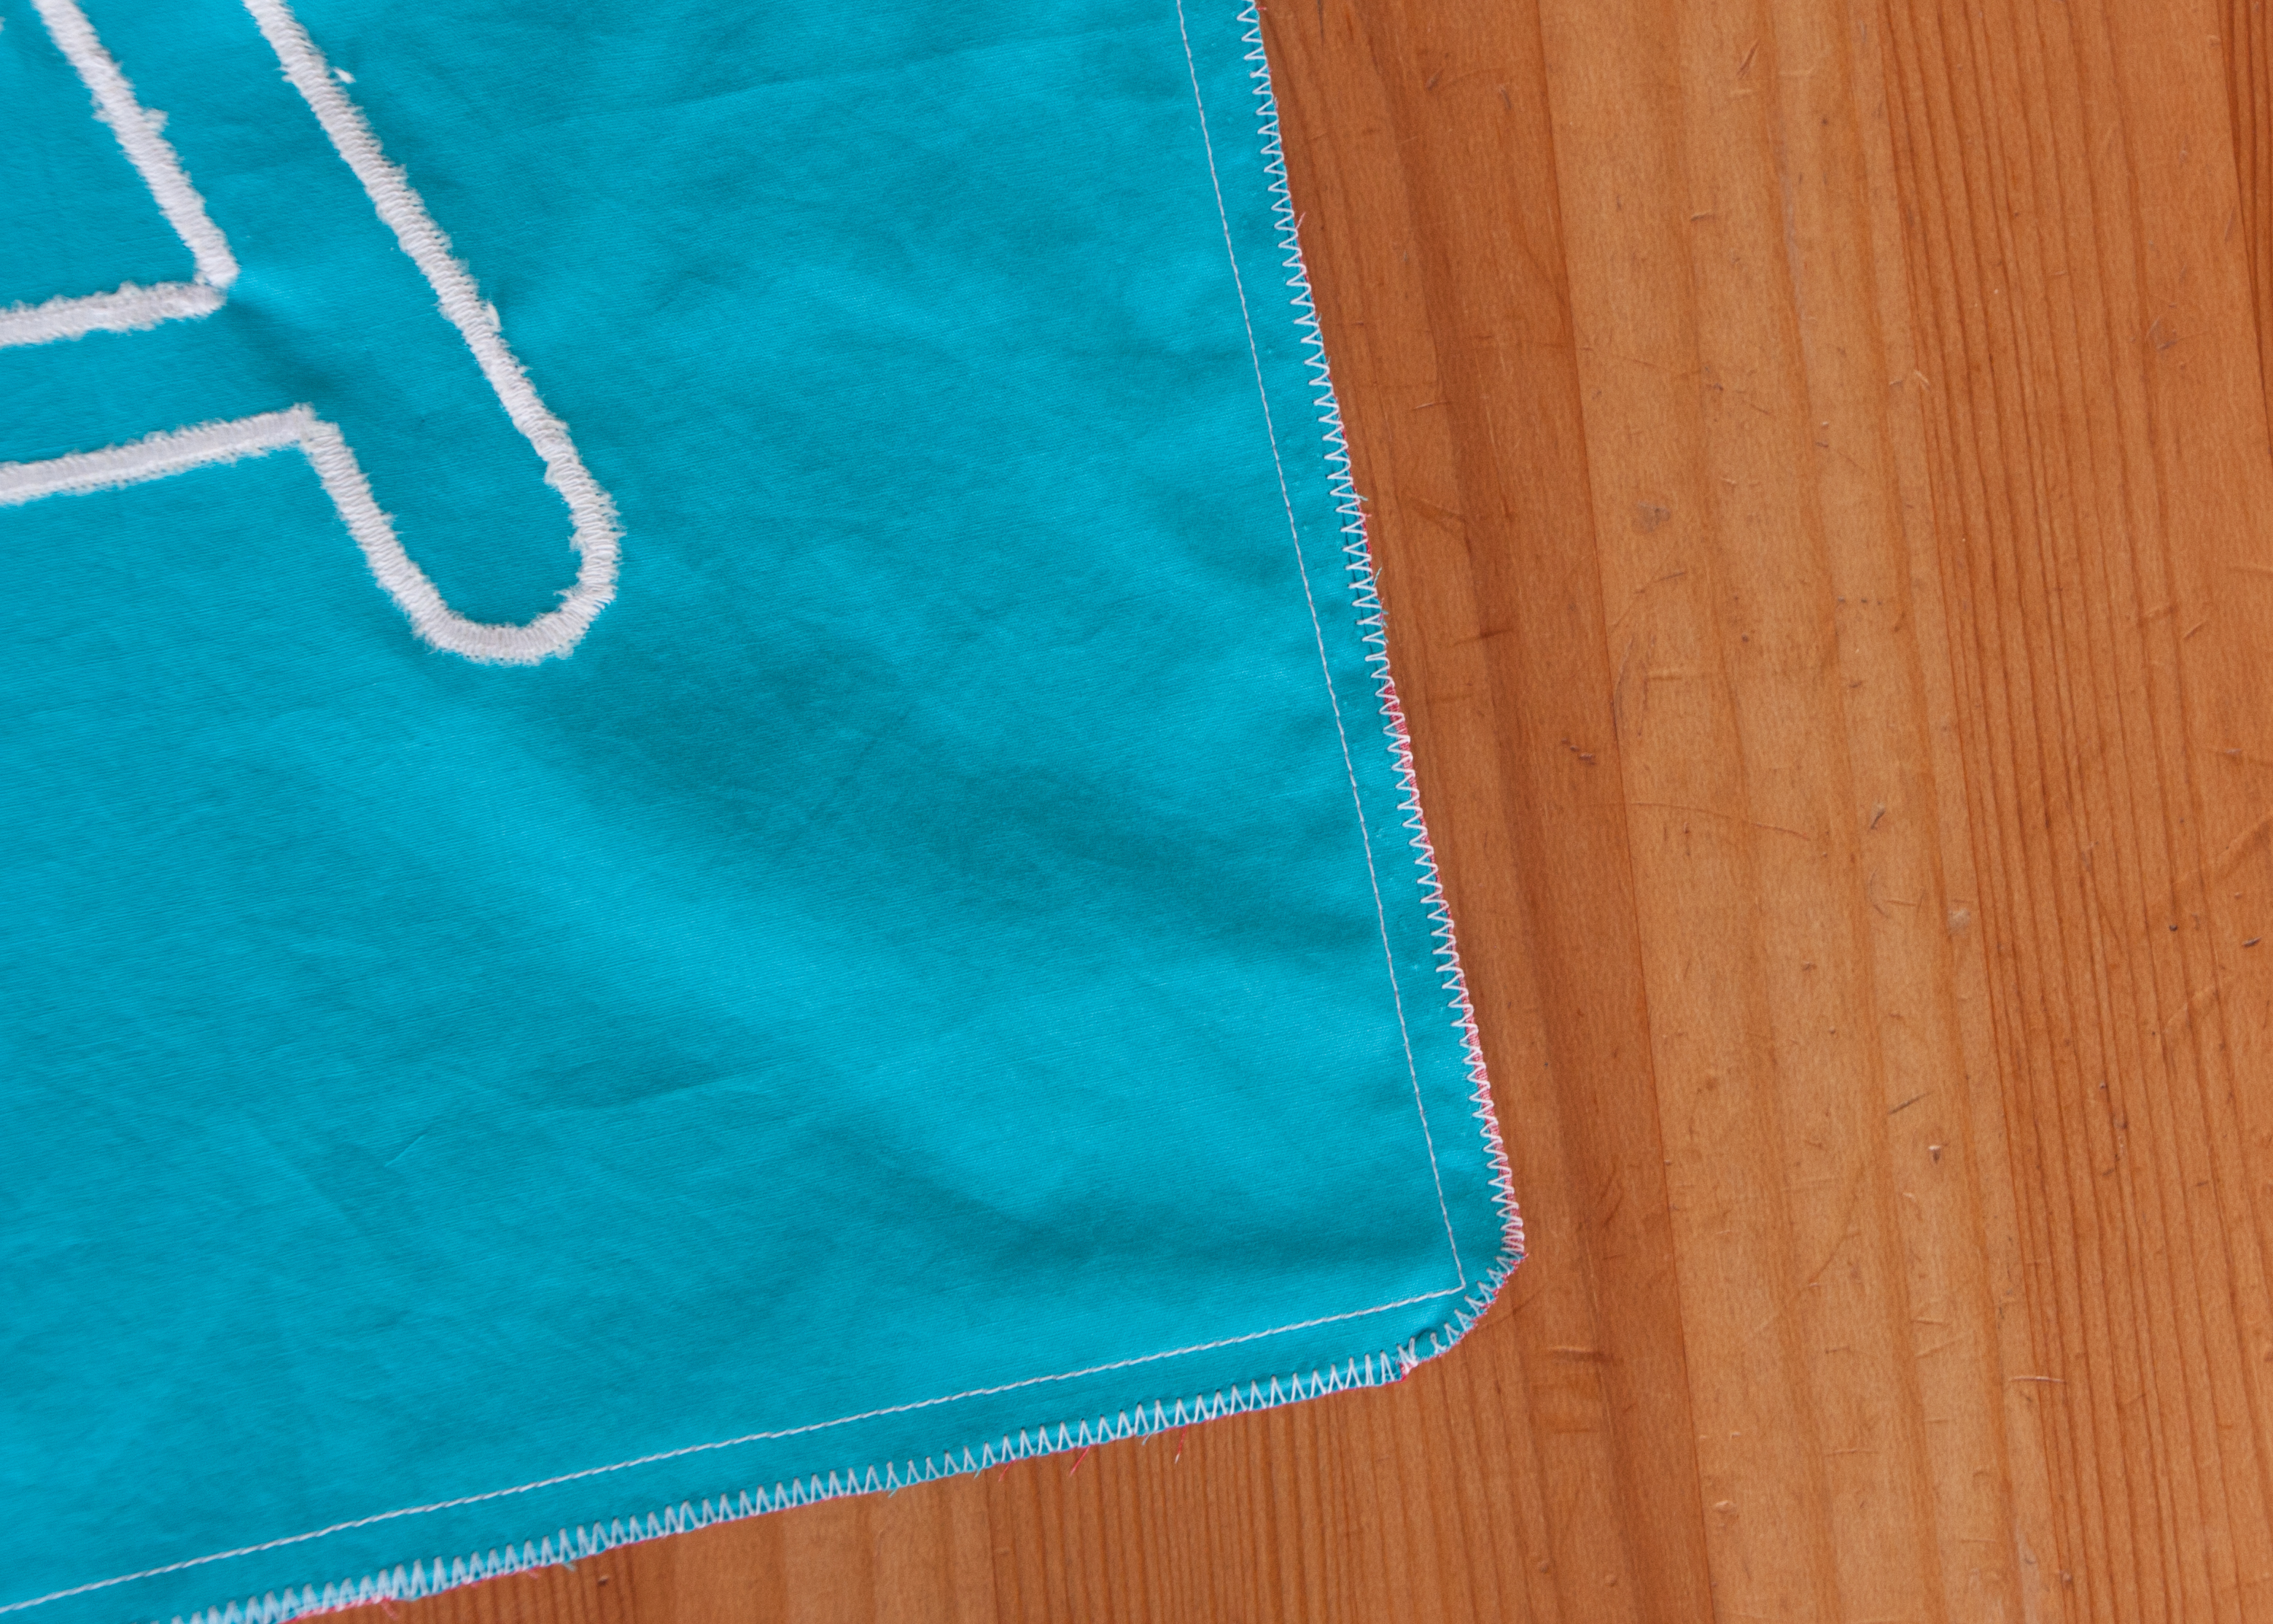
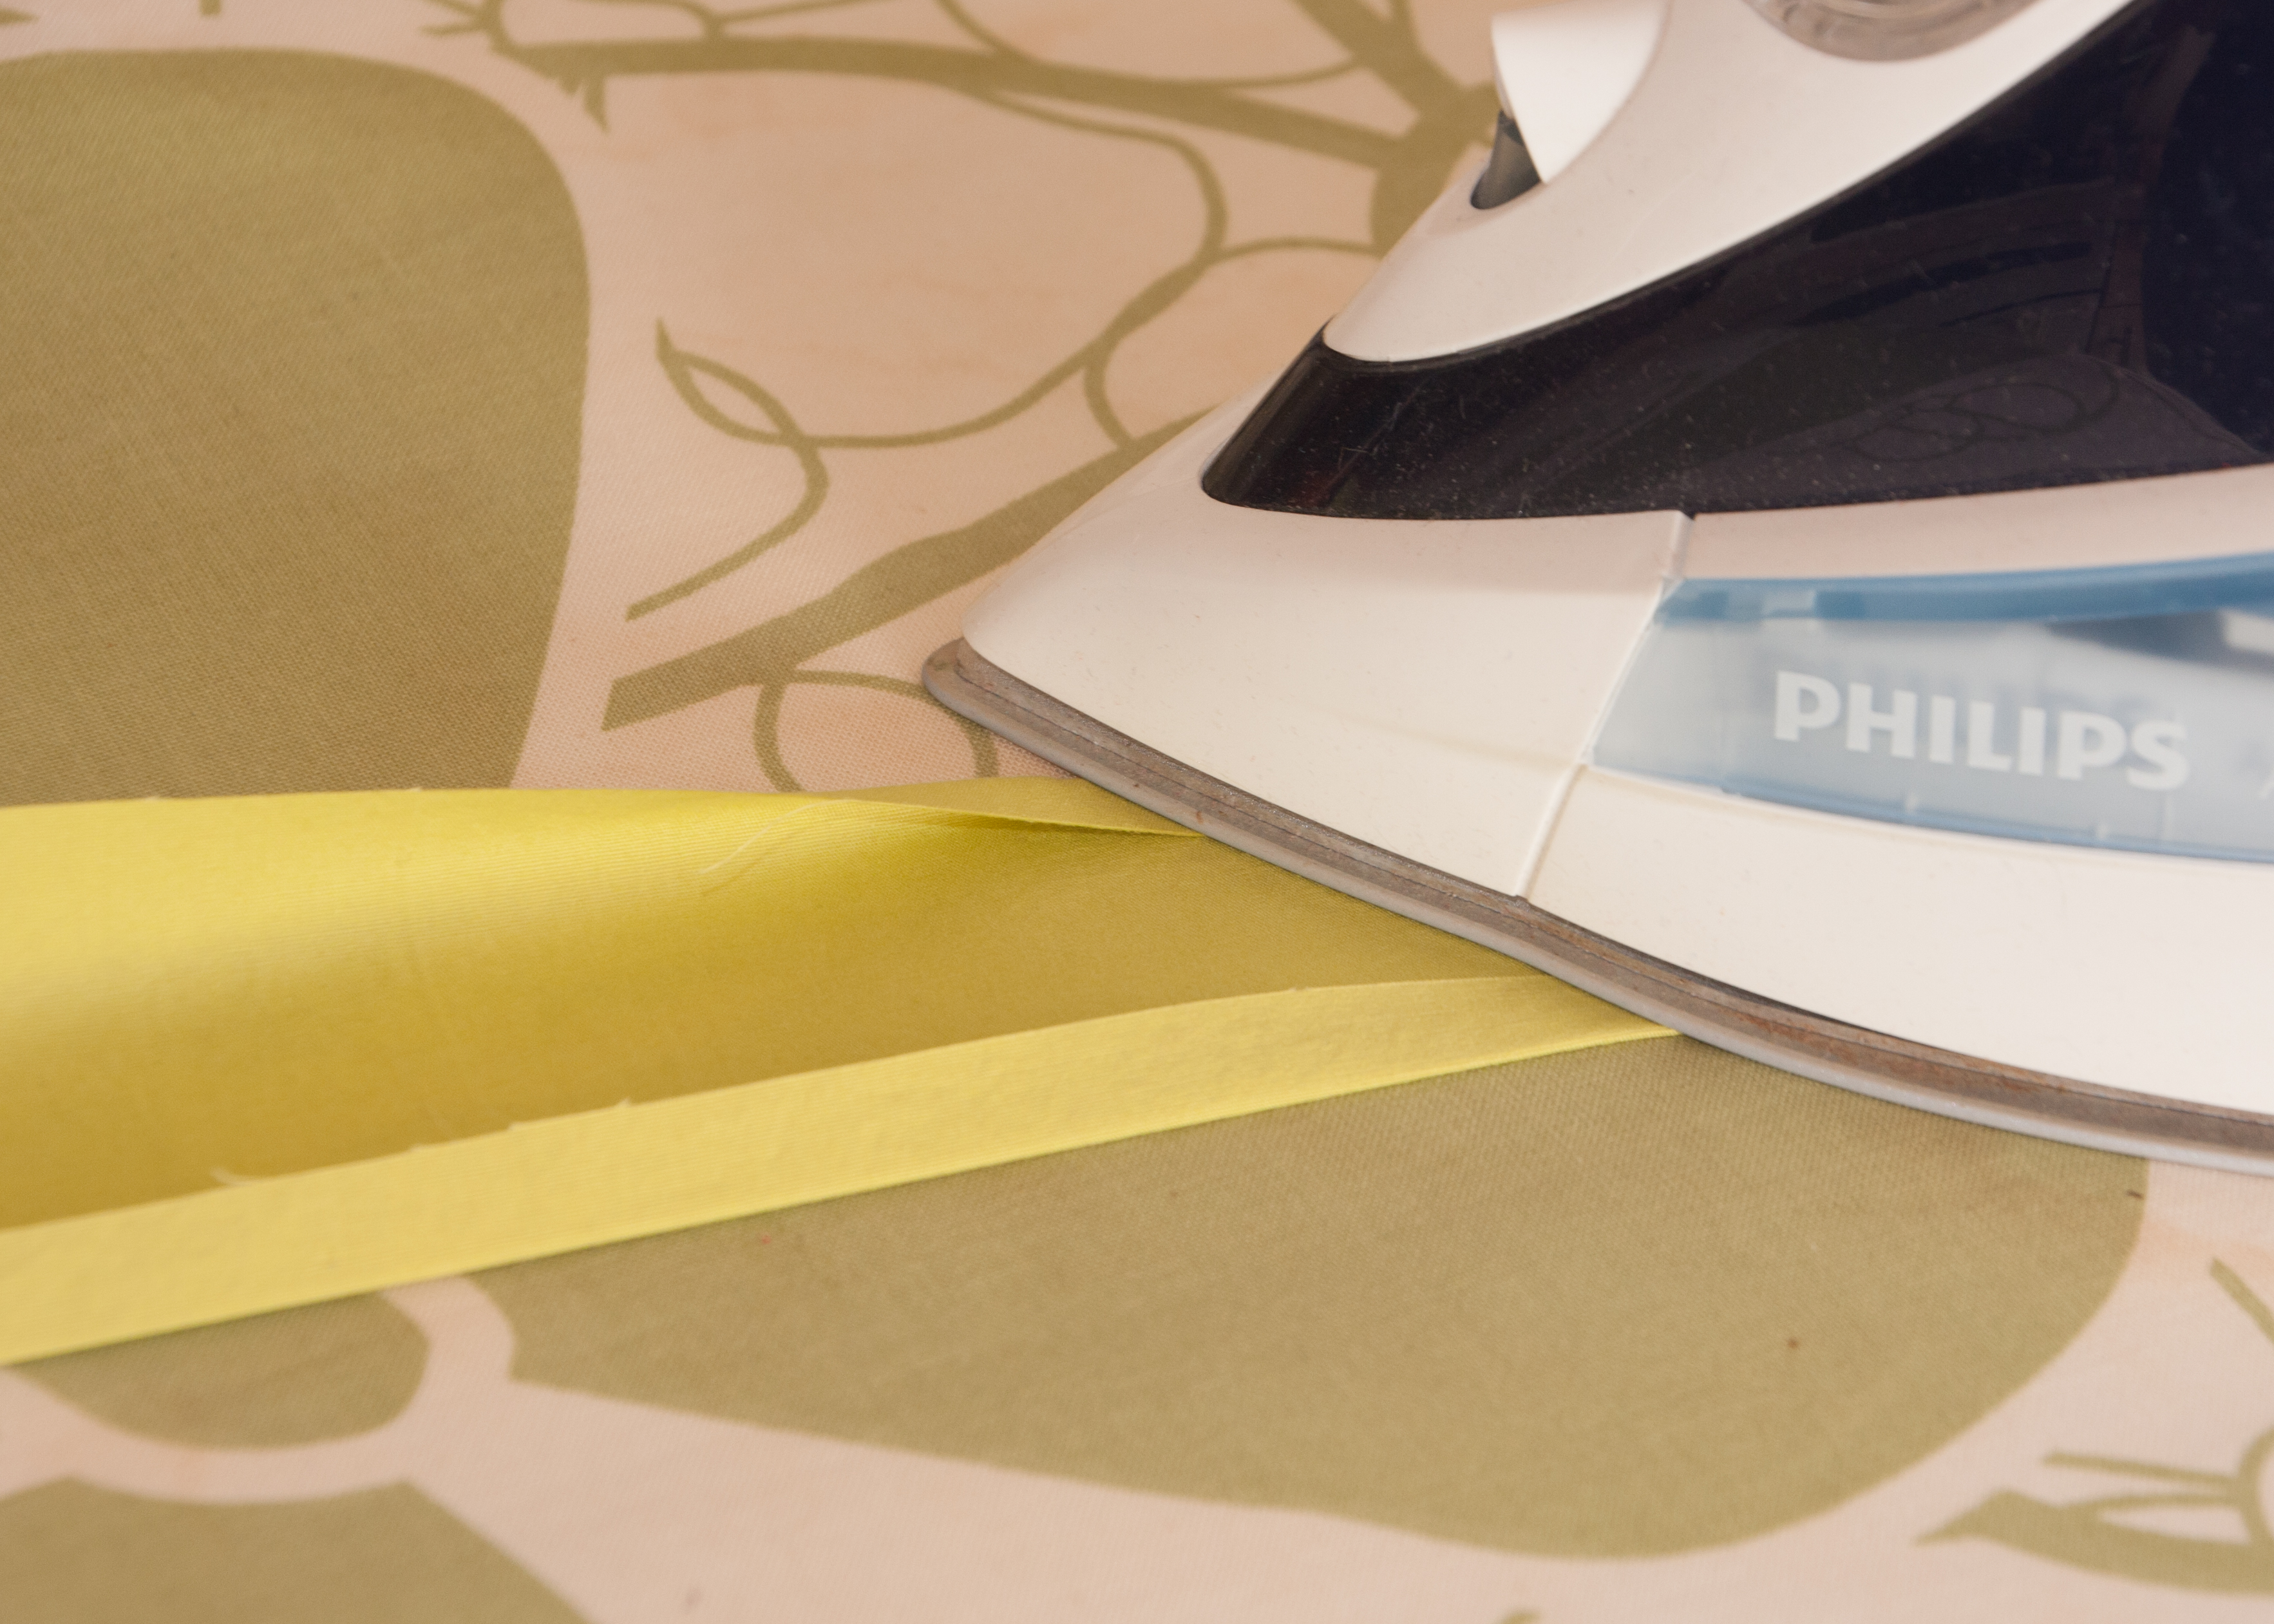
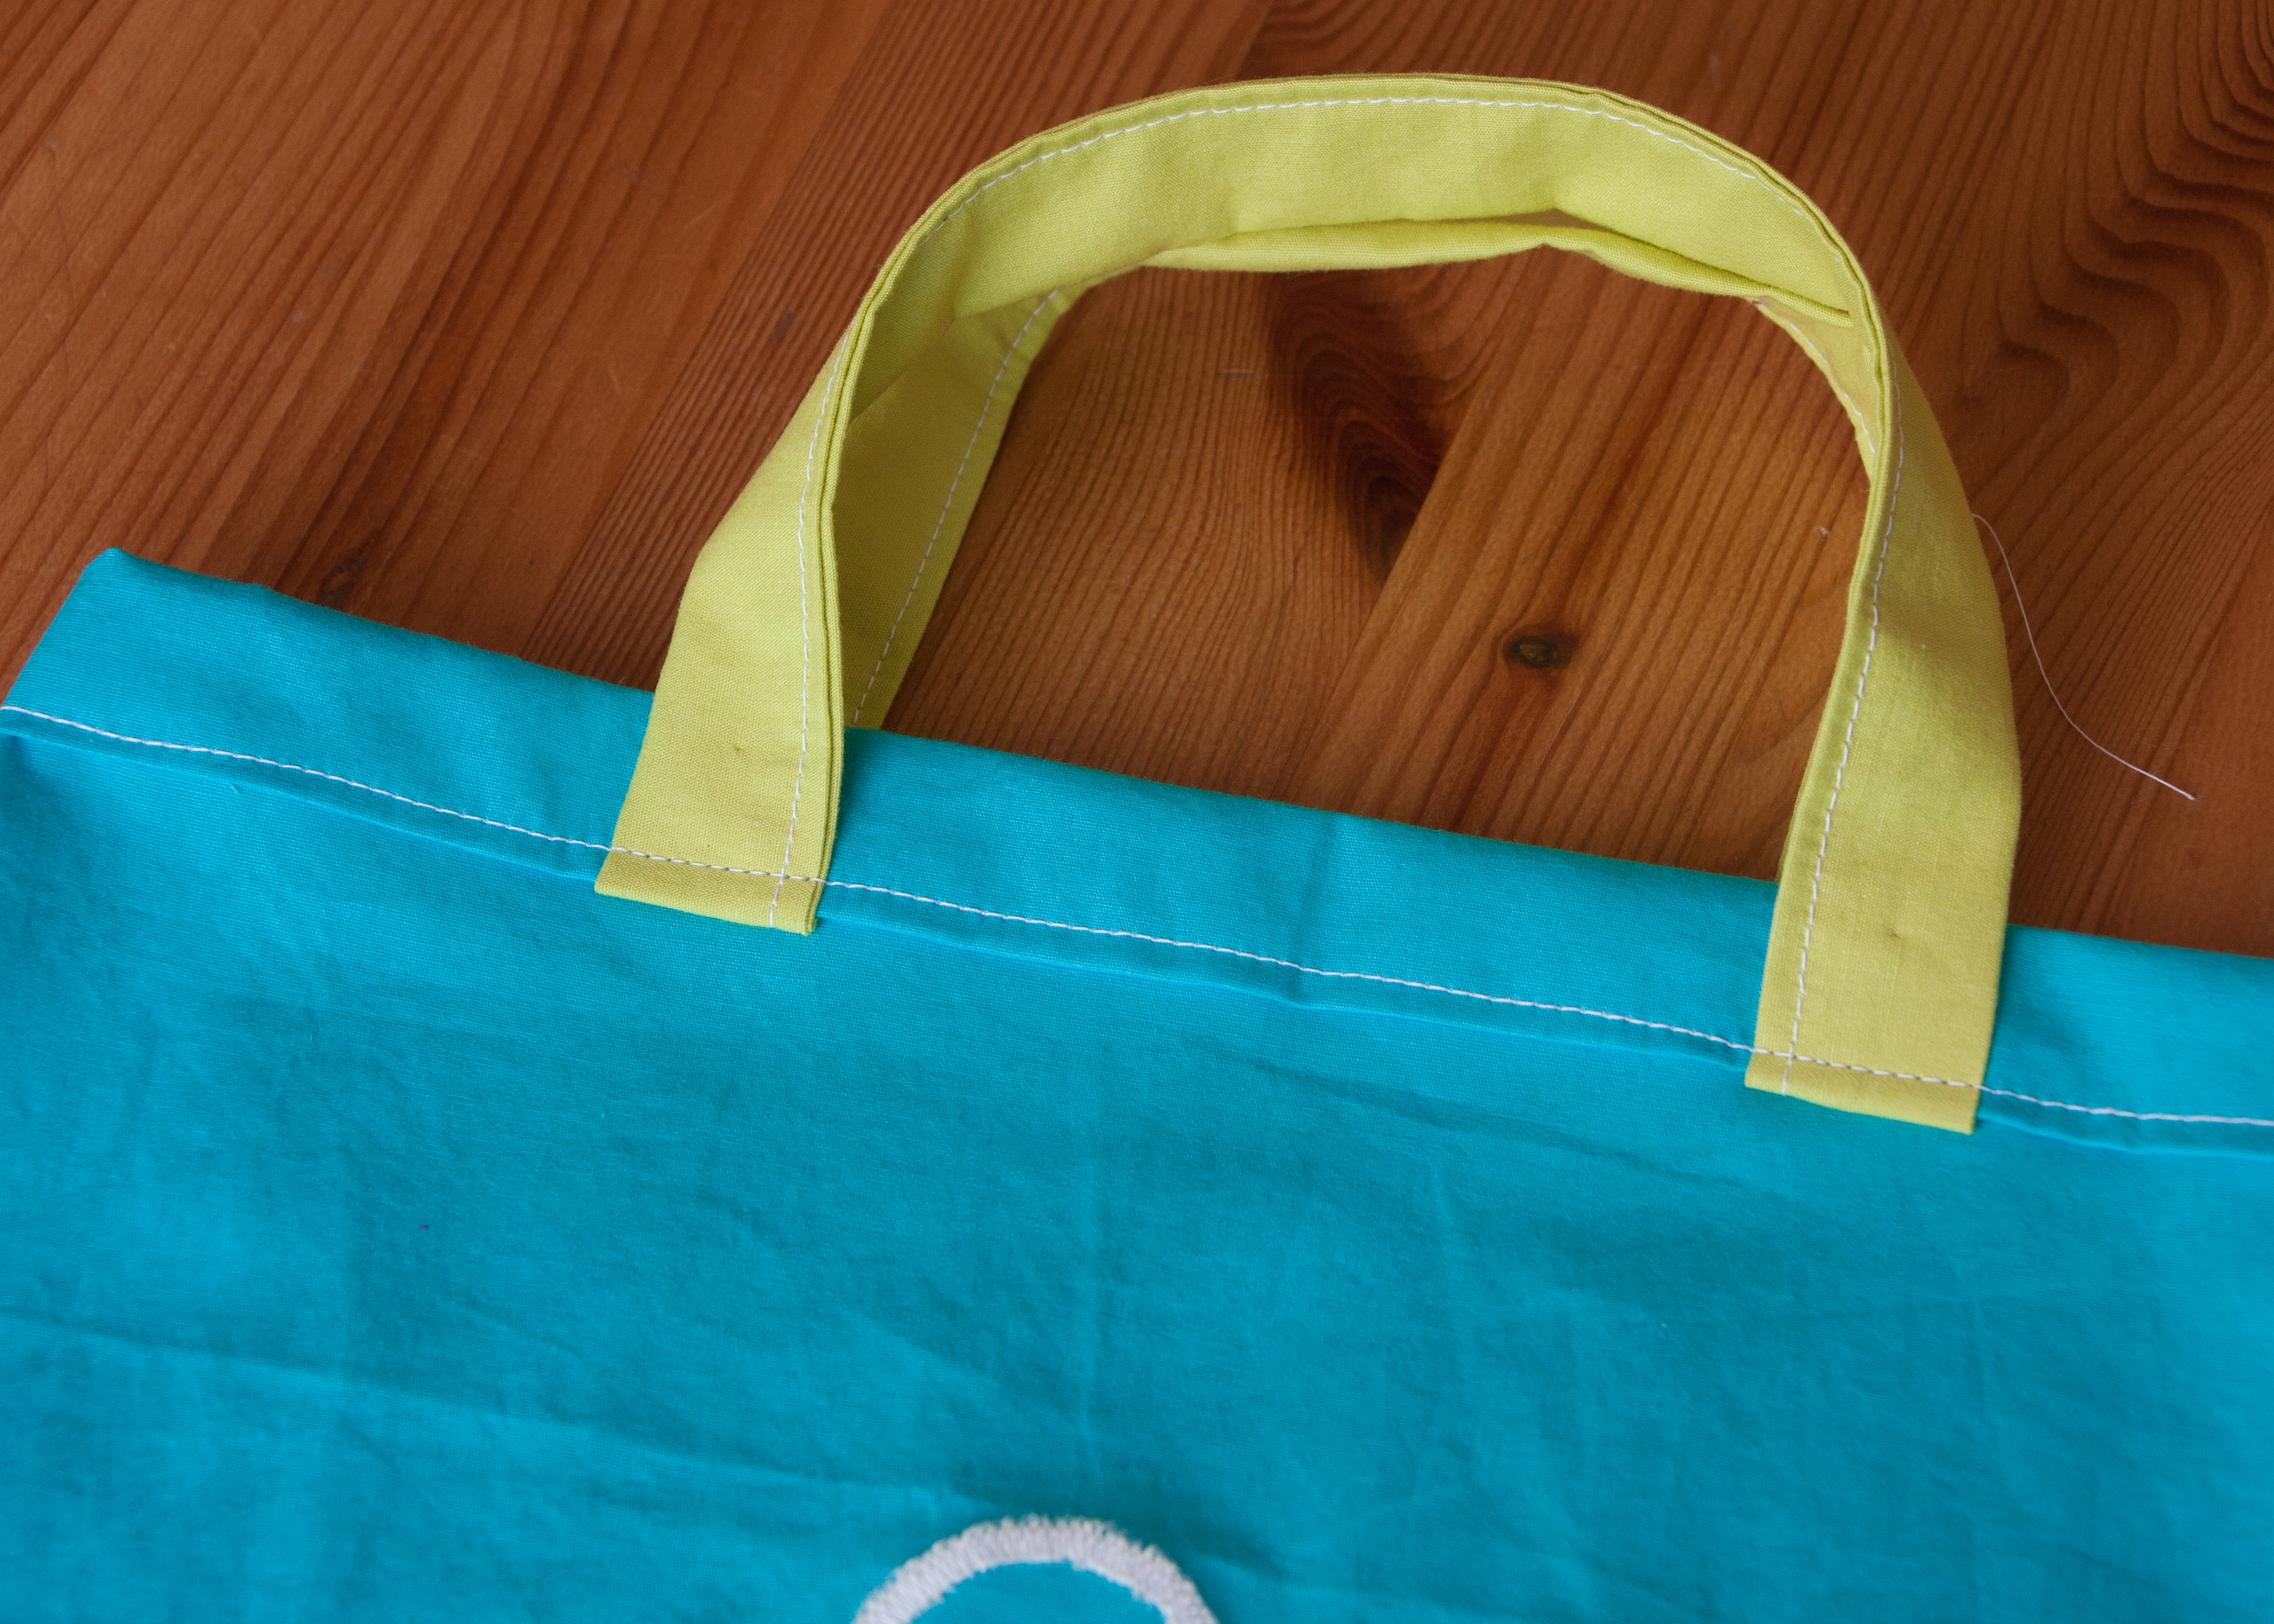
So I set to work, went to look for suitable fabrics, made design sketches, asked my friend plenty of practical questions and made a calico bag. I then enthusiastically started to cut out a coated cotton (some of them will be made of coated cotton, some out of normal one) and when I had cut out enough for three bags, I suddenly realised a big mistake in my design: The initial yoga bag had a seam at the bottom of the bag but as you carry it on your bag like a quiver, the bottom of the bag will actually be the exposed side. So in that case, it would be a shame if there was a seam.

I still made one of them up but in the meantime I adjusted my design for the cotton ones and set to work.

If you want to know more about the bags (size, material, process of making one,…, please go to the yoga bag section by clicking on the link in the top menu.

To celebrate the start of this new and exciting adventure, I have several goodies for you.

First of all, I will be giving away the coated cotton one with the back seam.

IMG_2723

The fabric itself is waterproof but the seams are not taped or anything. So it will be fine in normal wet weather on your way to your yoga session but it will most likely not keep your yoga mat dry when you were walking through torrential rain for four hours.

Inside, the bag is fully lined and it has a small bag for your phone, keys,… which you can actually remove and take with you (sorry no picture taken)

If you want to enter the competition, please respect the following rules:

1. Everybody who does not live in the same household as me is allowed to enter the competition. (I really do not want my husband to go to his training with this flowery bag).

2. Leave a short comment in the comment box below. This is just to give your name a number.

3. The competition will be open until Wed, 26 November 2014 8am (London time)

4. random.org will then chose the winning number.

5. I will contact the winner by email and inform everybody in a post.

6. And obviously there will be no right of appeal. If you do not trust me or random.org just don’t take part 🙂

For all the others who did not win or are not keen on that particular style, please don’t be sad. I will put my first two other bags in my etsy shop for the introductory price of £15 pounds which will just about cover the cost of the material for one bag.

These will be the introductory offer bags (but please give me a bit of time, I do promise to hurry up – as you can see, for the second one there is still a bit of work to do, not just the listing on etsy 🙂

IMG_2720IMG_2743


Daniel

IMG_1270I knitted this scarf about a year ago and I finally managed to write down the pattern and put it online. Well, that is actually not true, I made a lovely chunky diagonally knitted cowl on my trip to Oxford but I decided to use the picture of the old one to illustrate the pattern. The colours are more cheerful, the fact that it is knitted on the bias comes out better because of the stripes and, lets be honest, it might take another year to get a decent picture taken, the weather needs to be right, there should already be some daylight, no football game scheduled (we live in England, there is always a football match going on somewhere)…

When I linked the pattern on ravelry with my already existing project, I realised that I hadn’t actually knitted a full rectangle as I pretended in the written pattern. Ups. Never mind, the fact that the pattern is for a rectangle it makes it more adjustable for other projects, not just for cowls. And the Oxford cowl at least was really knitted as I had written it down.

And I am pleased as punch to say that I had already over 100 downloads in 30 hours. I know that is not actually that much compared to other patterns on ravelry. But it is still cool to see that my patterns look interesting enough to be downloaded by someone.

“Cotton bag” is the new “designer hand bag” … or was it “jute bag”?

Cotton bags have definitely become a fashionable accessory and I am a proud owner of a zillion of them. From the Austrian country side butcher to the Notting Hill book shop – I have them all…. coming to think of it, the Austrian ones are all pretty old vintage whereas the fashion capital London does not hand them out since such a long time. Have we been trend setter, for once?

I do love cotton bags, they are great to keep my knitting or children’s change cloths clean yet breathable, you can put smaller things into your suit case without taking extra space, you can wash and reuse them, etc. etc. and of course they make you look trendy (for that purpose I would suggest the Notting Hill book shop one rather than the Austrian country side butcher)

I have already been sewing quite a few ones as my children’s nursery also seem to think that they are great to keep children’s change cloths in them.

Recently, I have made two for my children to keep their ballet equipment together and clean and since they have been a big hit I made another one for a little girl’s  5th birthday. They are really easy to make, and as an encouragement for those who would like to make things for their children but are a bit scared of their sewing machine, I put together a few pictures for a little tutorial:

Stofftasche 22

Before we get started:

I really like using contrasting colours or one patterned and one plain side which makes it also a great project to use up left overs. The remaining question would then be the thread colour. A contrasting colour is good if you believe in your sewing skills. Little imperfections are more visible then if you are using matching threads. I like to find one colour that links all the colours of my project. In this case, I went for white. It is a contrast to everything but as it is a neutral colour, it does not add to my overflowing colour pot. If you do not want to have very obvious seams, you’ll have to use matching colours, which will lead to a lot of thread changing. Your choice.

You’ll need:

  • fabric: 0.5m of cotton
  • sewing thread, scissors, pins and the usual stuff
  • iron
  • optional appliqué:
    • paper template (I printed out a letter font size 400ish)
    • fabric (I like using the same fabric as for the second bag side)
    • interface (I used a simple iron on one, there would be a more fancy fusible web with two sticky sides  to make positioning later a bit easier)
    • kitchen towel

 1. Cut out two pieces of fabric for your bag and two for the handles.Stofftasche 01

Dimensions: I have made my bag a bit shorter than most standard cotton bags as it was made for a child (which tend to be a bit shorter 🙂

This is how you calculate it, followed by my own example.

Sides:

  • desired width + 2x seam allowance: 32 + 2x 1.5 = 35
  • desired length + 1x seam allowance + 2.5cm for folded top line = 34 + 1.5 + 2.5 = 38cm

Handles:

  • 2x desired width + 1.5cm = 2×2 + 1.5 = 5.5cm
  • desired length + 8cm = 35cm

2. If you want to add an appliqué you will also need a paper template, a bit of contrasting fabric, some interfacing (or fusible web) and a kitchen towel (or a tear away backing).

If not, you can jump to Step 8 straight away. Stofftasche 02

3. Iron the interfacing to the wrong side of your fabric (sticky side of interface on the fabric!). If you are using a fusible web, the paper side is up.Stofftasche 03

4. Pin your desired shape the right way onto the fabric side or the wrong way onto the paper of the fusible web and cut it out.Stofftasche 04

5. Position the appliqué on the bag fabric and pin it in place. I chose the center but the corner looks good, too. If you are using paper backed fusible web, pull the paper off and stick the appliqué onto the fabric.

6. Put a kitchen towel (or fancy tear away backing) under the fabric – this will result in a neater stitch as it holds everything together – and sew the appliqué on using a wide zigzag stitch. Stofftasche 07

The zig goes through appliqué and fabric, the zag goes through the fabric only, just next to the appliqué. I usually use a rather small stitch length (almost as if I was sewing a button hole as I want to use it as a contrasting feature and to make it more secure (things for children get washed very often – at least in this house)Stofftasche 25

7. Carefully pull away the kitchen towel. The little bit stuck between the seem will come off in the first wash.

8. Pin the two sides of the cotton bag with the right sides together and sew along the two sides and the bottom. Shorten the two edges at the bottom of the bag and zig zag all around to secure the seams. (Usually you are supposed to cut off the edges after zigzagging but I am slightly security obsessed).Stofftasche 10Stofftasche 11

9. Now it is time to prepare the handles.

Put the fabric wrong side up onto the ironing board and fold both long sides 0.7mm and iron those edges.Stofftasche 12

10. Fold the fabric lengthwise in half and iron again.Stofftasche 13

11. Since you are already using the iron, take your bag(right side inside) and fold the open top twice. First 0,5mm, iron, fold 2cm and iron again. Stofftasche 15

12. Back to the handles. Close them by top stitching close to the folded edges.Stofftasche 14

13. Place the open ends of the first handle into the opening of your folded top line, right up to the top. Make sure you are positioning it centrally.Stofftasche 16

14. Now fold it up carefully and pin in place.Stofftasche 17Repeat this with the second handle.

15. Top stitch around the whole opening, close to the folded edge and over all your handle ends.Stofftasche 18

Stofftasche 19

16. Now you need to secure those handles for added bag strength. I do this with a little x in a square on top of each of the 4 handle ends. It looks much neater if you do that on the right side of your bag, even though you can not see the exact position of the handle.Stofftasche 20

Since I am not only an amazing photographer but also an incredibly skilled graphic designer, I have made a little sketch, how I normally do it. Starting point is the top left corner, the end would be top right. Secure start and finish with a few reverse stitches.X Diagramm

Finished. Stofftasche 21

And just to show off the two initial ballet bags – they could do with a bit of ironing but come on, I have just spent ages putting together this post 🙂

teacher’s pet

I am currently working on little somethings to thank the nursery teachers for putting up with taking care of my little darling. They will mainly get little butterflies or flowers which I will show in an other post but I made something special for the head teacher and wonder if anyone could actually guess what it is meant to be.

So, what do you think? What is this supposed to be? Without any hints or multiple choice options.

IMG_2129s

IMG_2131s


IMG_2135s

IMG_2137s

IMG_2133s

I would be most happy if anyone could guess what I have tried to achieve, so don’t hold back with our ideas.

In any case, the little fellow proved to be very popular in this house, I hardly managed to take a single picture without catching any thieves red handed 🙂