Learning from mistakes

With the end of the (school) year being so near and the associated imminent closure of our nursery, I am getting quite nostalgic. To avoid being depressed I thought I’ll turn this rummaging in the past into something positive by looking at the things that went terribly wrong (don’t get too excited, nothing to gossip, I am just talking about craft projects, the actual purpose of this blog) in order to learn something from it.

This is actually a random selection, I guess there would be many more but I haven’t always taken pictures.

What is wrong with these things? I am glad you’re asking. I was thinking hard and long about it. They haven’t been worn EVER. Or just a few times in some cases. And what they actually have in common: They were all made for the same person. Who will always try on things happily whilst I am making them but just politely says: No thank you! when they are finished. Have I learned from it? No, I haven’t.

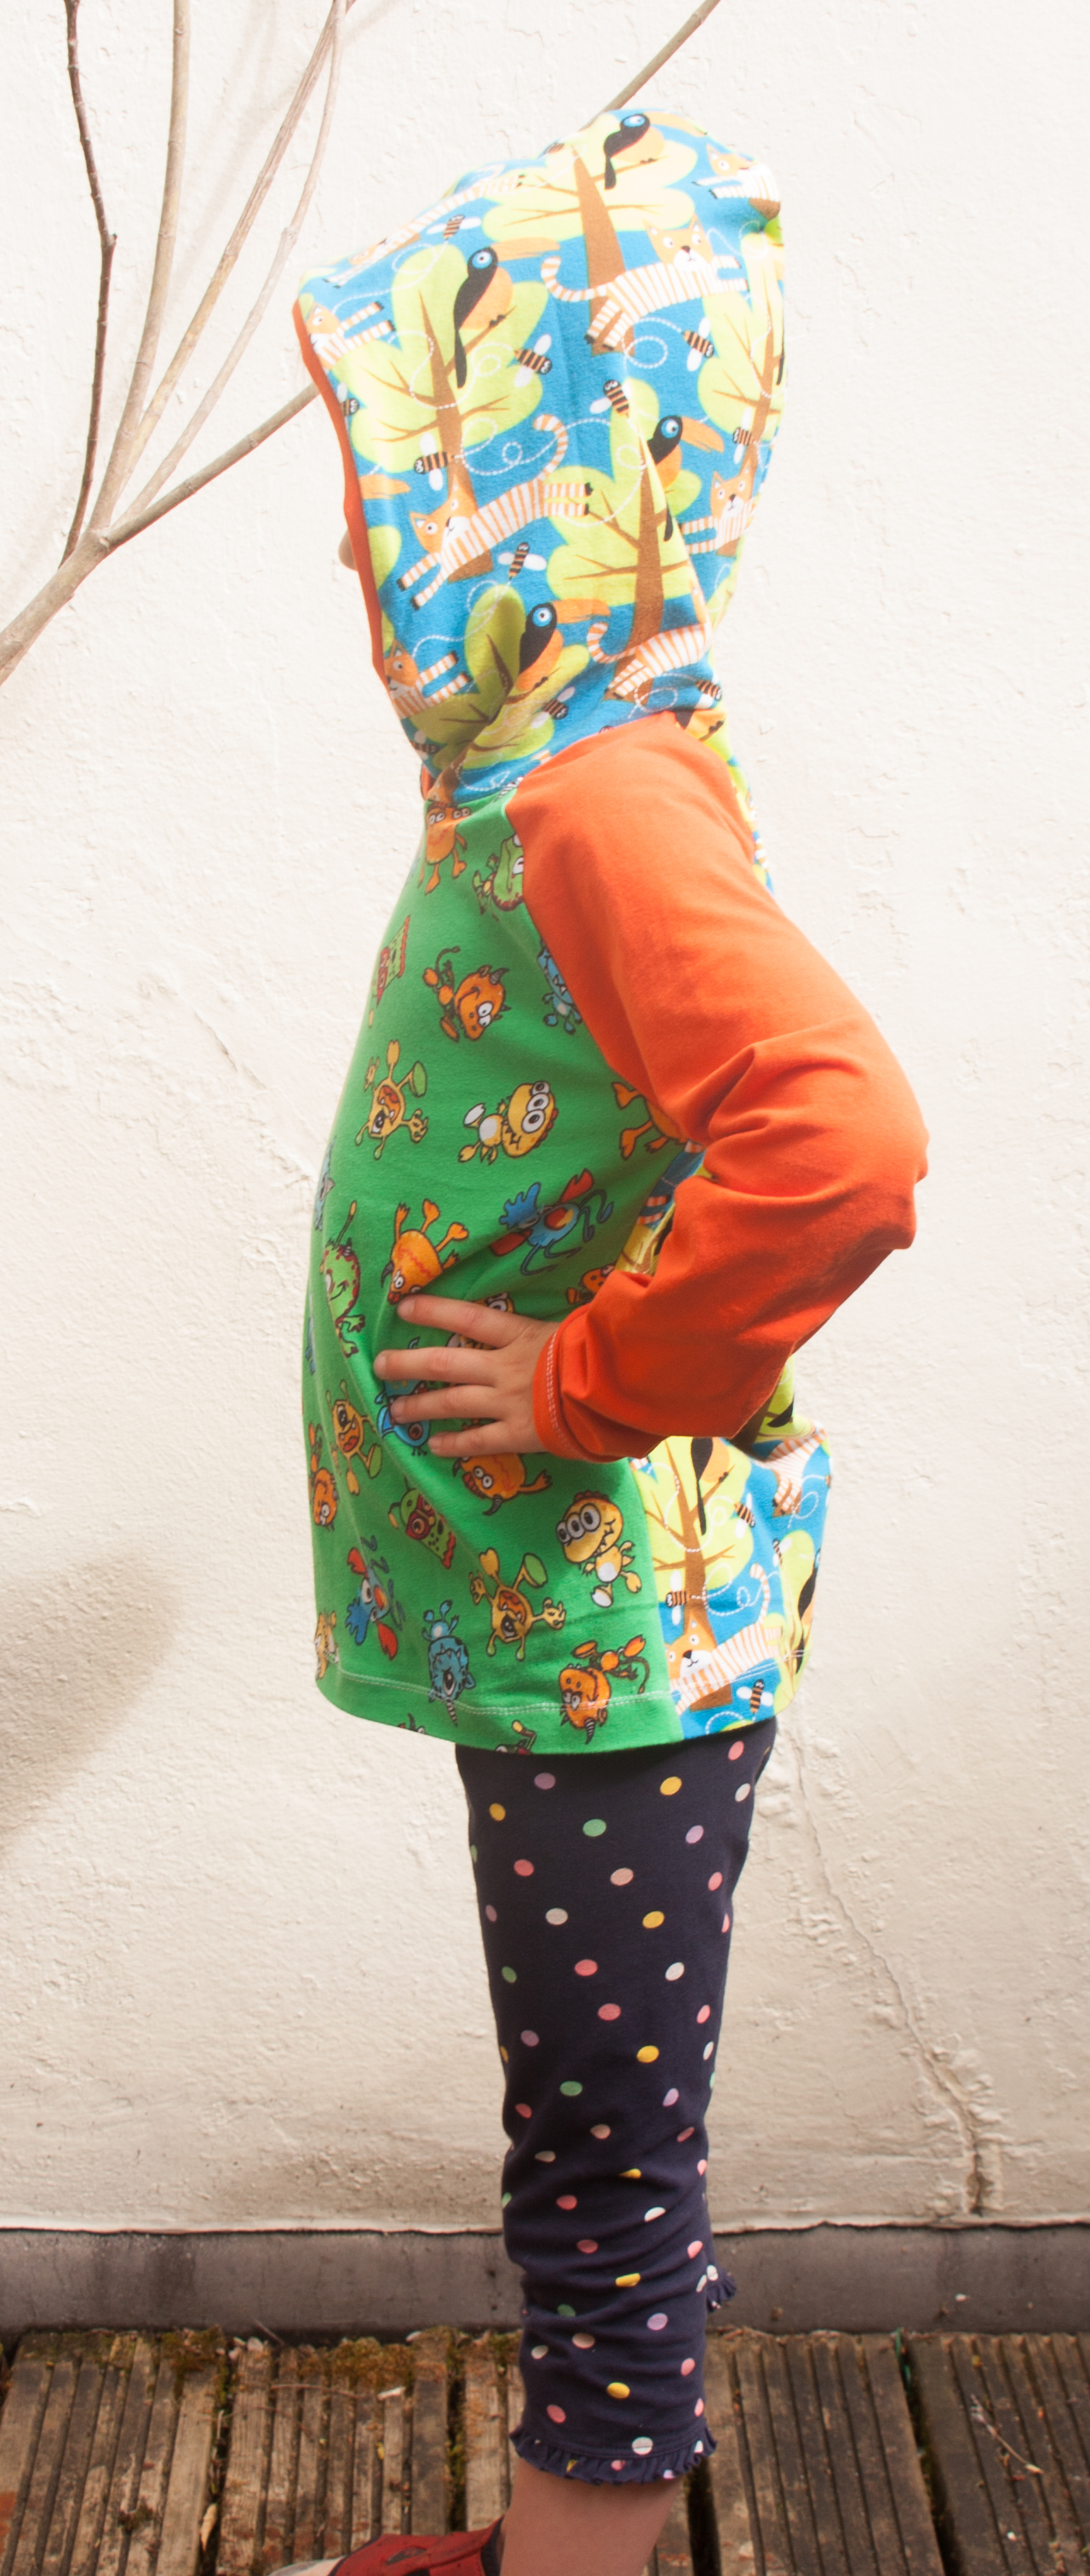
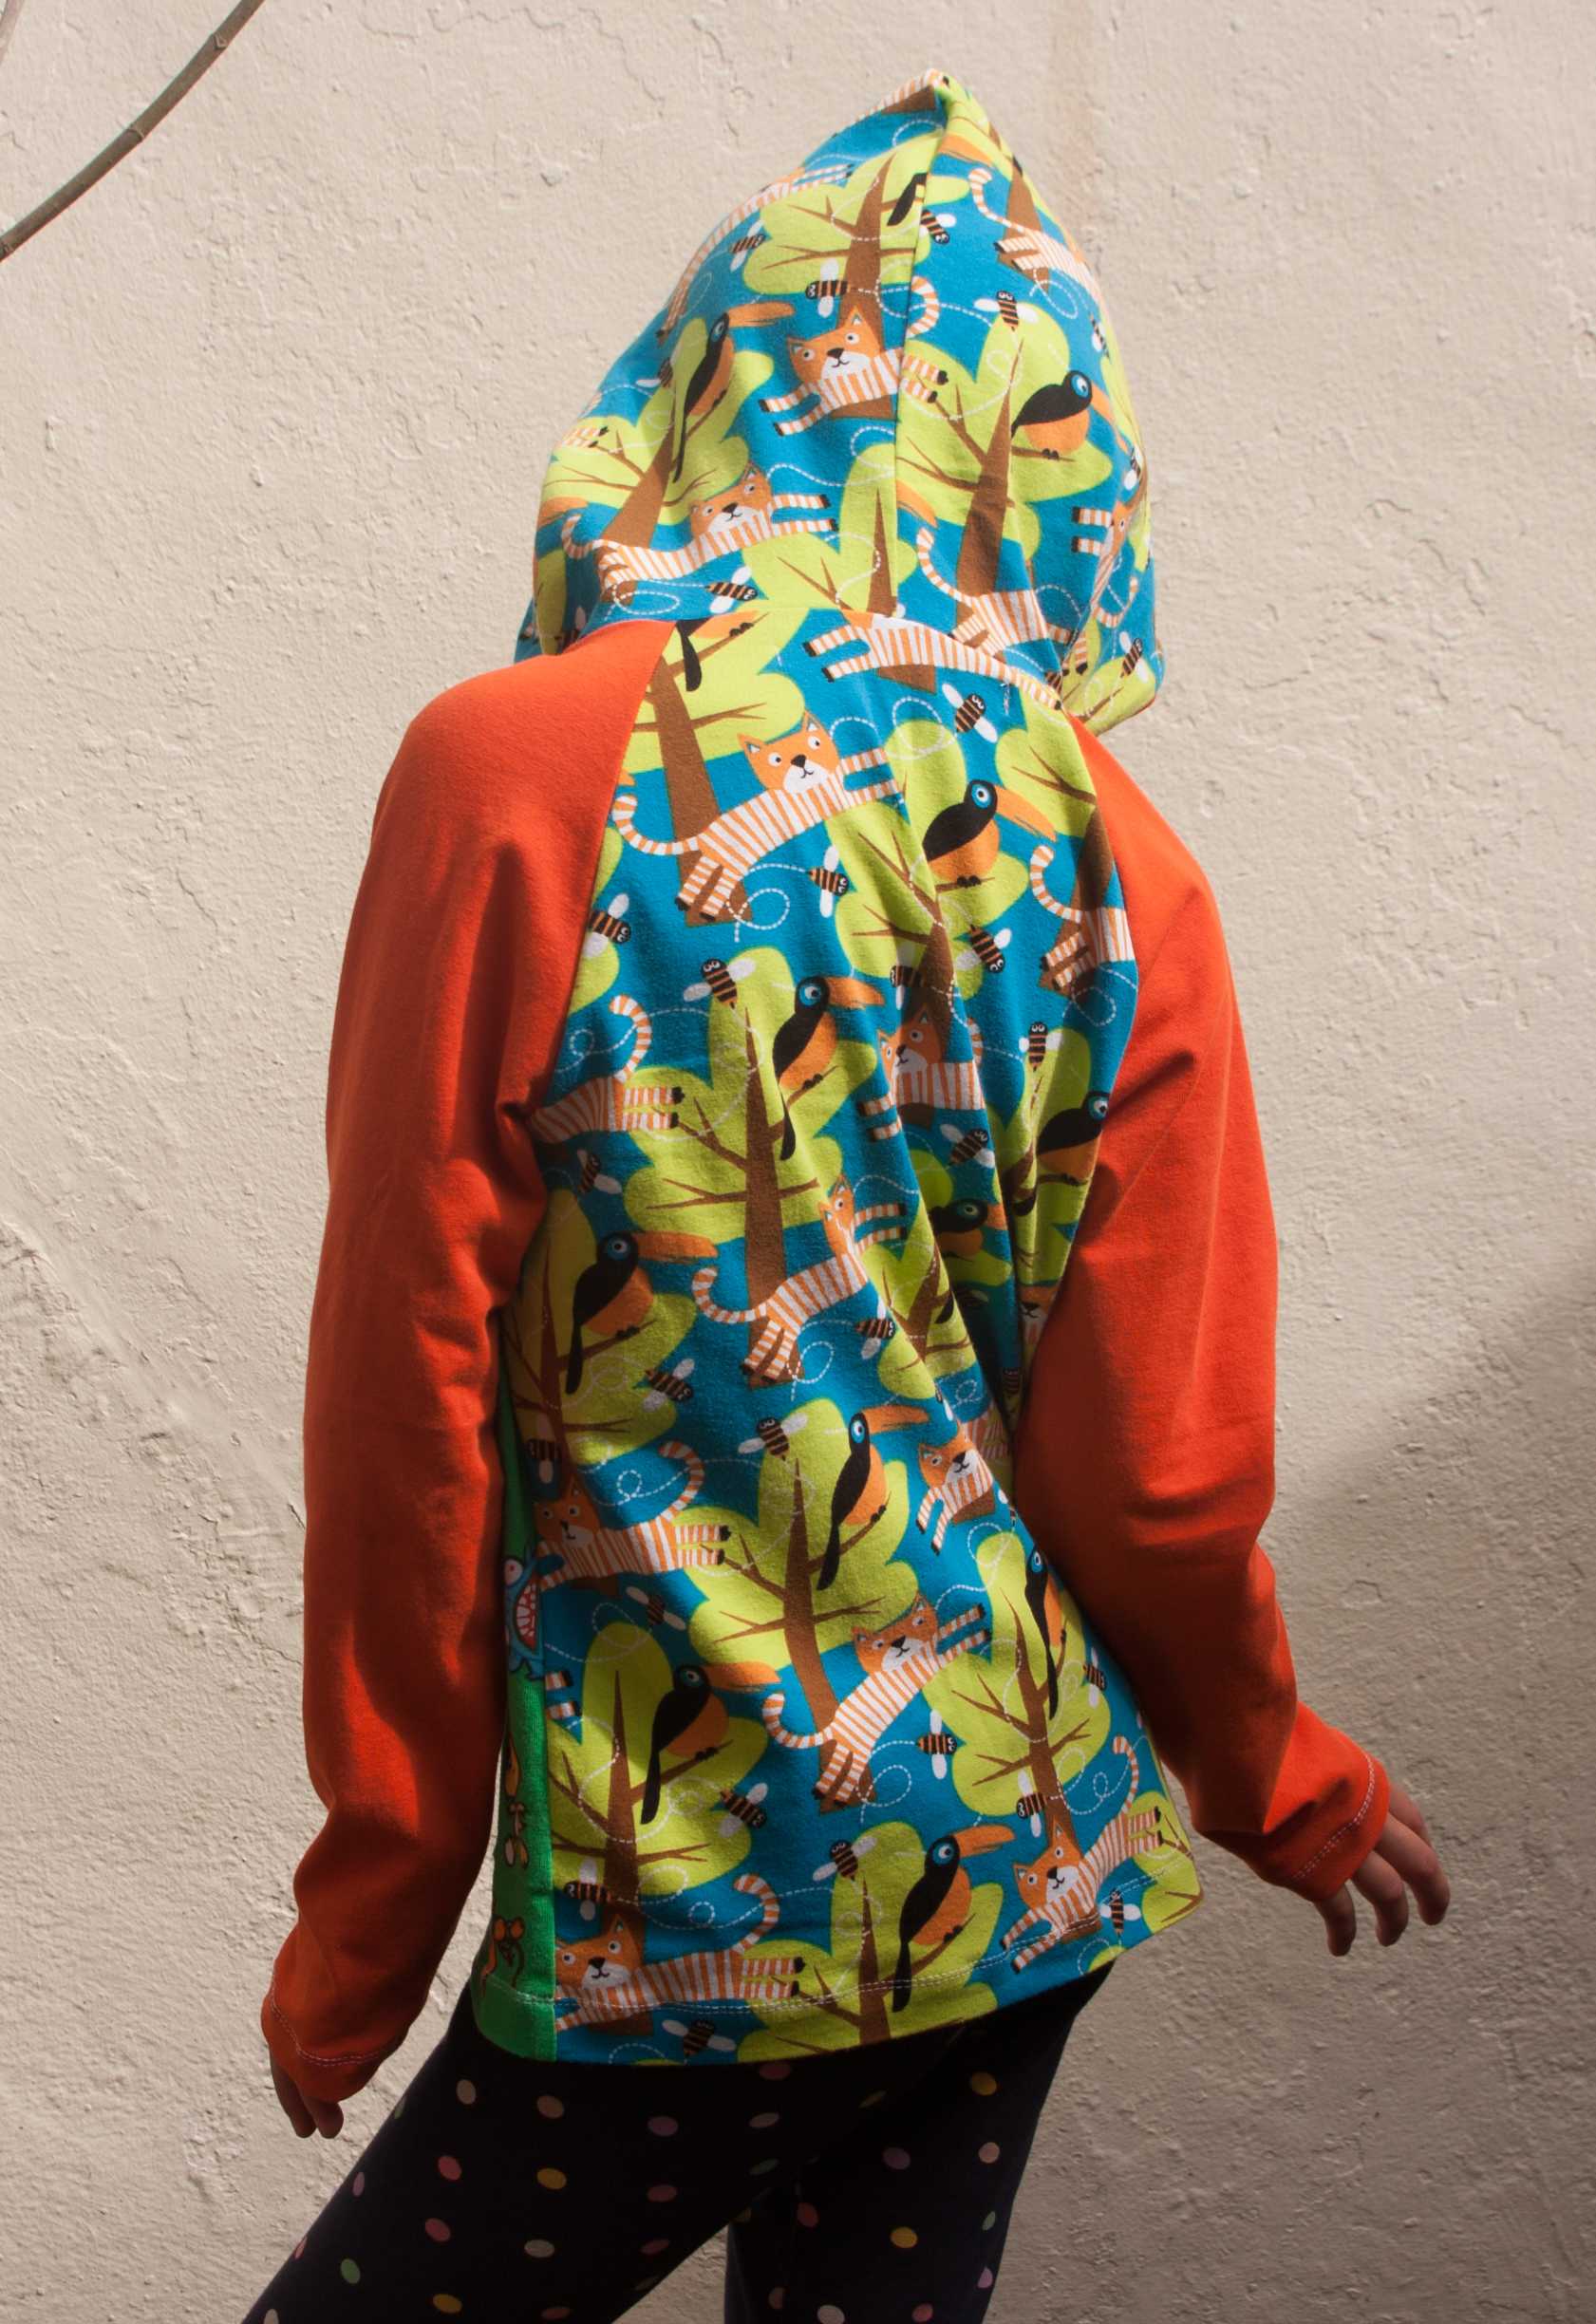
I have just stupidly made a beautiful jacket using a klimperklein pattern. Or rather e-book with lots of step by step instructions.

You might think that this is a really nice jacket and that anybody would love to wear it. Well, you’re wrong. “No, thank you. Maybe I’ll wear it tomorrow!” Still polite but making me hope for another opportunity which won’t really happen is actually rather cruel. Do I sound bitter? No, don’t worry. I am totally over it. Really. And let’s face it, there is another very important thing that all these things have in common. It was always me choosing the particular project and even fabric. Not once I had actually been asked to make all this useless stuff. So I guess, the only person to blame is myself.

So lets quickly look at the bright sight. The e-book is amazing, it offers lots of choices, different pockets, with or without lining,….

I have in fact made already a second one, same concept but different fabric and size. And this one actually gets worn a lot (fabric chosen by the jacket owner)

We’ll see if I have learned anything, next project will be something made of a fabric bought on request. I’ll keep you posted.

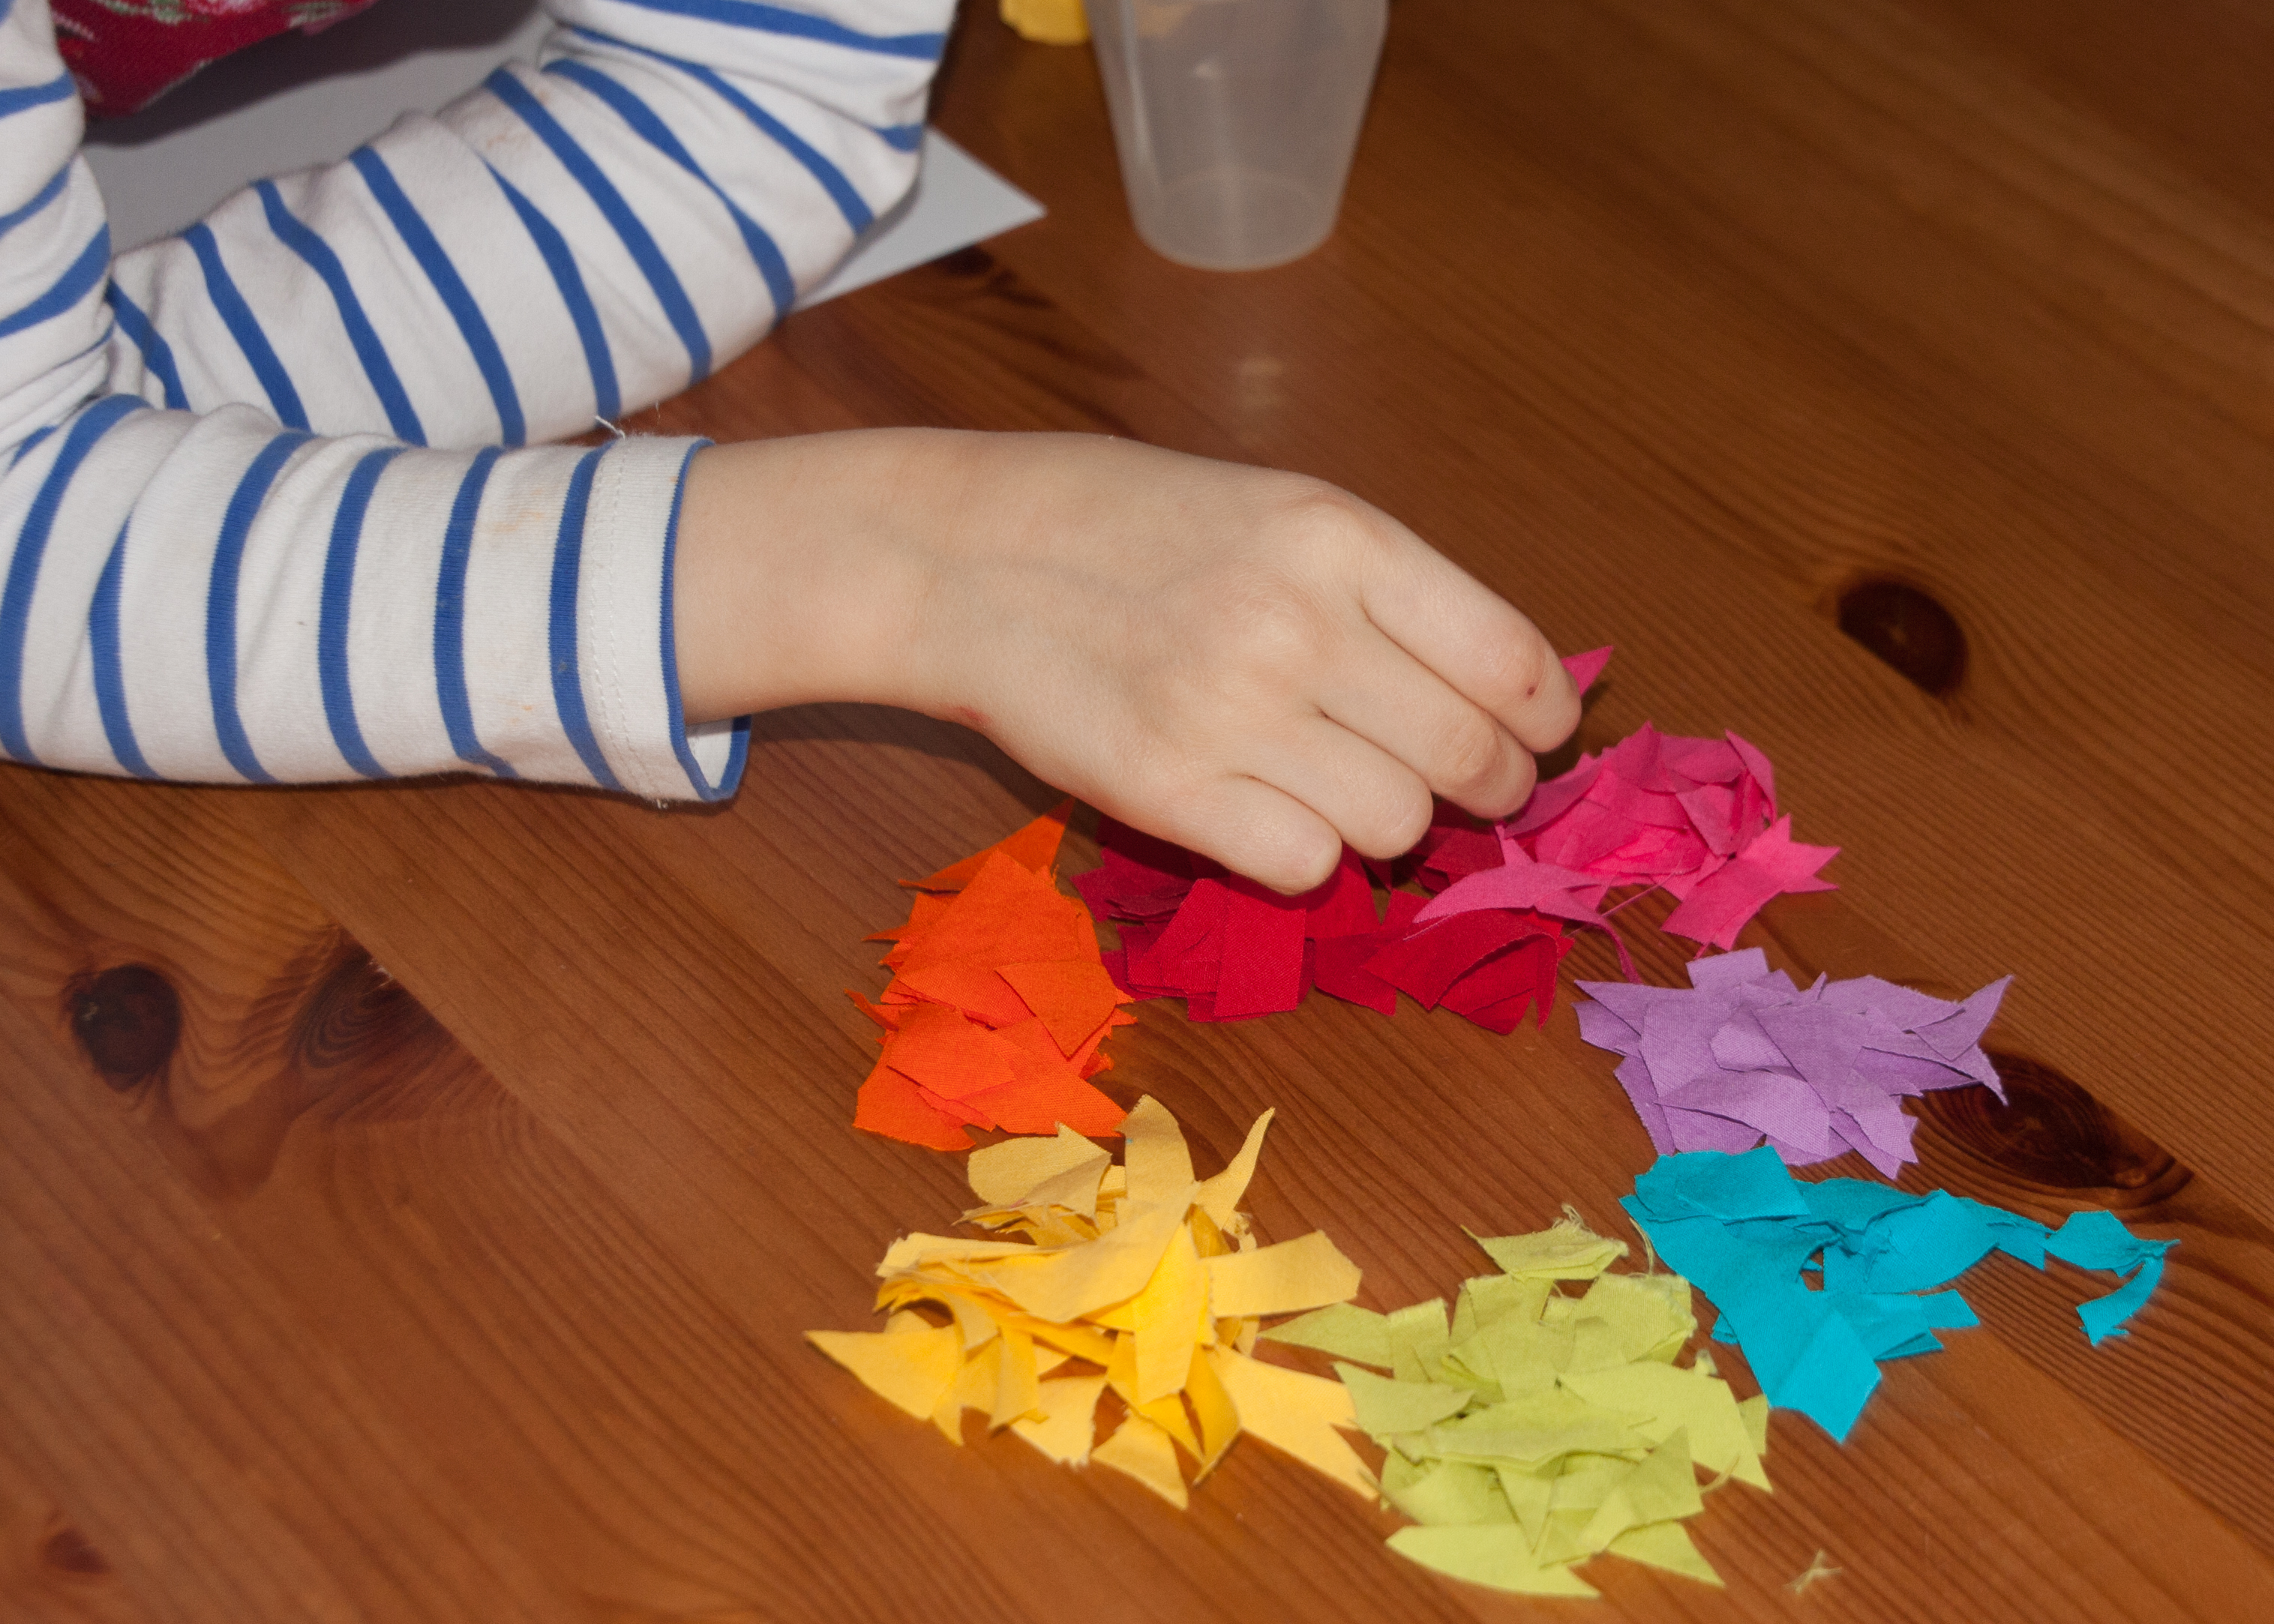
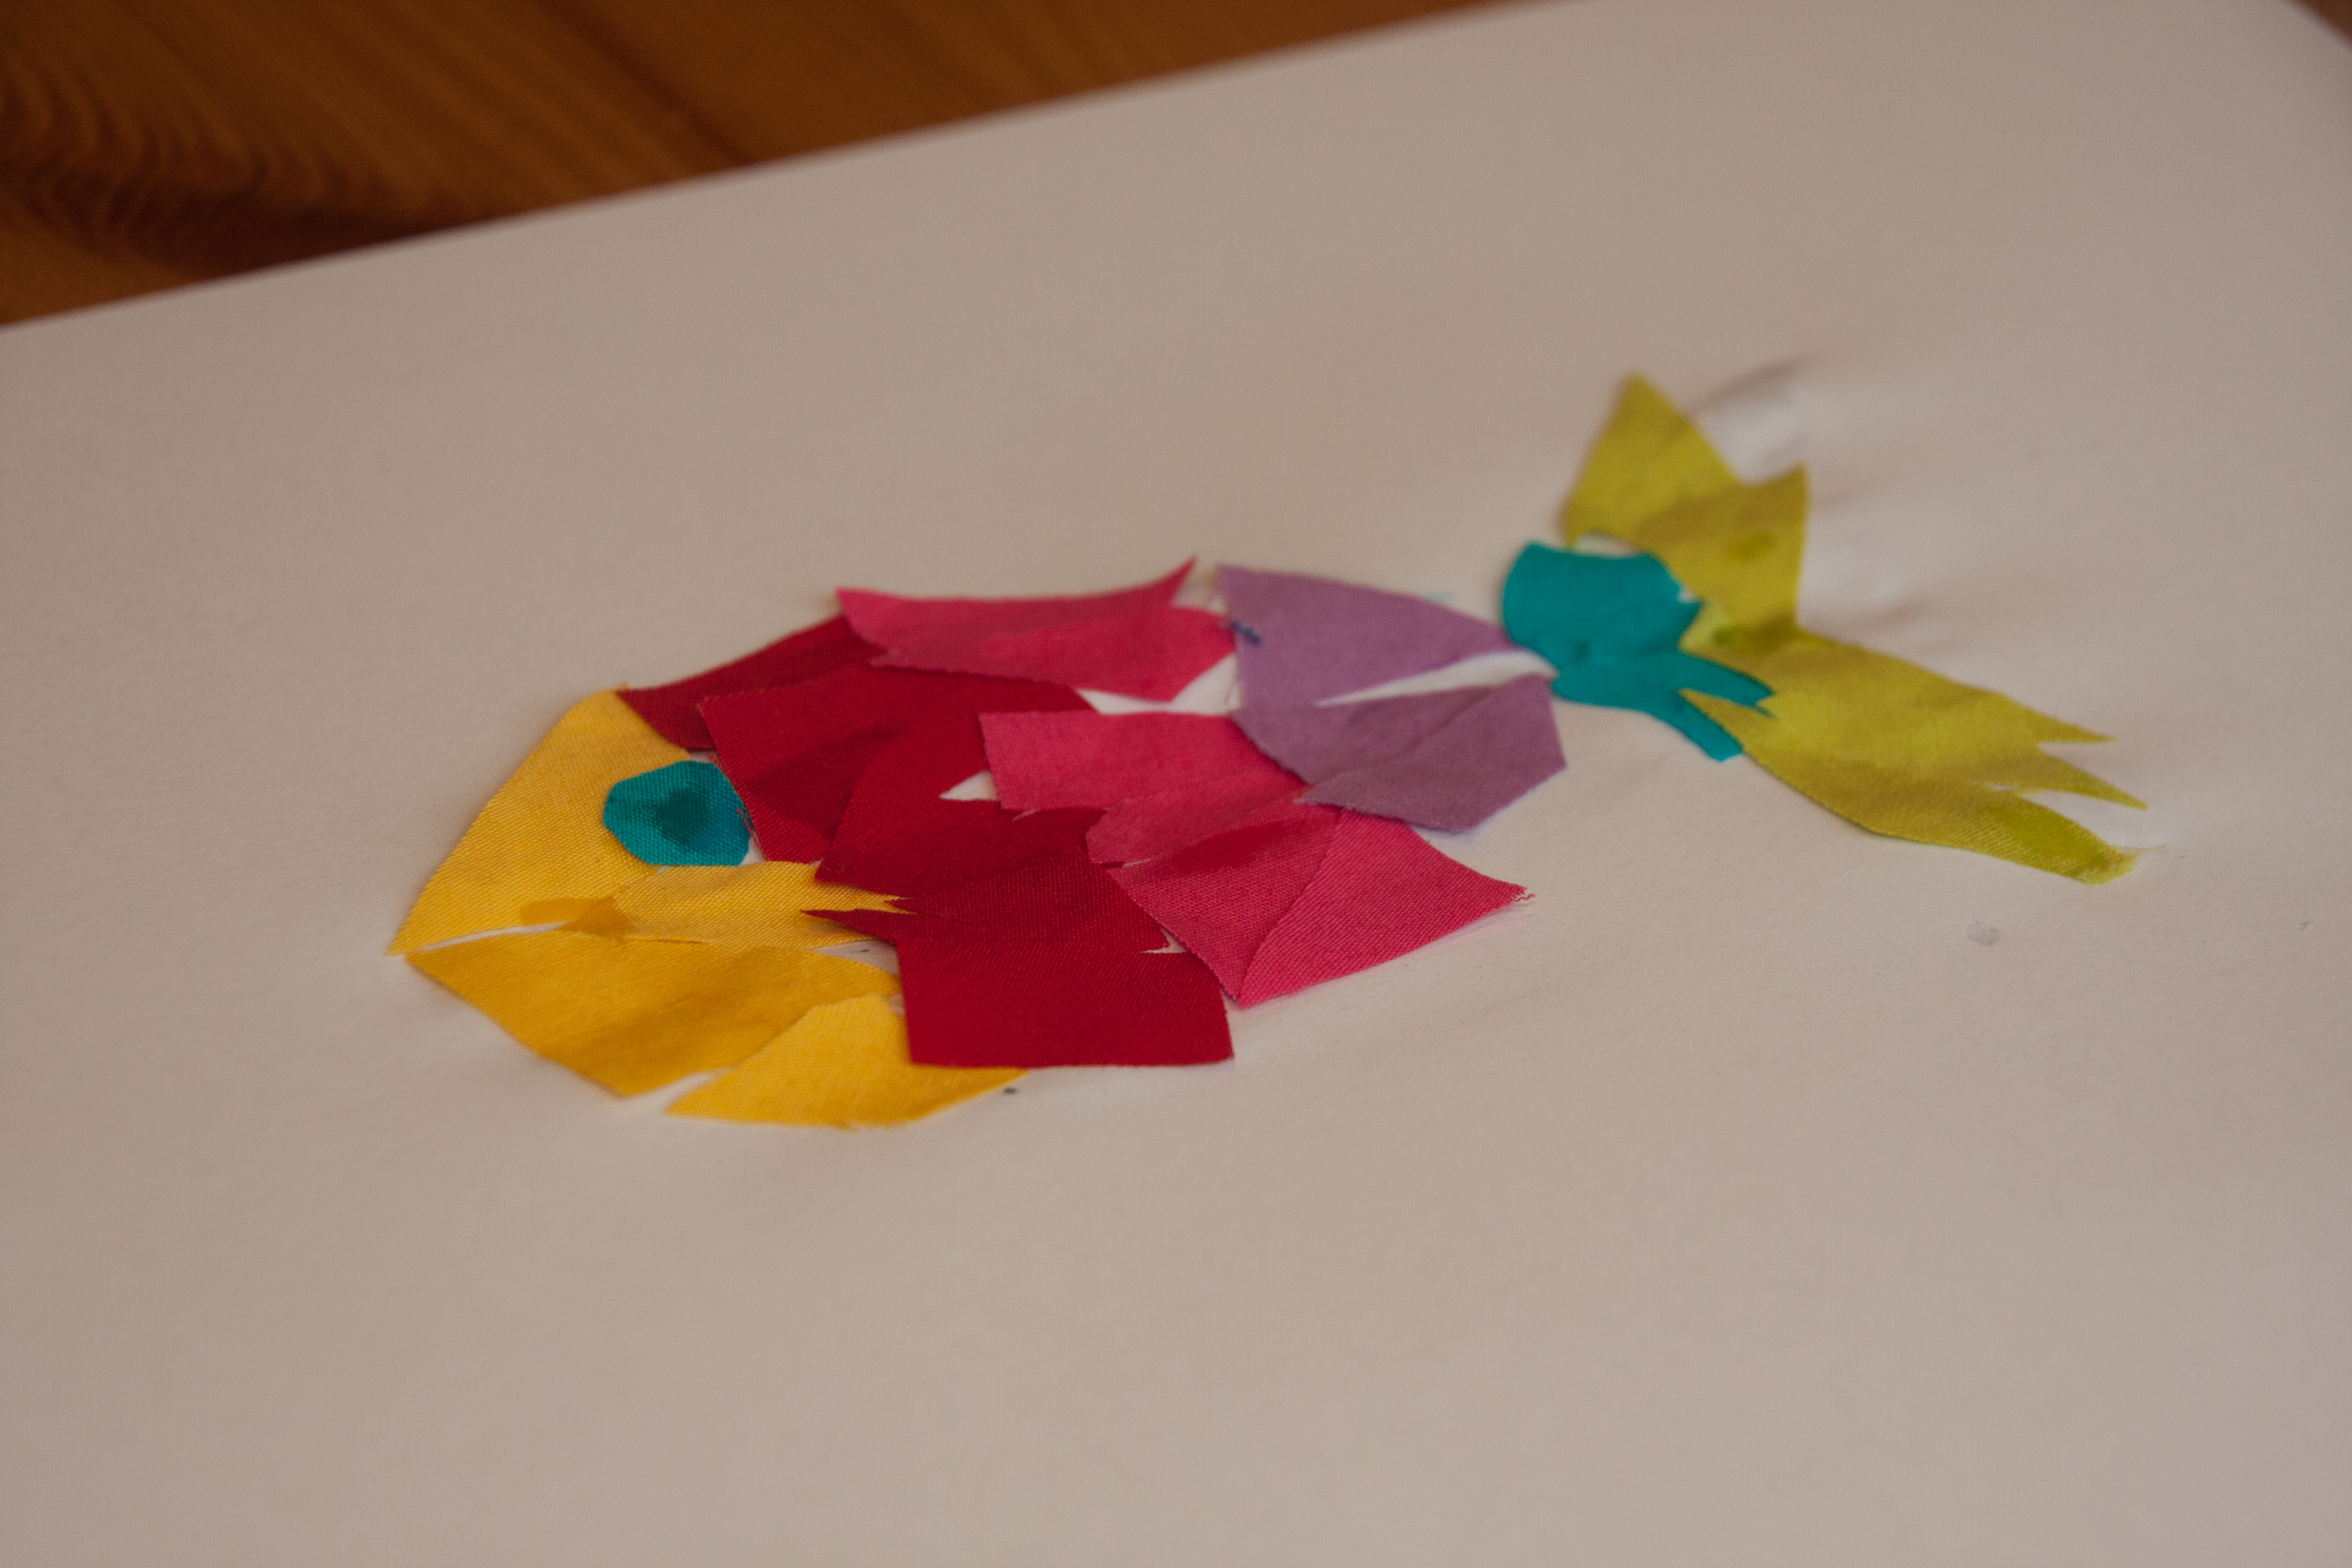
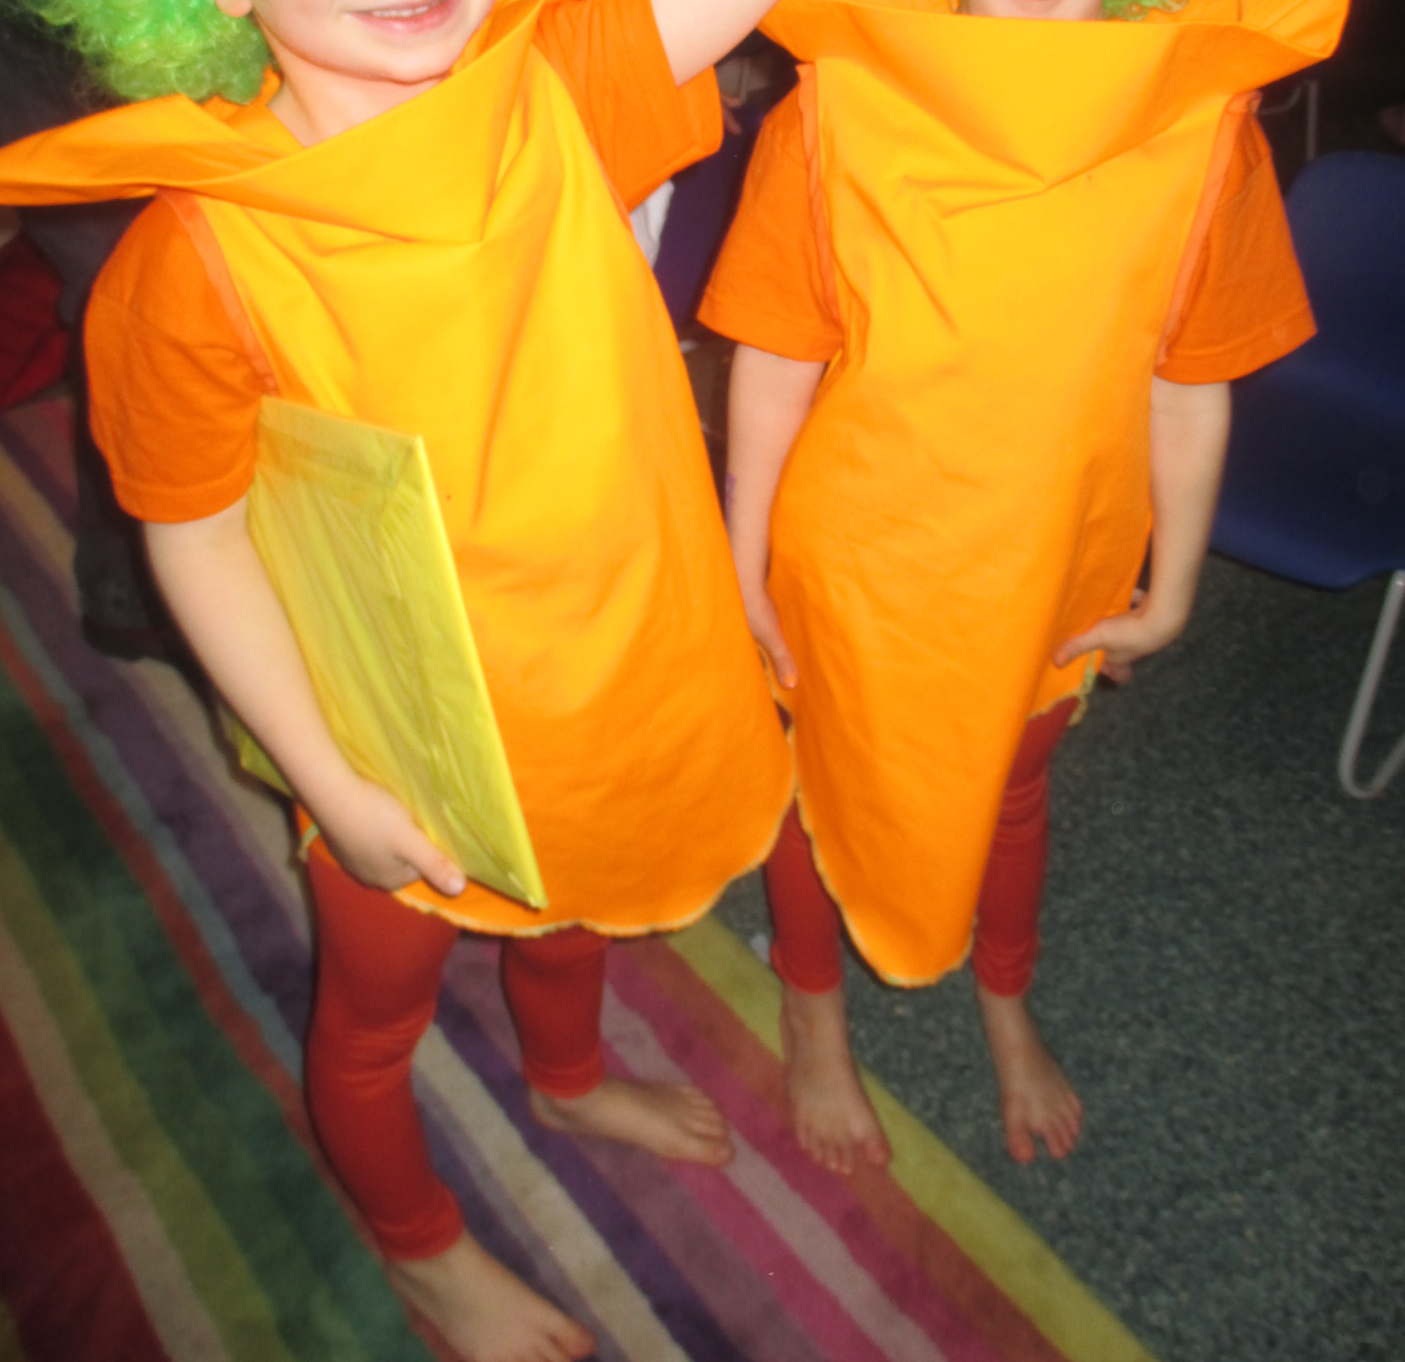
PS: I just got a picture of the birthday boy. He liked the pick and mix shirt so much, he did not want to take it off at night and slept in it 🙂


Scrap Sunday: Pick and Mix Shirt

I meant to make a present for a little boy and all I could think off was that boys of a certain age don’t really need bags anymore. I was still looking through my boxes and actually found two big pieces of patterned jersey, left overs from shirts for two small boys.

IMG_3052IMG_2277

As I am a big fan of the pattydoo shirt with raglan sleeves and usually make the sleeves in a plain colour, I would have had just enough for a shirt in either of the fabrics. But I was unsure which one would be acceptable for a 5 year old, so I asked the birthday boy himself…. who wanted a shirt made out of both.! An idea which hadn’t come to my mind yet. That will make it even easier to use up scraps in the future 🙂

So to make the pix and mix even more complete, I decided to use two different colours for the sleeves and the lining for the hood and whilst I would normally think that these two fabrics don’t really go together, I am really pleased with the result. Somehow children look always good in handmade stuff. Which then makes the handmade stuff look good 🙂

There is actually just one thing to remember when using this pattern: Considering that my children are rather slim, I think the pattern is on the slim and also short side. The shirt in the picture is size 122 which is usually the size that should fit the model if  not still be a bit big. And actually I wouldn’t say that the shirt is too long (maybe the sleeves, but not the body).

IMG_3553

IMG_3549

IMG_3551IMG_3552


Scrap Sunday: The fabric mosaic or Please welcome my first guest writer

A couple of weeks ago I was working on this apron for a teacher whilst my daughter was sitting quietly next to me…. cutting fabric into little pieces. I am so proud of her, she really embraced the rule that the big fabric scissors can only be used on fabric and not on anything else.

Anyway, then she had the rather brilliant idea to use those little pieces to make a card with a carrot on the front (we had printed carrots on cards as Christmas cards for the nursery teachers).  The card looked great but stupidly enough I did not realise that I could use that idea for Scrap Sunday so I did not take any pictures of it.

So a couple of days ago, we reincarnated the scene (and we did it properly this time, not just green and orange fabric were harmed in the making of this picture series.

But enough said, it was her idea, so I thought, she should write the post. Lovely idea anyway to ask friends, family and readers to write a post for my blog. So if you have any good ideas you wanted to share, please step forward now. It would mean so much less work to me. Ok, not all at once… Oh, well, it was worth a try. (And I do know where some of you guys live, so you better start writing)

Anyway, back to this weeks guest post:

Stoffmosaik Anleitung

IMG_3217 IMG_3230 IMG_3238 IMG_3239 IMG_3240 IMG_3247 IMG_3242 IMG_3251

Christmas Carrot

IMG_0707aI hope you were wearing your sun glasses this time. Don’t say, I haven’t warned you! In case if you were wondering what this picture of a living warning sign was all about, this is clearly a very gifted actor interpreting a Christmas carrot on drugs wearing a carrot costume made by her equally gifted designer mother.

When they had asked me if I couldn’t whip up two carrot costumes, I was briefly looking for my magic wand  but went then straight to the fabric shop to get some kind of orange material. It might have been the influence of the magic wand, it might have been the very soft light in the shop but I only realised at home that the orange was slightly on the neon side and was a bit worried. But when I saw the wigs that the teacher had organised, I knew that my intuition had just chosen the perfect match.

IMG_0720aAnyway, back to sewing, I haven’t actually great pictures as I did not realise that I should take them before handing over the costume to the teacher (and on performance day it has all been a bit much for my poor camera), so let me just explain briefly how I msde it, maybe I will be able to make a kind of tutorial out of it at some point in the future.

To make sure that the carrot has a triangular shape, I put rather thick interfacing in the hole neck area and folded it down. From the top of the armholes I went even out a few cm to get a lovely carrot shape. I finished the armholes with bias binding, the hem is neatened with a contrasting green overlocker rolled hem. As the whole neck area is actually open, I put in two shoulder straps which can be opened and (in theory) adjusted on the front as there is a button on the main fabric and a button hole on the strap. So it was fairly easy to make, but in the area between armholes and actual neck is not great. I guess, it would have been better to go in at first to have some real shoulders and then go out again for the triangular neck line. I guess, I would do that if I ever had to make another carrot costume. But for now, lets enjoy those two lovely carrots! Merry (belated) Christmas to you all 🙂

IMG_0715a