Scrap Sunday: It’s raining hats

First of all, a couple of months ago, against all my objections I opened a Facebook account to be able to connect with others to save our nursery. And as too many people have been annoying me to open a page for Facebook Atelier Oursonne, I have finally done that and created a few albums with pictures of previous projects. So like it or not but if you are on facebook, please share it with your friends 🙂

But back to the actual purpose of this post: Scrap Sunday

When I bought my e-book for the children jacket from klimperklein, I just couldn’t resist a few of the other e-books. So I also bought two for hats:

One for baby hats which you can tie under the chin and one for older ones with lots of variations.

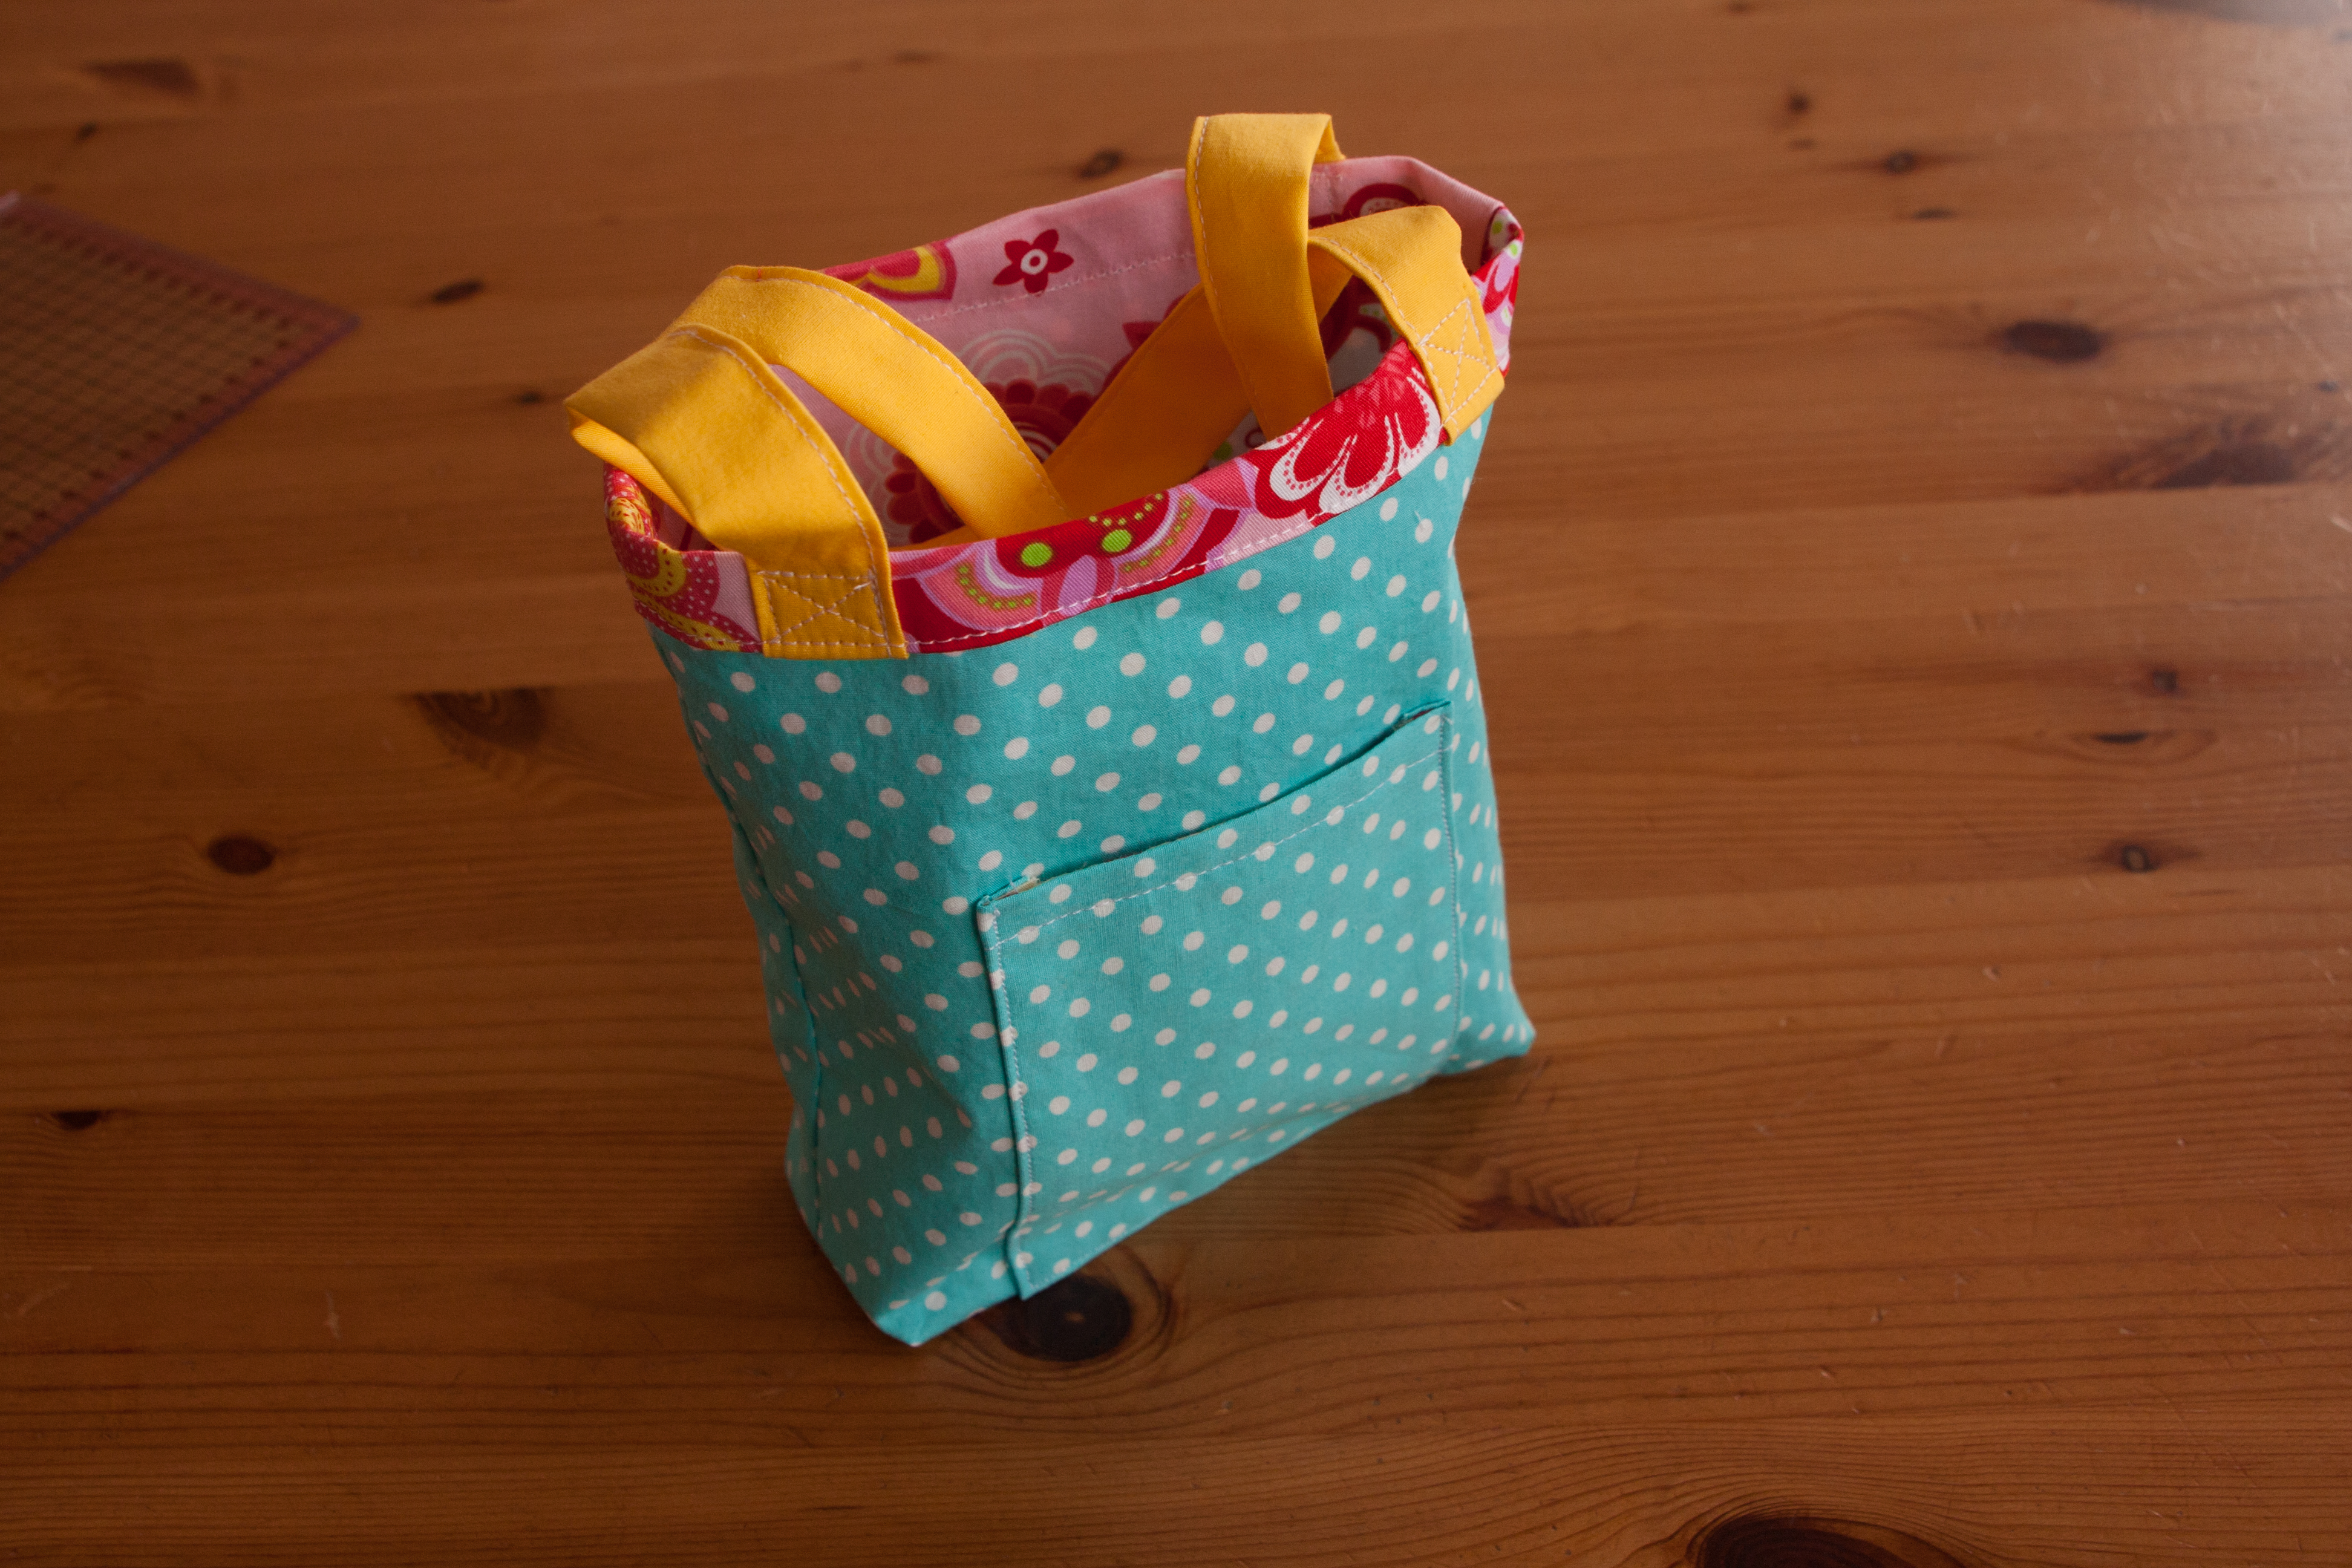
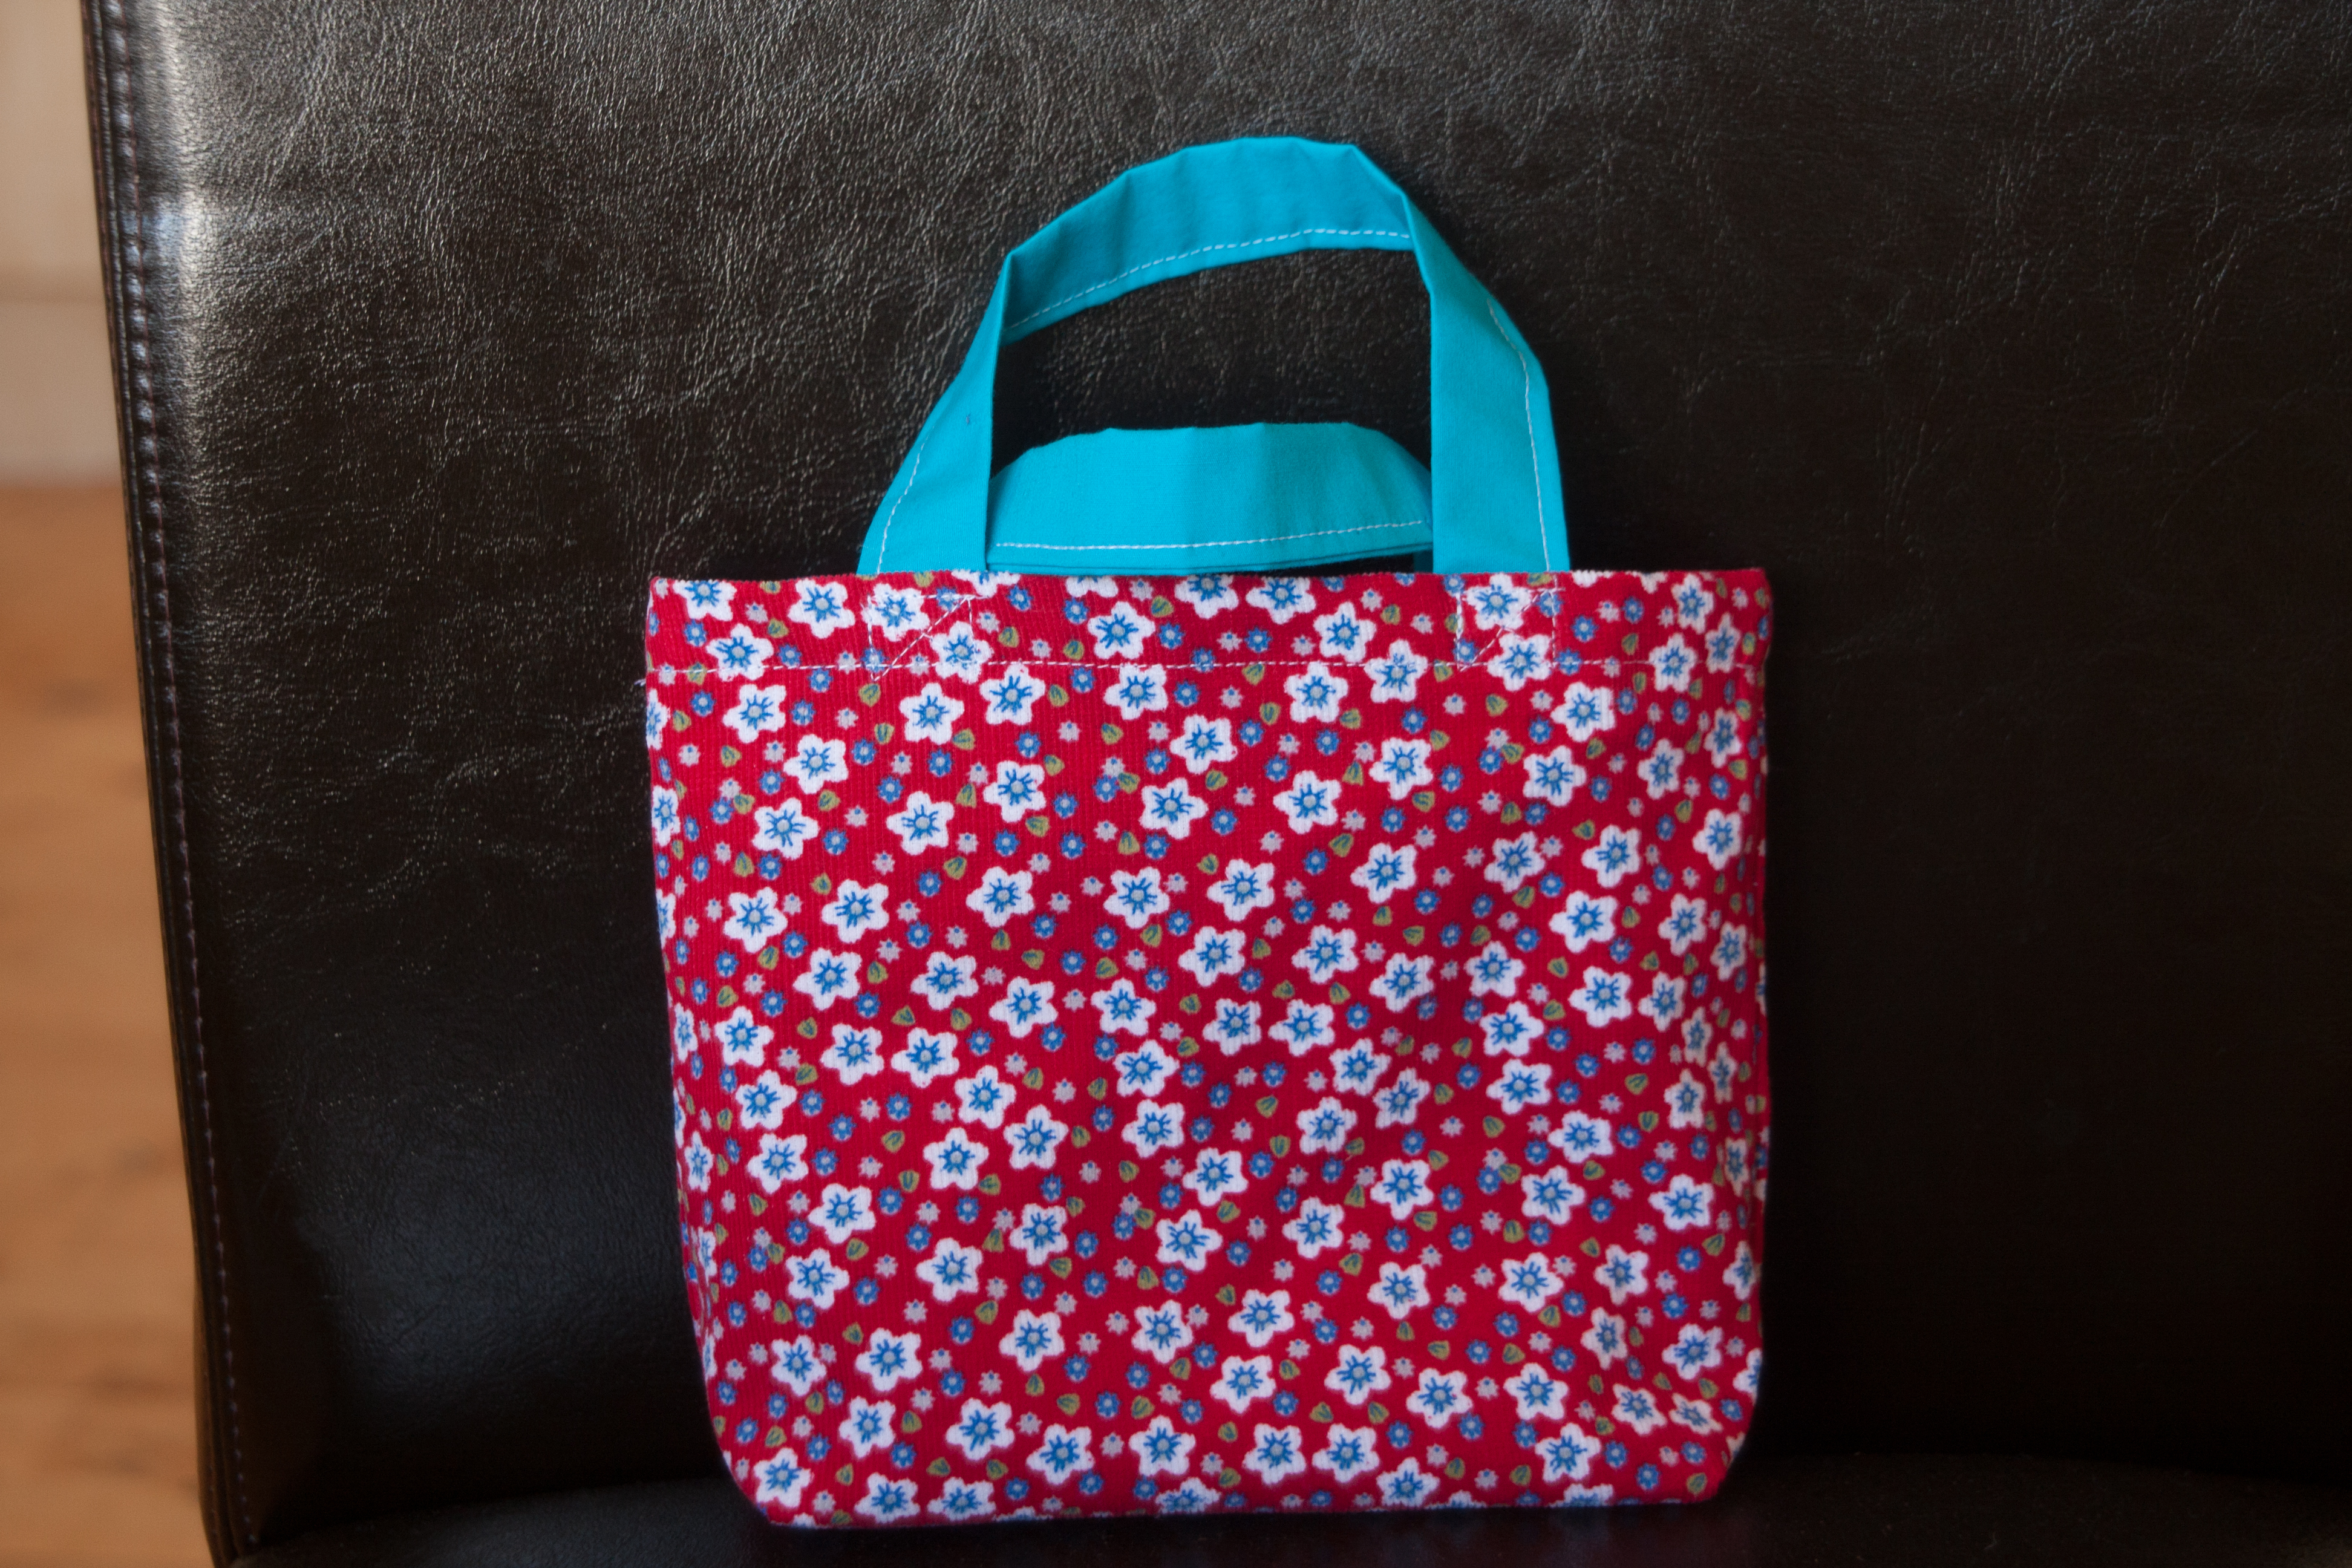
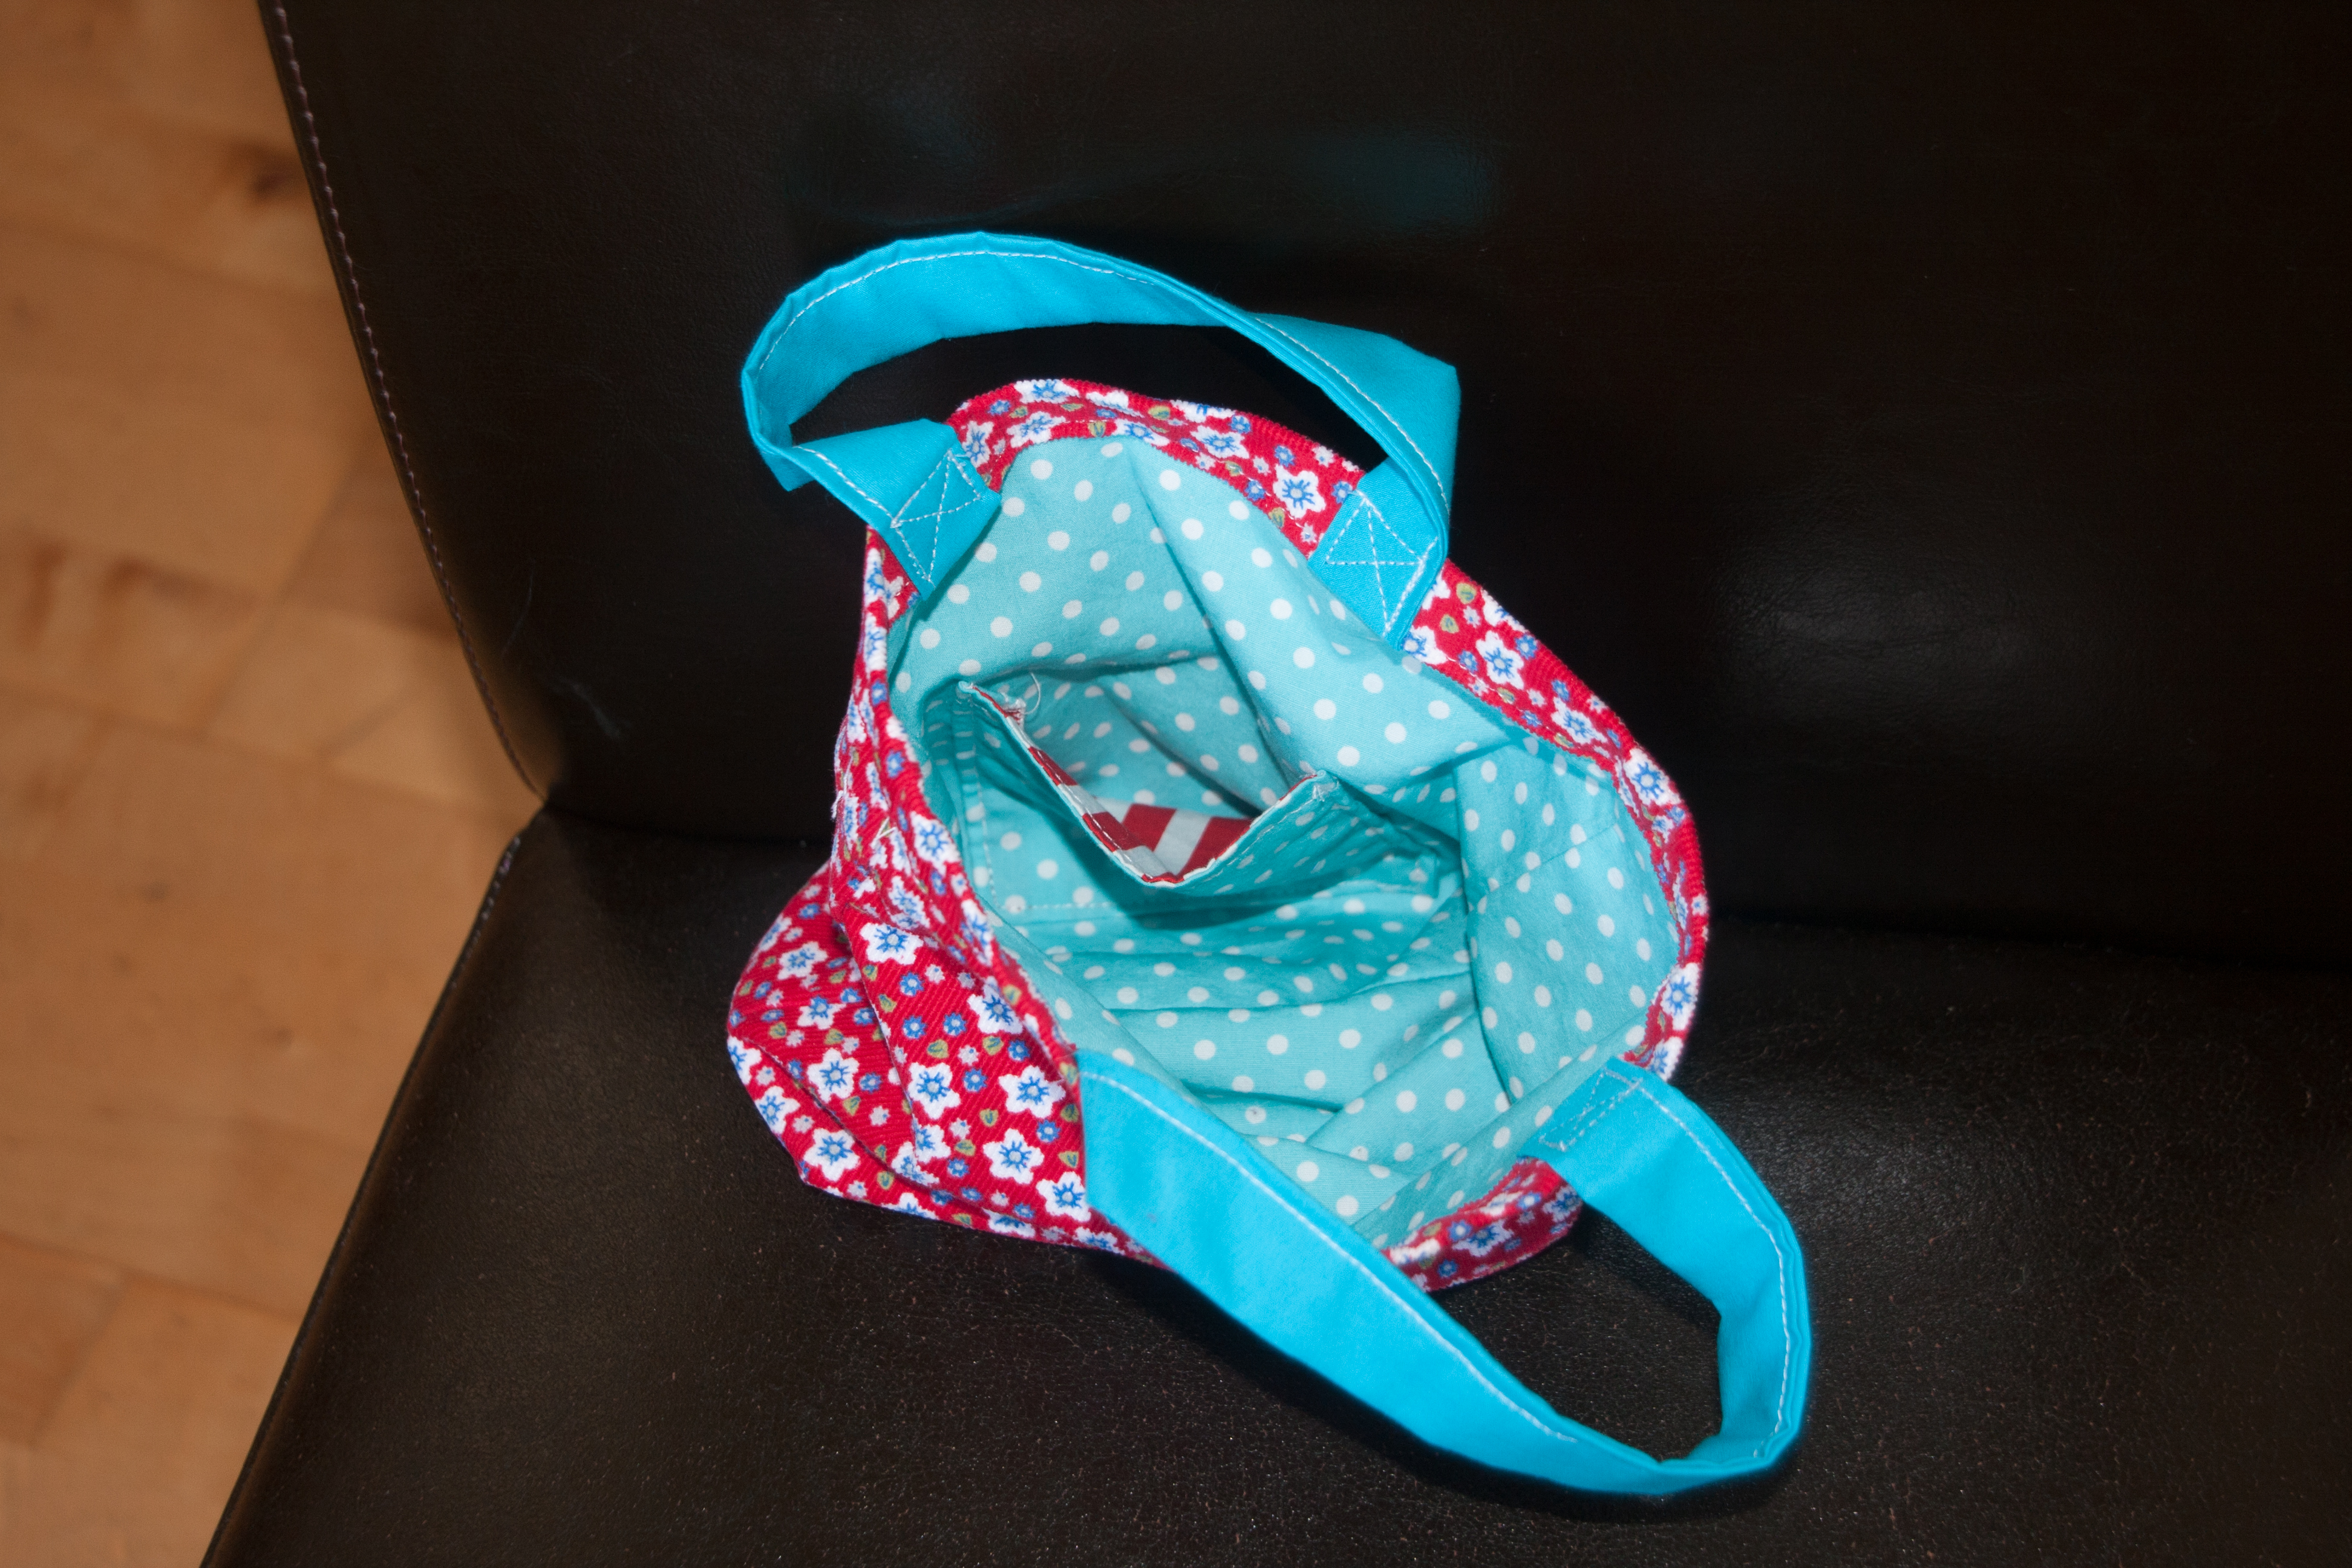
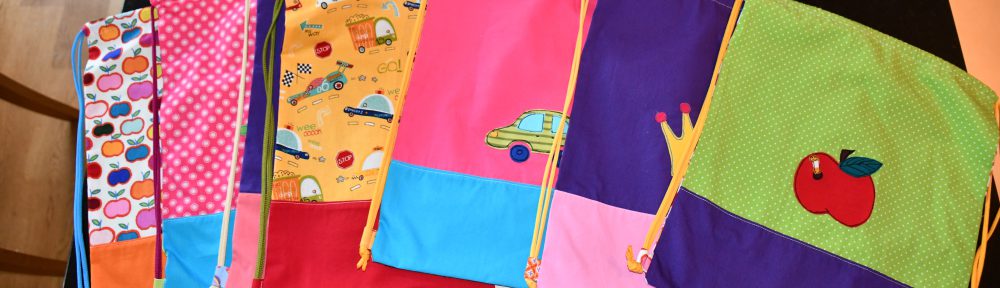
Obviously these hats are great scrap projects and I have already made one for each of my children.

Although I have to admit that for the two big ones I had to cut into newly bought huge pieces of fabric, so not quite a scrap piece. I bought them to make onesies pyjamas to be ready for chilly nights but haven’t found the right pattern just yet.

IMG_3916
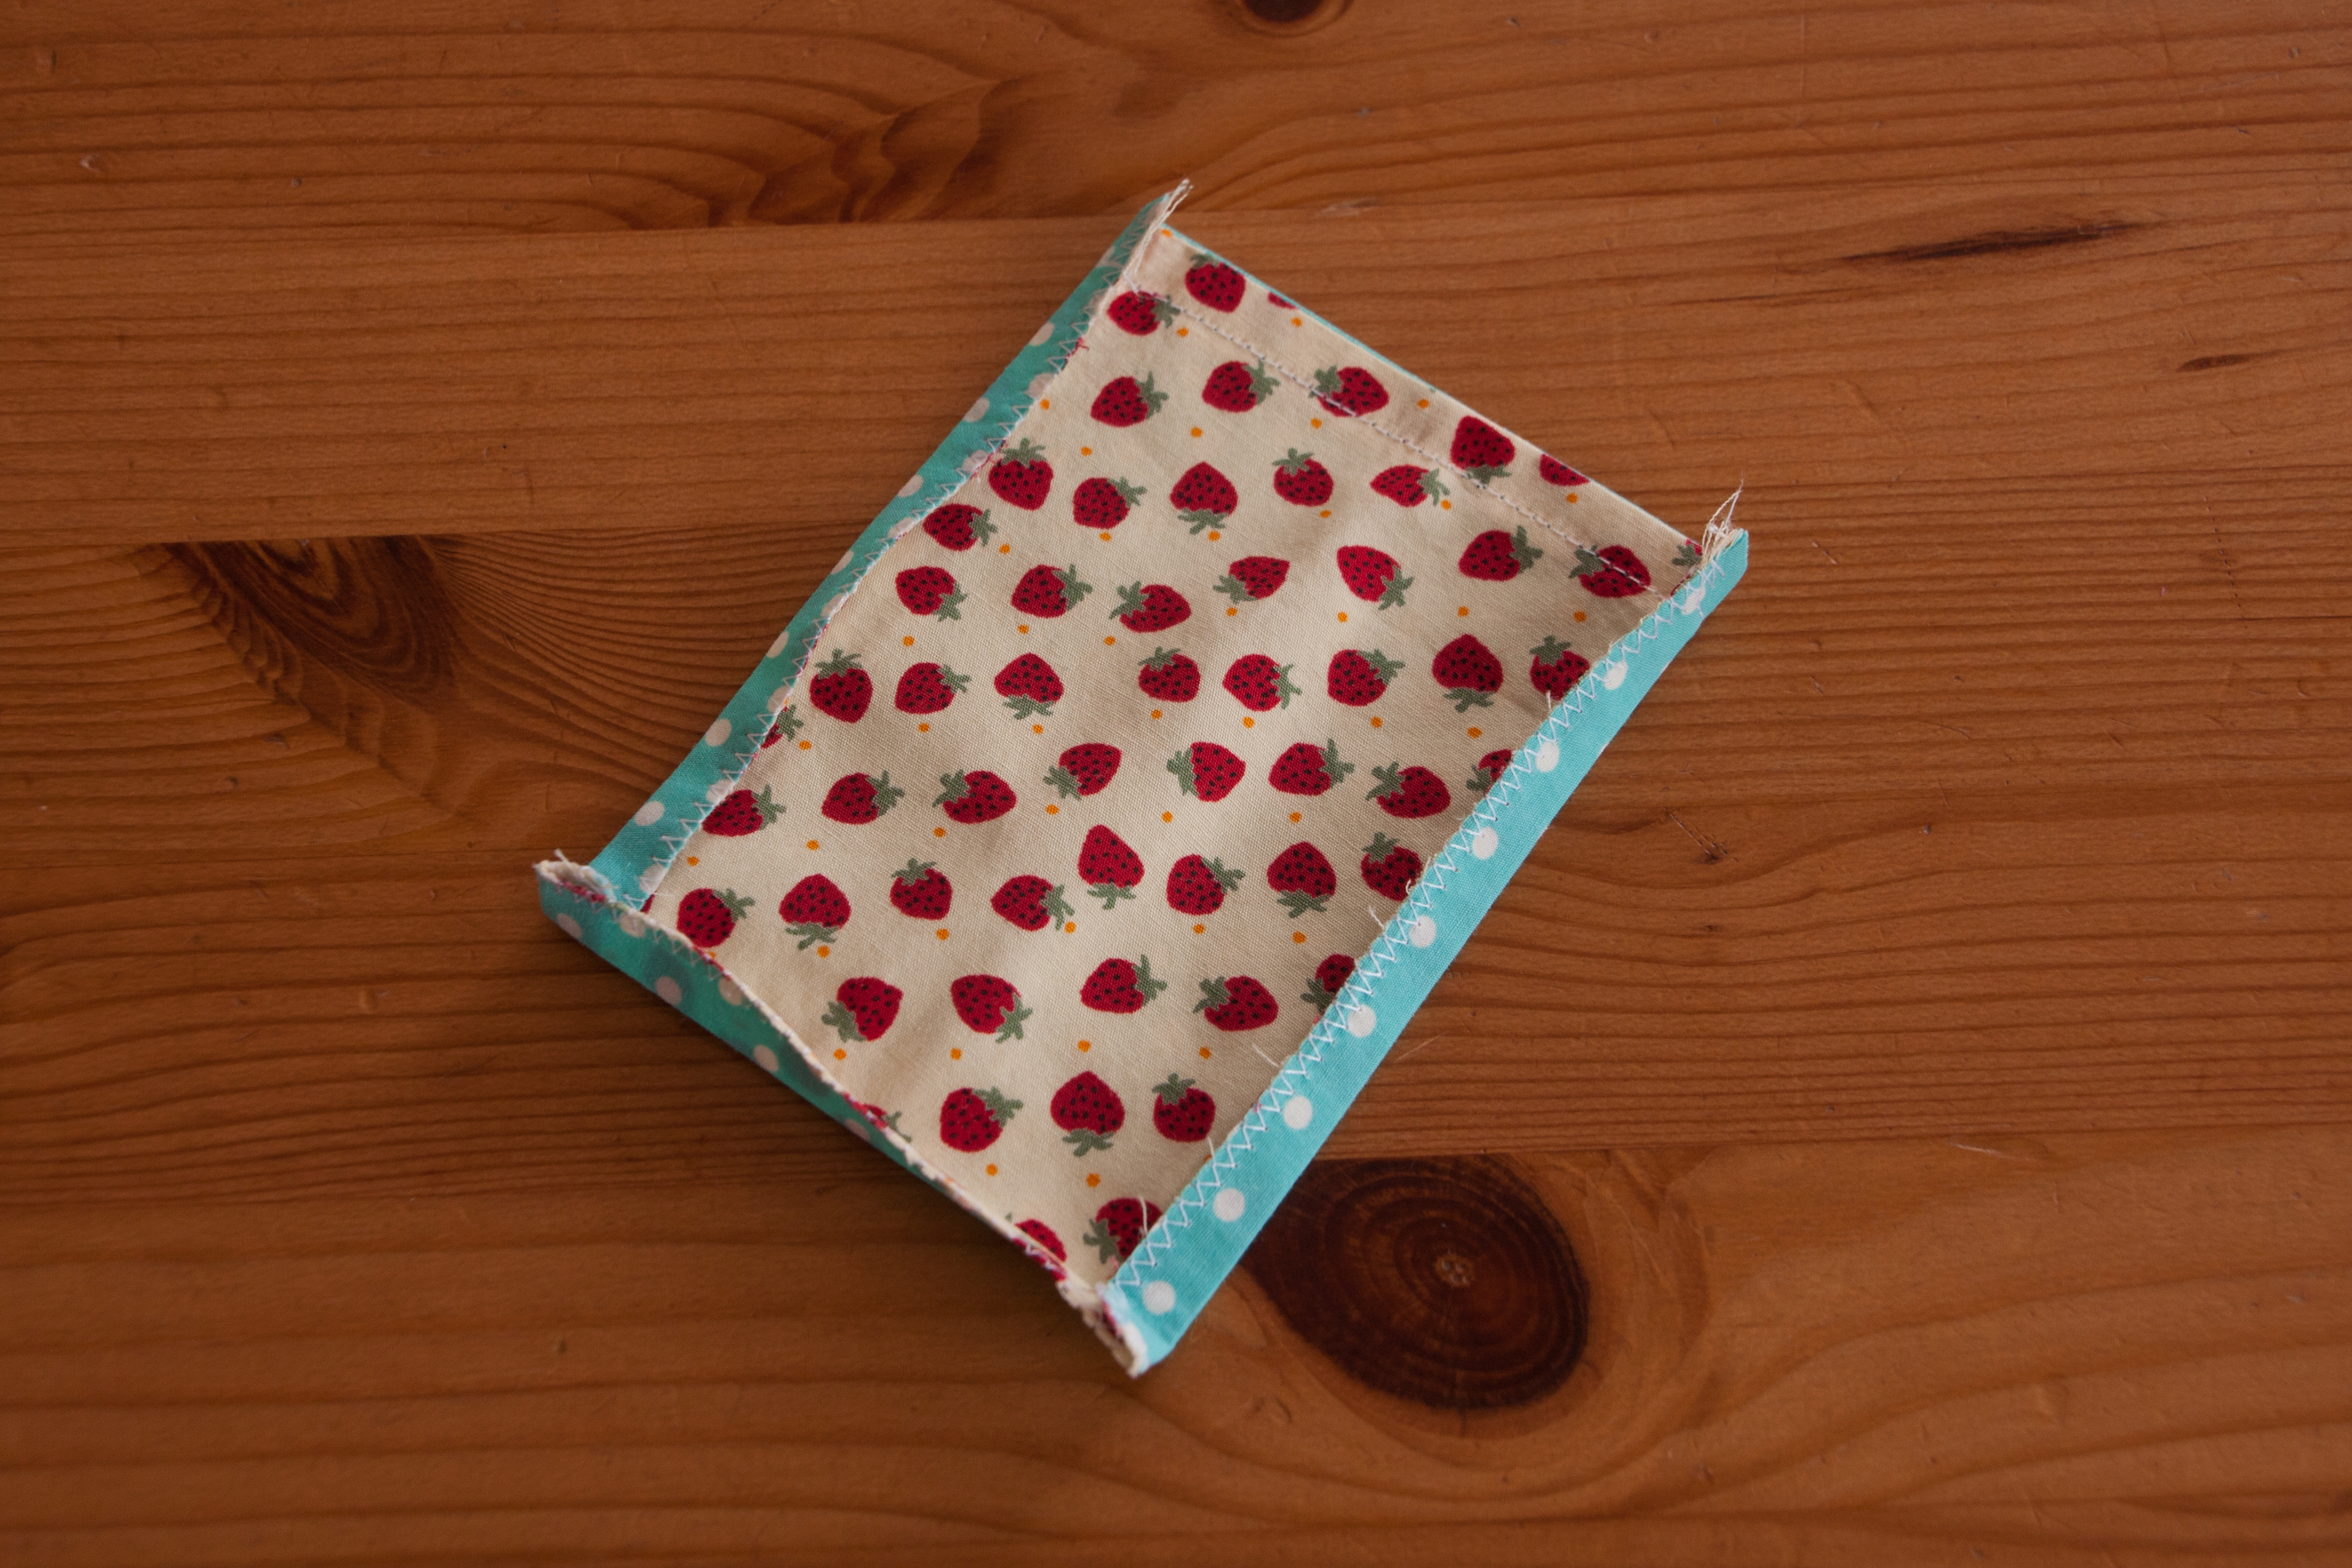
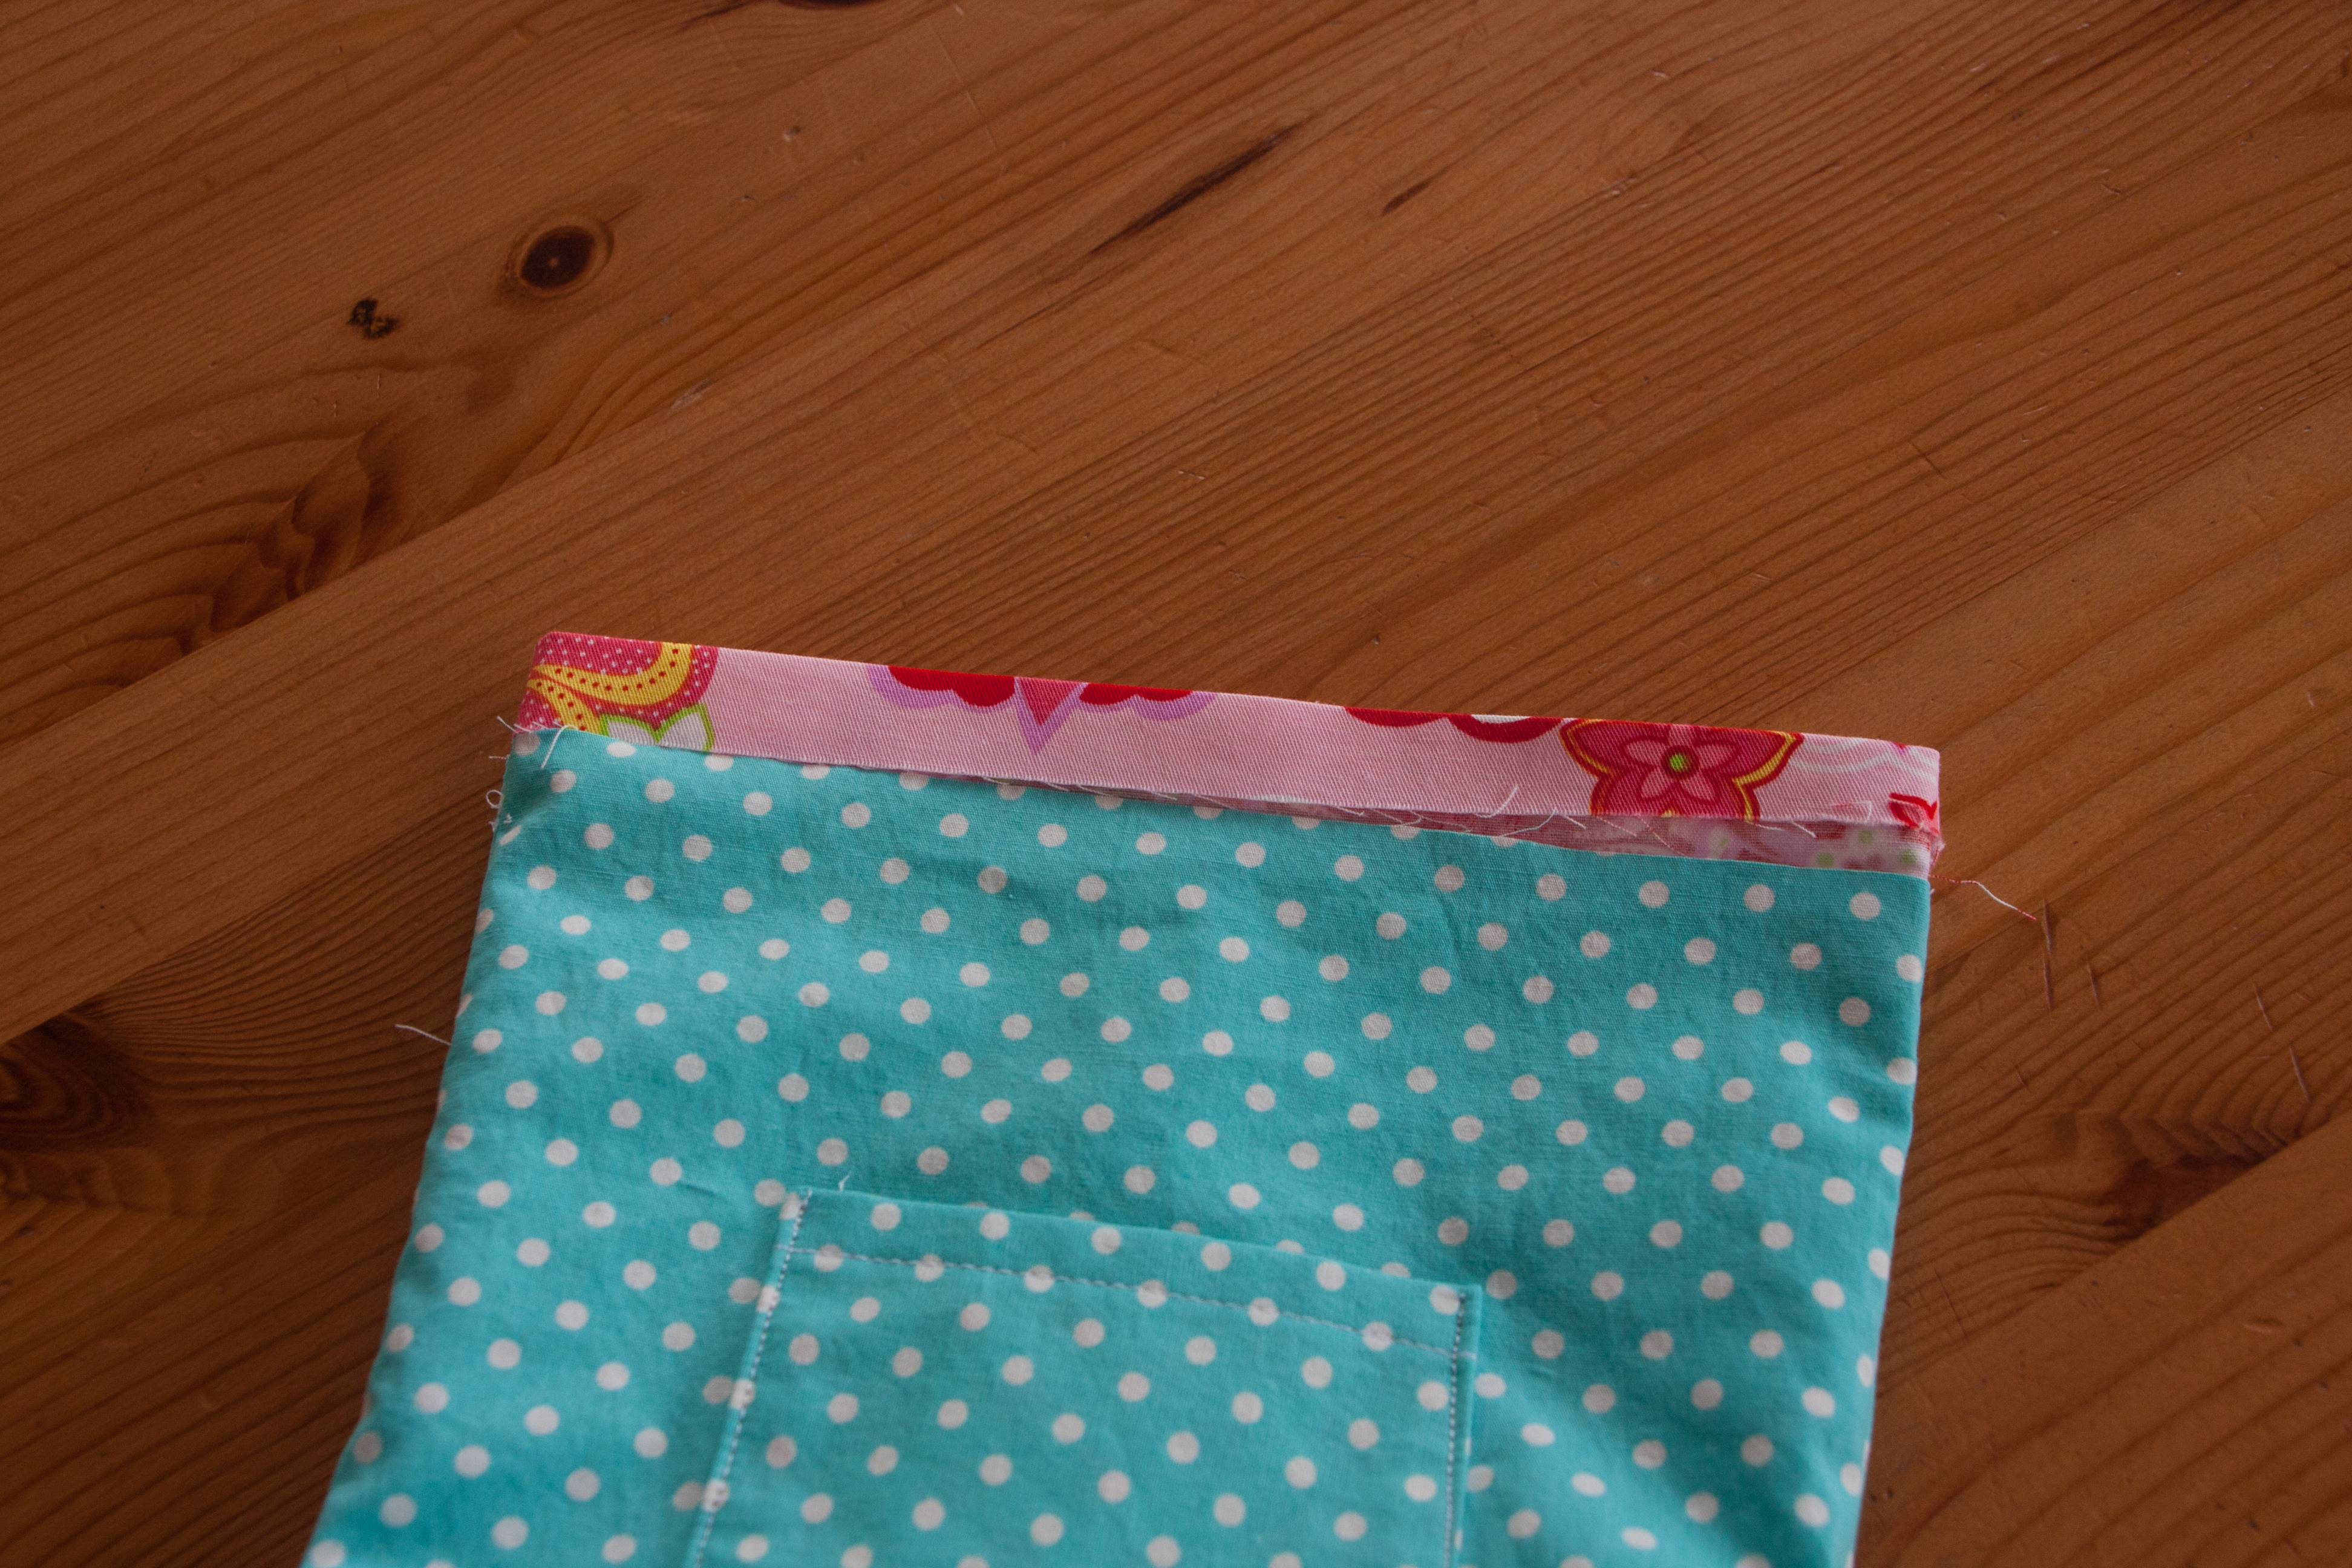
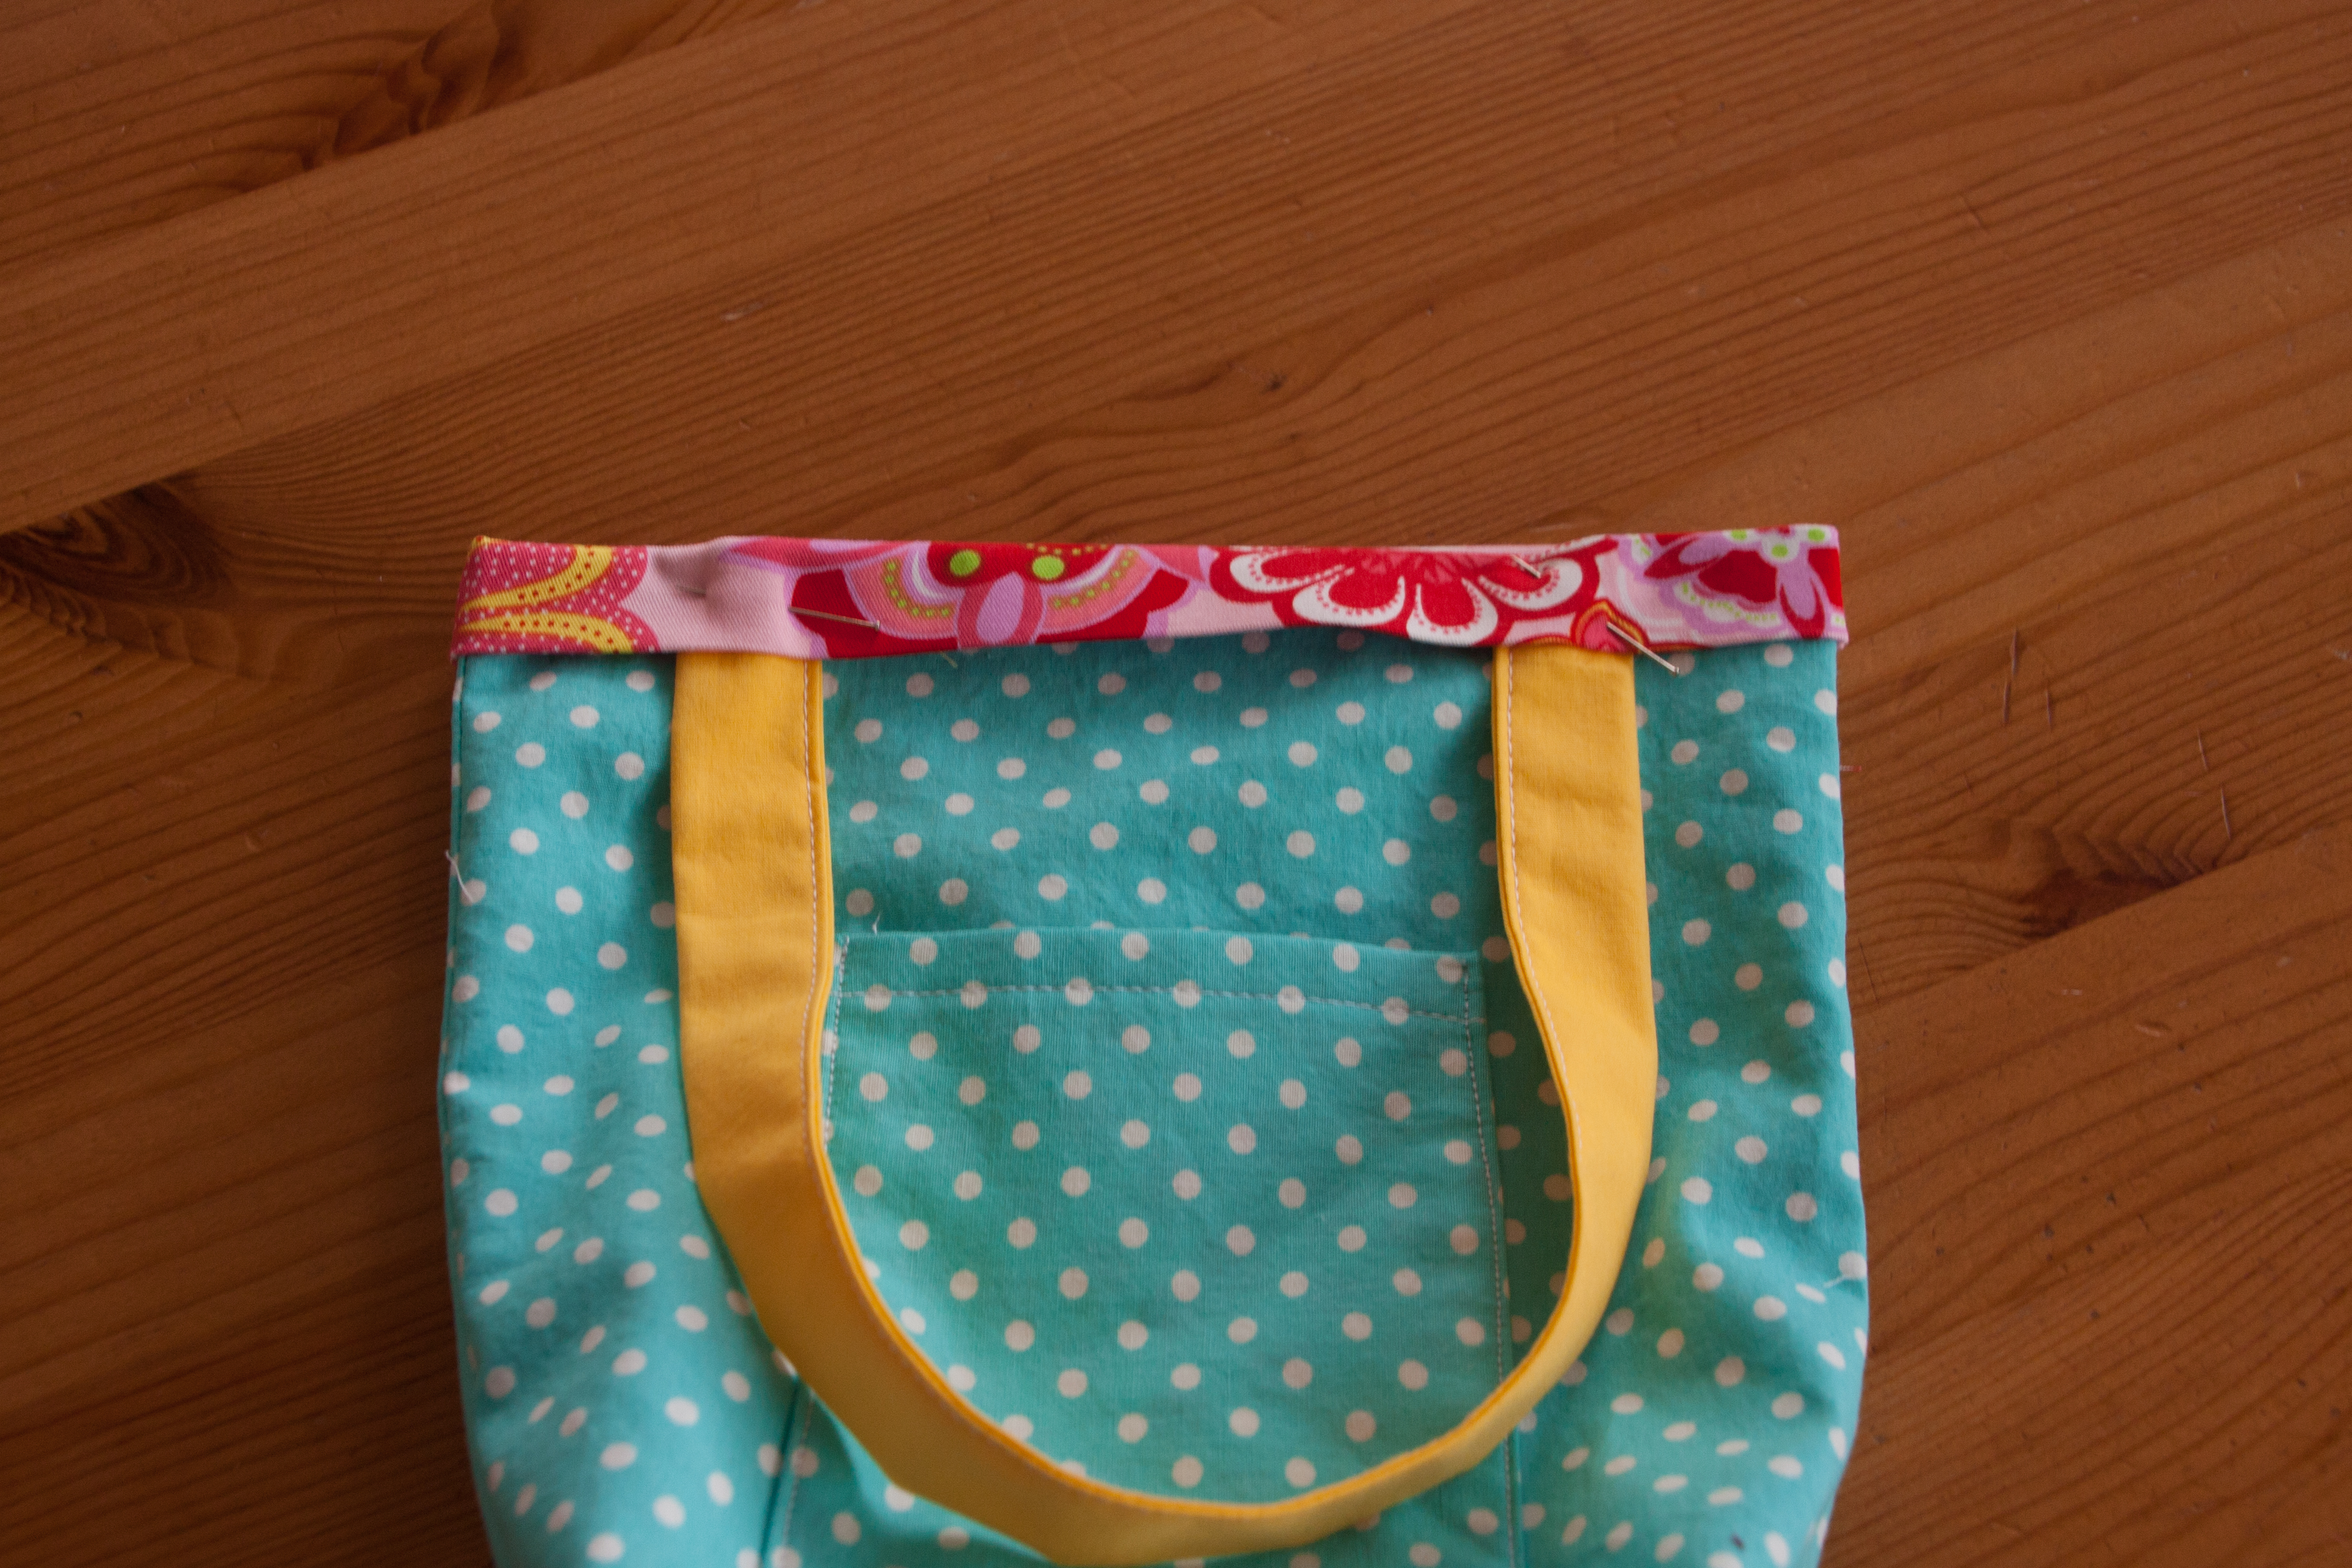
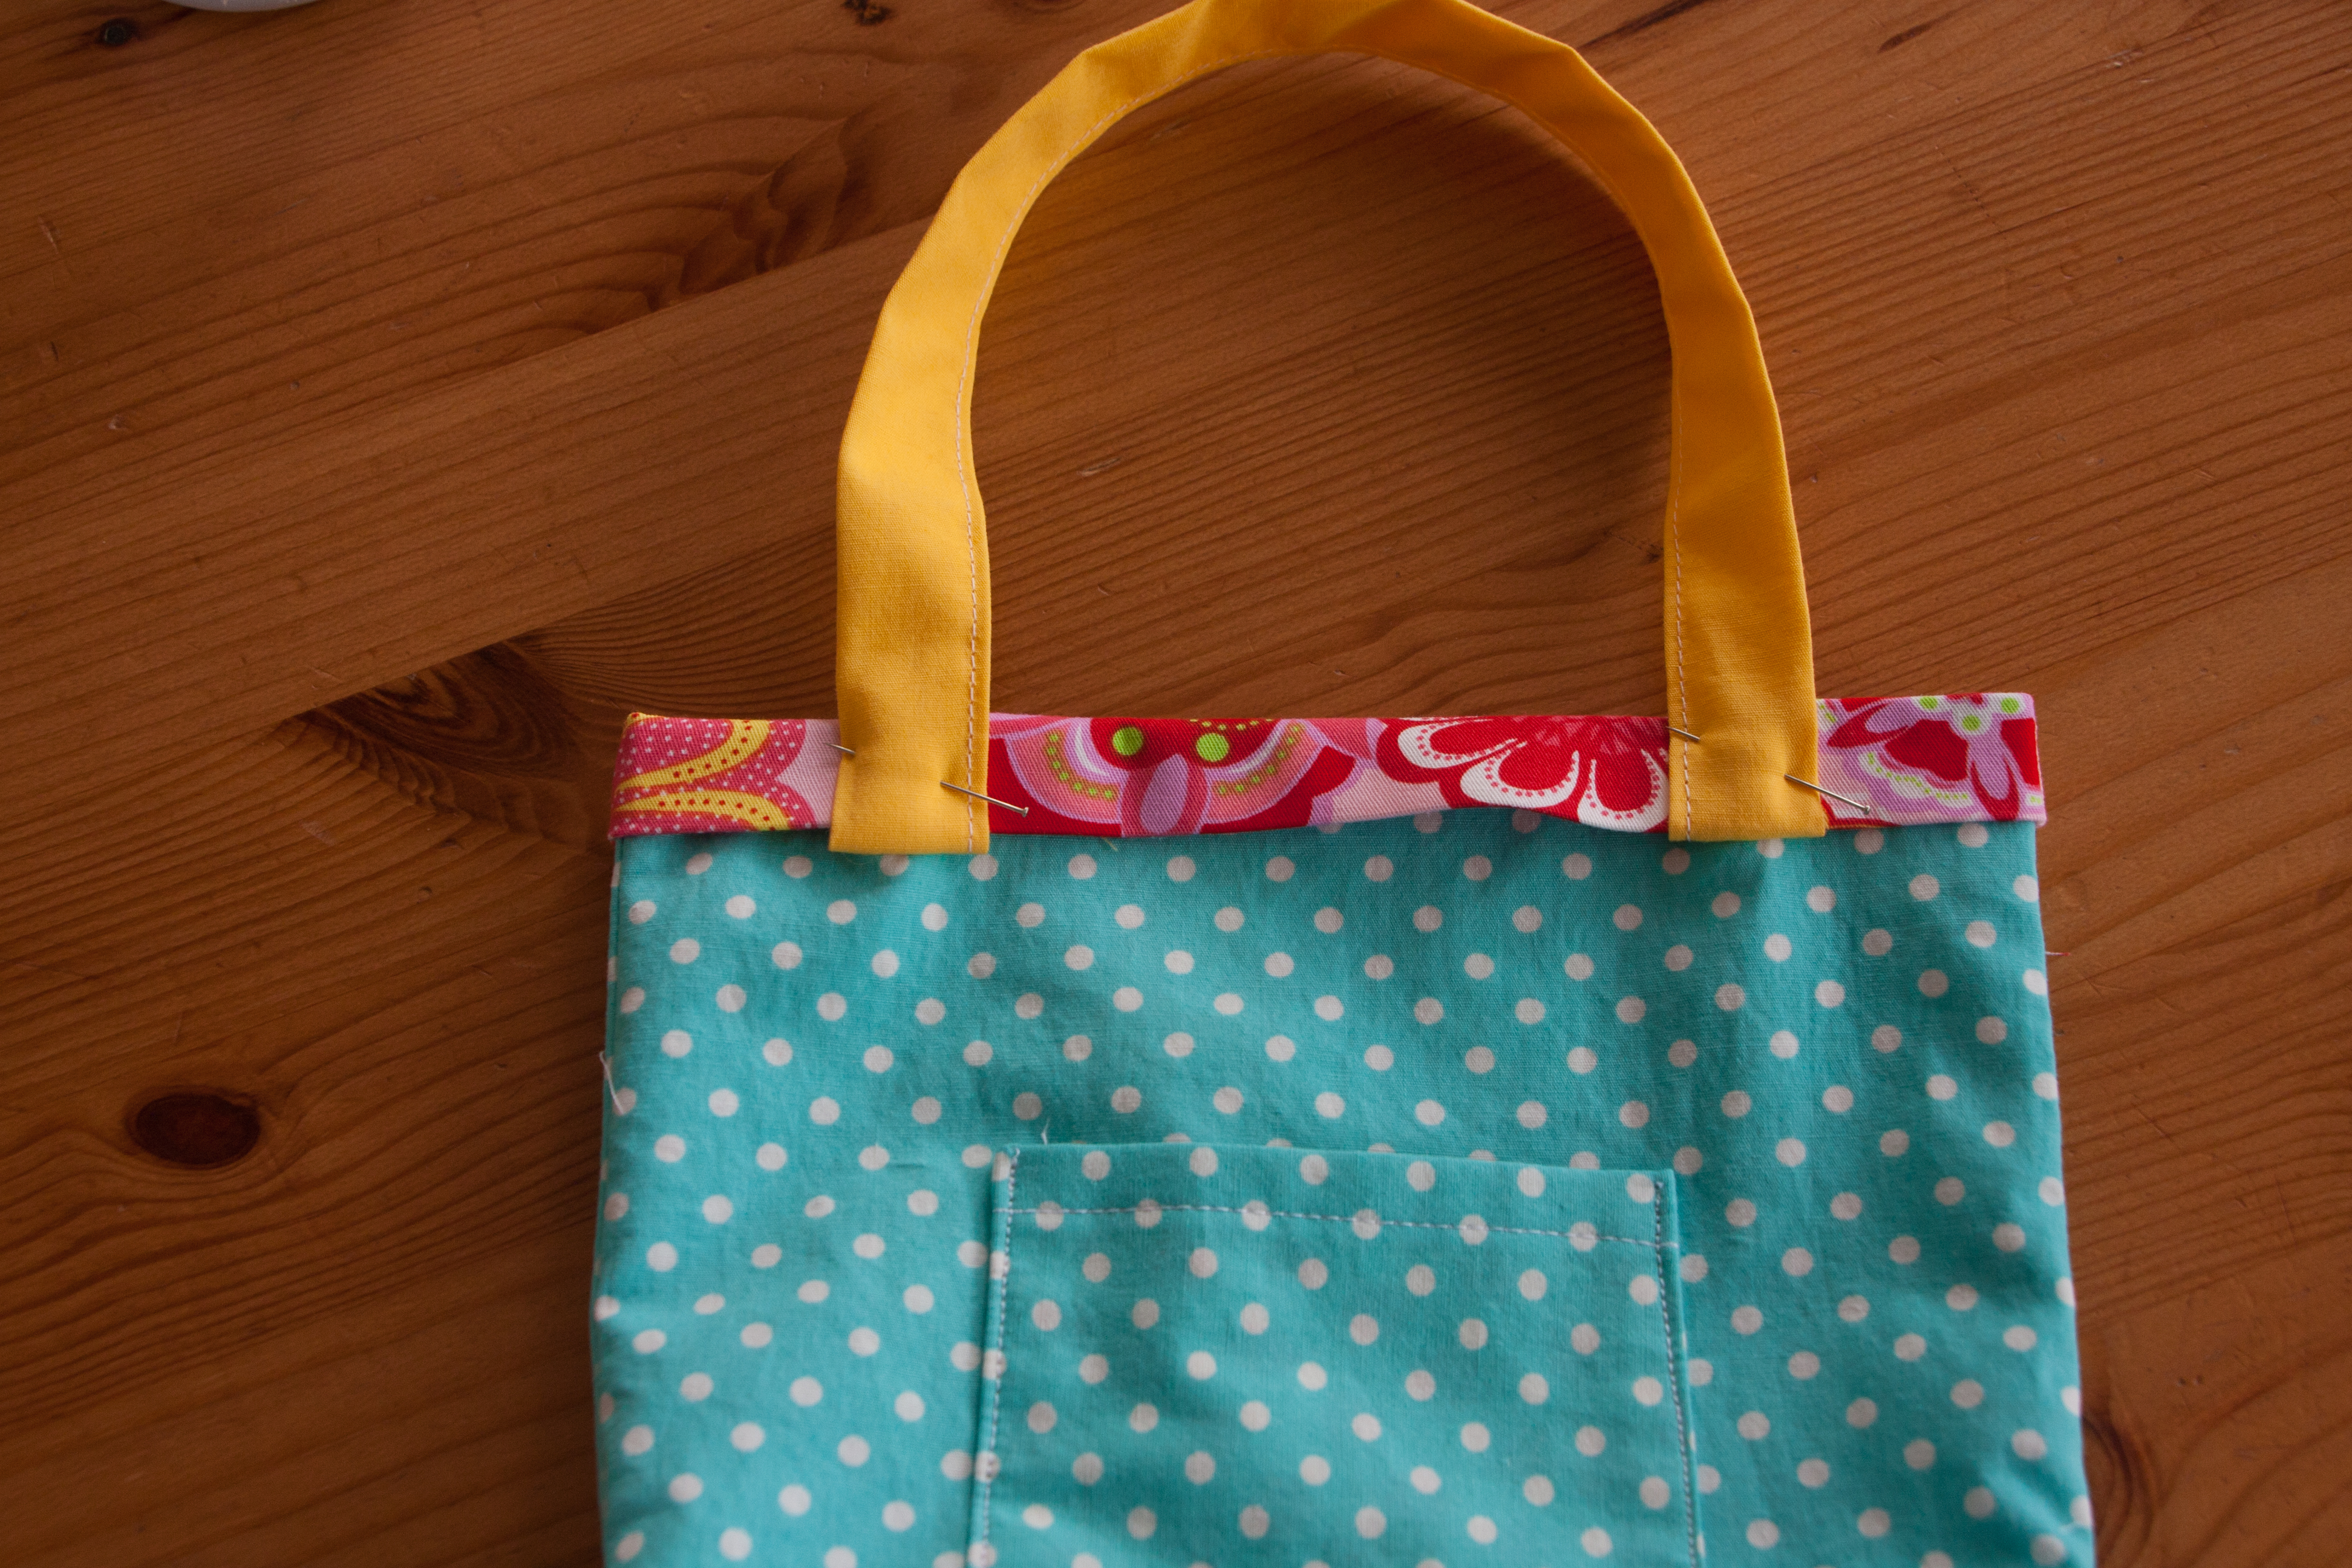
I was really trying to convince my children to use more contrasting fabrics inside but they both went for the most boring possible option. Such a disappointment. I will never ever make anything for them. Ever. At least I am not going to ask them their opinion again. Ever.

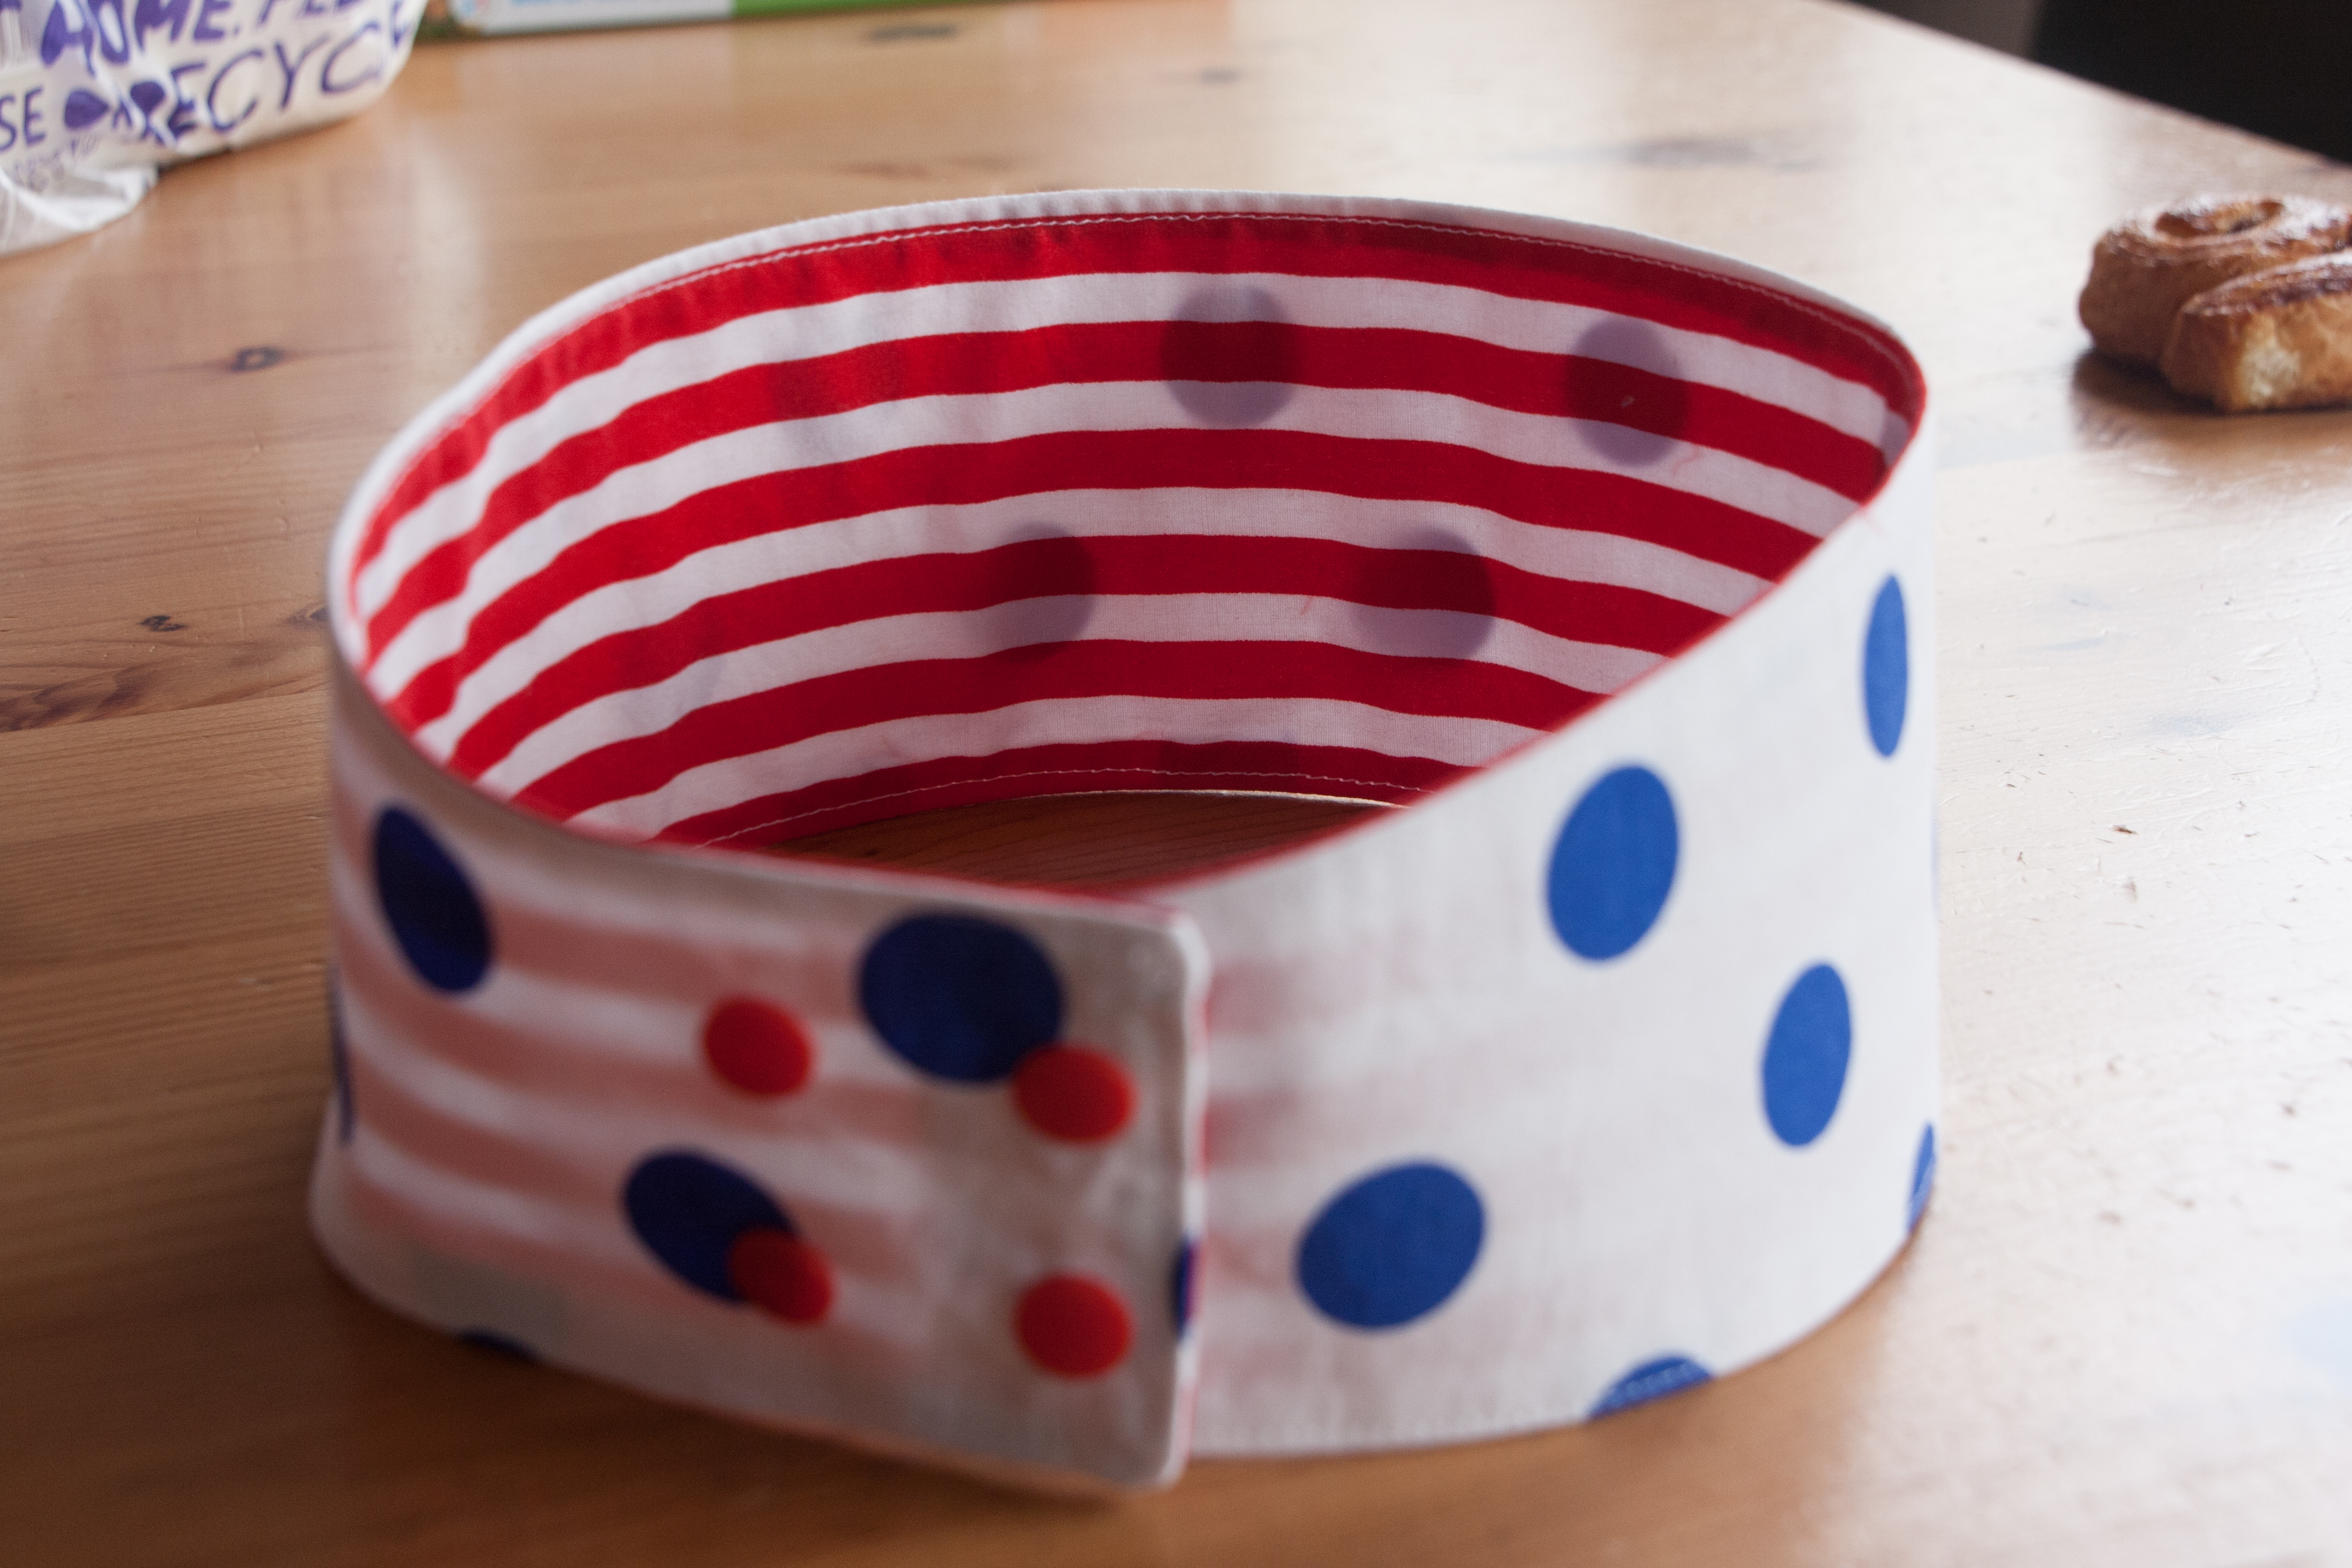
I have also realised that actually a newborn will not like the hat to be tied under his chin, so I quickly made a new one without straps. Unfortunately there was no more blue jersey left (as I had been forced to use it for the pirate one!) so I ended up with another stripy fabric and in theory it can be worn both sides but I think the blue and red one might be too strong colours for the very newborn. I guess we will find out in a couple of days. 🙂 IMG_3926 IMG_3927In any case, those stripy fabrics are the softest ones you could possibly imagine and I want to make myself a huge whole body suit out of it and spend all day in it 🙂 And I am so close to buy all of the existing colour combinations.

And as I really like those baby hats, I made quickly one for my baby niece.

IMG_3928

The fabric had once been chosen by another niece for a shirt. But I think she wouldn’t find it “cool” so it is better used for a baby hat. It is lovely to see how these things travel through the family.

I have a feeling that I need to cover a few more ears 🙂


Tutorial: Cute little girl’s handbag

A while ago, I was asked to make one of my accidental reversible bags, so it would be suitable both for mother and daughter. In the end, I made one reversible bag in grown up fabrics and a small, slightly simpler version for the little girl.

Restetasche24

To make sure that they are a kind of matching pair, I have used the same fabric for both the lining of the small bag and the small pocket of the big bag.

IMG_3834 Restetasche23

But now, lets go back to the beginning: I have put together a little tutorial to show you how easy it is to make a cute little bag for a little lady. It is definitely also a great way of using up scrap fabrics. As I have already misplaced the  measurements of the pictured bag, I will explain how to calculate your measurements plus give you those of the second bag I made, which was a bit more square than this one. In the end these numbers are only a rough guide anyway, I actually cut out how I felt before measuring the pieces)

You will need:

+ two pieces of cotton for the outer bag (width of bag + 2cm  x height of bag + 6cm = 24 x 24cm)

+ two pieces of cotton for the lining (2-3cm shorter than outer fabric, alternatively you can cut them all out in one go and shorten the lining later = 24 x 22cm)

+ 2 pieces of fabric for a small pocket, one or both of them in the lining fabric (width of pocket + 2cm x height of pocket + 3cm = 12 x 12cm)

+ 2 pieces of fabric for straps (4 x width of finished straps  x desired length + 8cm = 8 x 30cm for a 2cm wide strap)

+ the usual things like sewing machine, thread, scissors,…

Restetasche01

Preparation of the straps:

Fold the fabric lengthwise and iron, fold both edges to this middle line and iron again, fold together and iron. Top stitch close to the edge.

Restetasche02

Preparation of the pocket:

Sew the two pieces of fabric at the top together, Iron seam flat and turn so the right sides are outside, iron again to get a neat edge and top-stitch about 1 cm from the edge. Zigzag the three open sides of the pocket together.

Restetasche03

Fold and iron the edges to the backside  (1 cm)

Restetasche04

Cut off corners to avoid bulky pocket corners later.

Restetasche06

Place and pin the pocket to one of the lining fabrics where you want it to be (at least 4 or 5 cm away from the bottom) and top stitch close to the edges…. ideally leaving the top open….

Restetasche08

… alternatively you can go creative 🙂

IMG_3907

Put the two lining fabrics right side together and stitch around sides and bottom with 1cm seam allowance and zigzag around it.

Restetasche09

To create a fuller shape for the bag, pull the two sides apart at one corner, making sure that the side and bottom seam lie on top of each other. Draw a straight line (in a right angle to the seam), I find 2-3cm away from the corner creating a 5-6cm long line quite good for this size). Stitch on that line.

Restetasche10

Cut the excess fabric off, zigzag and do the same on the other side of your bag.

Restetasche11

Repeat all steps (apart from the pocket) with your outer fabric. Restetasche12

If you haven’t done it yet, it is now time to shorten the lining bag. Just cut of 2-3cm from the top (depending how wide you want your edge)

Restetasche13

Take the outer bag and fold the open top about 1.5 – 2cm to the wrong side. Iron.

Restetasche14

Fold it a second time 2cm to the wrong side. Iron.

Restetasche15

Turn the whole lining bag inside out (so the outside is now showing) and put the outer bag wrong side to wrong side into the lining bag. The edge of the lining bag should reach the once folded down edge of your outer bag.

Restetasche16

Fold now the outer bag down the second time (like you have ironed it before), the lining should now be fully covered.

Restetasche17

Now it is time to place the straps. Slide the open ends in between the two bag fabrics, making sure the ends reach the very top of the bag. For my bag I placed them about 4.5cm from the side seams. For now the straps look downwards.

Restetasche18

Now you can carefully fold them up again (without pulling them out of the slot) and pin them in place. Do the same with the second handle on the other side, making sure that they are in the matching position.

Restetasche19

Top stitch close to the edge all around your bag, securing all 4 ends of the strap at the same time.

Restetasche20

Then secure all 4 ends with a little X. I seam to have forgotten to take a picture of this step. But here is a picture of an other bag and at the bottom of my tutorial for a very similar cotton bag you will actually find a more accurate description the sewing directions.

Stofftasche 20

And we are done 🙂

Restetasche22

Restetasche23

And another version, where I used a lovely corduroy for the outside:

IMG_3909


IMG_3911


Scrap Sunday: A little innovation

I actually meant to post a lovely tutorial for an even lovelier little handbag made of lovely scrap fabrics but as I had to quickly make another lovely bag for a birthday party this afternoon, I will leave you with a picture of a creative idea that I tried out when quickly making the little bag 2 hours before the party started.

So this is the finished bag lining with a small pocket which I positioned a bit more creatively than the usual “opening looking up”. I mean that is sooo last year. IMG_3907

The actual tutorial will follow. At some point. And don’t worry, for the tutorial I chose the conventional way, I know avant-garde pocket placing is not everyone’s cup of tea.

Scrap Sunday: dressing up made easy… if not a little too easy

When I posted my to do list a couple of weeks ago, I might have mentioned two costumes for a party where my children were asked to turn up as Tiger Lily and pirate.

I wasn’t too keen to be honest. I guess it is just my natural dislike of doing something that wasn’t my own choice but someone else telling me what to do (Believe it or not, a part of me (qualified teacher) doesn’t want my children to do their homework properly 🙂 )

Anyway, I didn’t want to spend too much time on the costumes plus I actually like the simple ones that leave enough room for imagination much more than those sets that make every little girl look like a certain princess and every little boy as a certain super hero. Considering that I have made quite a few costumes in the last few years, I guess I should at some point put them all together in one post put for now let me just remind you of the Room on the Broom witch and her dragon. I think the latter is one of my favourites.

But back to the Peter Pan party.

For the pirate, I decided that an eye patch (shop bought and plastic, was better than the one I had made a few posts ago), a triangular pirate head scarf made of two scrap pieces of a shark themed cotton and a belt together with a stripy T-Shirt and some shortish leggings would be enough.

I was once again convinced that the red and white stripes  used for the knight costume would make an ideal pirate belt and I decided to do a double sided belt as I did suddenly feel a bit guilty about my negative approach, I guess any scarf wrapped around the belly would have been just fine.

IMG_3756

To save on the precious stripes I chose the blue dots for the other side – also to give the pirate a choice, depending on the mood and the rest of the outfit.

I then put in some kam snaps as, once again, they seemed perfect for this occasion.

IMG_3762

I decided on two rows of snaps to make sure that the belt can be worn for longer, or by different children. I guess, that was a bit unrealistic, but if there is already a choice of designs then surely there should also be a choice of sizes to make this the ultimate pirate belt.

IMG_3763 IMG_3764

Unfortunately I can’t really show you of the belt worn by a pirate, first of all he refused to wear a suitable T-shirt and put it over a jumper which did not really make him look like a pirate at all and secondly I do not have any pictures of the worn outfit which would pass my “no faces online” policy.

For the Tiger Lily, I took a left over light yellow cotton and cut two rectangles (length: shoulder to knee-ish, width: shoulders plus a few cm)

On one of the shorter sides, I created the shoulders, leaving the middle of the edge open for the neck, then I cut out a neckline. With the serger I just went around all the edges and made a rolled hem  and then I closed the middle of the longer edges, creating armholes but leaving it open at the bottom to make sure that the “dress” has enough room to move around and climb on pirate ships.

IMG_3765

As I had known that the Tiger Lily was particularly unhappy about her forced costume, I wanted to make up for it with fancy trims and so I had, already on my last shopping trip, bought some leather fringe and put it on the hem and also across the chest, rather than just cutting a fringe into the hem which would have been my initial idea.

IMG_3767

And for the headdress I had chosen a pretty blue trimming, closed it with a piece of elastic to make sure it would fit and just sew on a red feather.IMG_3768

IMG-20150906-WA0007I am afraid that is the best picture I can offer you but at least you can see that it is really a perfect costume to play and climb.

So just like the simplicity of the costumes should inspire the children’s imagination, I am hoping that the lack of quality of the pictures will inspire the imagination of my dear readers 🙂