Right, this is going to be a long one:
I have mentioned it before, but for those who do not listen properly, last summer I had realised that I will suddenly have lots of time during the week (I guess we can file that under “bad planning”) and I looked for a once a week sewing course that would finish with some kind of certificate rather than the ones I had done so far. All I could find was a Fashion course and to at least skip level 1, I worked hard, well I dug out old samples from all those courses, cut them nicely, stuck them on black card, ironed the presentable clothes I had produced so far, took my knitting photo book (to show off my brilliant sense for colour combinations and design skills ????) and went to the interview. And was accepted in level 2.
The course went over 6 months and it was about designing, pattern cutting and a bit of sewing (not as much as I wanted). It is really interesting how I fall immediately into old patterns – week by week I had to drag myself there, week by week I told myself that I had to take it more seriously and that next time I would really fill out all the paper work at the end of the day…. or at home at least, that I would do my homework with 100%,…. and week by week I did not do it 🙂
The aim of the course was to choose a celebrity and an event (from a list) and to design and make a dress for that person and that occasion in standard size 12. And to include a historical detail in our design, to be researched at a wedding dress exhibition at the Victoria and Albert museum.
So I spent a whole week of half term searching the internet to find a suitable celebrity. Note: I was the only one in the class who did not get totally excited by the idea of choosing a celebrity and the only one who did not even have at least one idea during that lesson. Anyway, I decided on the actress Michelle Williams as she seems to be into all colours and 60s dresses. The whole point of the celebrity business was to make sure that we were creating a dress that will not only suit the person but also match their personal taste. As my event I chose a charity event where cocktail or evening dresses could be worn – to make sure I could design a short dress 🙂
Next we had to come up with 5 designs, actually drawn into our sketch book and to choose the one we would be making. At this point I was really close to quit. I do not do drawing, unfortunately. And it is hard to tell, if the drawings are mine or those from my 5 year old.
Anyway, I decided to have a more practical – box ticking – approach.
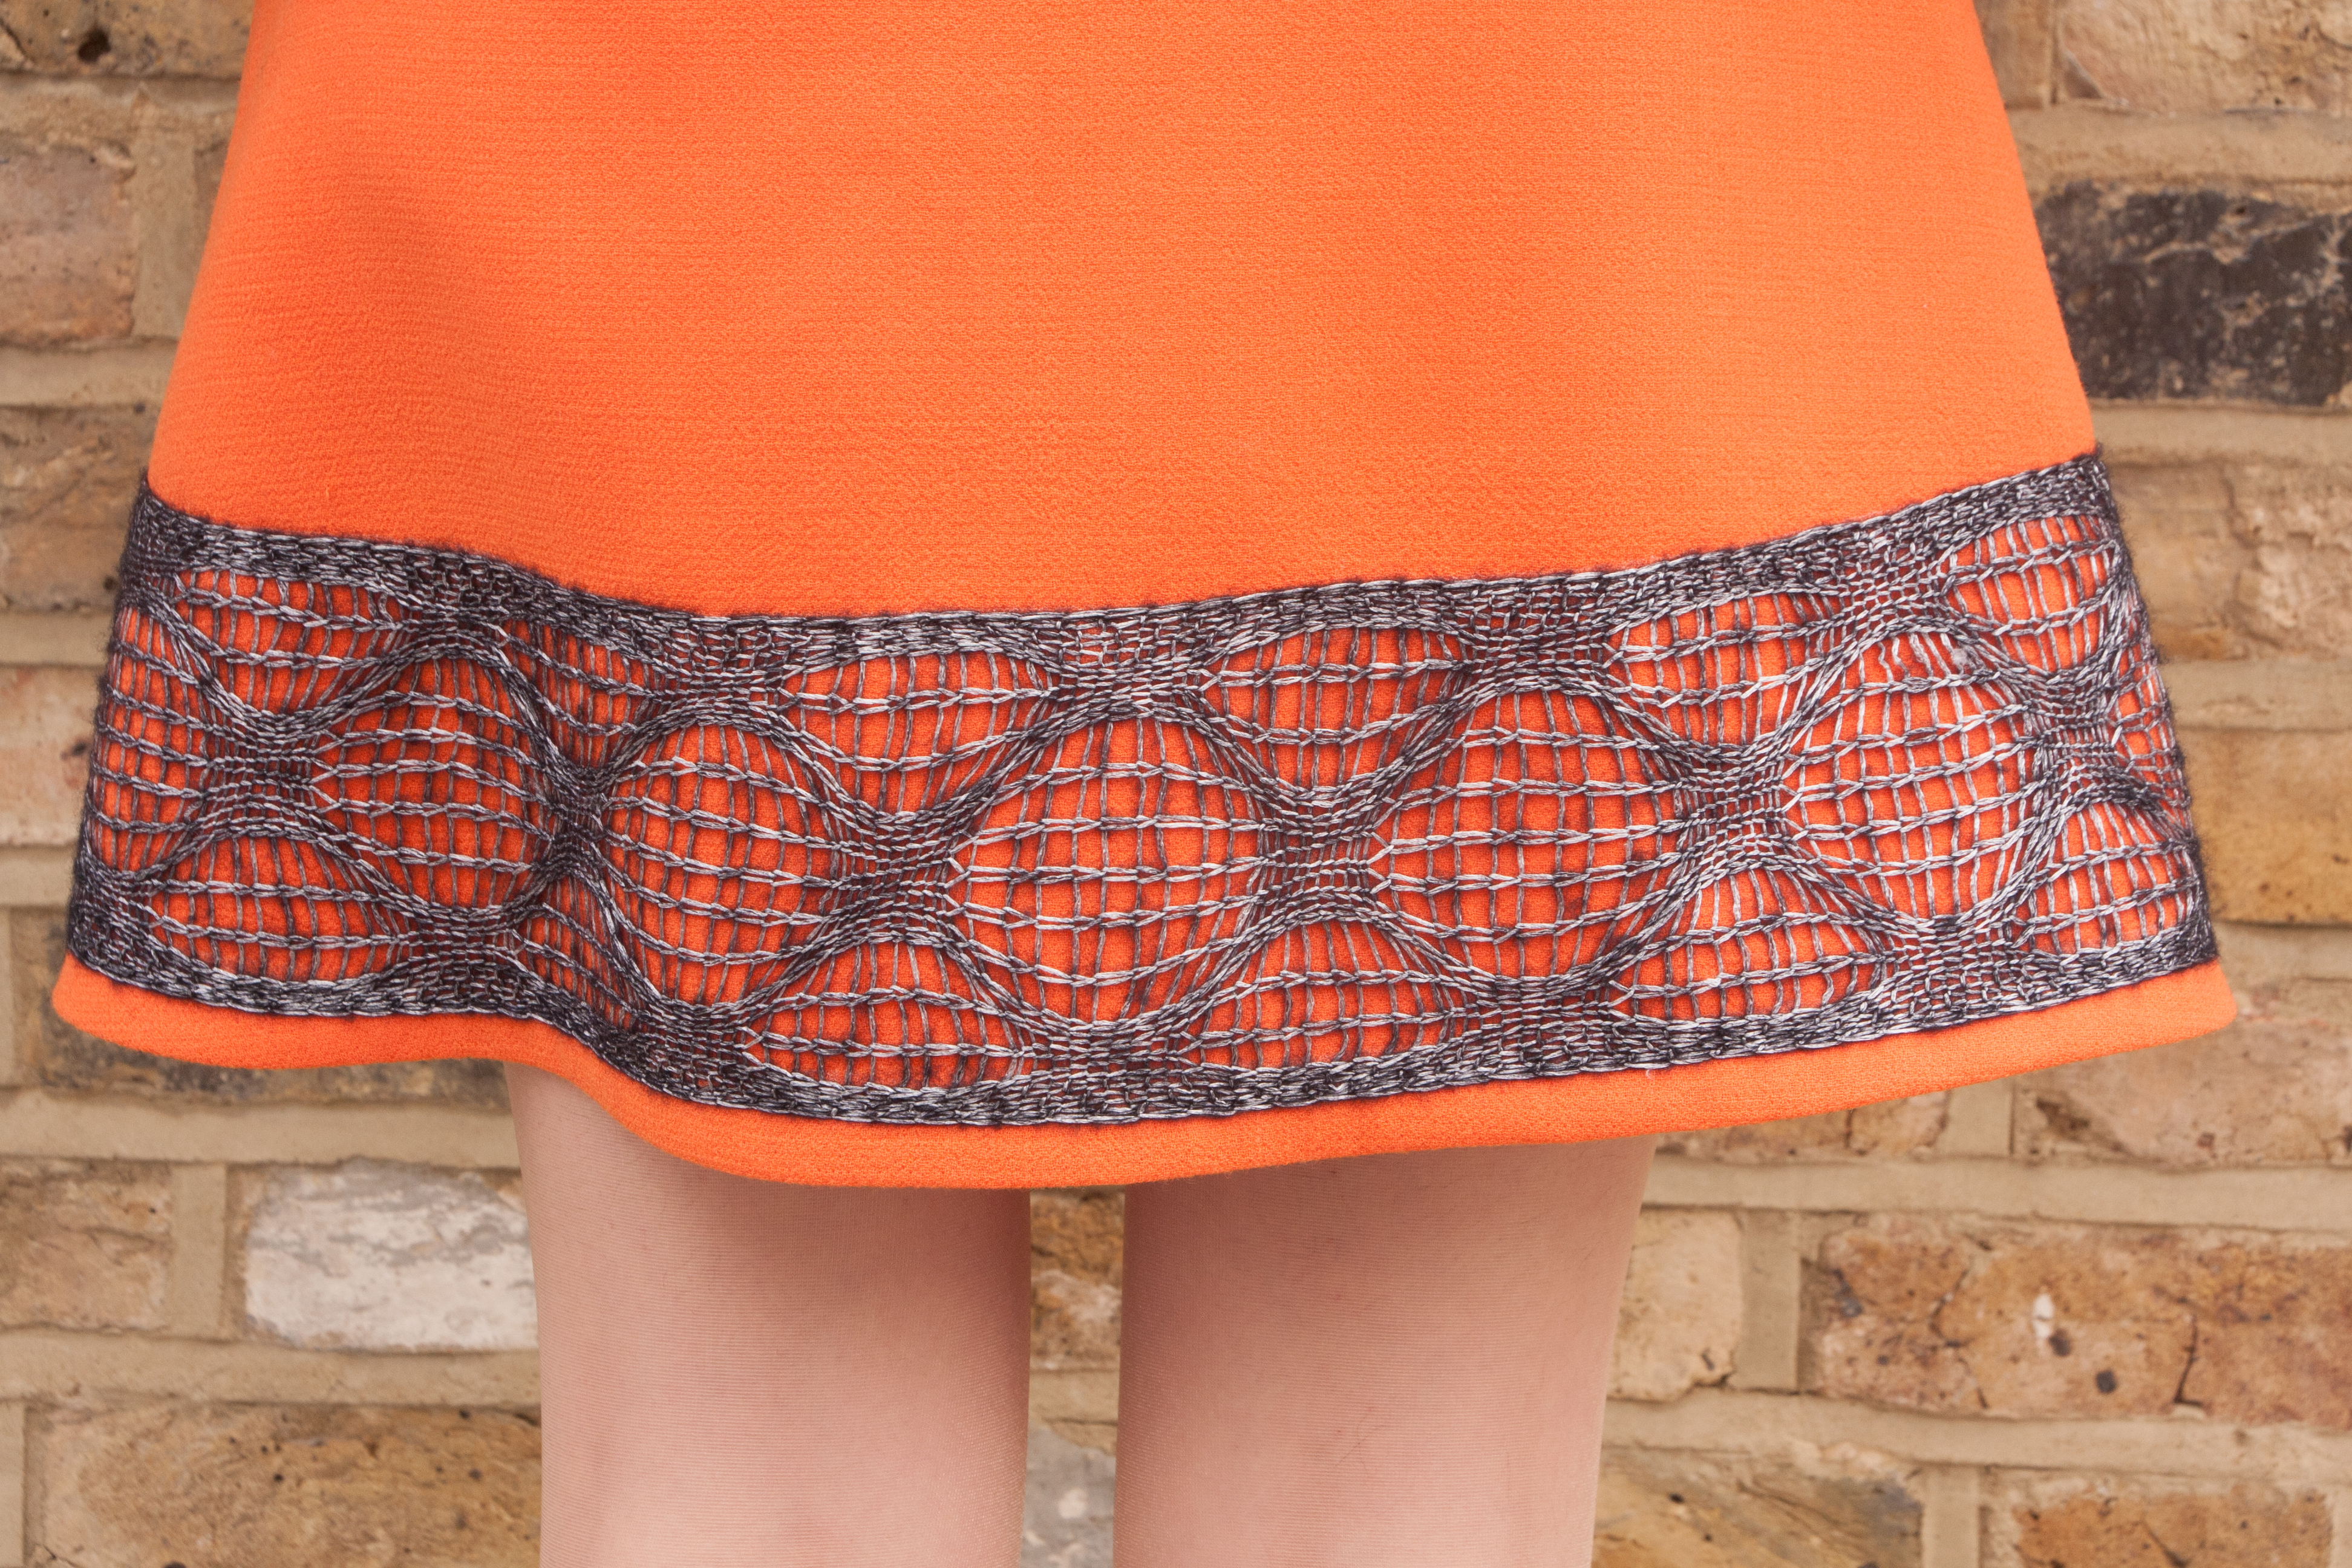
In the end, it can’t be about the individual taste of my teacher or examiner it is a technical task or rather list of tasks: I wanted / needed to design a short dress, 60s style, any colour really, rather not patterned. My researched historical detail was embroidery, repeated in several places on a otherwise very simple wedding dress (no photos or sketches allowed, this was all I could remember 🙂 ) I intended to replace embroidery with knitting – after all this would really be the reason for a celebrity to come and ask me to design a dress for her (this and my amazing sense of colour combination). Last but not least, I needed to add a few more technically challenging bits as a simple sleeveless A-line dress might look best but it will not reflect any skills which is clearly needed if I wanted to achieve good marks. So I added some piping between top and skirt and sleeves. Long sleeves to be able to repeat the knitted decoration from the hem on the cuffs.
In the meantime, we did a lot of sample sewing and pattern drafting in class.


So in theory lots of sheets to fill out. Which I never did. I had a very slim folder 🙂
But over the Easter holidays it just had to be done. I had to sit down and catch up not only on paper work but also on missing home work. And I made some extra samples, kind of matching my own project. For example I did a series of round hems as I would have a round hem myself.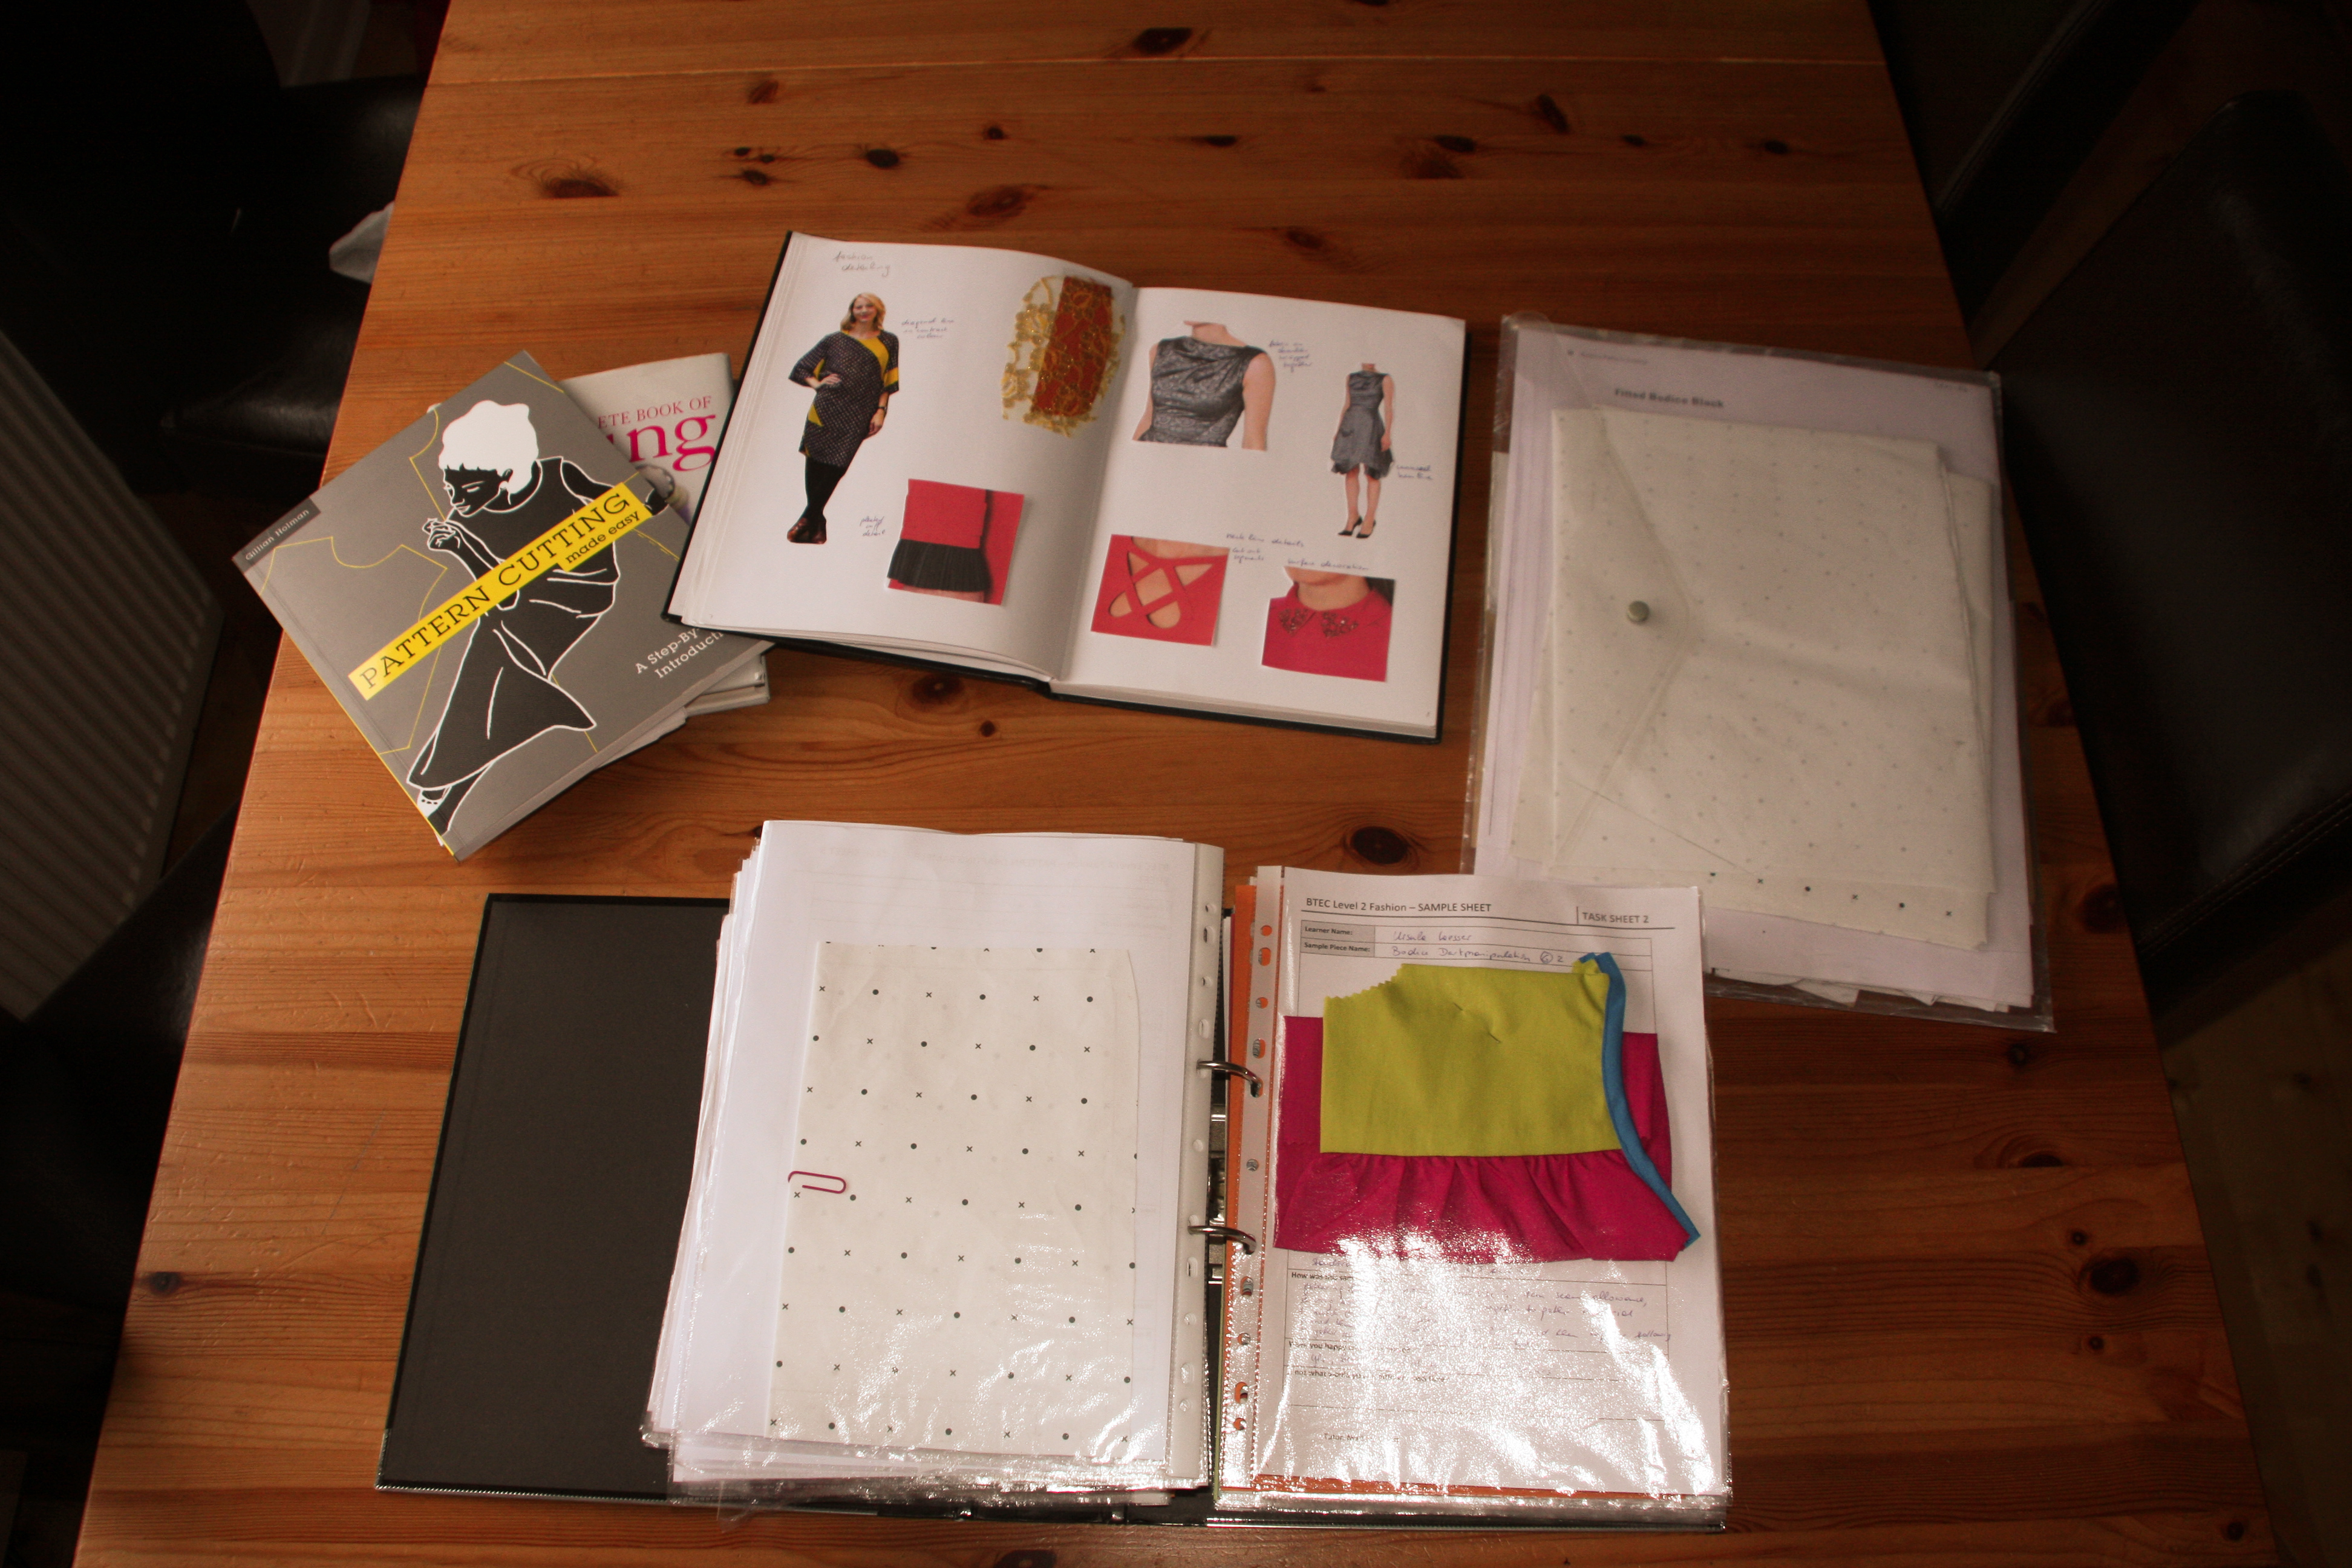
In fact, I was spending so much time on my folder that both my children wanted one too. So we had to buy two folders (pink and blue, silly question), and they put lots of stuff in it. 
Oh, and I have almost forgotten or rather repressed the fabric shopping trip. My teacher, my class mates (they would deserve a post on its own but knowing me, it would turn into something extremely funny to read for many but if it ever got into the wrong hands….. no, we rather keep that one unwritten…. lets just say that it is unlikely that I keep in touch with anybody, although most were actually lovely ladies). Anyway, the shopping trip. We all went to Brixton where you can find extremely cheap fabric. I am still a bit wondering if a celebrity would wear an extremely cheap fabric for the Oscars.
Anyway, I was very determined to find an orange fabric for my dress. I think orange is very 60s. And I needed one more colour. Maybe pink? But that would be too sweet and not enough edgy. Possibly turquoise/greenish. Something like my scarf really 🙂
 Ok, in an ideal world I would want all three colours. But maybe, just maybe not for a celebrity cocktail dress. For that scarf I got frequent comments in the class, especially from one only black wearing lady (“you and your colours”). Ok, back to the girls shopping trip (you see, I am not very familiar with this type of shopping). I chose immediately an orange wool crepe (glad I found a material that I could live with and was still cheap yet (apparently) expensive looking.
And right next to it was a bluish green. Ideally I would have wanted something more towards blue. But I took it. Definitely more risky than the pink.
The next step was now to find the right yarn for the knitted decoration. And I have to admit, I did at some point wonder if the bluish green had been the right choice for my purpose. But you see, at this point, I started to take it more seriously. After all, I had paid over a 1000£ for the class, so I should actually aim for a good mark (BTEC Level 2 – not that this would correspond to anything ever in Austria, probably a Wifi course, really)
And I also regretted to have announced hand knitted decoration. With all that nursery saving, blanket loosing and course work catching up, it was a rather silly idea. But too late.

So here we have a great purply fuchsia. I think it is an a-ma-zing colour combination (sorry for the dark picture). I just remember now, I went to John Lewis with my fabric samples and was looking around for a good yarn. And then there was this male shop assistant with the most amazing stripy vest. Clearly a man with good sense of colour. So I asked him his opinion. When he finally understood that I am not looking for the same colour but for one to complement them both he said: Well, orange and green have both yellow in it so the opposite colour would be purple. And he showed me something that was very close to what I wear in my scarf 🙂 I was very pleased to hear such a good scientific reason for my intuition… But not for Michelle Williams, nor for an elegant cocktail dress.
white: very 60s. But too much daytime.
purple/black/metallic shine. Well. It looked better online, when I ordered it.
dark grey/silver shine. Perfect. I had initially black as a save option in my head but my dear friend in my knitting class (the one which can get equally obsessed about little details) suggested dark grey and she was spot on. Much softer than black. And I am quite happy to have found that shiny yarn (Lana Grossa Lace Lux) to give it that extra special evening touch.
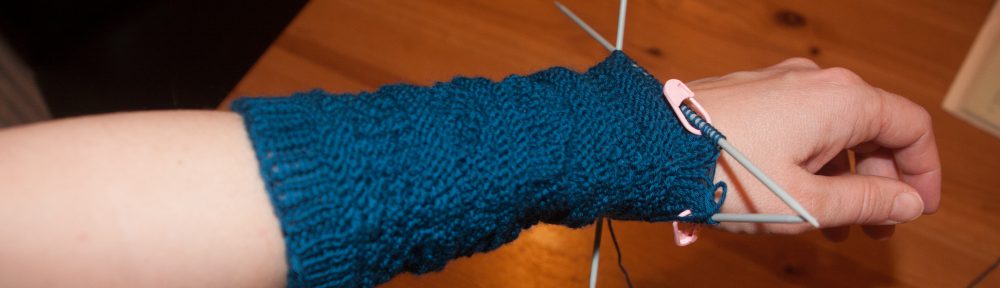
For the actual pattern I made a small version of the Camino Bubbles. I made a sample and I took pictures from the actual blocking process for my lovely folder, doing everything I can to get extra points after having been lazy for 5 months 🙂

In the meantime, in class we were already working on our patterns and calico versions for the dress and then the day came, where we had to start making them.
I was determined to really take my time and do everything properly this time. And I have to say I am rather pleased with myself as I really managed to do so. It took ages to prepare the piping properly but it was well worth it. It is a lovely detail and I will definitely use piping more often in future.
 And can you see how perfectly the seam at the side matches? The one between the two colours? There is an invisible zip hiding (lengthwise of course). The second invisible zip in my life. The first is in my folder. With the seams 1 mm apart (but at that stage I was also pleased)
I have also used the same bias binding that I had used for the piping for the inside of the hem. Stupidly I forgot to take a picture of it. It is one of my favourite details. No one can see that contrasting colour on the inside but I know it is there 🙂
Ok, this is really getting long now but I am just trying to sum up 6 months of work (could have possibly posted more often, hmm) – I have probably lost 90% of my readers by now but then it is their problem, as they are not going to see the pictures of the final dress 🙂
Now please remember, we had to do the dress in a size 12 and my model isn’t actually a size 12. Please do not tell her, that it doesn’t really fit her. She was so proud that she managed to squeeze into it, even if it was only thanks to a sudden 12 weeks chocolate aversion.
 Especially, don’t tell her how it looks from behind. She tried so hard to pull in her tummy and not to breath that it would be rather cruel to show her the truth. And really, she is a bit hormonal lately. Lets just keep this as a secret between you and me. And lets focus on the dress anyway. This is a blog about me crafting and not about weight issues. Or the importance of ironing.
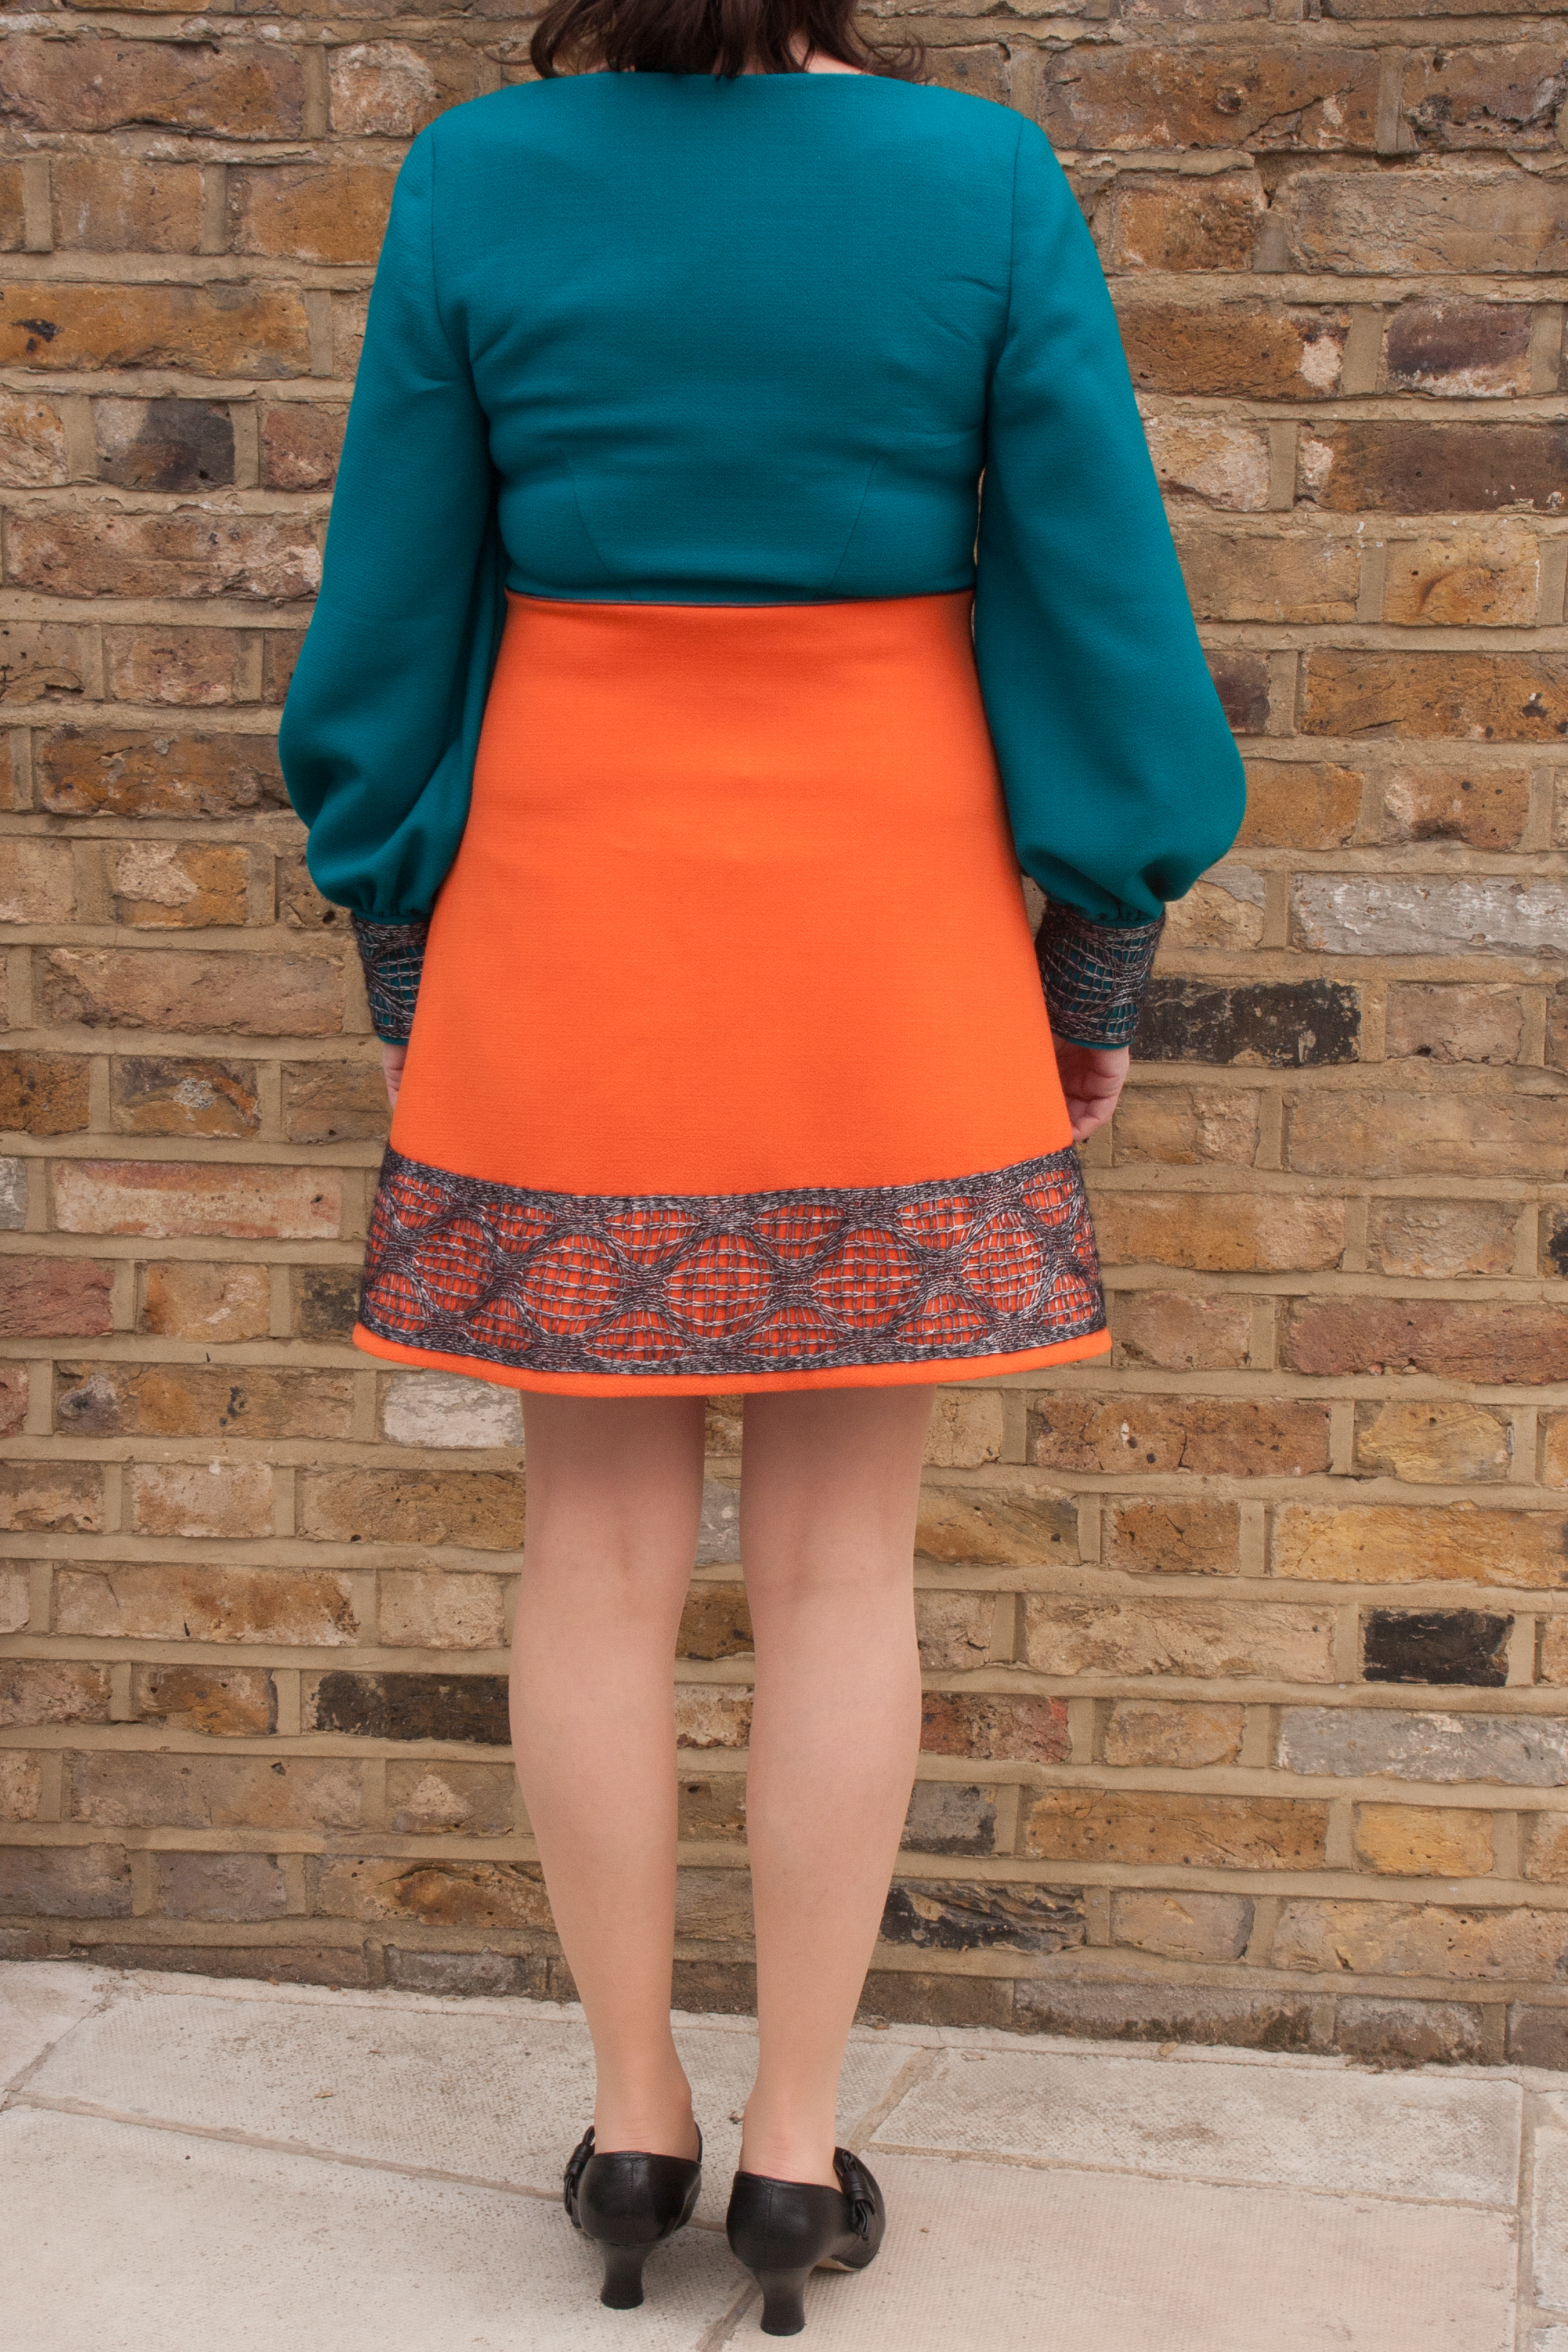
I personally think the dress would look much better without sleeves but remember I kind of needed them to show that I am perfectly capable to mount sleeves. And this is actually an other example of me taking all the time that is needed and to do it properly and faultless. Which means a lot to me, as I tend to rush things a little.
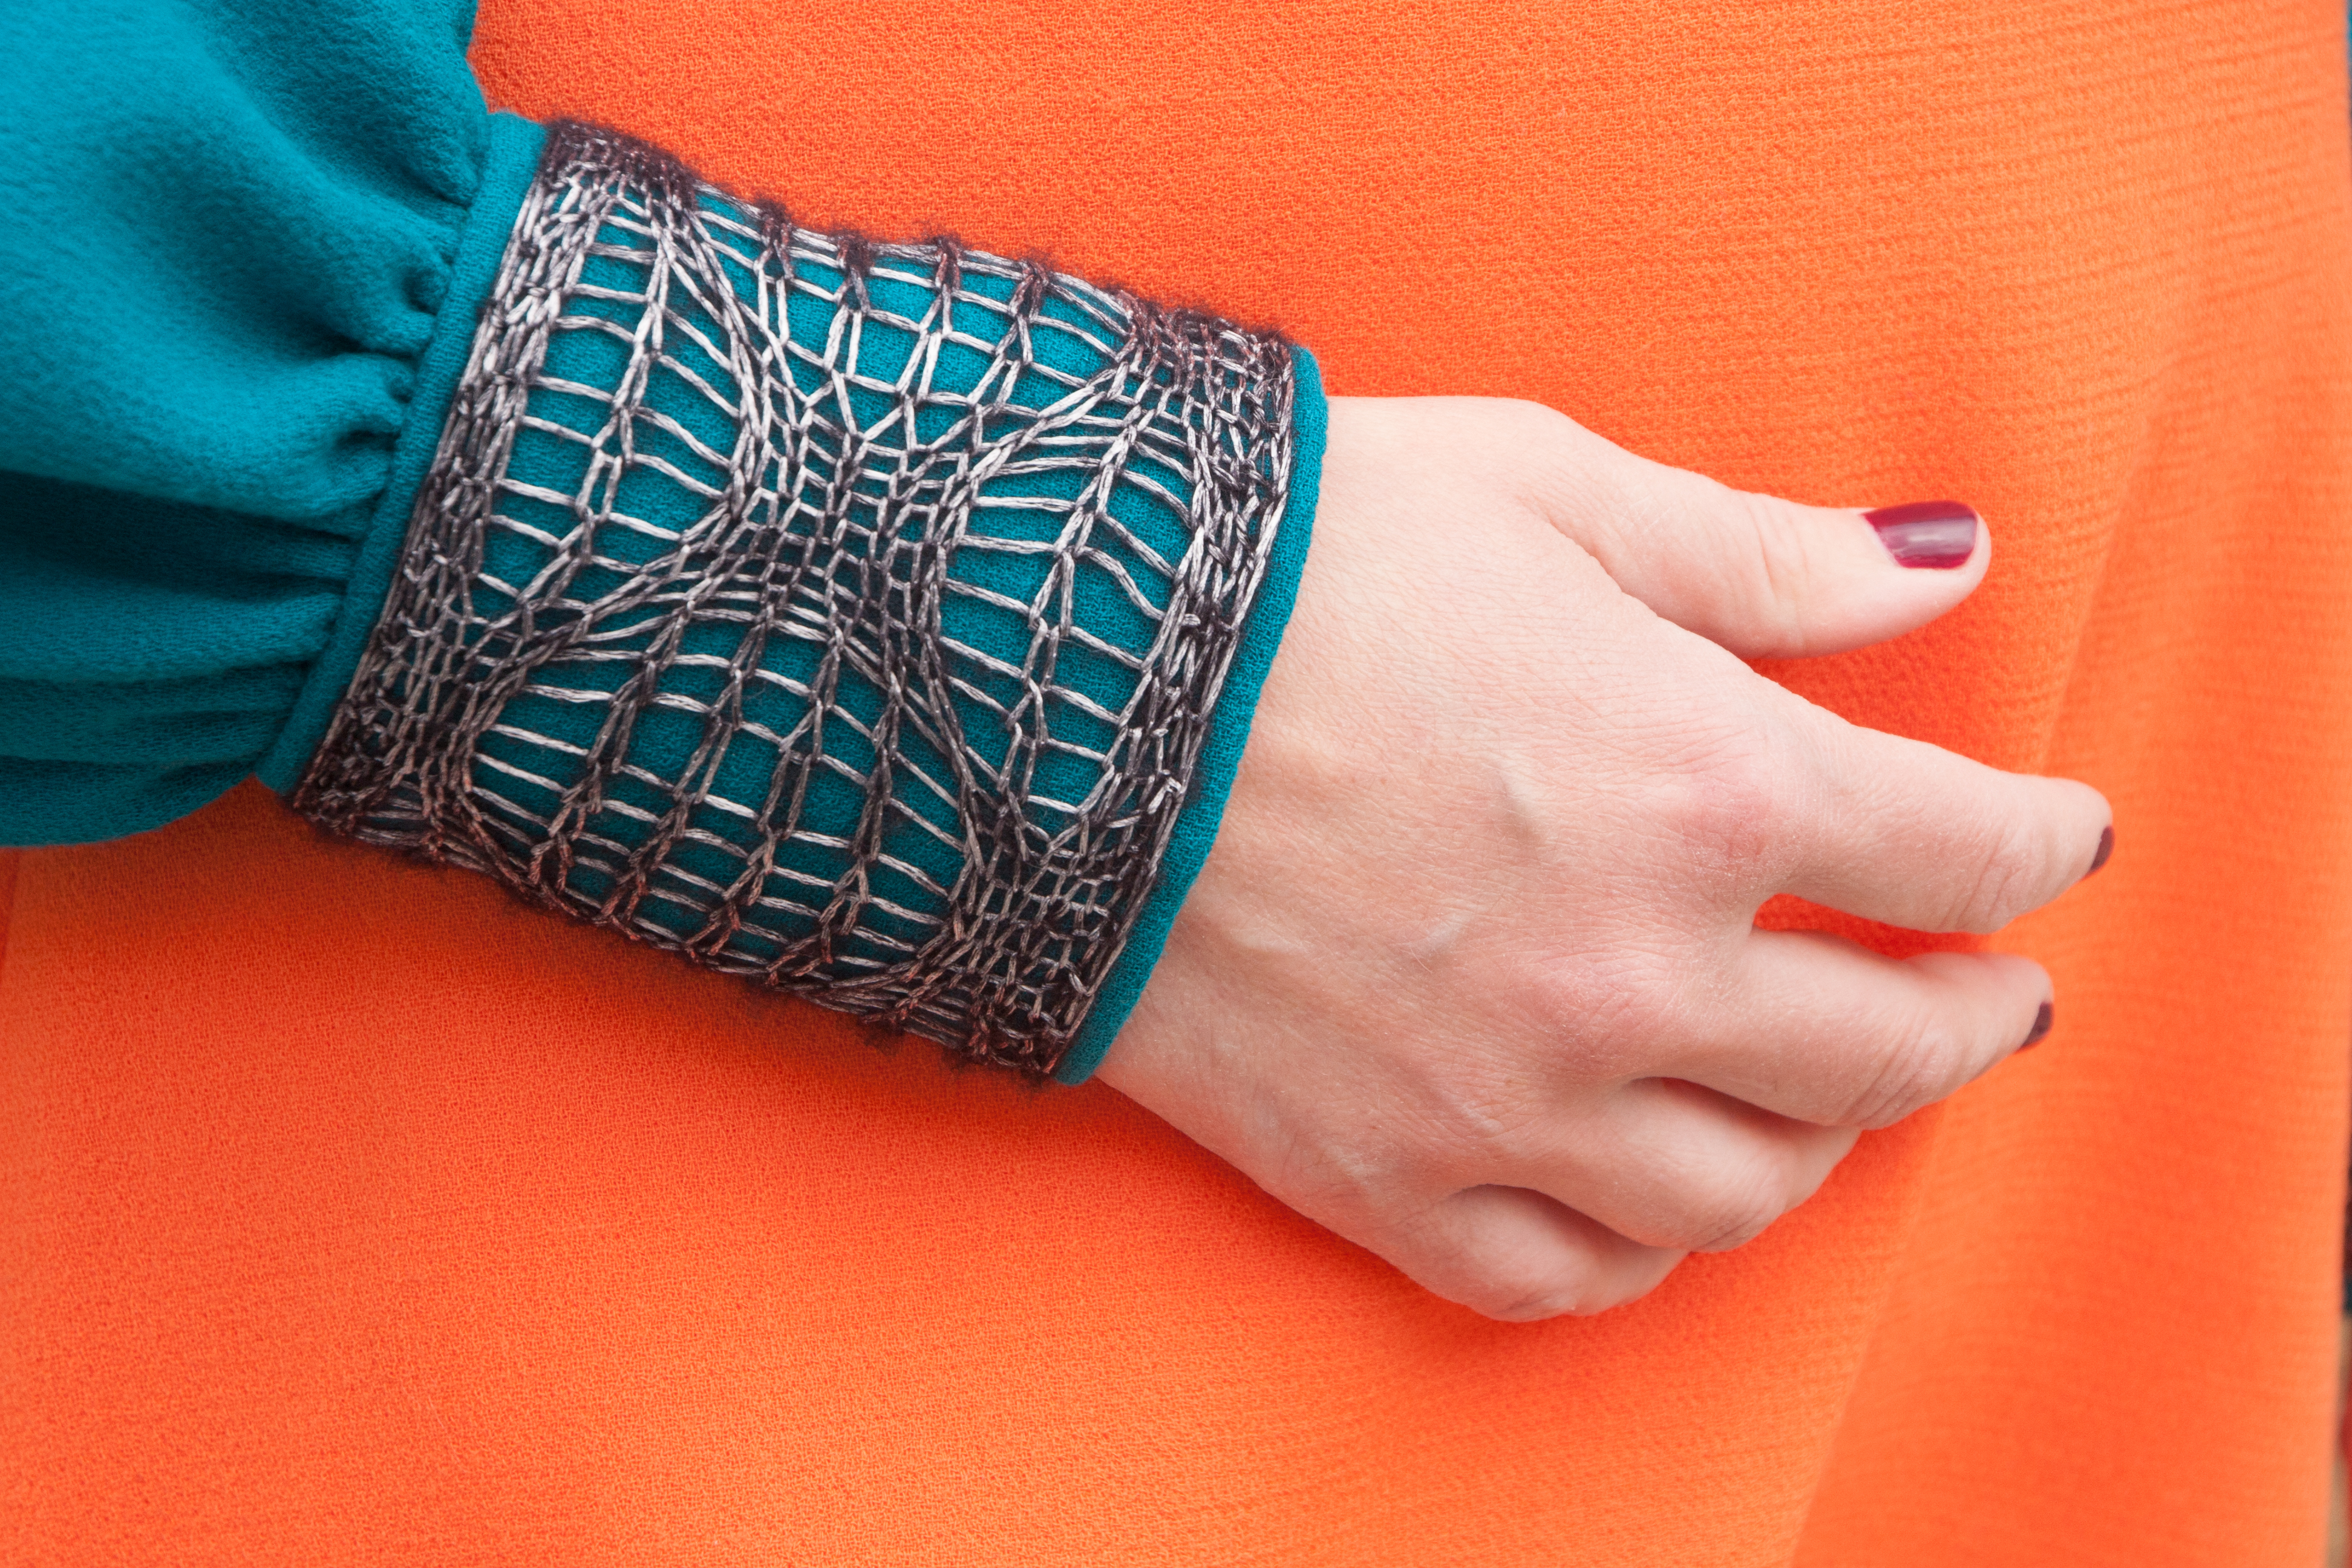
As you have seen before, the knitting had been properly blocked to the right size and even in a slight curve to make sure it would fit perfectly along the curved hem.
As I said before (I think), I needed a sleeve with cuffs to be able to repeat the knitting on the hem somewhere else (to perfectly transition my chosen historical detail) and the bust line was already taken by the piping. So I opted for bishop sleeves, if you want to know the correct term for it.
Has all the effort paid off? I think so. On my anonymous feedback form after the class presentation (this one, I did not take too seriously) she actually wrote that she wants the dress in her size. And she gave me a “distinction” which will still have to be confirmed by the external examiners.
In retrospect I am quite happy with my own performance from the point where I took it seriously. I decided I wanted a good mark and did my best (kind of) to get it. But I honestly wonder why I am unable to do that right from the start. Unfortunately, I can not perform without serious time pressure. Never could and most likely never will.
And whilst I wasn’t initially interested in learning too much about designing and pattern cutting I think now that I have actually learned a few useful techniques and wonder in fact if I shouldn’t look more into pattern cutting. Just this morning I made a pattern for a dress for my daughter. I tried to use some of the newly acquired skills however as she has a completely straight upper body, not everything would have made sense so I did a mixture of freestyle and rules. The calico(!) version tells me at least that the shape will fit and we will see how the end result will turn out.
But back to the “retrospect” part. I do wonder what to do with the dress now. It has been a lot of effort for something that I can not wear myself. As a matter of fact, I am not a size 12 at the moment. I might one day. But I am really not too keen on the sleeves. Should I sell it? To whom and where? And for how much? Any suggestions are more than welcome. And if you are still with me, sorry for the length and thanks for reading. I am feeling much better now 🙂