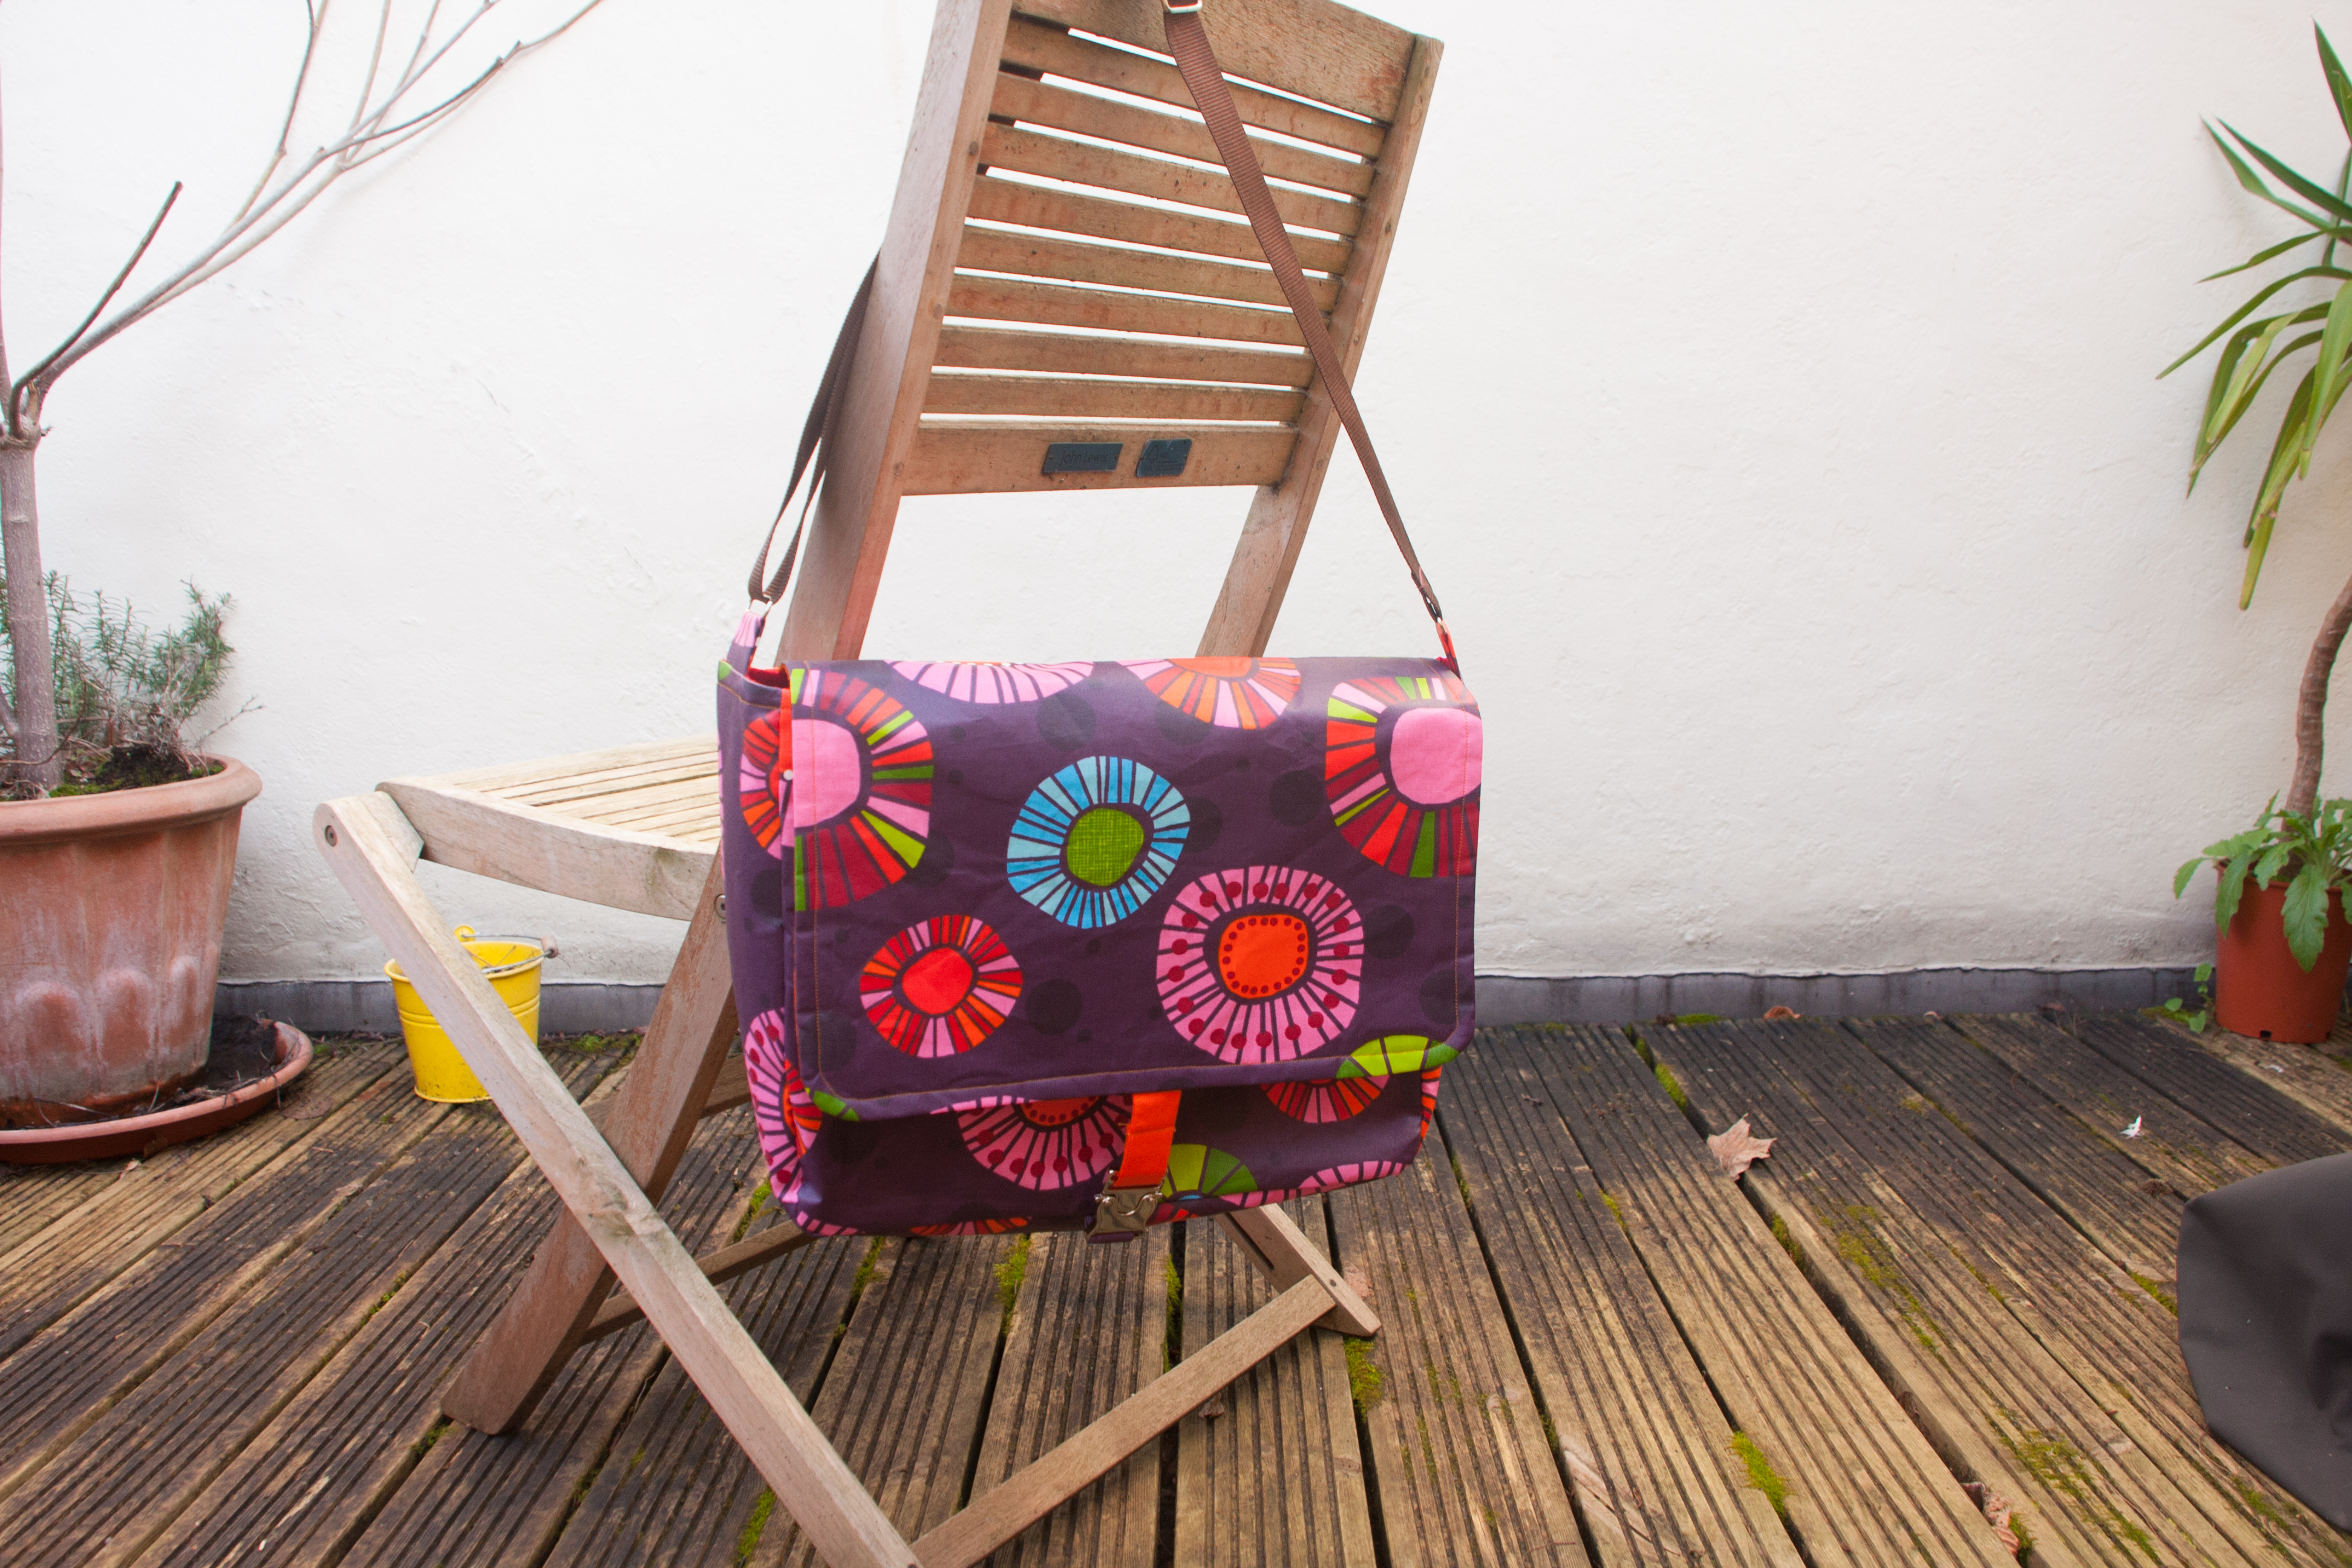
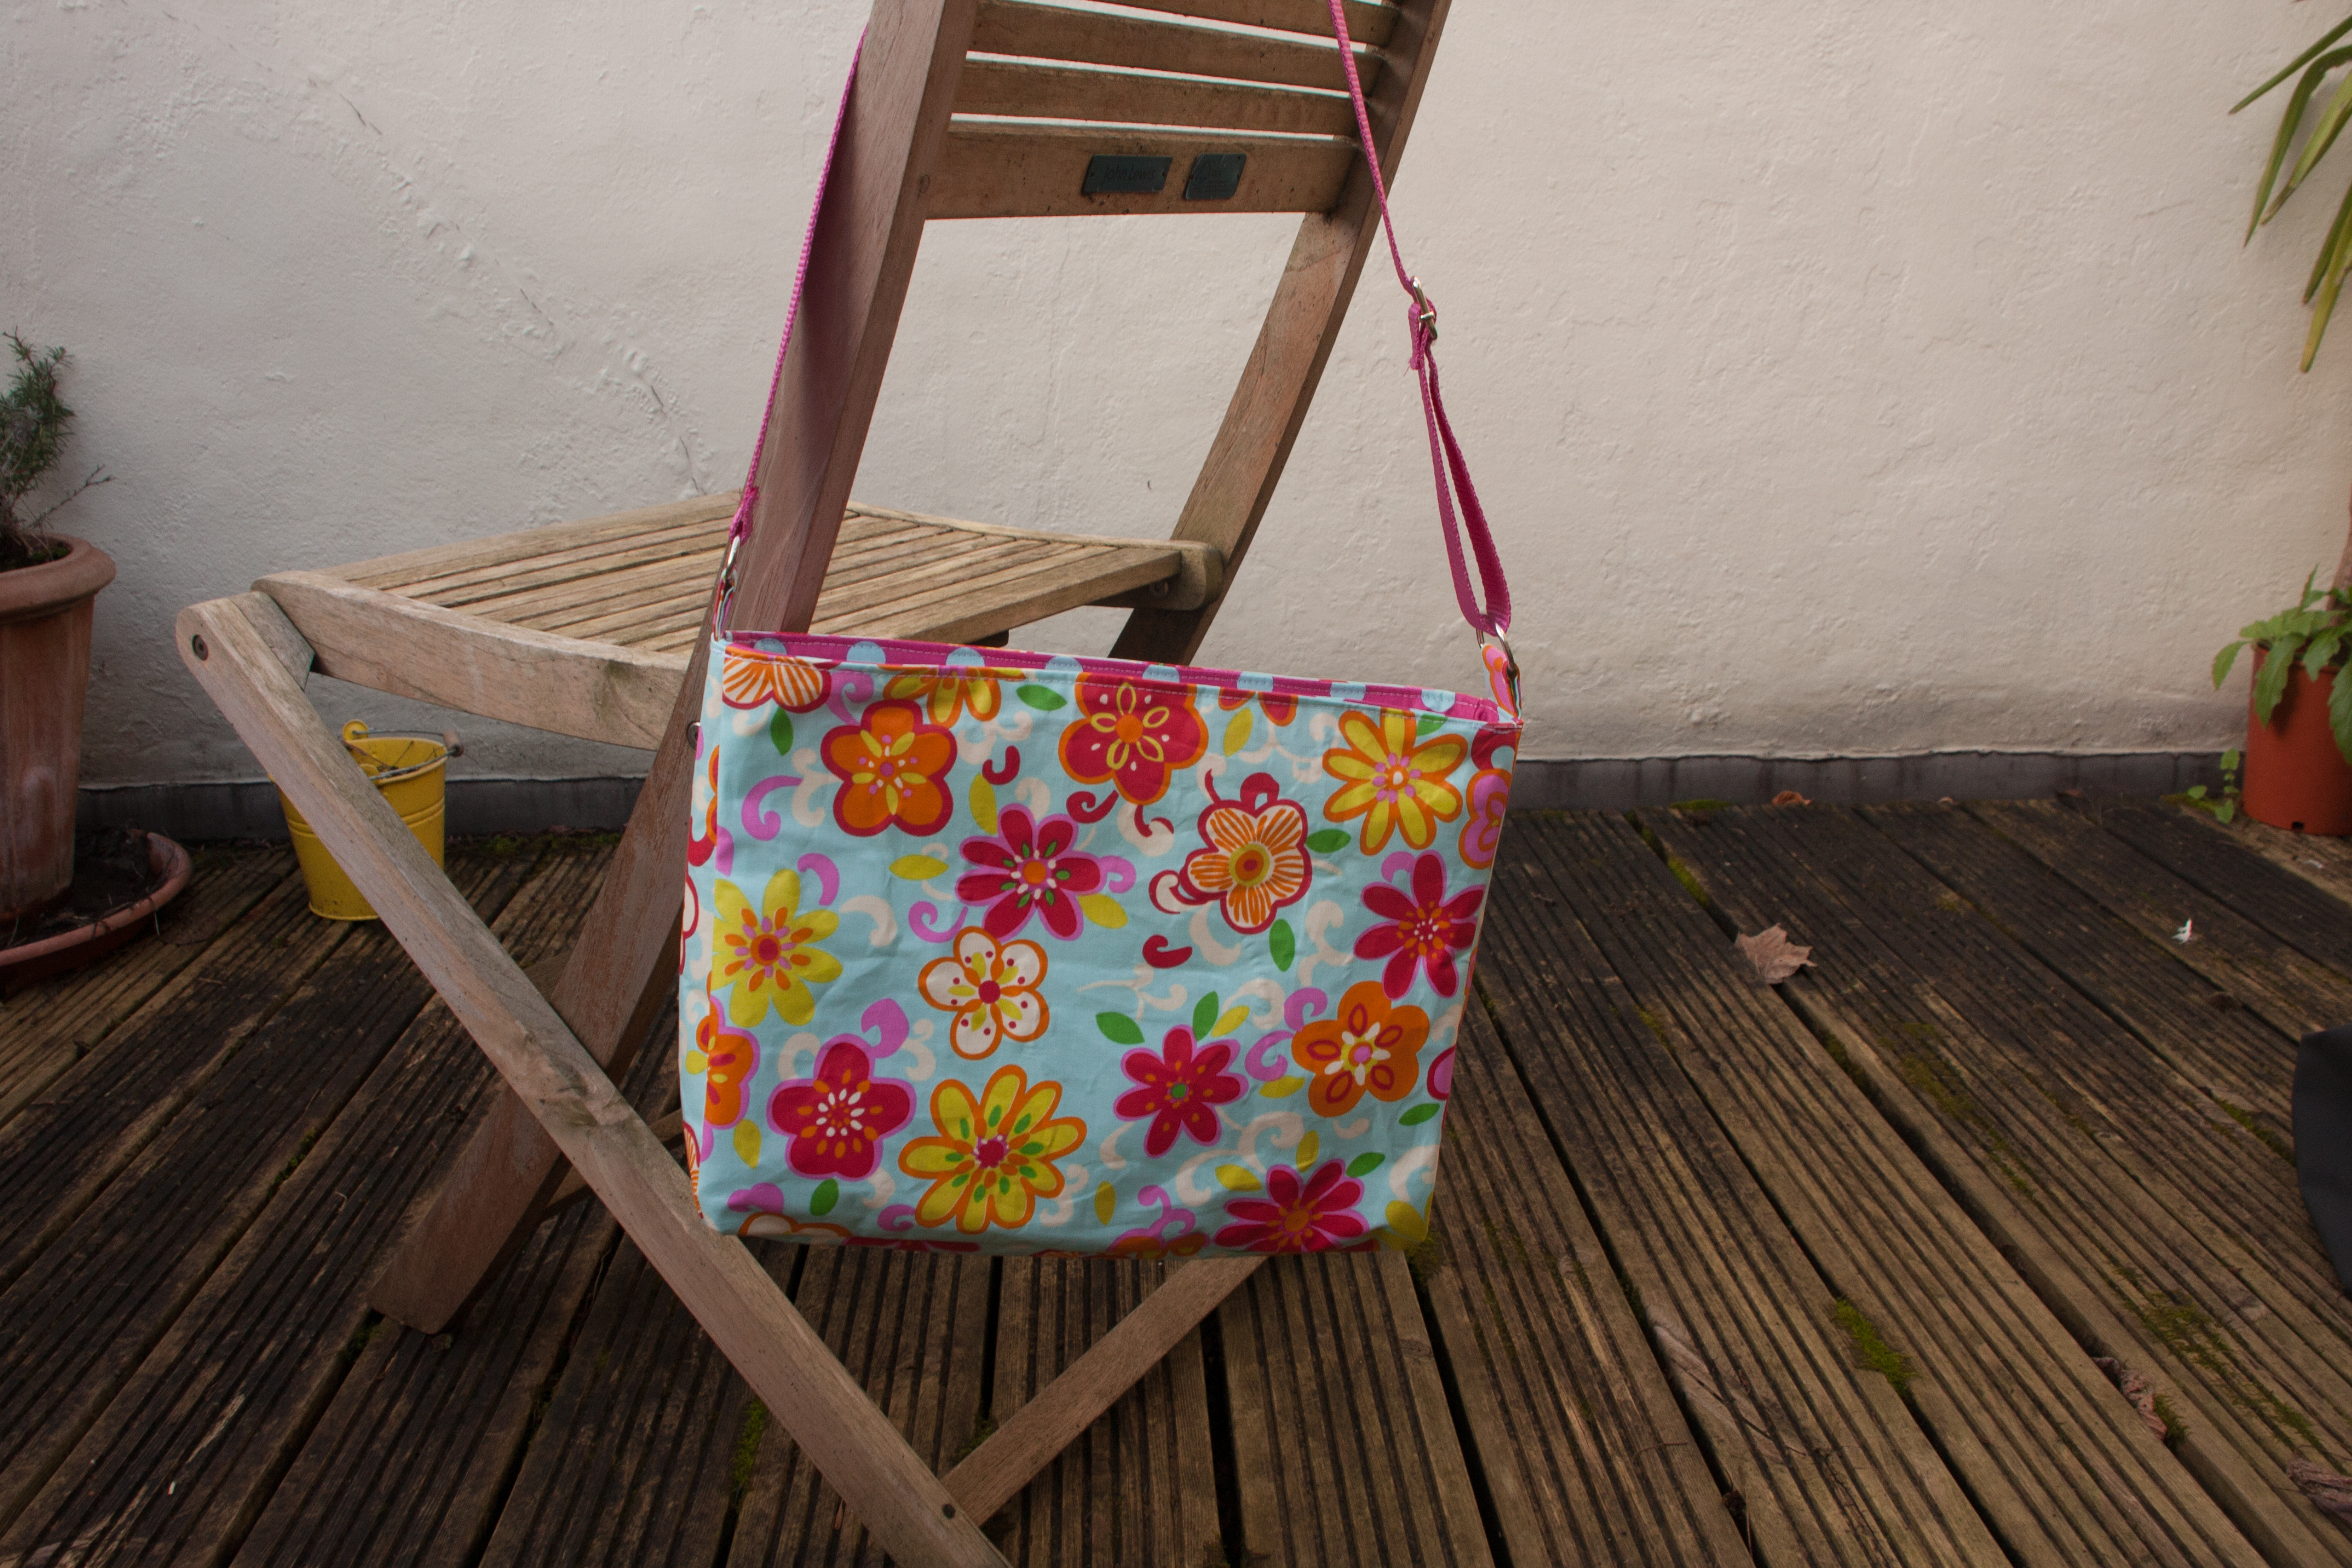
A couple of days ago, my daughter found in her mess carefully chose the hairband that I had made in 5sec out of some left over from her shirt and dress.
This one, you might remember it:  I love it but I really should have done it properly. It is the sewn version of one of these (I am obviously talking of the yellow and the pink one in the front and then again the red a bit more up and to the right.)
 In both cases it is a long strip that twists into a spiral naturally because one side is much longer than the other.
In the knitted one, this is done by increasing (or decreasing, depends if you are knitting from bottom to top or top to bottom), in the fabric one, I gathered the bottom edge.
Anyway, I thought it would be a good idea for a Scrap Sunday post to finally do it properly. Initially I meant to use the same stretchy jersey but then I thought, I will try a woven fabric instead to see the difference and just took some red cotton.
Just one thing before we start the series of pictures: I meant to do a tutorial but after finishing the rose, I realised that I would actually make a few things differently, so calling it tutorial is a bit silly, but I would still like to share the journey of making a rose with you and it will be up to you to do those few things differently (surprise, surprise, but I am too lazy to make another one whilst simultaneously taking pictures of it 🙂 )
First, you need to …… sorry, journey, not tutorial, so
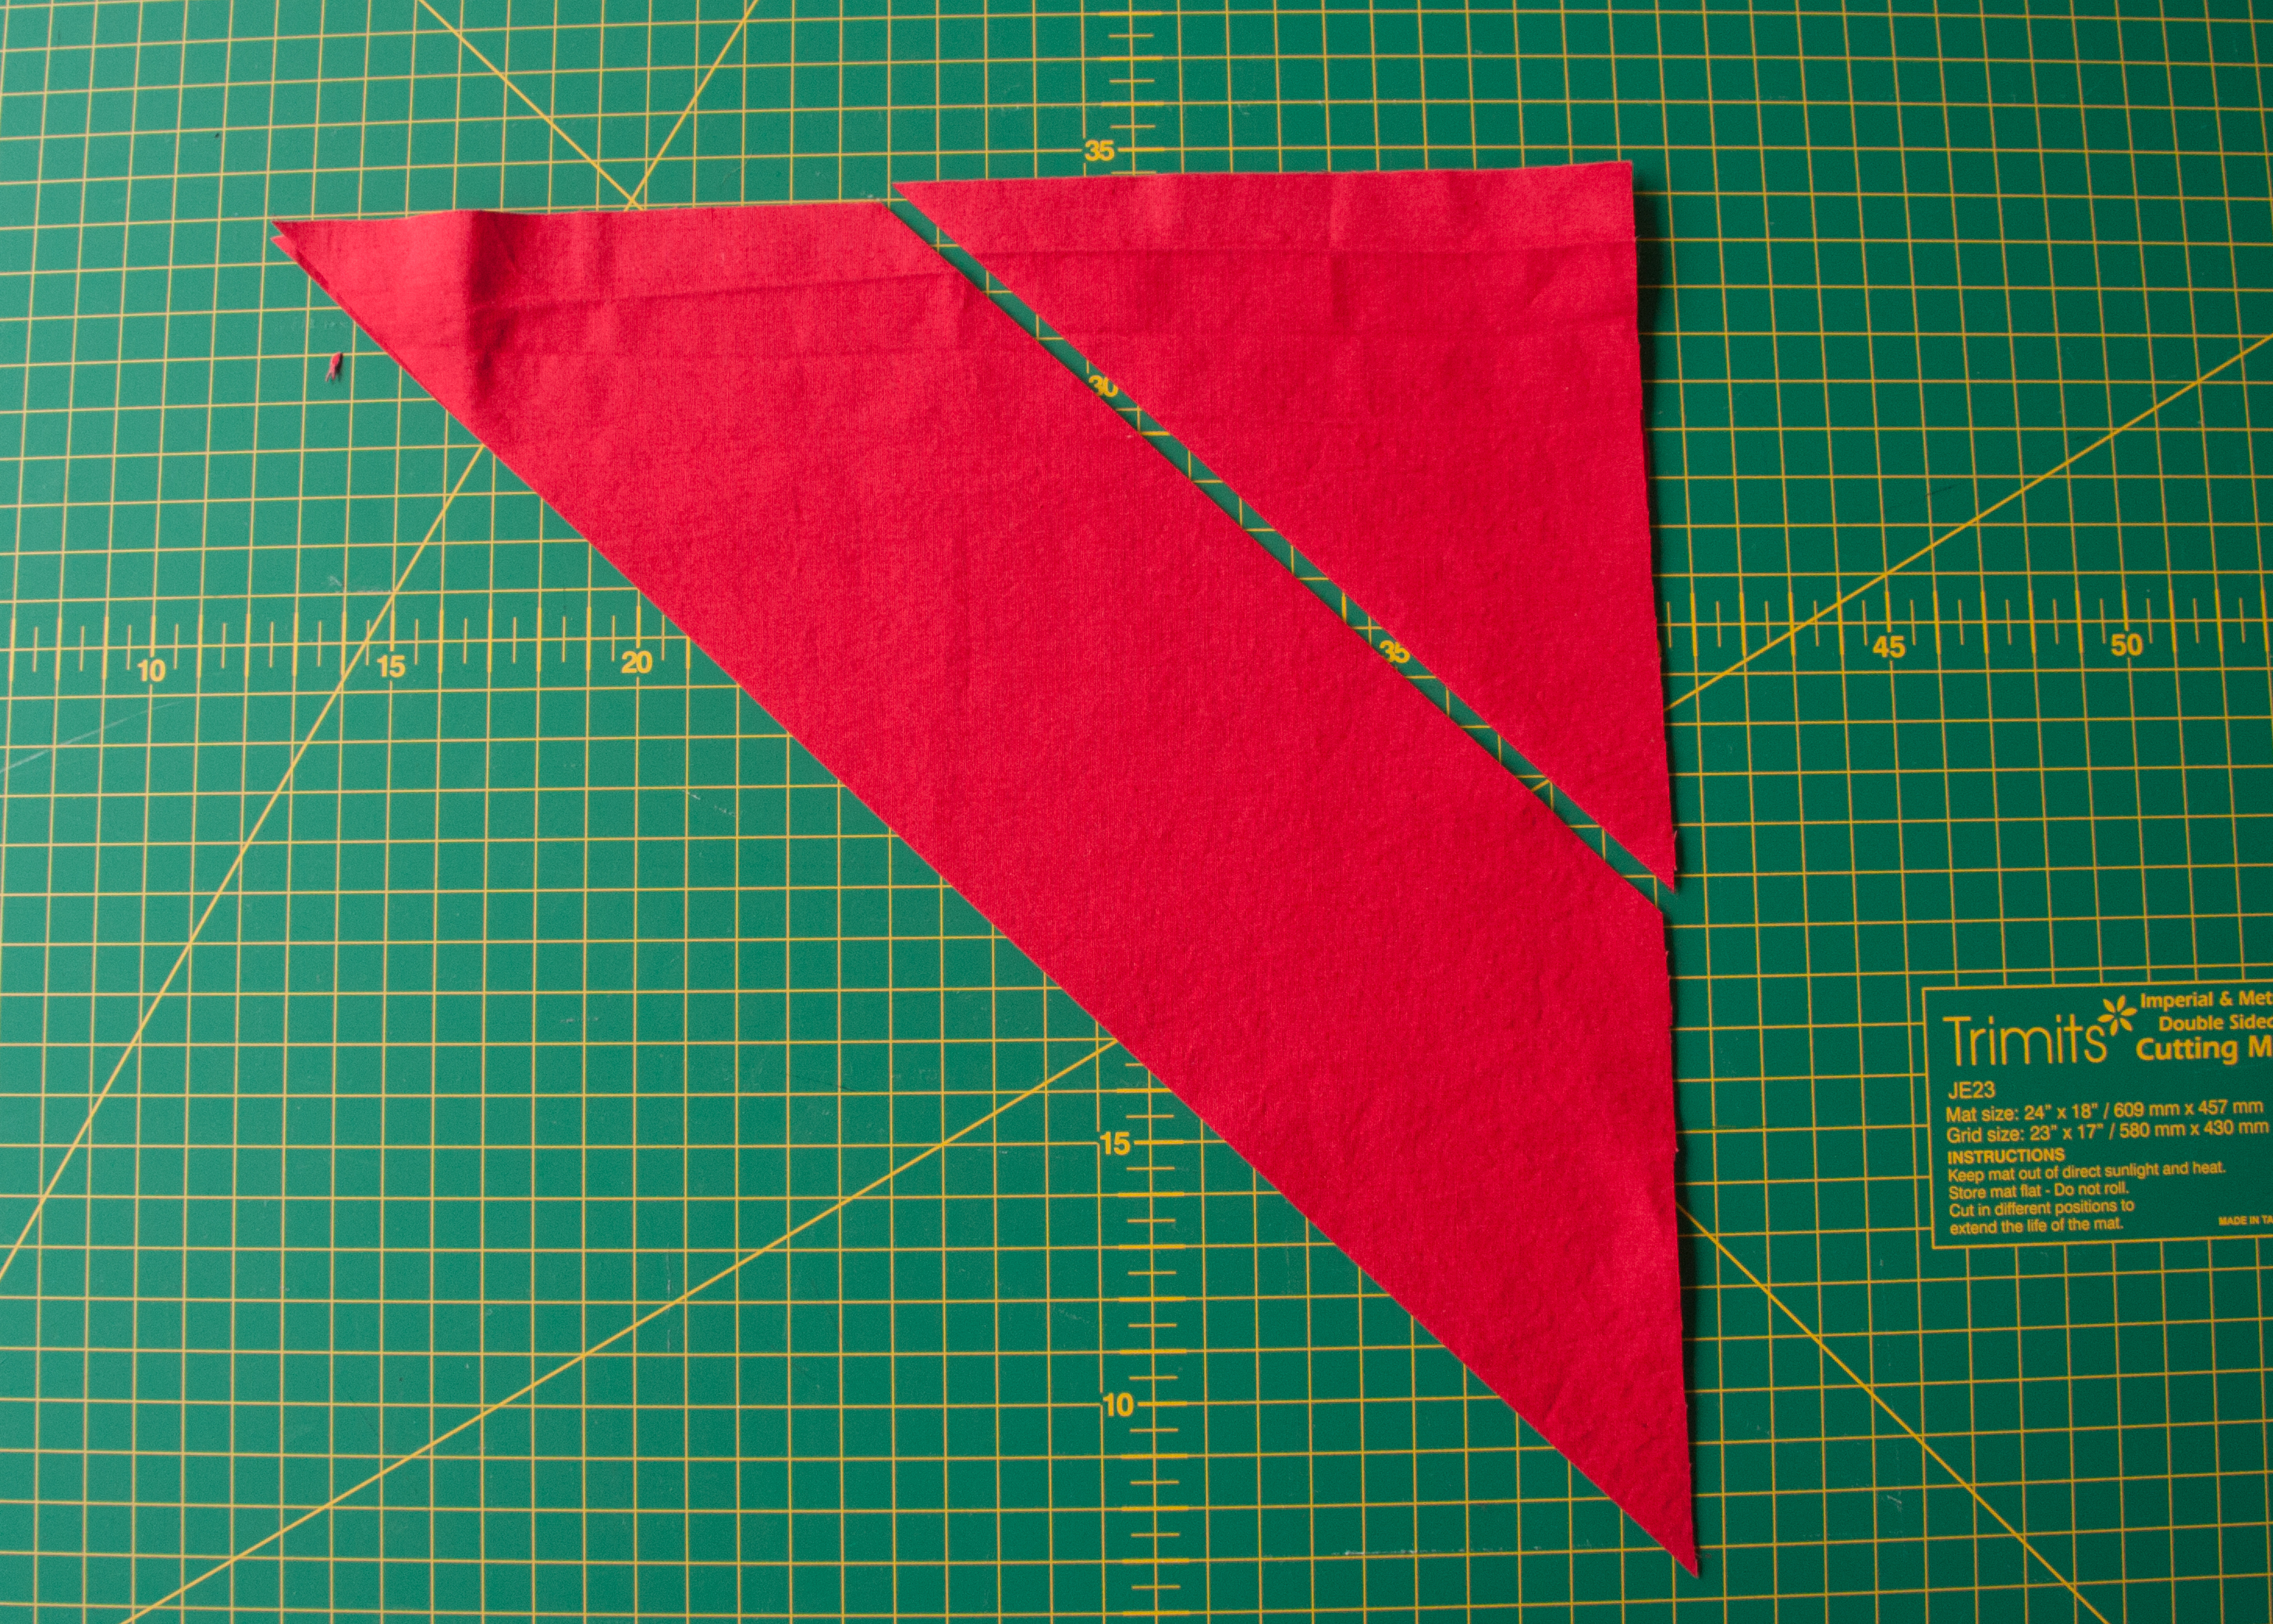
First, I cut a stripe of fabric on the bias to make sure it gets a bit stretchy.
To do this, I took a piece of fabric (doesn’t have to be square),….

folded it along the diagonal in half to get a 45 degree angle.
Then I cut my stripes (through both layers), parallel to the folded line, about 8cm wide.
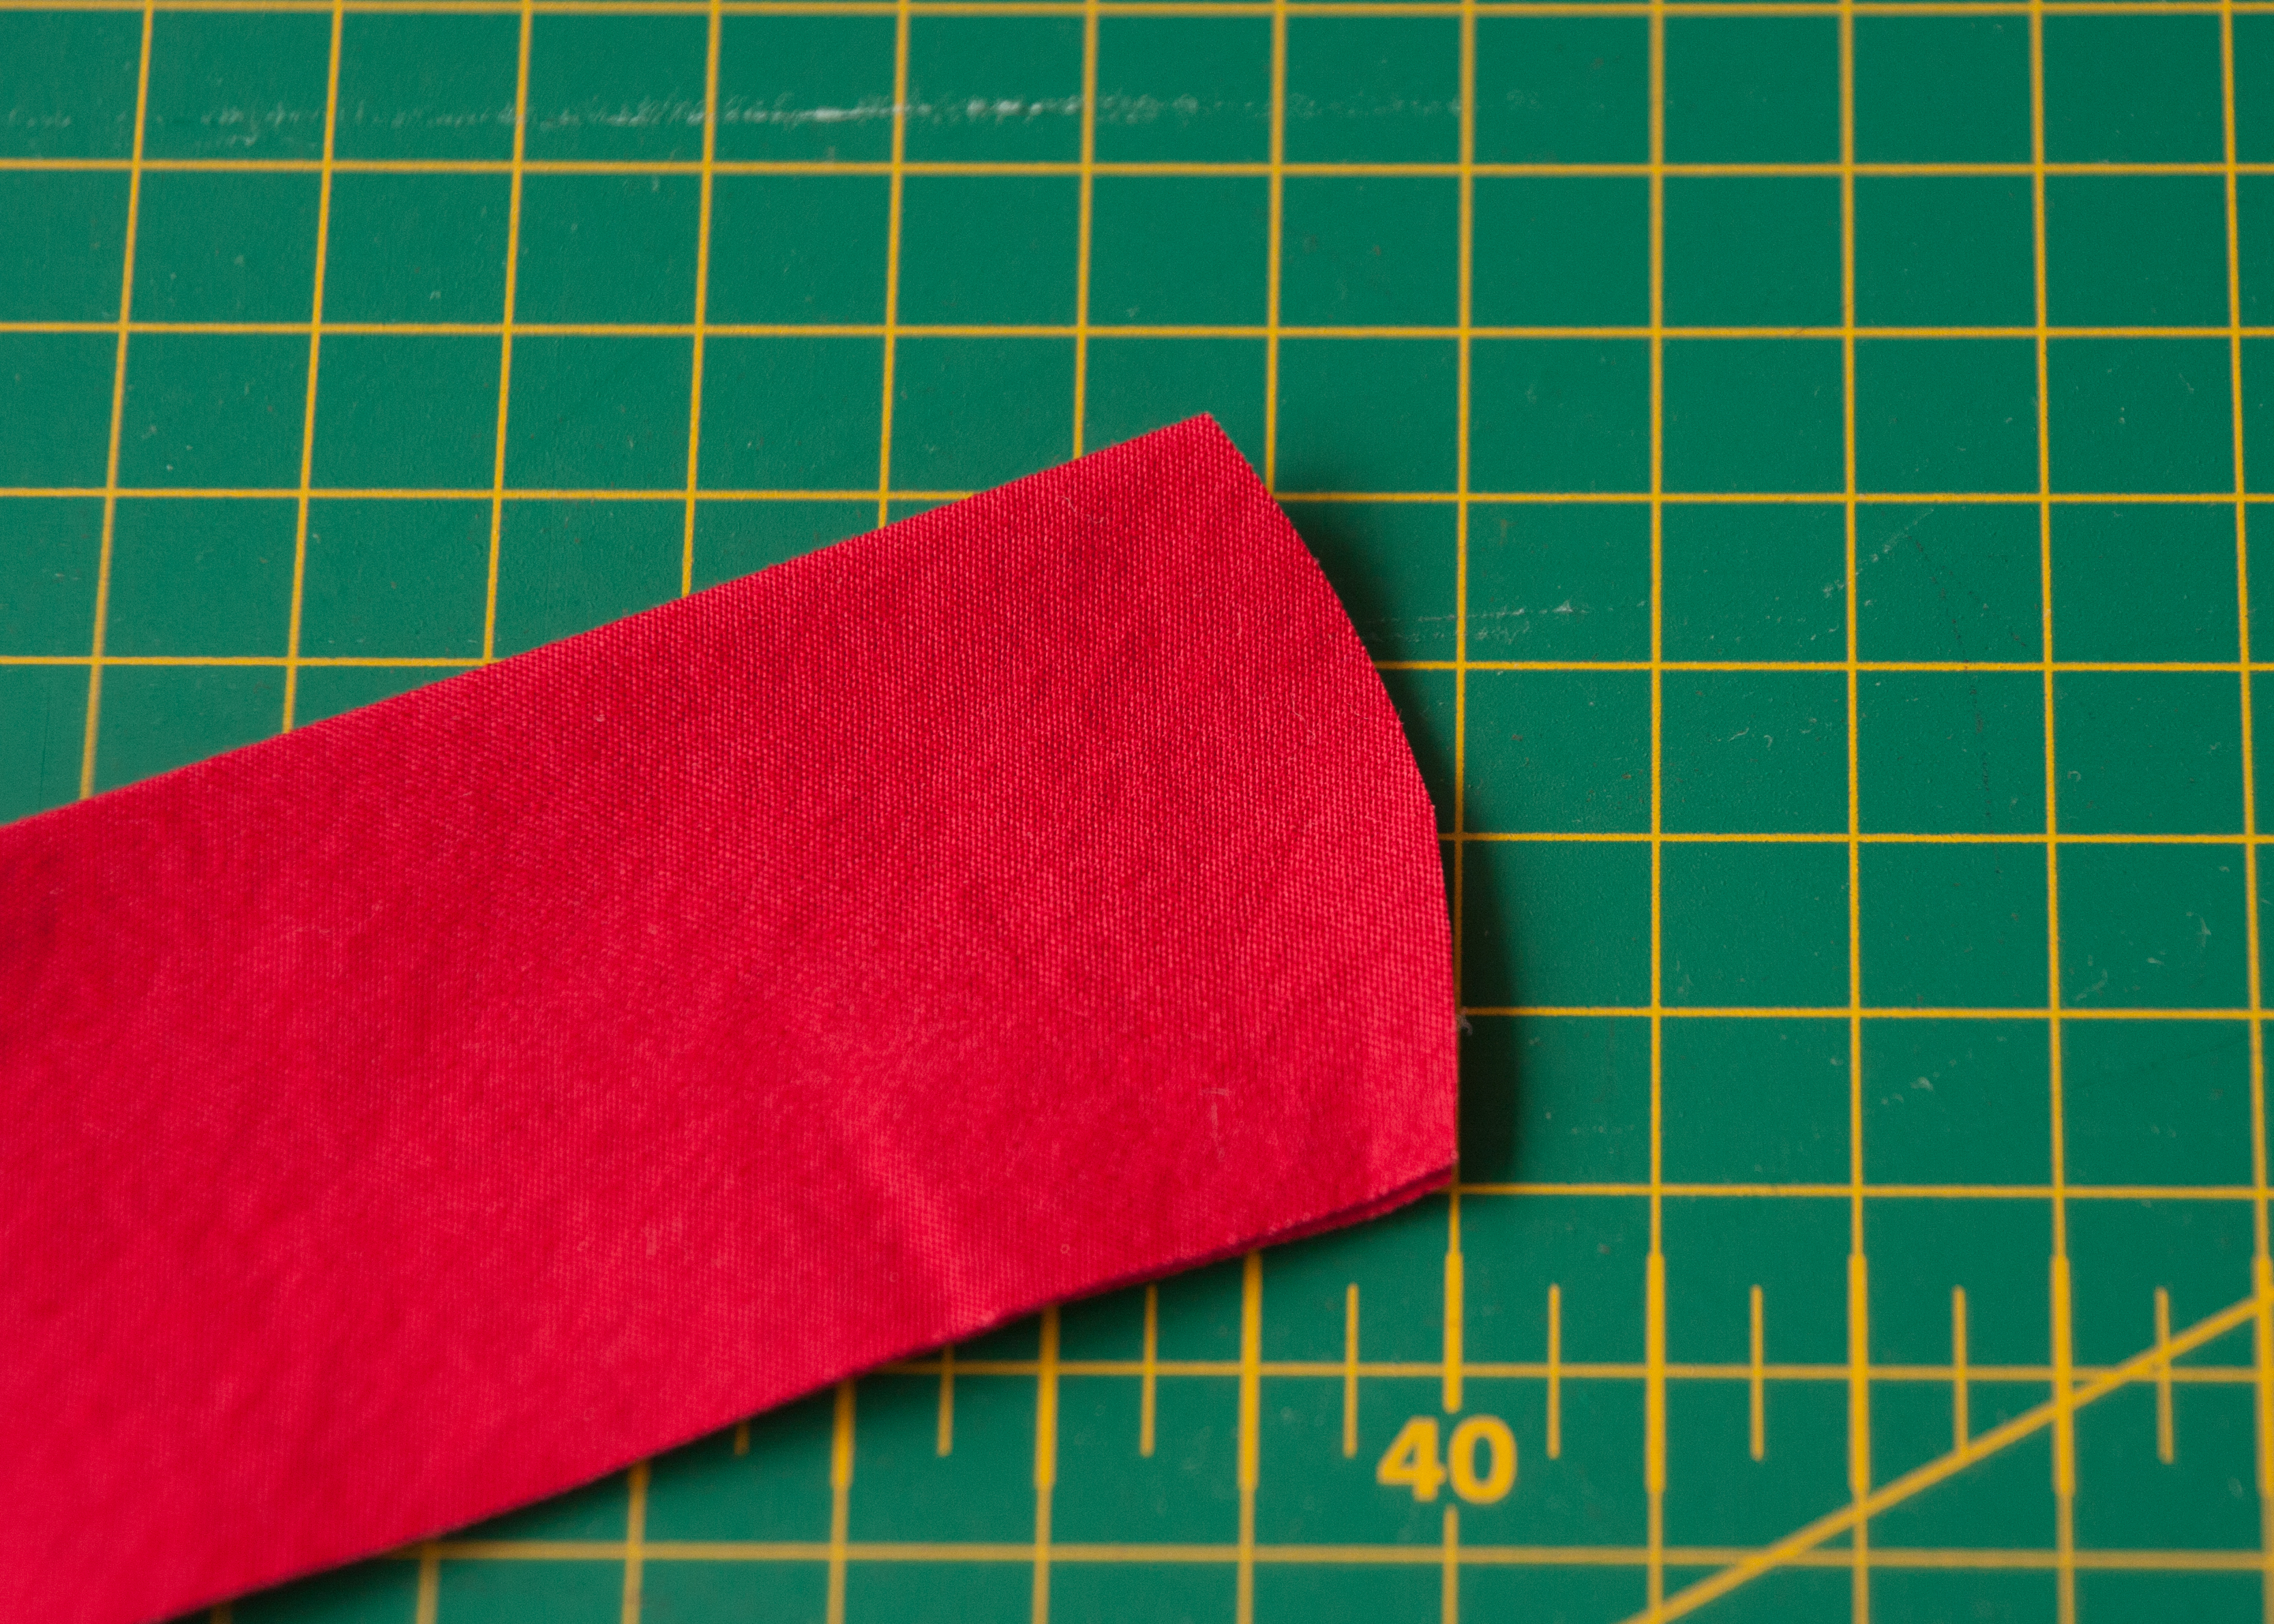
I then placed the two strips on the short sides together in a V-Shape (will be a straight strip when opened up) and sew along that short side.
I opened it to iron the seam flat open and to get a longer bias strip. It was about 50cm long, which is a bit too short really. And obviously one single strip without seam would have been better but it is a project to use up scrap yarn. 
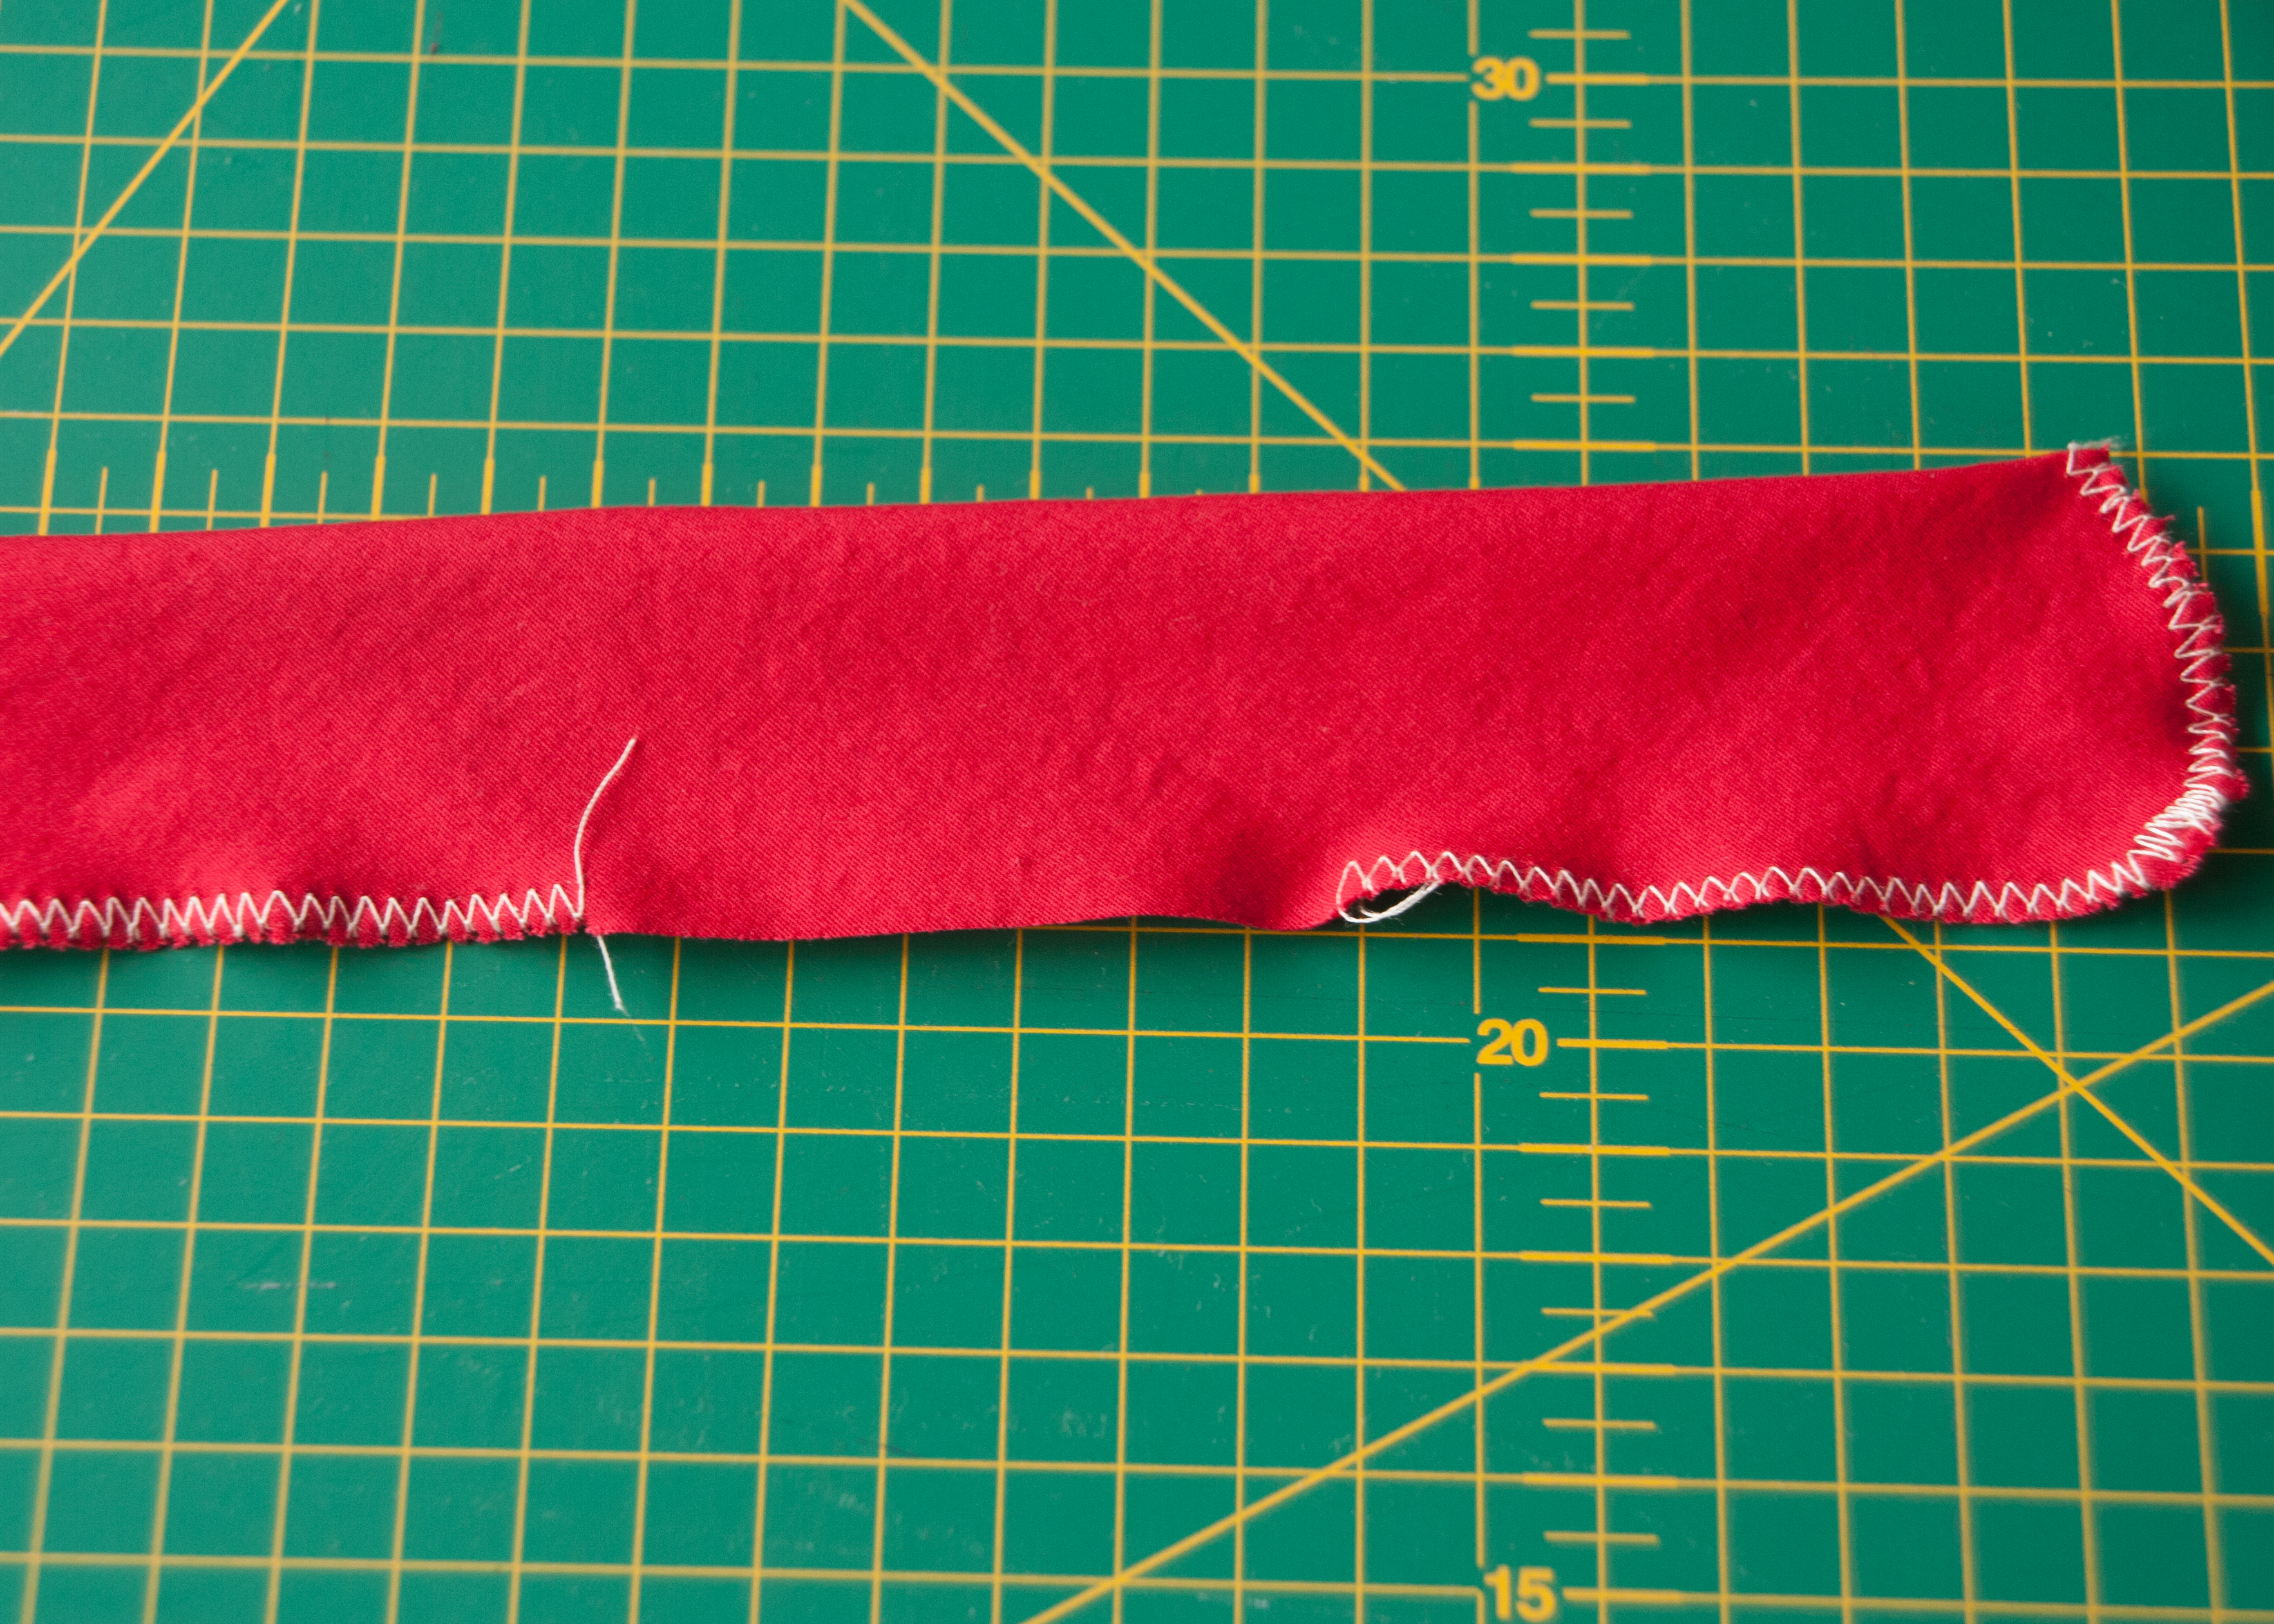
I folded the fabric lengthwise in half and trimmed the short sides. A slight curve seemed ideal for me, not sure why. Initially, I meant to zigzag with the wrong sides together and just work from there and to use a contrasting thread to show things better in a potential tutorial (really because the machine was threaded like this). But halfway through the zigzagging I decided to make the right side to wrong side and and left a gap to be able to turn it inside out.
 Why? Because the edges looked suddenly silly and because I have a cool turning tool which I wanted to show off.
 After turning the strip inside out I ironed it flat to get a sharp edge on top of my “petals” rather than the fluffy mess of the initial jersey rose. Just to see how that looks.
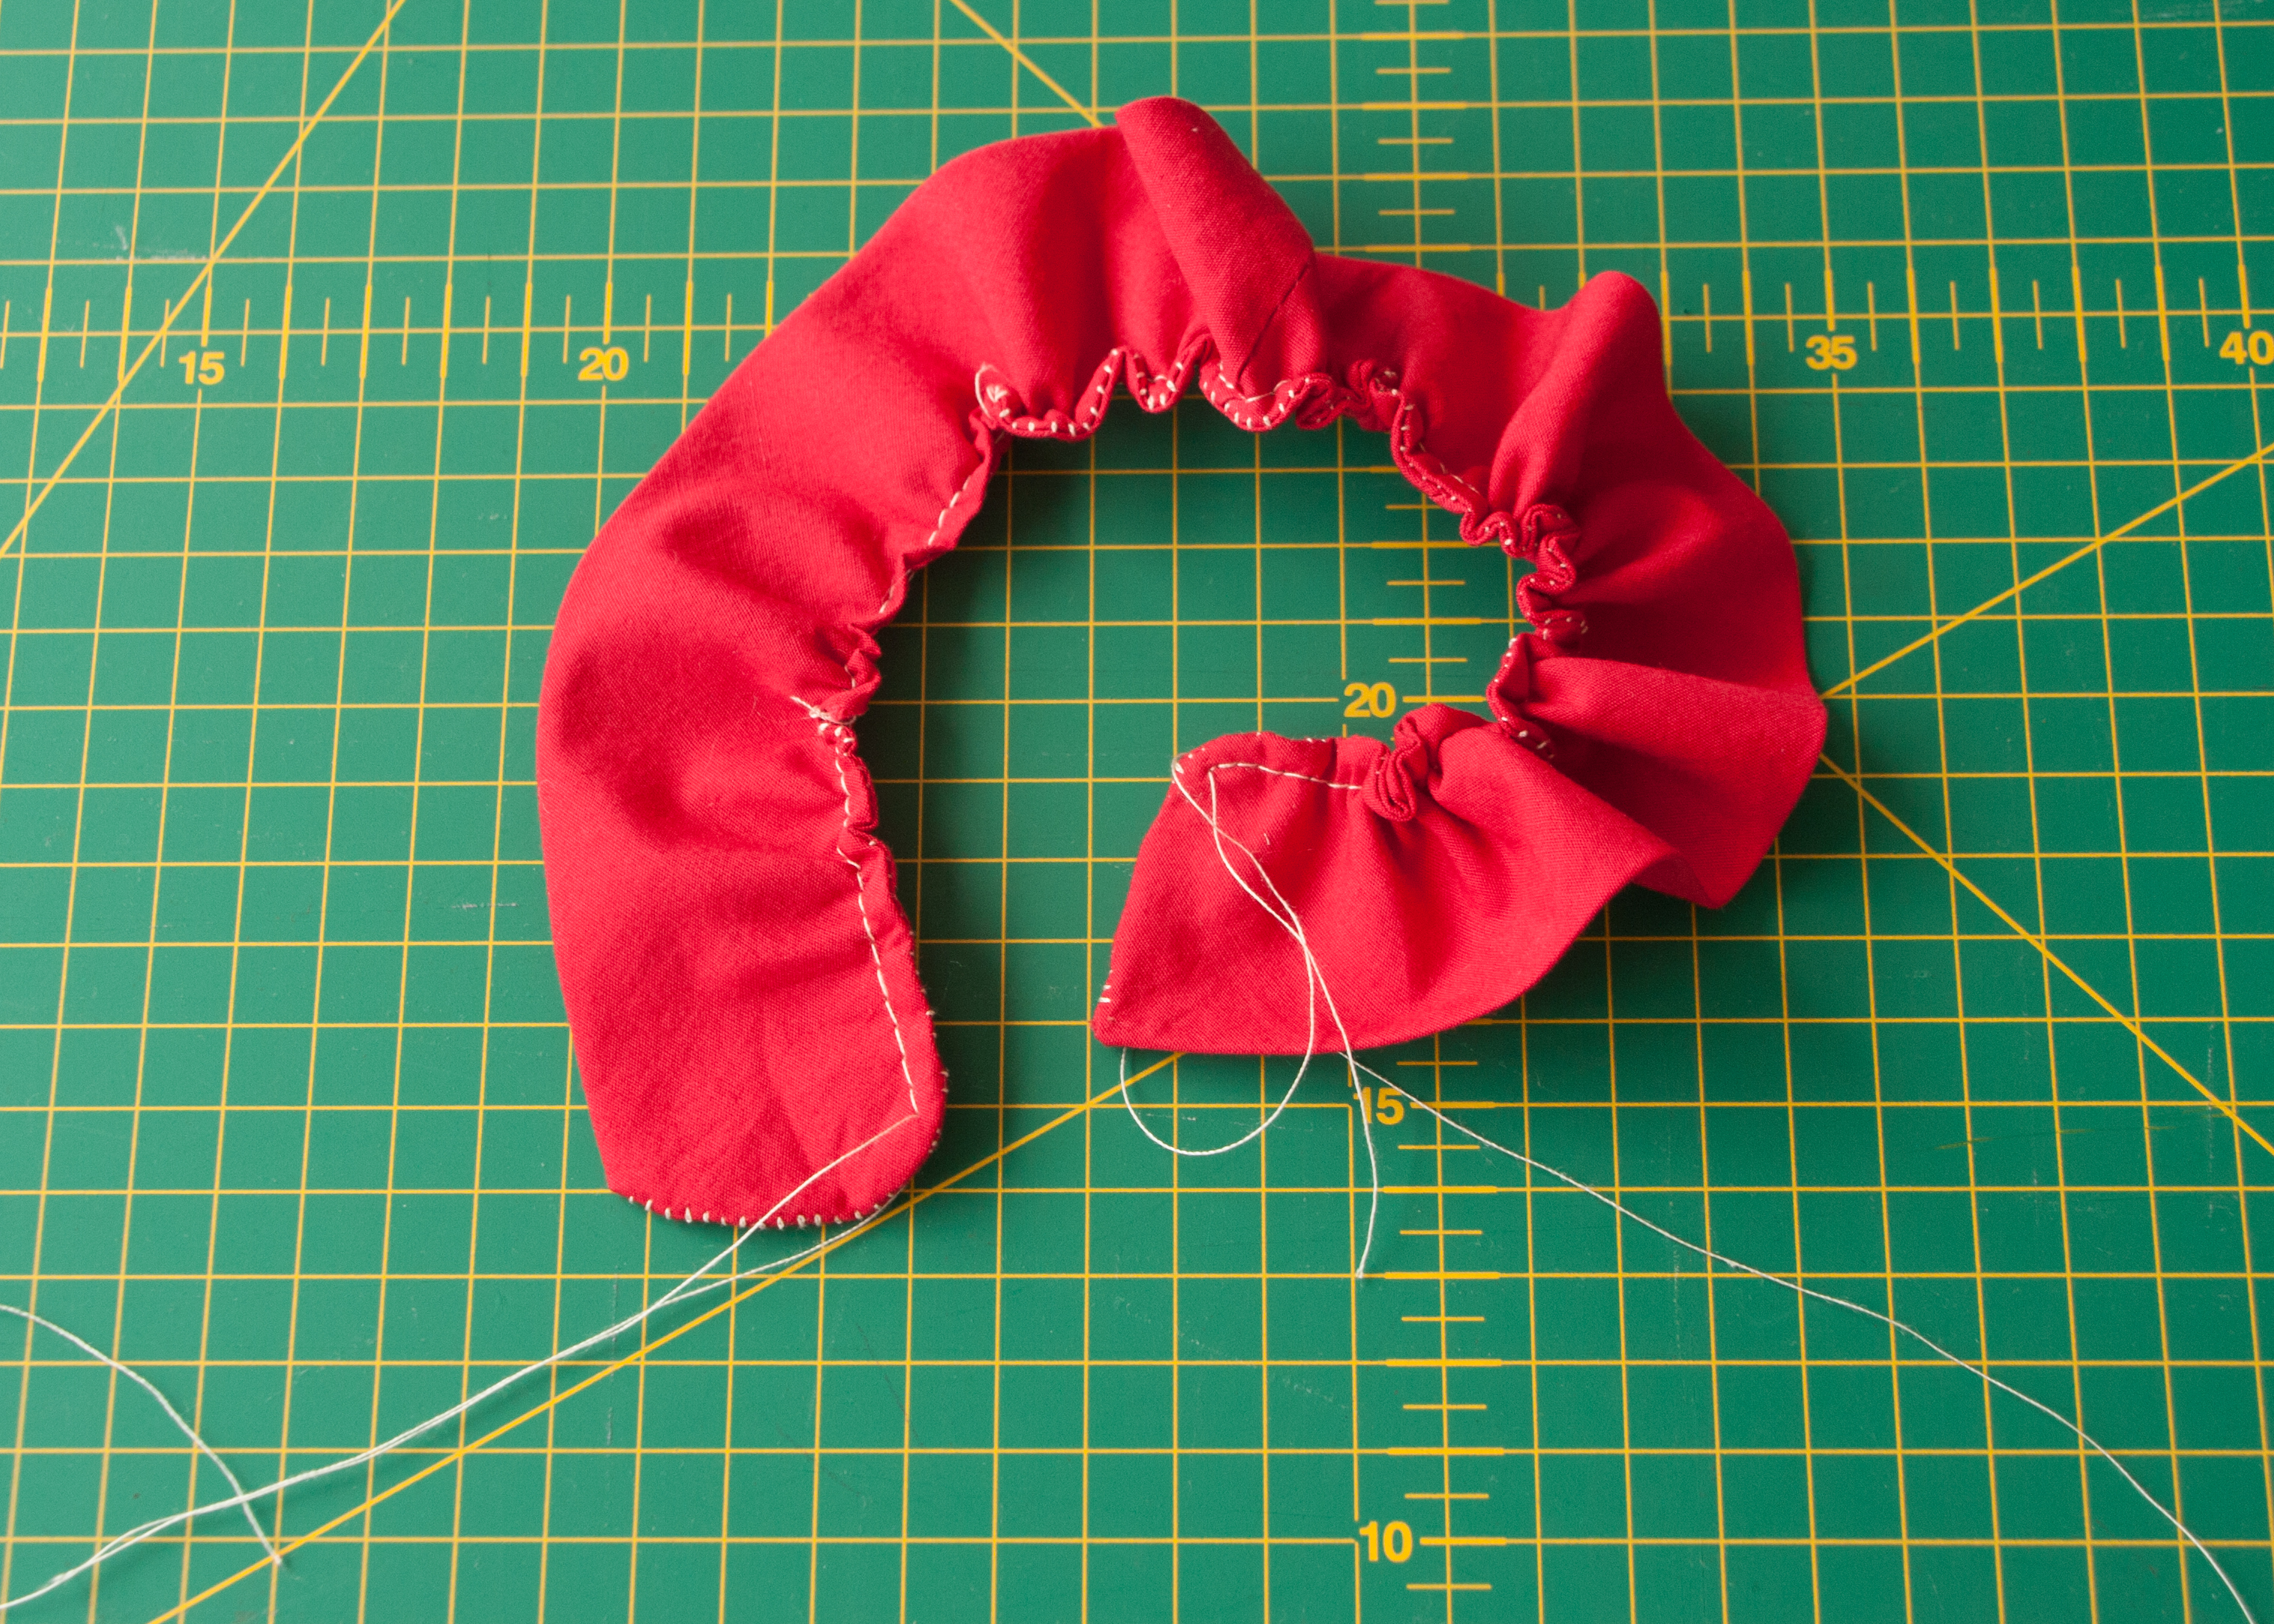
Then I stitched straight next to the seam with the longest stitch length and started to gather the fabric by pulling one of the threads. I left one end rather ungathered as I wanted to roll the rose at the beginning tightly to get something like a still closed rosebud.  I started to roll up the strip and kept securing it with stitches going back and forth through all the layers. That was quite tricky as my fabric strip had gotten quite thick at the bottom because of the seam allowance that was now inside my strip. So, if I do this next time, I will either zigzag on the outside or stitch together with a straight line and trim the seam allowance before turning.
In any case, the result looks pretty good, you can almost not tell the difference 😉 At least not from the front / the top. Obviously the bottom is quite messy and depending on the use (other than some picture taking from the pretty side only), one might have to hide that mess somehow.
 As you know, that is slightly too depressing for me. I just can’t do it. So I thought I will put a very nice lining inside to make up for the boring outside.
 Pretty, isn’t it.
 I know, that is actually getting quite boring for you now.