Scrap Sunday: The left over crafts bag

Just one thing before we talk about the latest bag – for all those who have sleepless nights because they are wondering about the progress of the knitting in this knitting blog: Don’t worry I am still knitting, really. I will soon show you something knitted. Promised.

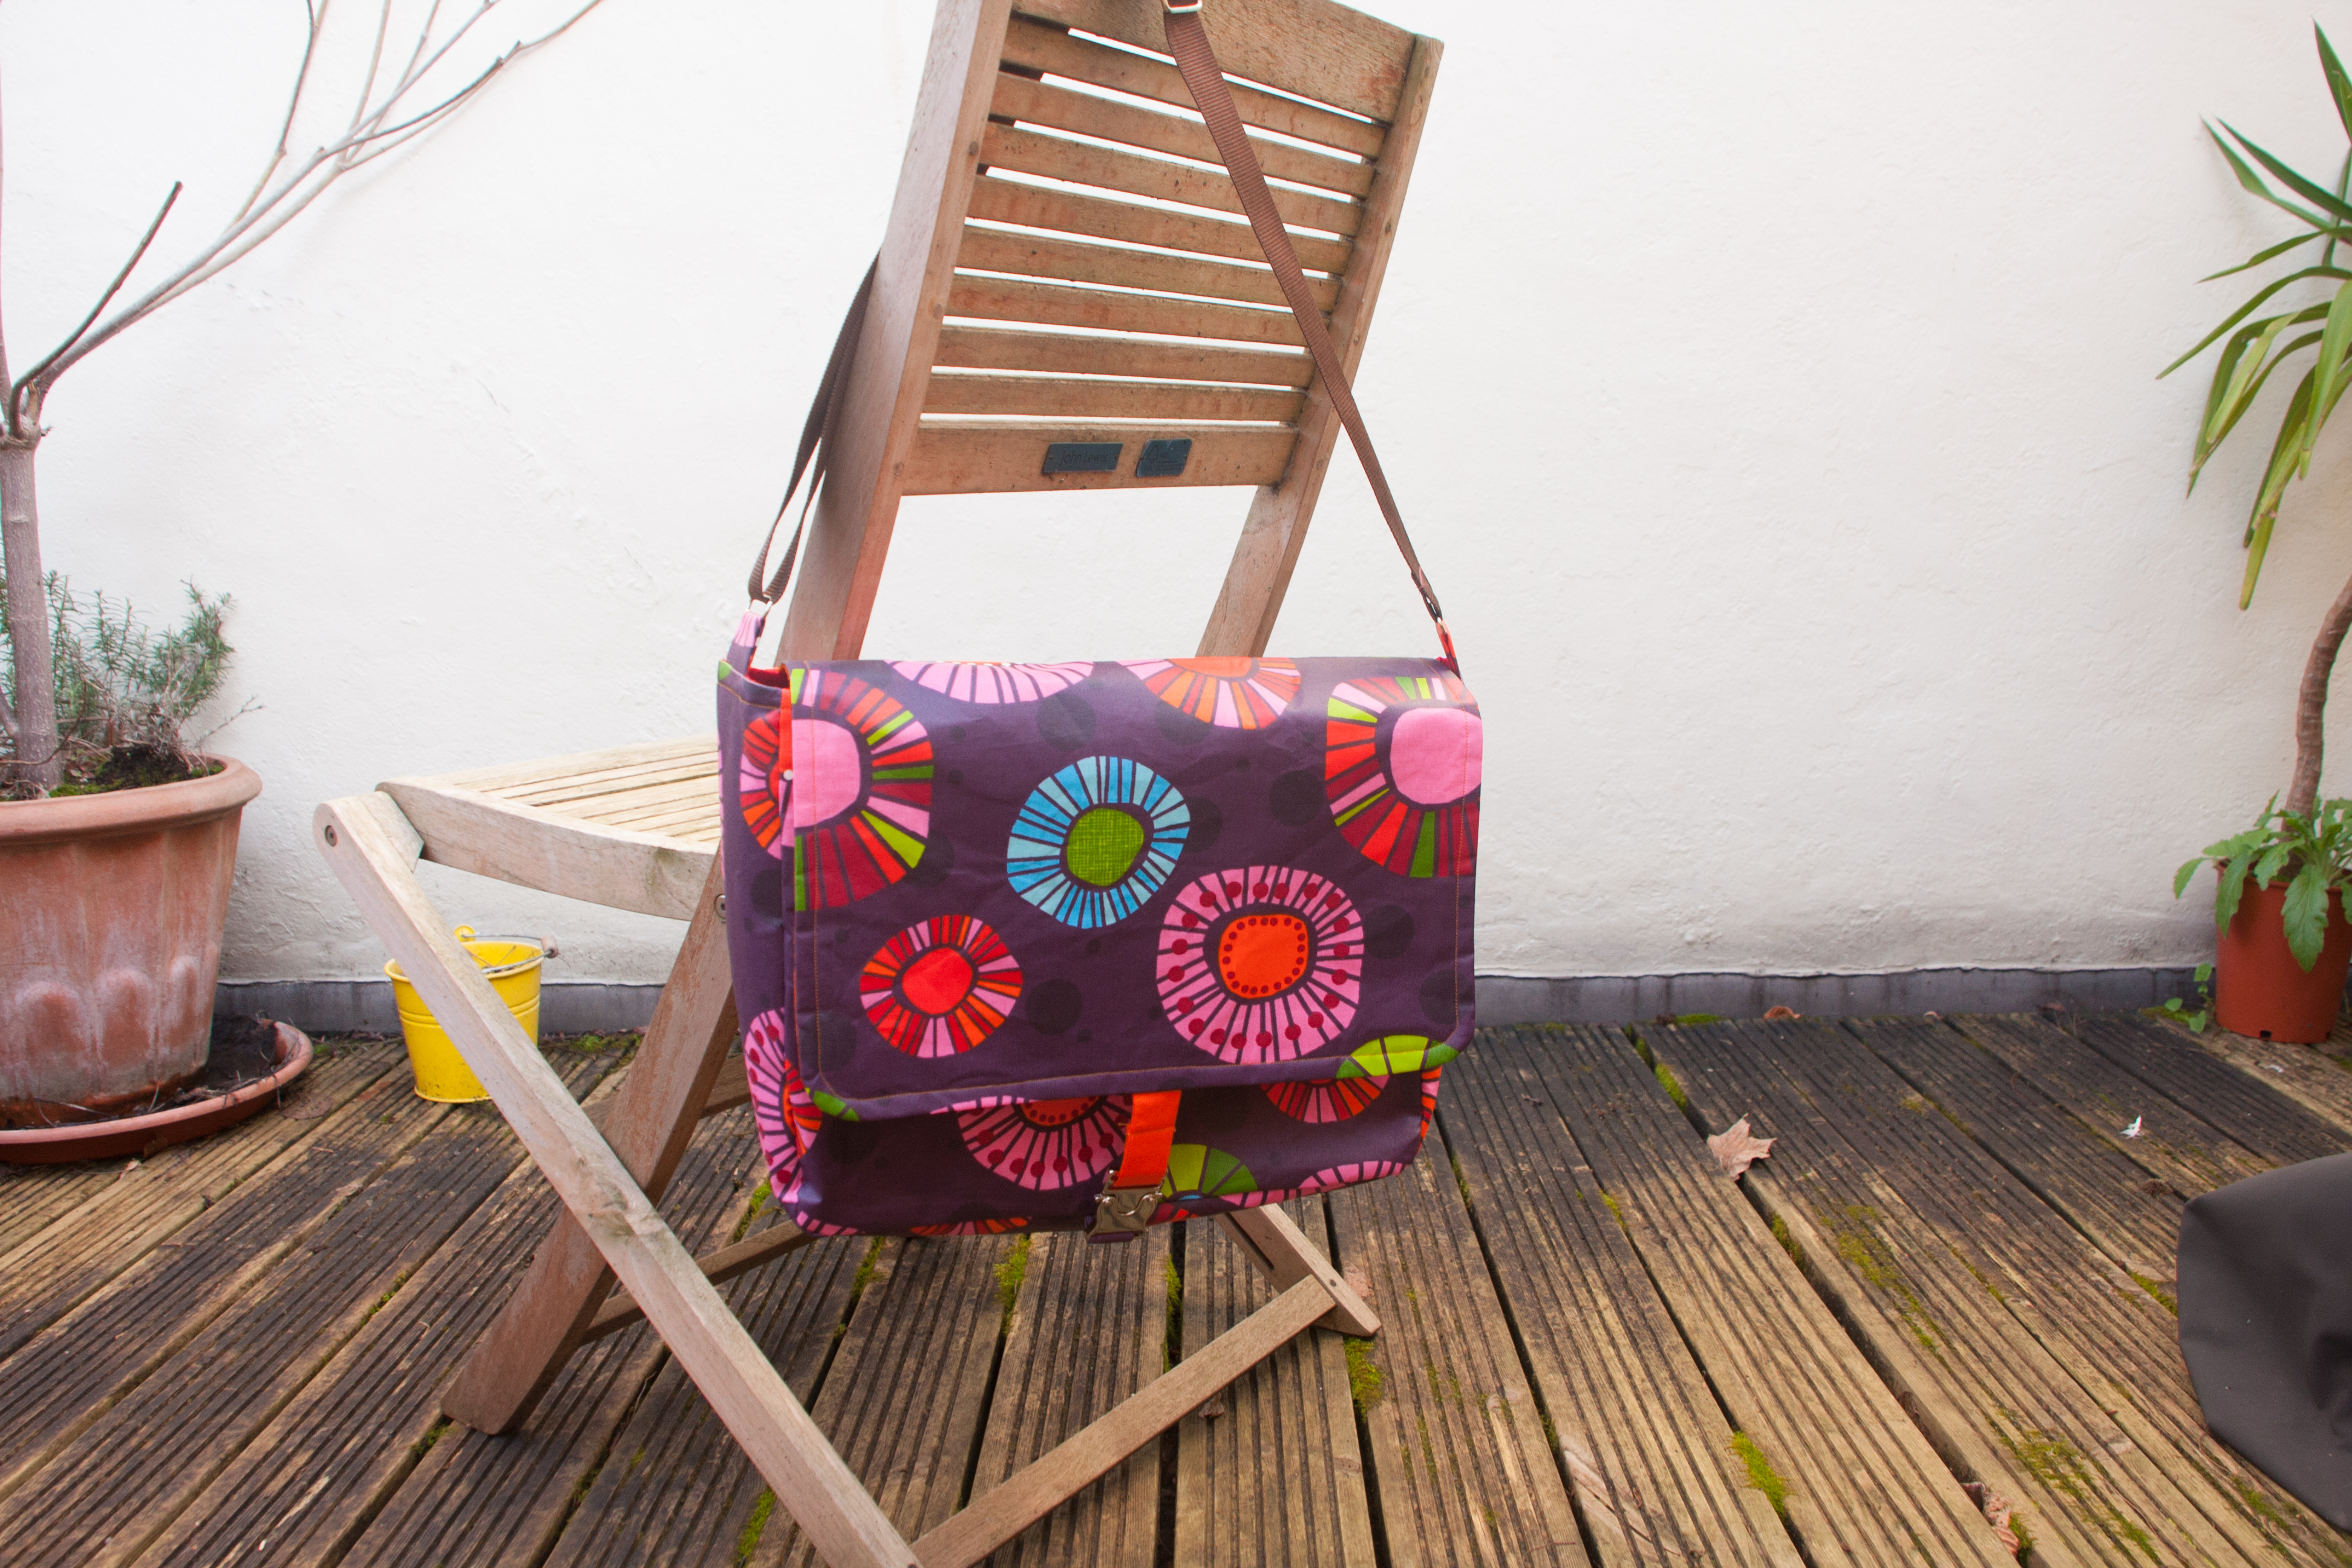
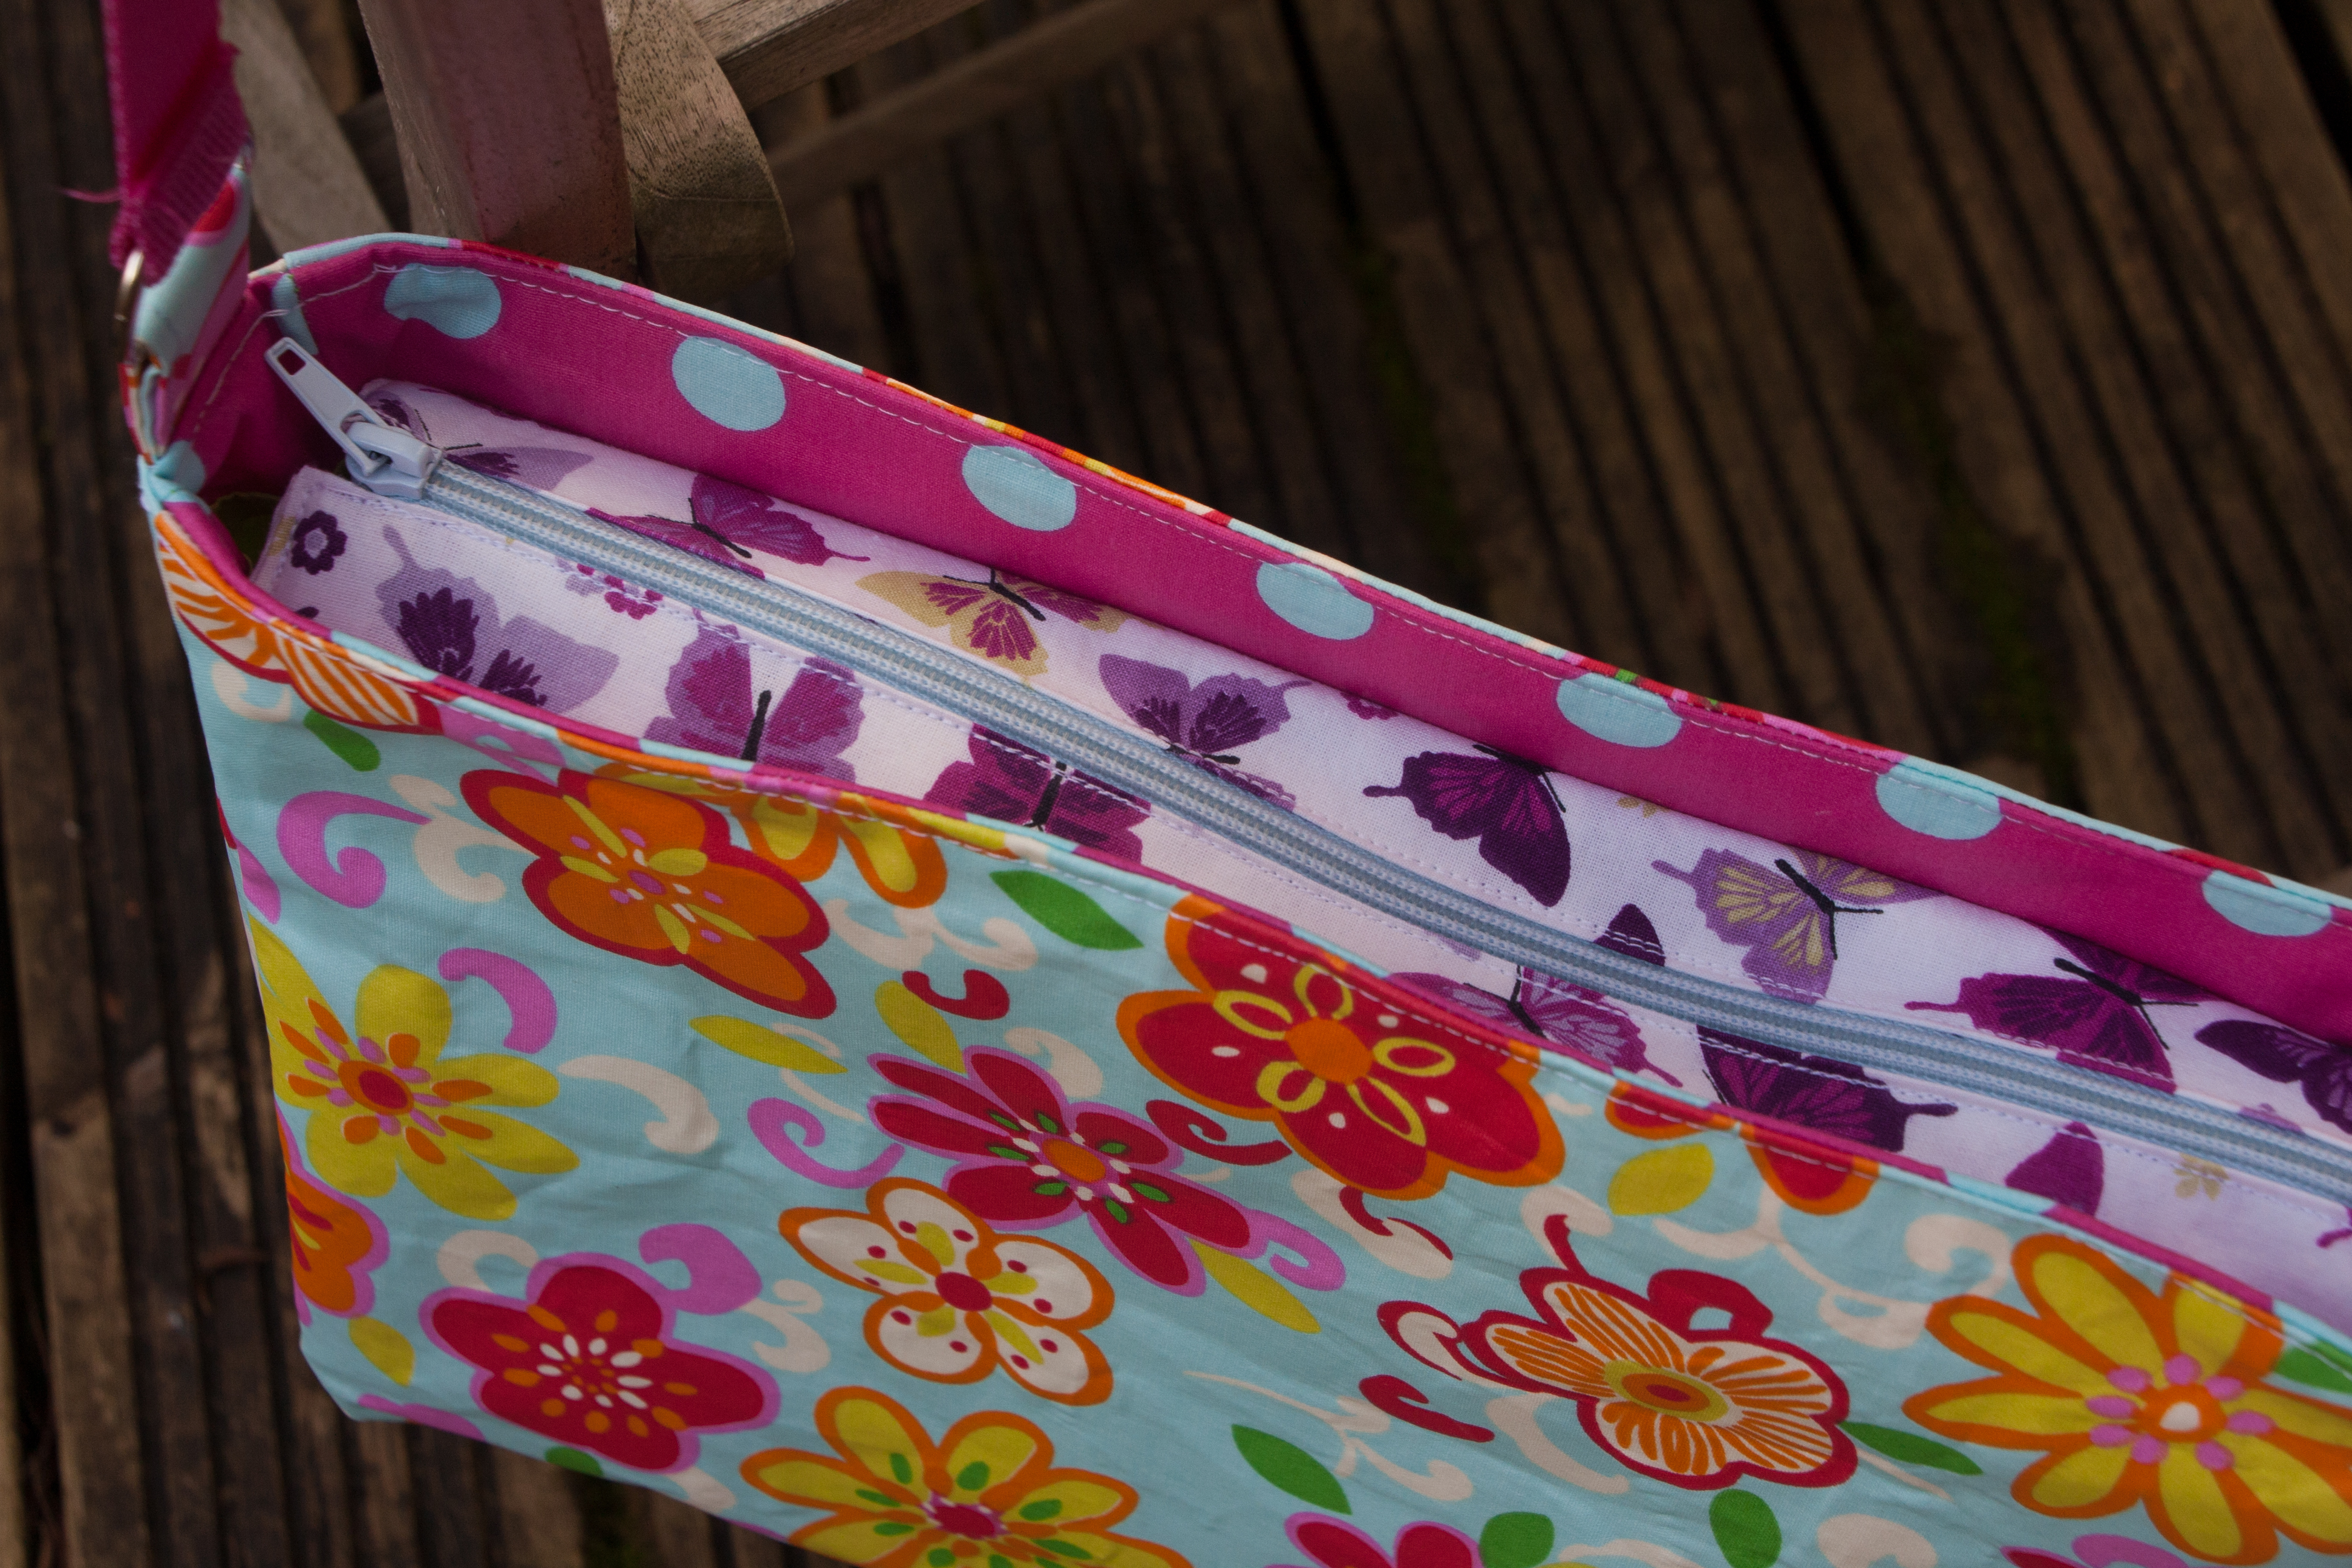
But now back to bag: This one here is made of lots of scraps, I even had the zip at home, so no shopping of new shiny things had to be done.

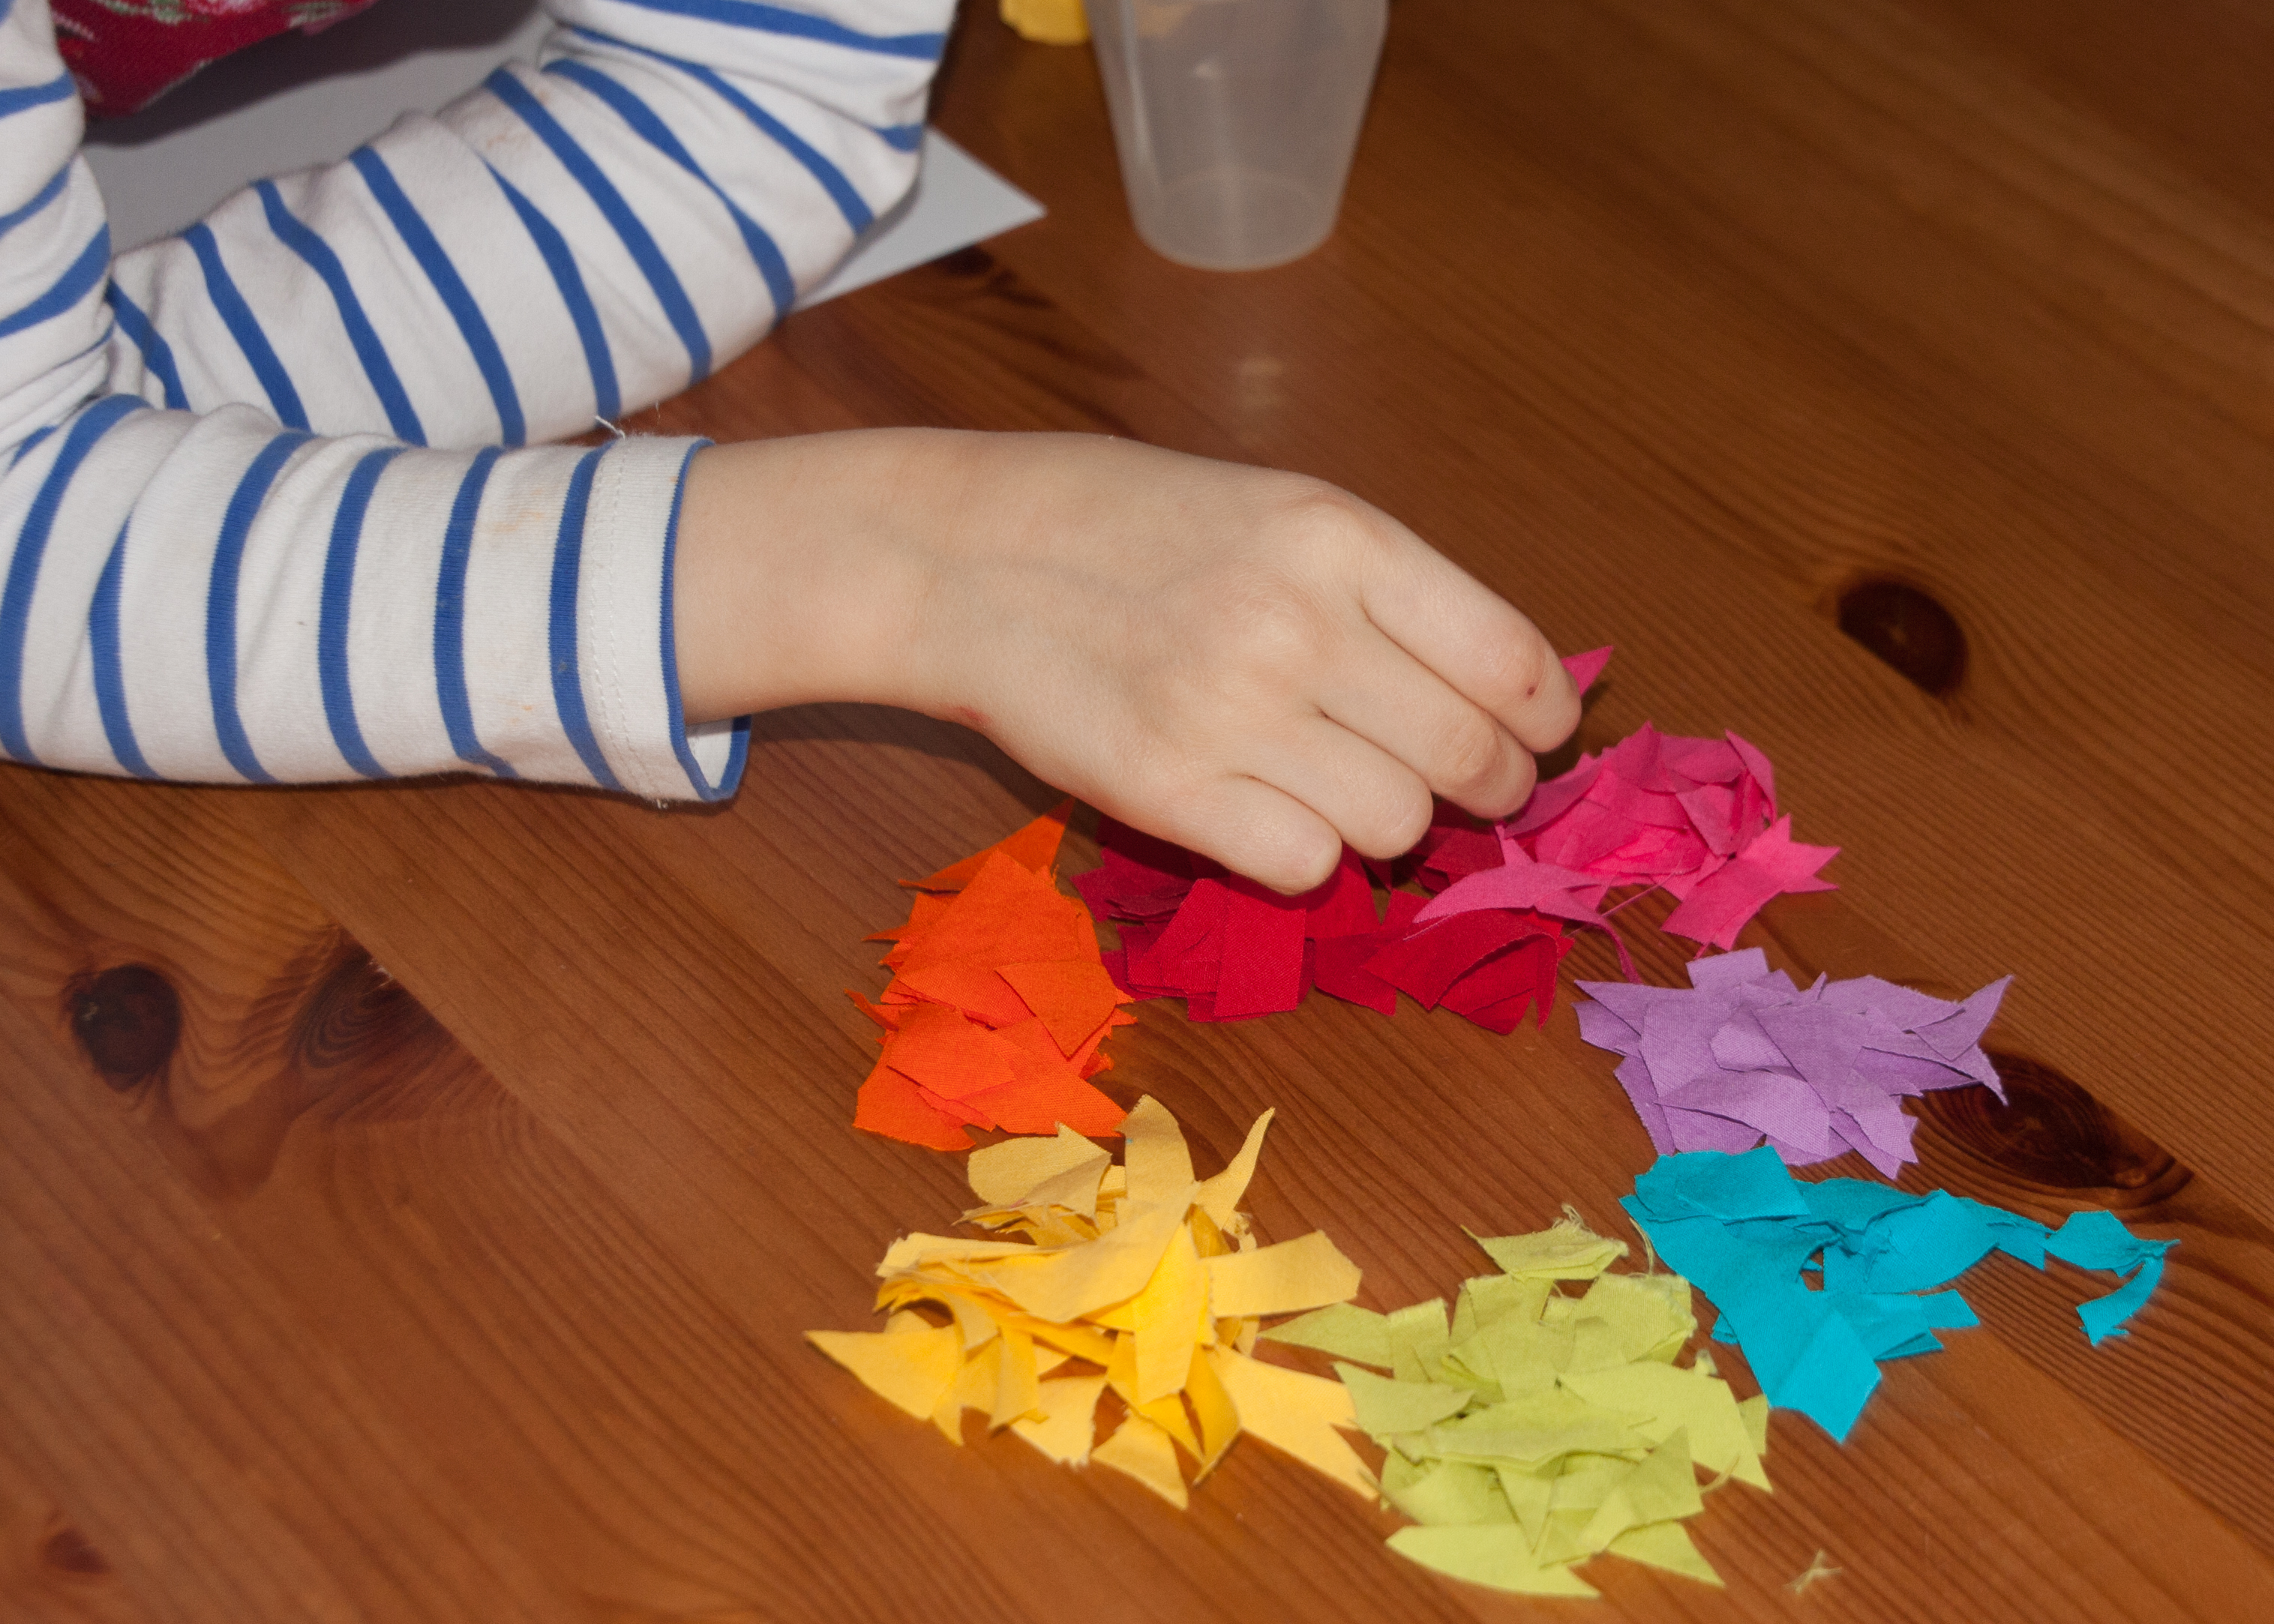
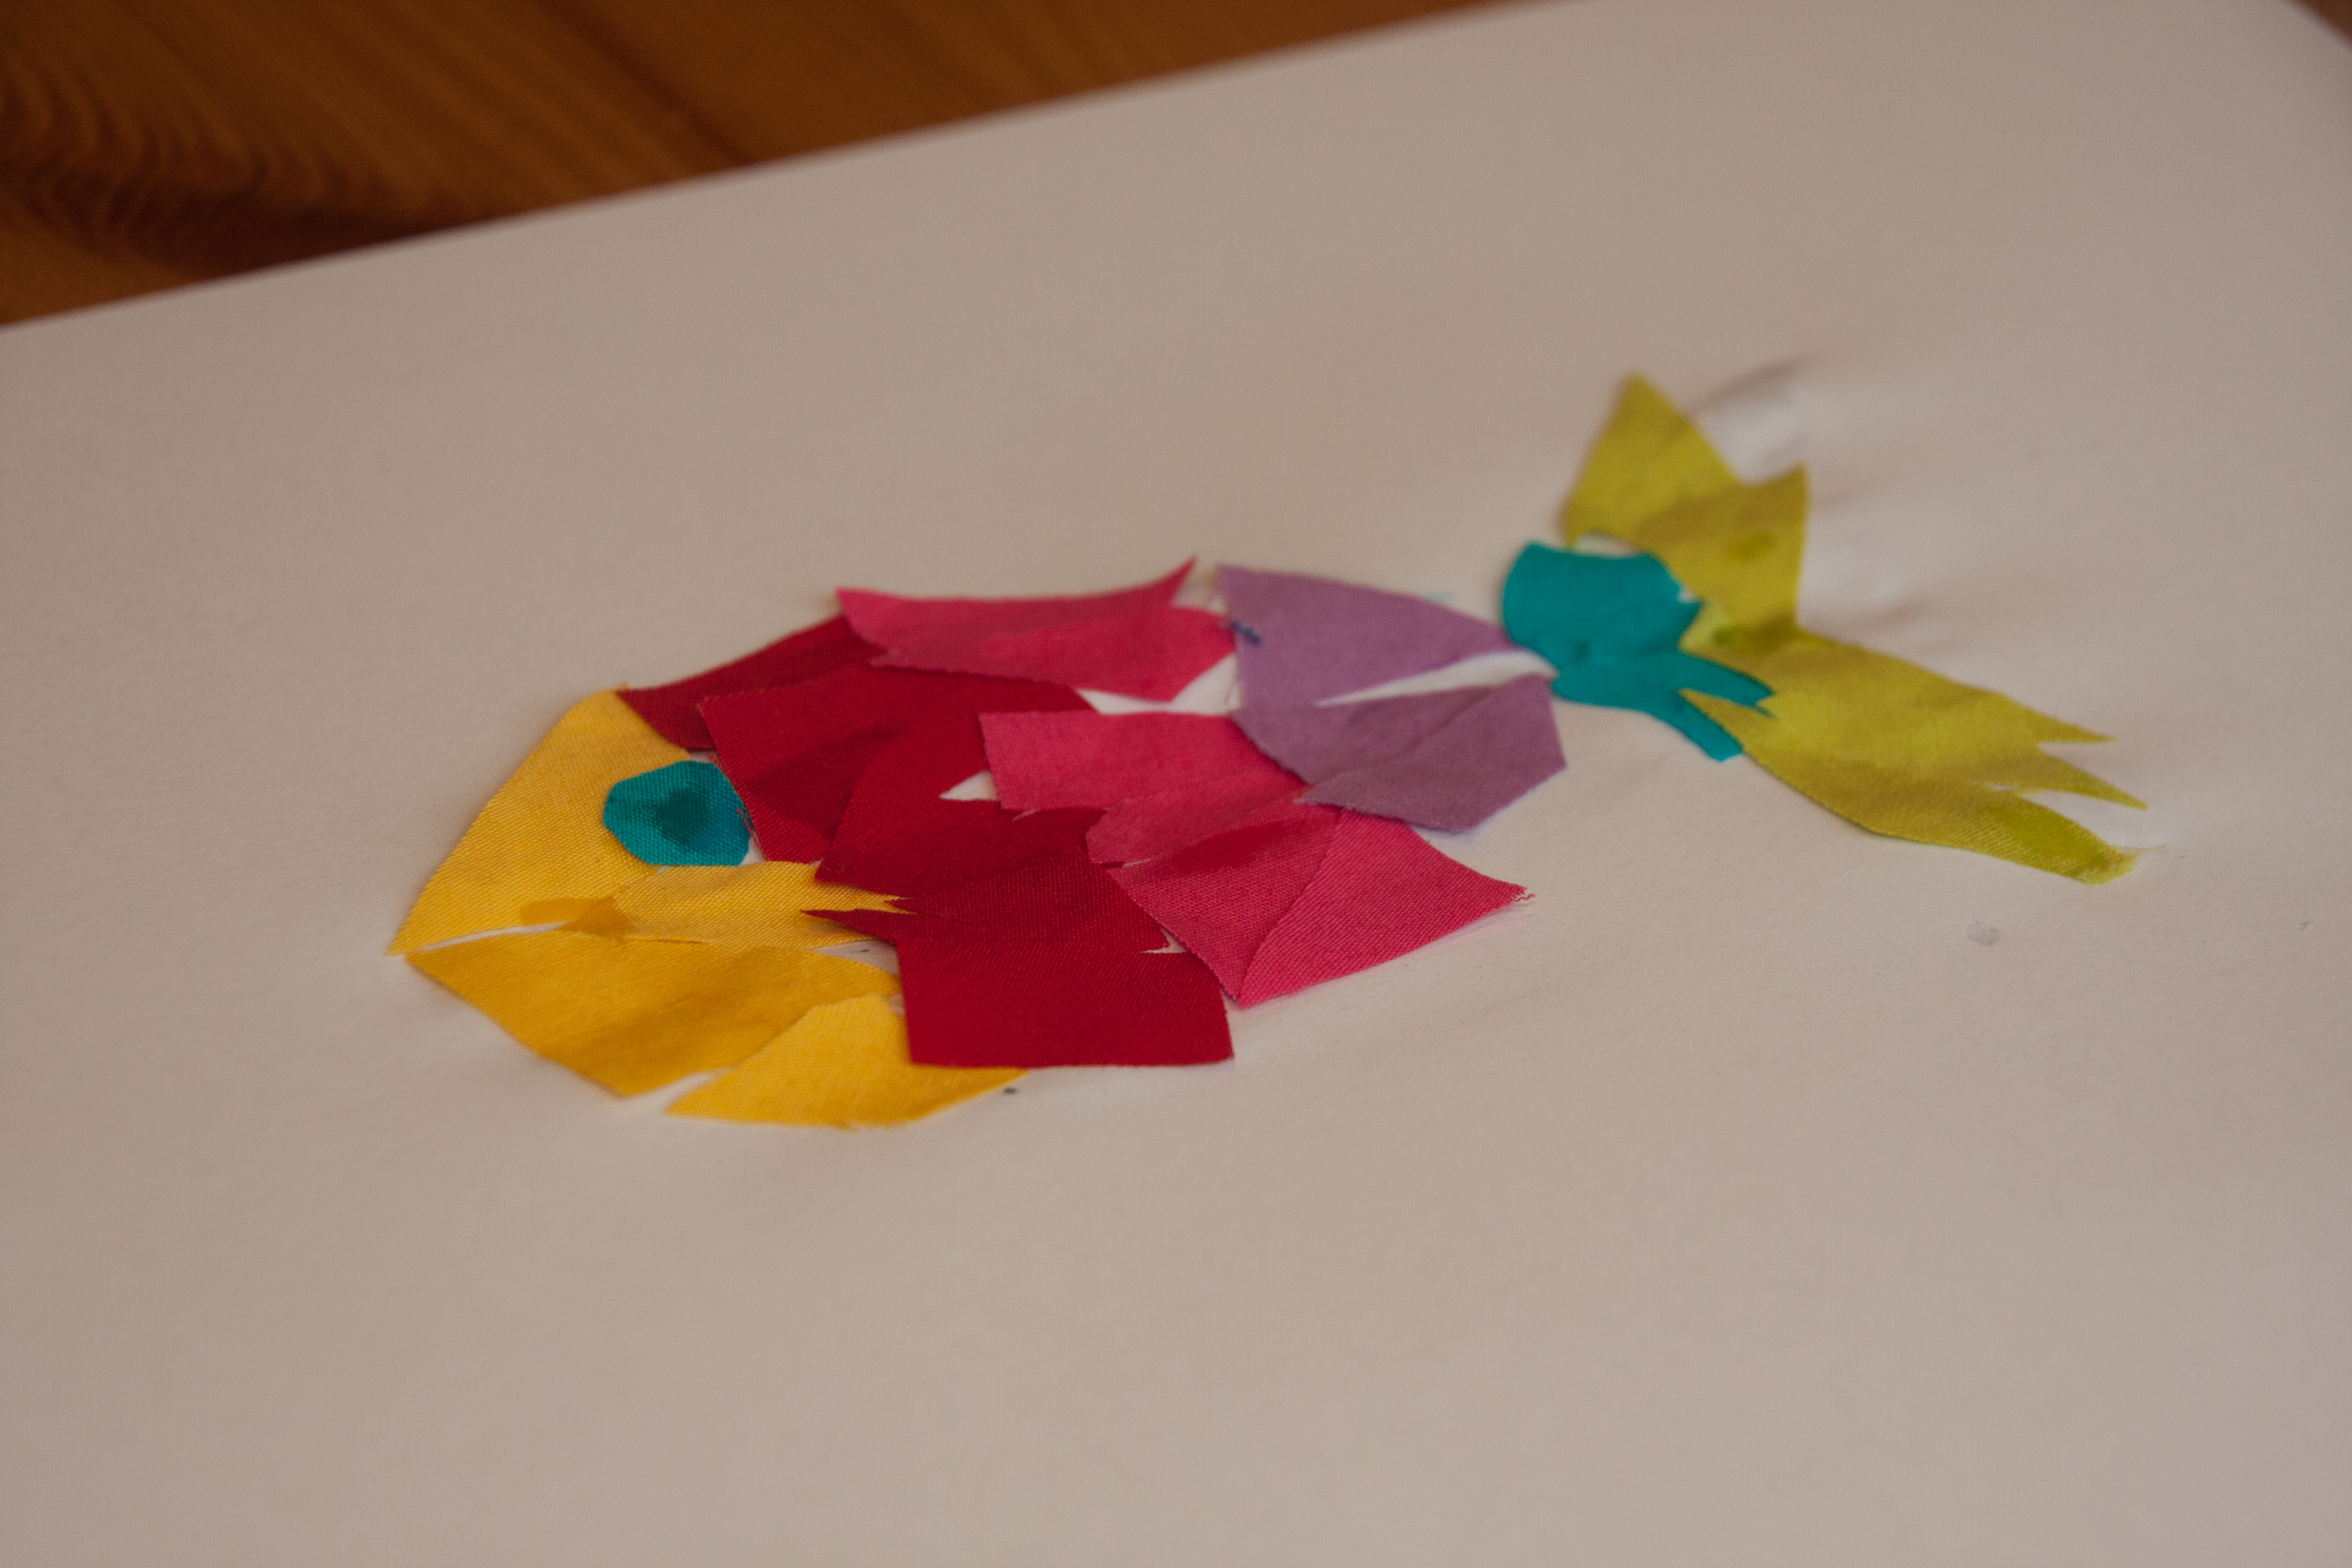
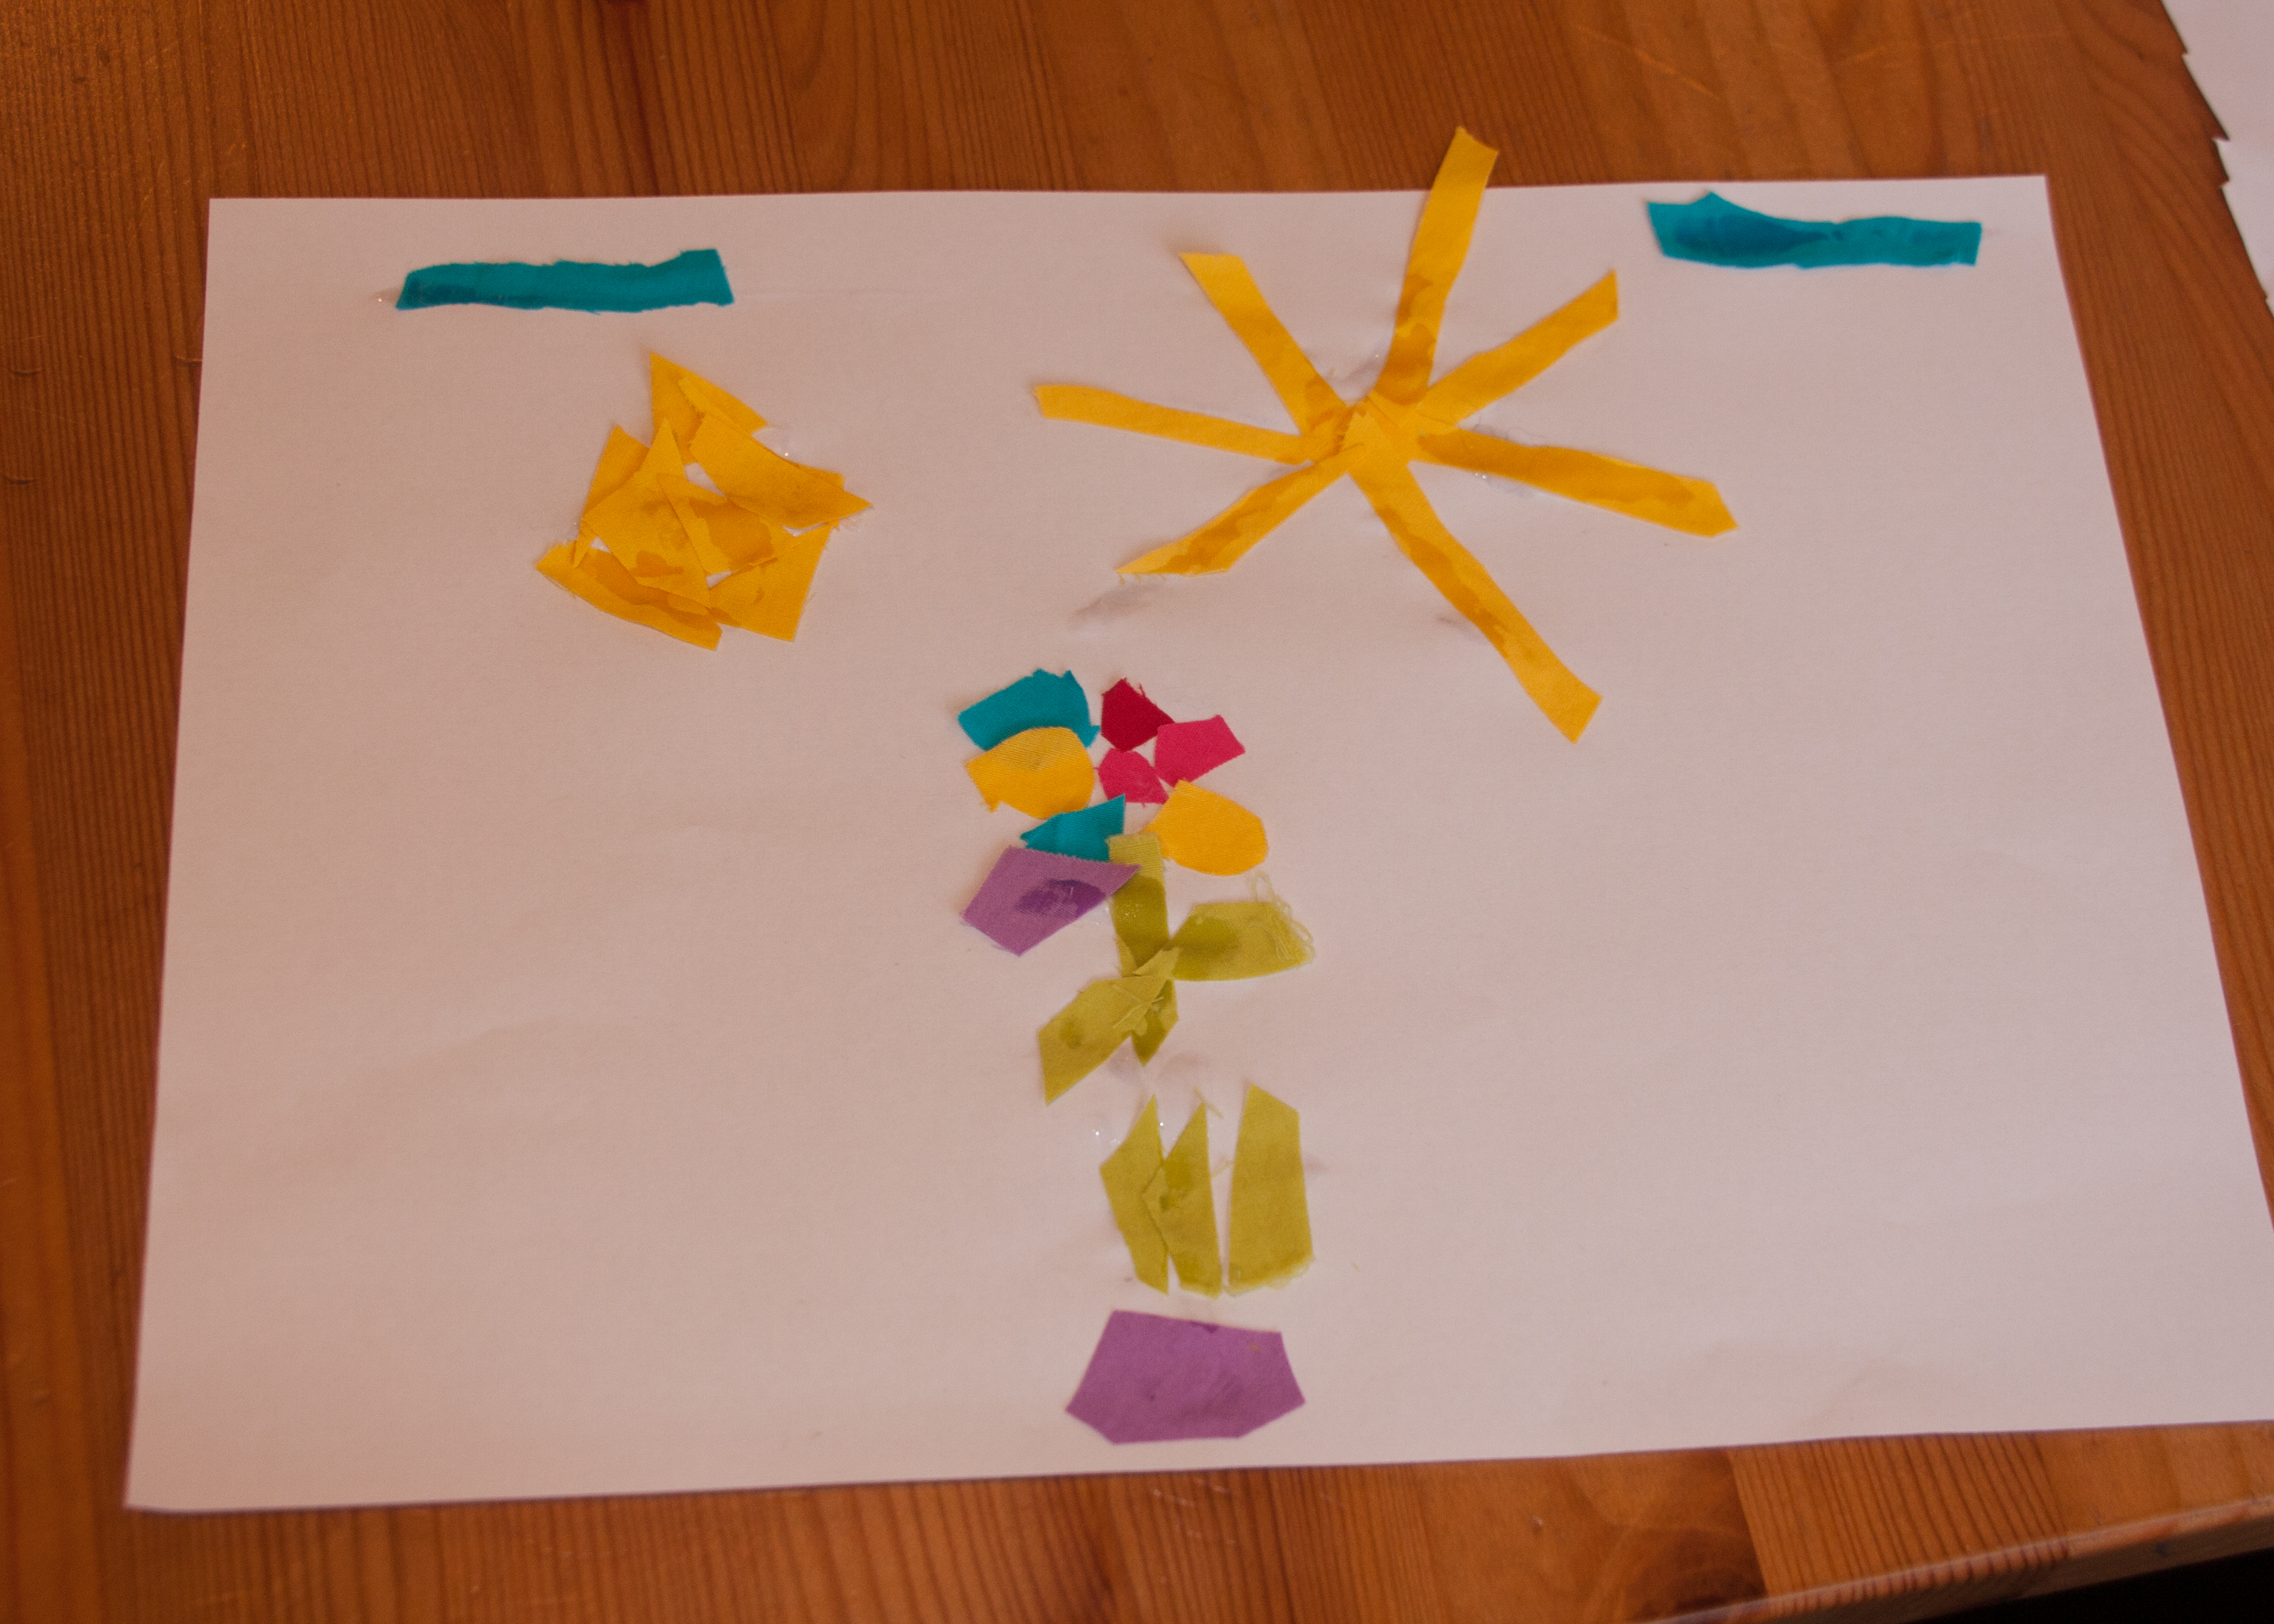
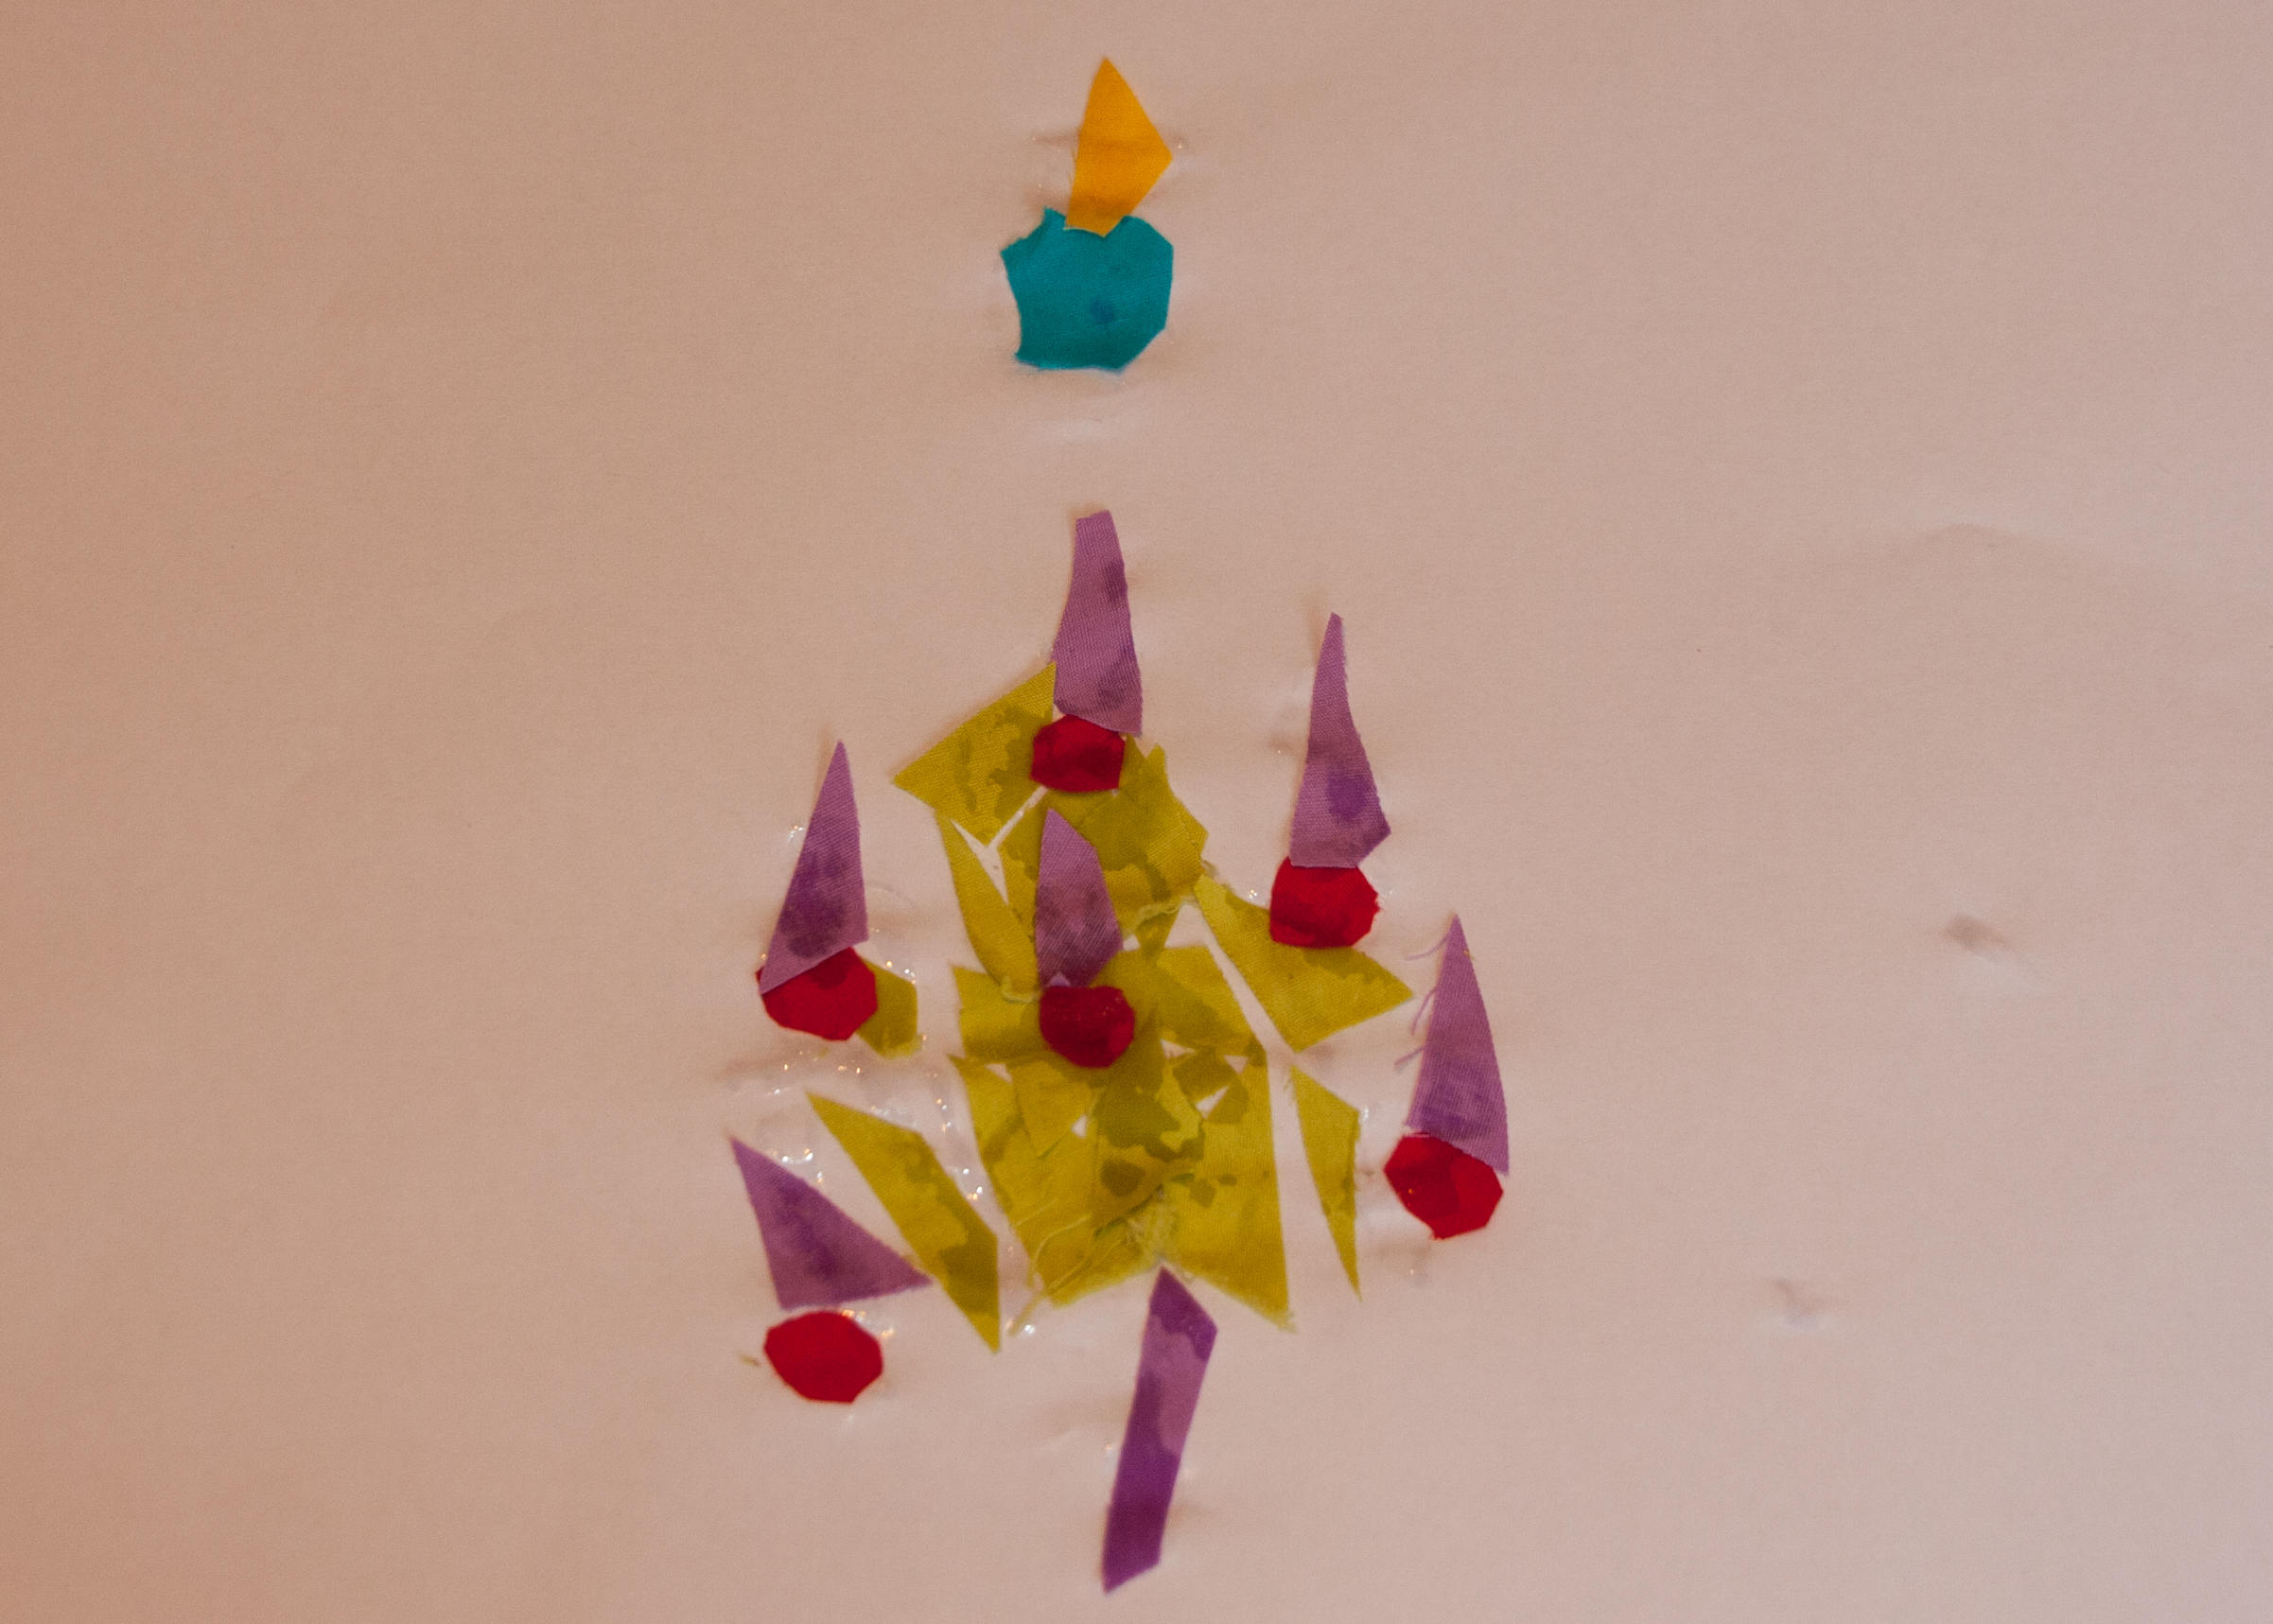
I wanted to make a little crafts bag for a birthday girl who seems to be into making things (cutting and sticking things on other things).

IMG_3269

I took a rectangular scrap piece of the outer fabric and cut it in half and started all the other measurements from there. Stupidly I didn’t write anything down as it turned out to be a rather perfect size.

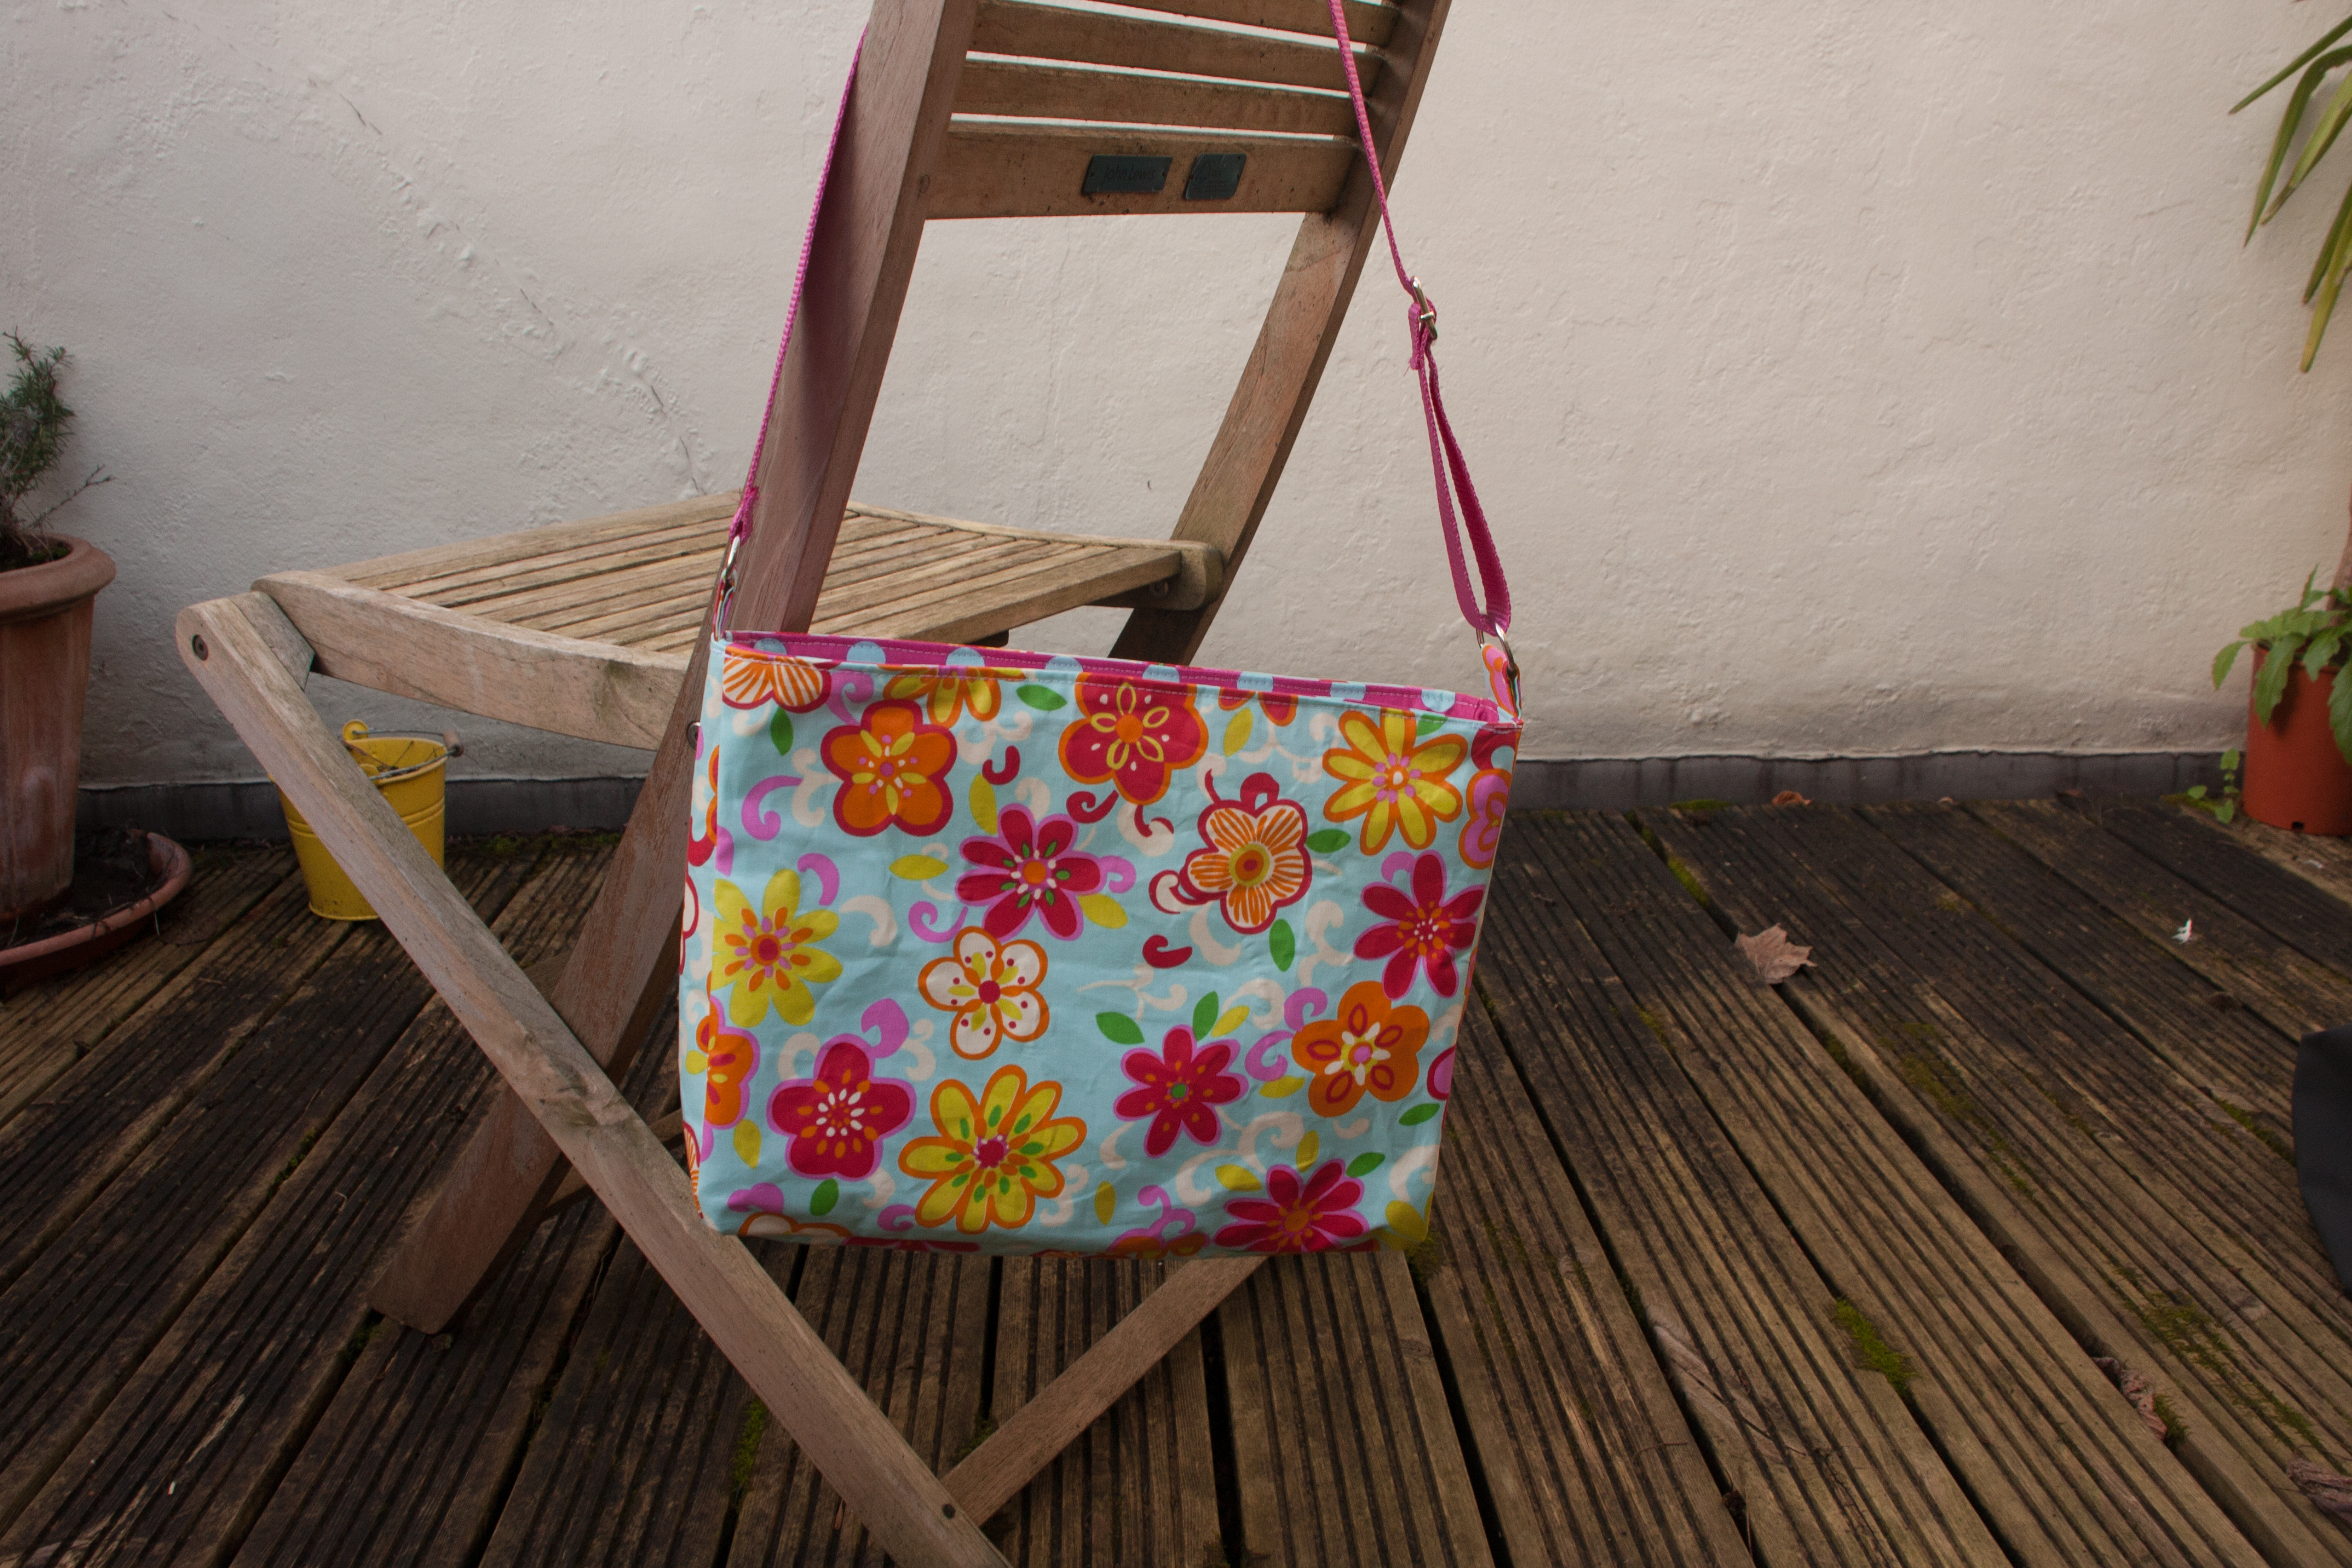
Anyway, to give it more volume, I just put two seams in an right angle across the side seams (about 4cm from bottom edge, next time I would do rather 3) and cut off the excess fabric.

IMG_3274
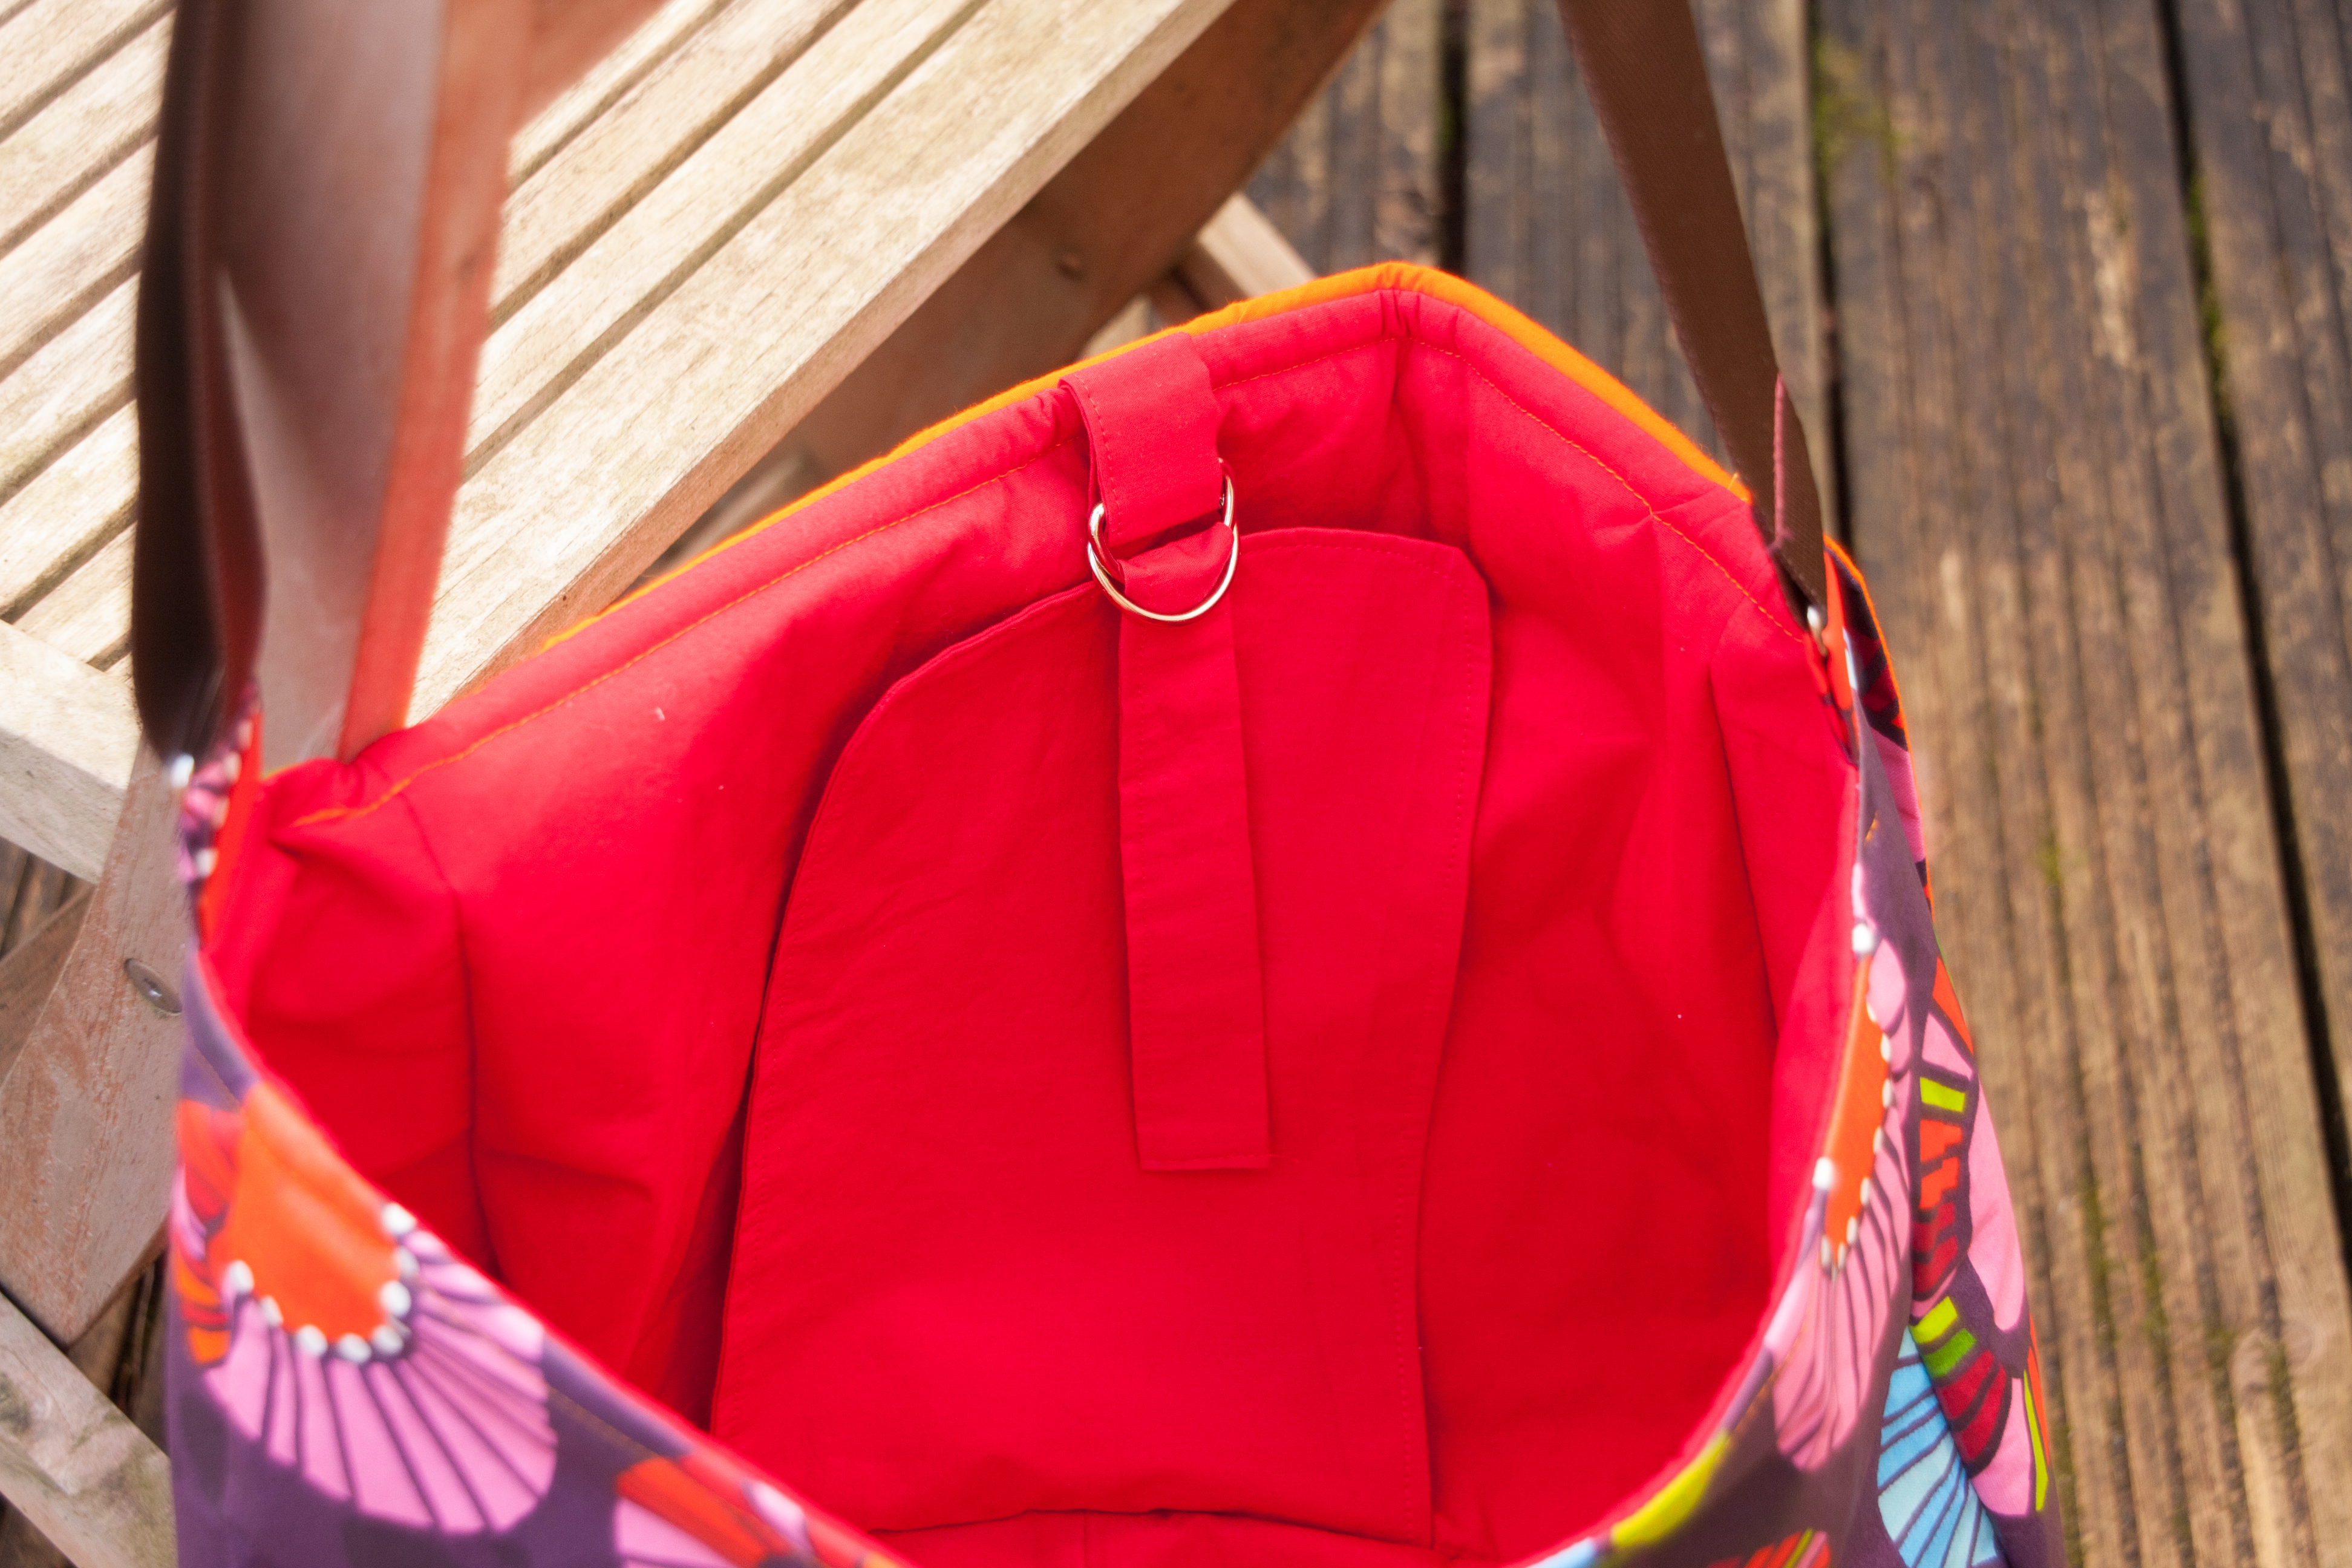
Inside, I lined it and added a few simple slip pockets: one big enough to hold some coloured cards. On the other side, one rather deep one (did not quite work out as un planned) for the glue stick, one for some pencils and one for a pair of scissors. Which I did not provide as I am completely paranoid by Health and Safety rules here and I don’t actually know the little girl or her family very well at all. So who knows if they have rules about scissors.

And then I just added a few craft things like tiny sparkly flowers, feathers, … just things you can glue onto other things.

I am extremely pleased with the result, quick, very pretty, a good use for scrap fabrics, personal present, so a total success (did not yet ask the little girl if she agrees on that πŸ™‚ )

I hope you are not yet getting bored by bag posts, we are not quite done yet. But at least the next one will be a bit different, at least in a different fabric πŸ™‚

It’s never too late for a Christmas present – the bag story continues

As I said last week, I have been busy with quite a few bags lately.

This time, I will show you two very similar bags, one is a Christmas present for last year (so it needed to be a bit more apologetic than usual) and a smaller version as a birthday present (just in time) for my niece.

IMG_3263

IMG_3260

For the adult version I followed roughly a pattern from Lisa Lam’s The Bag Making Bible (not a bad book, lots of things in it, but it does lack a bit of consistency and pictures where you can actually see what is happening. Maybe not quite a Bible but a good start)

For the outside I have used waterproof coated cotton which I have once again bought at Dotsnstripes.

For the big bag’s inside I have used red and orange cotton, plus one patterned cotton hiding behind a zip πŸ™‚

I made a laptop flap thingy on one side and three different pocket types on the other side.

IMG_3266 IMG_3265

The book suggests to use Twist Locks for the main flap but I was slightly too frightened to make holes in something that I have made myself. Thought I will leave that for next time. My initial plan was to just use a band of velcro to close it. I did change my mind halfway through though and bought some kind of button release buckle on ebay which meant that I needed a rather long and awkward looking strap to reach from flap edge to bottom bag edge. Not too great so I guess, next time I will try those square twist locks and make holes to fit them πŸ™‚ or at least decide before cutting out and make a longer flap.IMG_3267

For my niece I made a smaller version as there is no point in dragging around a bag that is half the size of you.

Instead of a flap I decided to put in a concealed top edge zip. I was a little bit unsure which fabric to choose to conceal that zip. The waterproof outer? Might be tricky to sew neatly, will be bulkyΒ  and might be odd to fix to the bag.

The plain cotton inner? Not waterproof, slightly flimsy (in comparison) and most importantly boring.

Difficult choice so I went for a third option: a strong cotton with yet another pattern. And as I was already adding patterns, I thought I might as well use another fabric for that inner top edge and made this in another one of the waterproof coated cottons.

IMG_3259

Inside, I added three pockets in total, one with zip and the patterned cotton (same as for the zip) on the inside of the pocket.

IMG_3261

I honestly love using a pretty fabric secretly hiding behind a zip. It makes it so more special, no?

I am very pleased with both results, they look amazing and I can’t wait to finally make one for myself – after all this is why I initially bought that fabric in the first place a few months ago πŸ™‚

It is just hard to say which one I prefer… which one would you choose?


Scrap Sunday: The fabric mosaic or Please welcome my first guest writer

A couple of weeks ago I was working on this apron for a teacher whilst my daughter was sitting quietly next to me…. cutting fabric into little pieces. I am so proud of her, she really embraced the rule that the big fabric scissors can only be used on fabric and not on anything else.

Anyway, then she had the rather brilliant idea to use those little pieces to make a card with a carrot on the front (we had printed carrots on cards as Christmas cards for the nursery teachers).Β  The card looked great but stupidly enough I did not realise that I could use that idea for Scrap Sunday so I did not take any pictures of it.

So a couple of days ago, we reincarnated the scene (and we did it properly this time, not just green and orange fabric were harmed in the making of this picture series.

But enough said, it was her idea, so I thought, she should write the post. Lovely idea anyway to ask friends, family and readers to write a post for my blog. So if you have any good ideas you wanted to share, please step forward now. It would mean so much less work to me. Ok, not all at once… Oh, well, it was worth a try. (And I do know where some of you guys live, so you better start writing)

Anyway, back to this weeks guest post:

Stoffmosaik Anleitung

IMG_3217 IMG_3230 IMG_3238 IMG_3239 IMG_3240 IMG_3247 IMG_3242 IMG_3251

New year, new ideas, new projects

I know, I know, the new year is not that new anymore, but I am honestly working on these new projects (spoiler alert: bags of various shapes, sizes and purposes) since a couple of weeks, I am just awfully behind with posting. So lets make the first step today.

One of my lovely friends had seen the yoga bags taking shape whilst I was working on my very first ones and wanted one as a gym bag. Together we agreed that the shape of the yoga bag is not ideal if you do not actually carry around a yoga mat… or a trombone I guess. So I made a bag for her which hadΒ  square, well probably rectangular, sides and was shorter than the yoga bags.

IMG_3111

I kept the long strap from side to side but added very last minute (I even had to open the lining again) two handles as I thought a bag of this shape and size might be wanting to be carried more like a pretty handbag (my friend later disagreed, but then we both don’t really know what a bag thinks).

I also made an extra easily washable cotton bag for the sports shoes (so that my lovely pretty bag does not get dirty πŸ™‚ )

IMG_3117

Inside I used polyester lining for once – it just seemed to be more suitable than cotton. Not sure why though. And if you spy with your little eye something pink on pink you might notice the simple slip pocket I added to keep some important belongings separated from the main sports mess.

I am quite happy overall, maybe I should have added a fancier pocket.

And best of all, I could hand over that bag as a birthday present (request a long time before Christmas) just about one week after the birthday of said friend. Not bad, considering that I have just finished a Christmas present (for 2014 in case you were wondering)Β  2 days ago.

Ok, sports bag done, there will be an office bag, a crafts bag, a book bag and a yet undecided purpose one – so keep looking for new posts.