Scrap Sunday: urgently needed or another cheat scrap sunday post

The good thing about scrap Sunday is that suddenly I seem to be going away for the weekend a lot. So from that point of view the challenge has been a huge success. From the quality of posts probably not. But I do not have to read them so never mind ๐Ÿ™‚

This time I am enjoying the lovely English coast, I finally had a proper Cream Tea (lovely but I did fancy the children’s selection with brownie more) and I had lots of time to knit hats for the shop whilst worrying about the content of this scrap post. I did consider to take a picture of the 5 cm long crochet chain which I found in my bag. My daughter had made it. She isn’t even 5 so hasn’t got enough patience to crochet anything longer than that, but it is still a wonderfully useful example of how to use up scrap yarn ๐Ÿ˜‰

But yesterday morning said crochet genius woke up with a stiff neck and was crying and sobbing a lot (I guess mainly out of irritation)

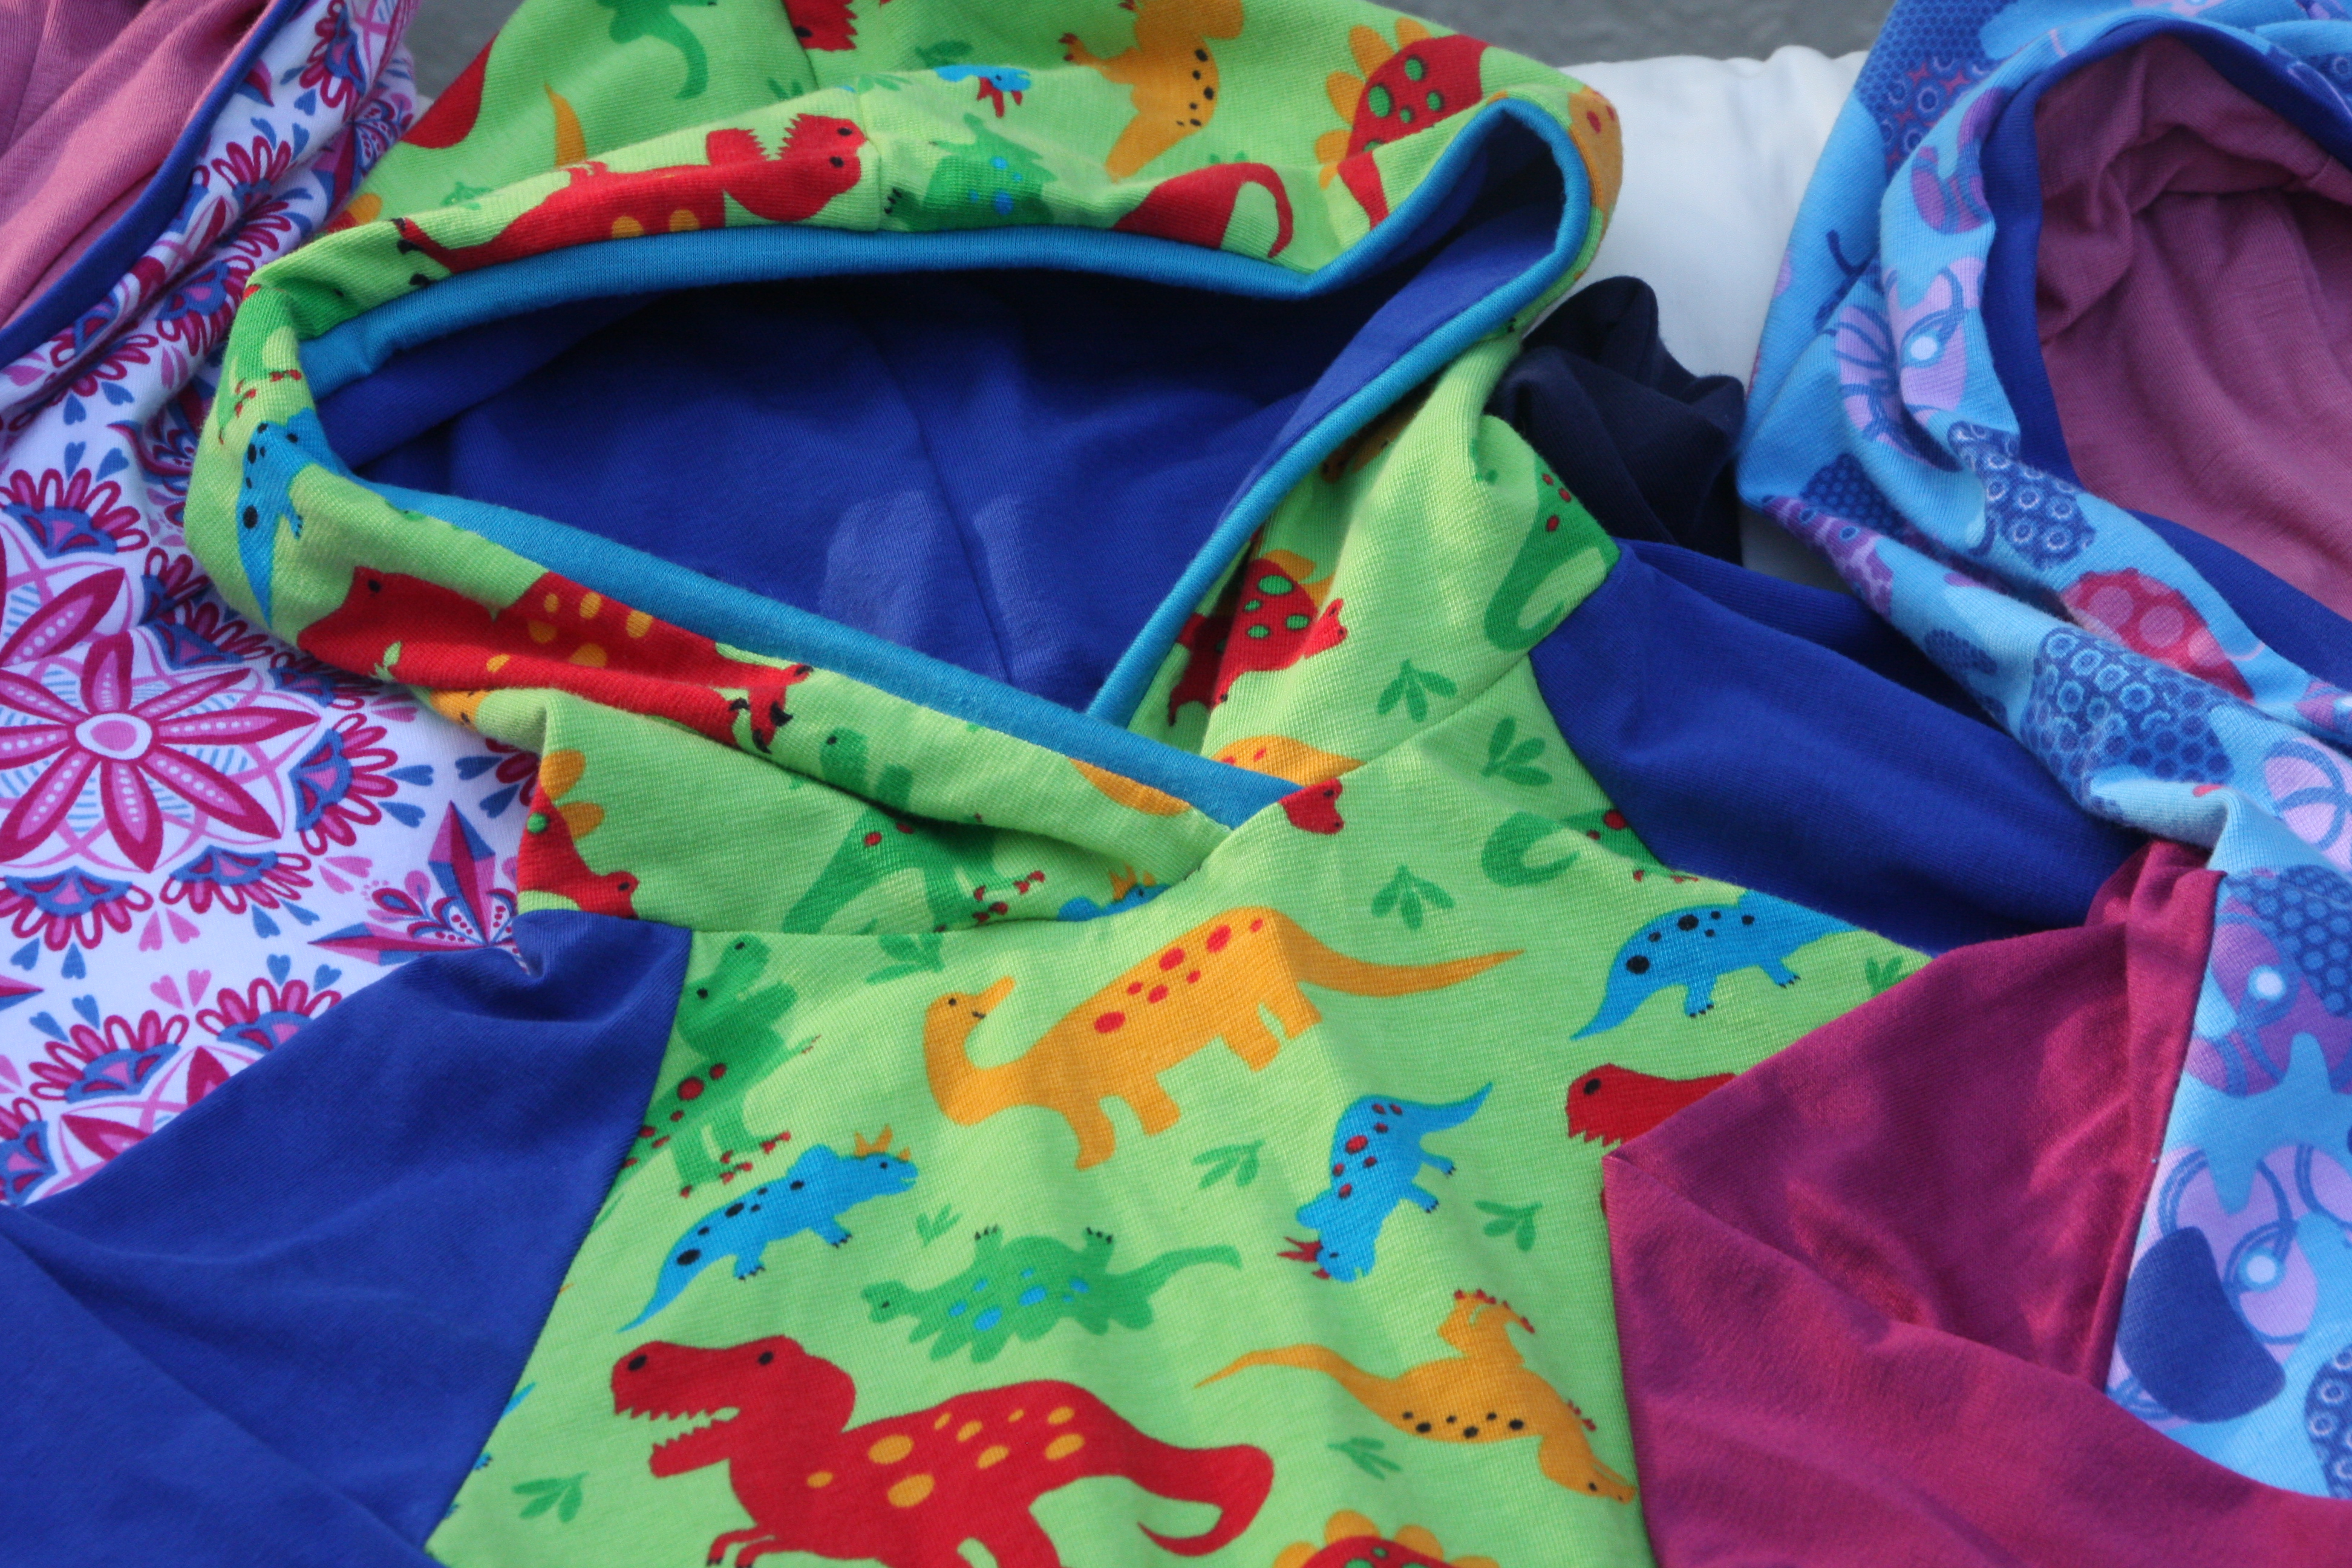
So I wrapped a muslin square around her neck (I knew I should pack some of these incredibly live saving pieces of fabric in our suitcase) and quickly knitted her a sort of neck warmer during the drive to our outing. I had to finish the last few rows on board of the old fashioned steam train which seemed a very good knitting location anyway and she was ready to enjoy the fresh sea breeze ๐Ÿ™‚

20141101_105646

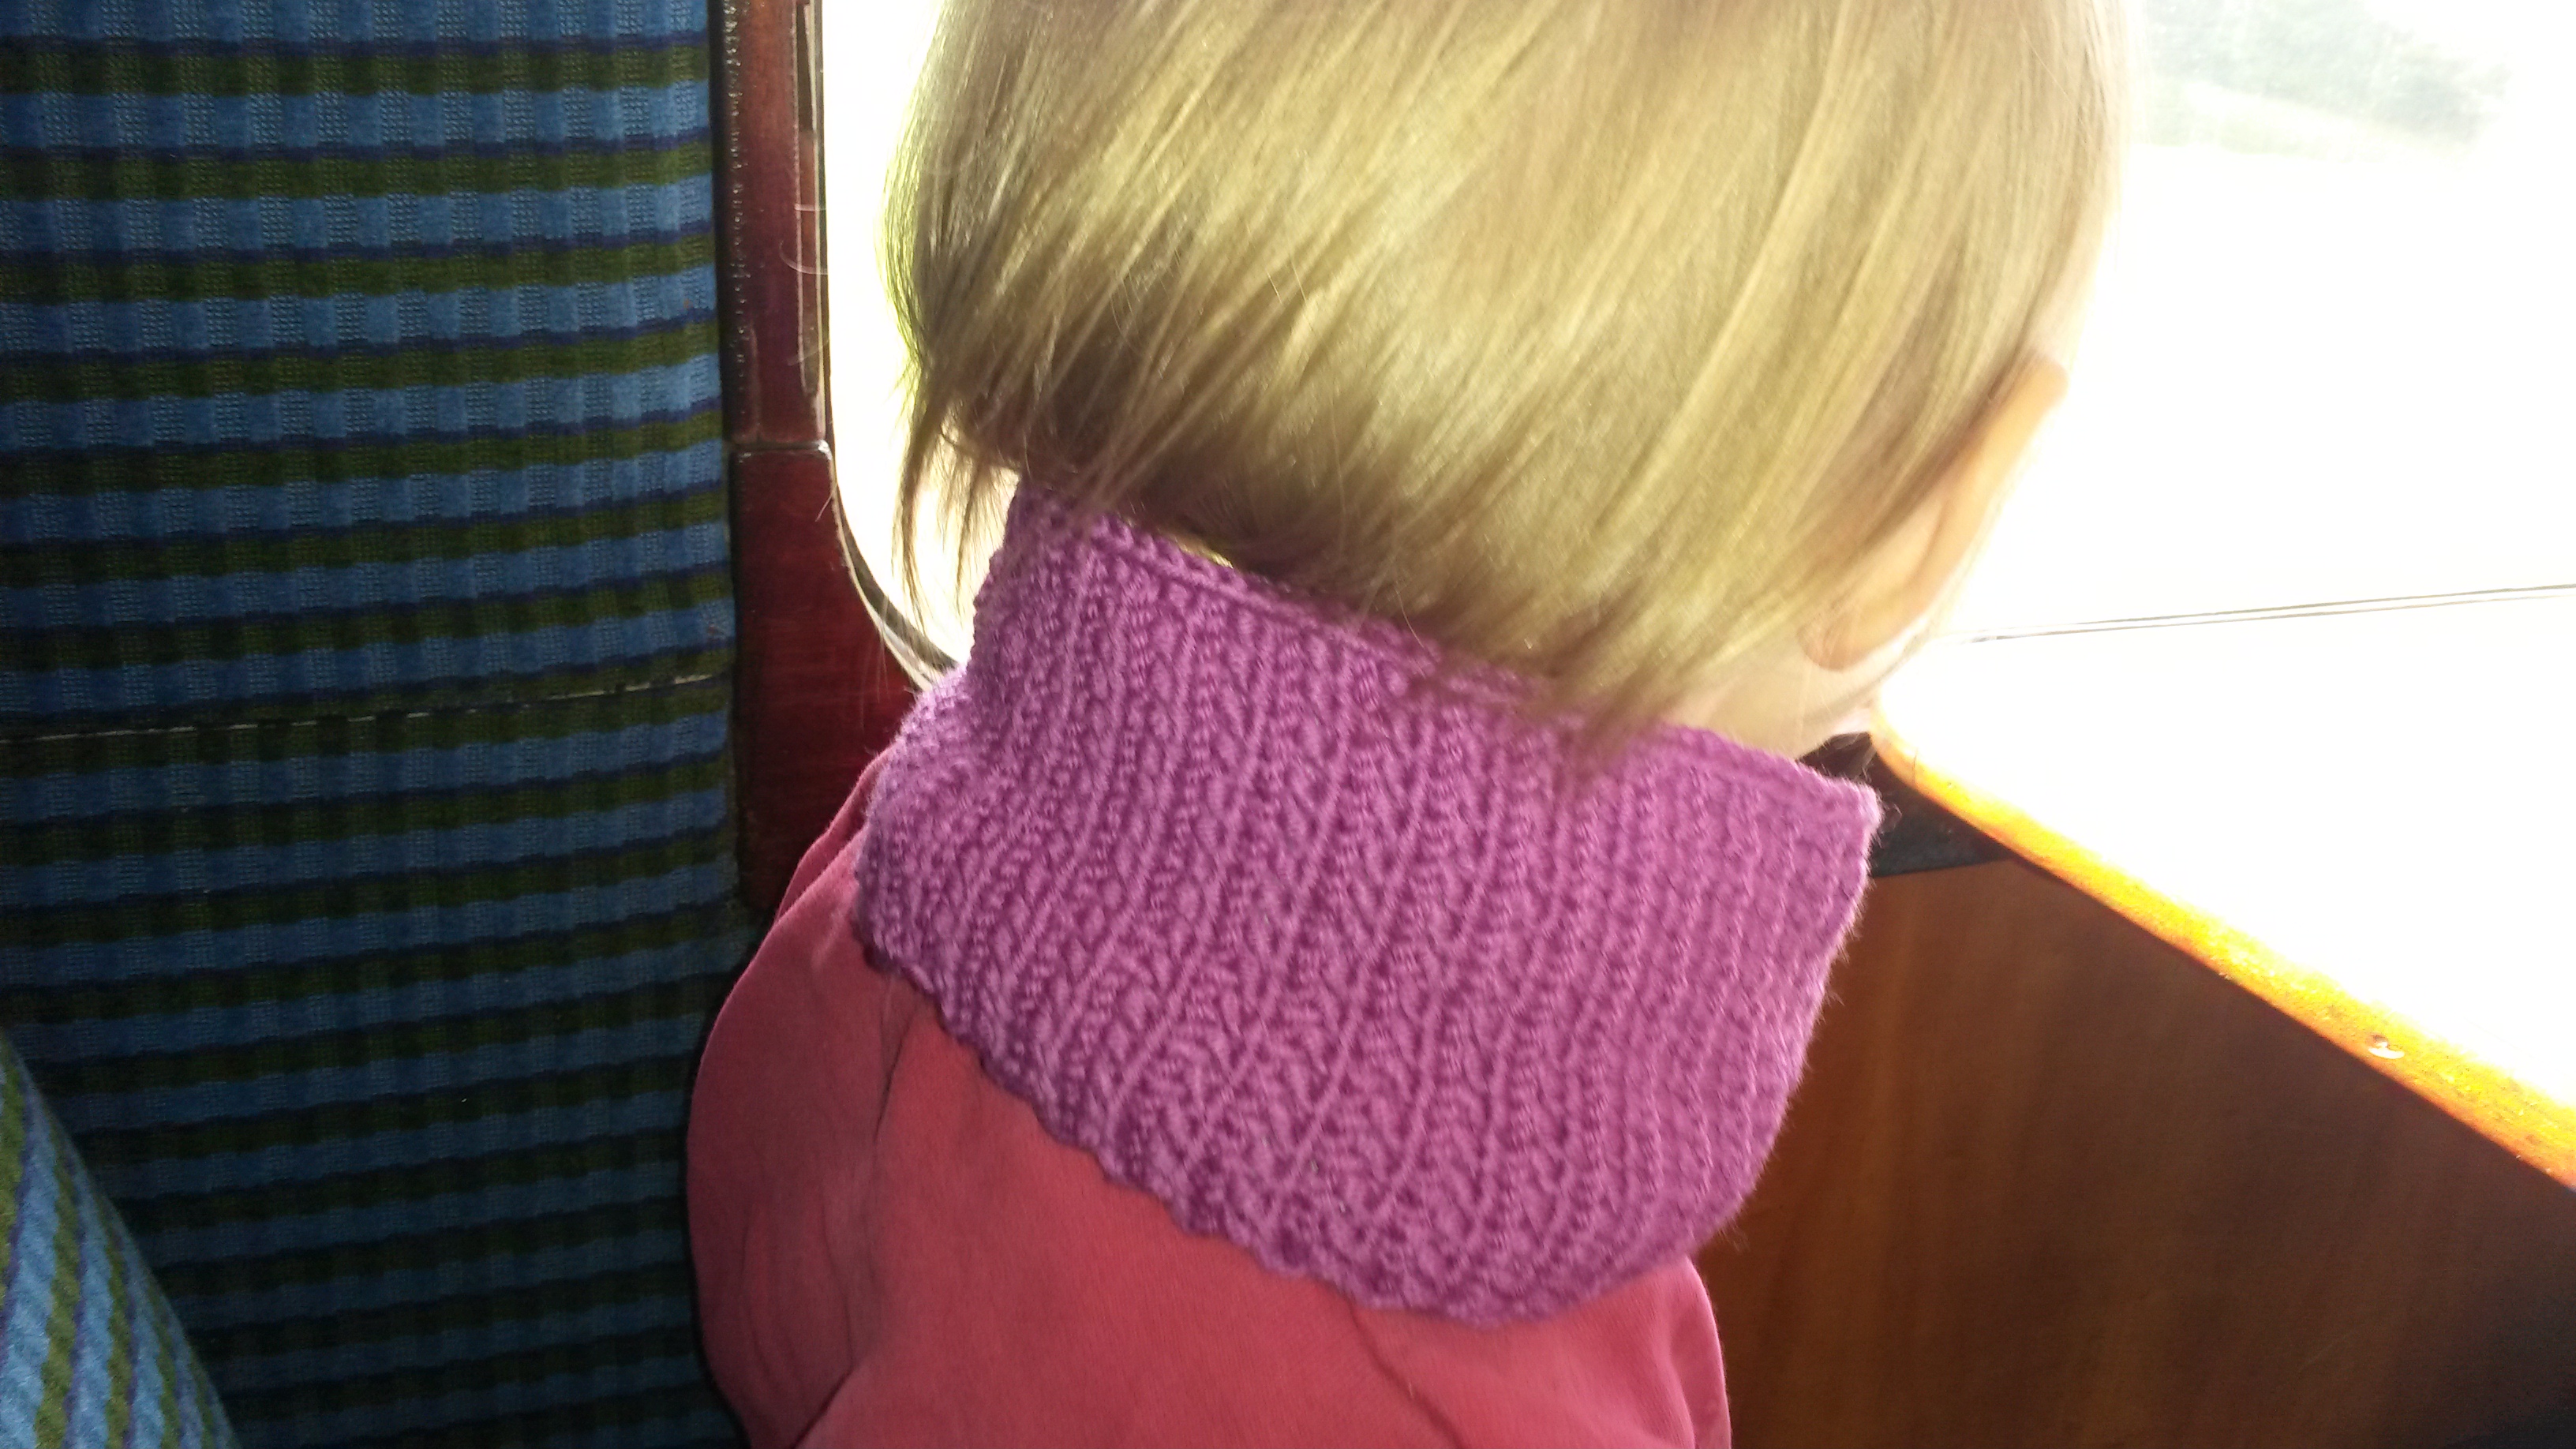
I put it over the muslin square as it is a bit wide for the neck. On purpose, as I am planning to ย open the cast off and continue it into a hat or actually … maybe I will make it even a little bit longer and keep it as neck warmer and maybe add a lining .

So technically it is once again not a scrap project but I did use less than a ball and it is still better than a 5 cm crochet chain ๐Ÿ™‚

Scrap Sunday: lined scrap hat

A couple of months ago I knitted a hat with ear flaps (using from my stash), thinking it would probably be for my son. But it became too big and I wasn’t sure about the colours. So I left it on the big pile of unfinished projects on my desk.

Then, a couple of weeks ago, my sister told me how pleased her children were with their shirts and that the little one had already demanded “another dinosaur from auntie Ursula” as my sister had put his shirtย  into the washing machine, without any reason or notice obviously.IMG_2333 I thought I should make him something out of the left overs of this dinosaur fabric. But what? Definitely not a hairband. ๐Ÿ™‚ So I left the idea in the big pile of unfinished ideas in my head.

And then, the pressure of Scrap Sunday was on and I suddenly remembered the hat and its colours and how similar they were to the colours of the dinosaur fabric. How about lining the hat with dinosaurs? (A bit of a waste as the yarn is the softest merino wool ever, even approved by Mr. sensitive skin.)

I searched for the hat and remembered that I was not quite sure about the colour combo. I really like contrasting colours but somehow it did not work here.

I simply can’t give my nephew a present I am unsure about myself. So I ordered new yarn for a new hat and stared in the meantime at the old one. I realised it was only the red crochet edge which didn’t work for me. But I didn’t have anymore of the green yarn left. (Stupidly I did not take a picture of the hat at this stage).

When the box with the new yarn finally arrived, I tried the new colours and there it was, a slightly darker and bluer green. The perfect edge for this hat, much better than the initial red one. I added a pompom with the contrasting orange and red from the stripes and lined the hat with the dinosaur fabric. And now it is really lovelyย  and I am so pleased I did not just rip the whole hat.

IMG_2522

I just hope my nephew doesn’t think that the dinosaurs should be seen and wants to wear it inside out….. Maybe it is not a good idea to use nice fabric as a lining after all ๐Ÿ™‚IMG_2523


Daniel

IMG_1270I knitted this scarf about a year ago and I finally managed to write down the pattern and put it online. Well, that is actually not true, I made a lovely chunky diagonally knitted cowl on my trip to Oxford but I decided to use the picture of the old one to illustrate the pattern. The colours are more cheerful, the fact that it is knitted on the bias comes out better because of the stripes and, lets be honest, it might take another year to get a decent picture taken, the weather needs to be right, there should already be some daylight, no football game scheduled (we live in England, there is always a football match going on somewhere)…

When I linked the pattern on ravelry with my already existing project, I realised that I hadn’t actually knitted a full rectangle as I pretended in the written pattern. Ups. Never mind, the fact that the pattern is for a rectangle it makes it more adjustable for other projects, not just for cowls. And the Oxford cowl at least was really knitted as I had written it down.

And I am pleased as punch to say that I had already over 100 downloads in 30 hours. I know that is not actually that much compared to other patterns on ravelry. But it is still cool to see that my patterns look interesting enough to be downloaded by someone.

long tail cast on

When I learned how to knit, the long tail cast on was the one that I had been shown. And for almost 30 years I had been blissfully unaware that there was another zillion of cast on methods.

Despite my then following ignorance of the qualities of some of the other methods (cable cast on or provisional come to my mind), I still use the long tail cast on for 99.9% of my projects as I find it strong and versatile. It is supposed to be done over two needles which makes it very stretchy, great for those lacy or stretchy projects, but if I want it a bit less loose (or if I am working with ridiculously big needles) then I will just use one needle.

For this tutorial, I have only used just one needle as I find it easier to get started. Once you understood the movement, you can do it over two needles.

I made this tutorial for my knitting class which is a mess healthy combination of English and continental knitting so it might look slightly weird to those of you who have learned knitting the continental way (considering my observations lately, it might actually be a German way rather than a continental but that is how it is called).

One last thing before we get started. Please remember that these pictures have been taken 3min before the all important football match. We will see if I will ever get the chance to replace them with better ones.

But for now, lets use what we have:

ย 1. Make a slip knot with a long tail end (the length of the tail will depend on the amount of stitches you will need) and put it on the needle. Hold the needle in the right hand, open the two tails up so they form a V- shape, the tail end comes towards you, the ball end goes away from you.long tail co 01

2. Slide the thumb and index finger of your left hand into the gap between the two strands and open the gap up a little bit.long tail co 02

3. Grab the two strands with the remaining three fingers and hold them tightly.long tail co 03

4. The needle with the slip knot should now be positioned between your thumb and your index finger. The tail end goes over your thumb (thumb strand), the ball end goes over your index finger (index strand).long tail co 04

5. Pull the needle down so the thumb strand forms a full loop around your thumb.long tail co 05

6. Slide the needle from bottom to top through the thumb loop…long tail co 06

7. …grab the index strand and pull it through the thumb loop.long tail co 07

8. You have now a new stitch on your needle. Release the thumb loop.long tail co 08

9. Push the thumb strand down with your thumb to tighten the stitch but do NOT let go of the two strands.long tail co 09long tail co 10

Start again from Step 5 by bringing the thumb up again and pulling down the needle. If you are working on a small scale with small movements, this will result in a smooth circular movement of your thumb and you will not have to set up everything from scratch.

As I have mentioned before, you should do this over two needles held together. You will pull one out once you have finished the cast on. This will result in a very stretchy cast on, ideal for something that needs to be stretched out.