I am really busy these days businesswise and I actually have to follow a rather strict time table in order to fulfill all pending orders. That sounds spectacular, I know. And I like it. Even if it is slightly, just slightly exaggerated. But I do have to make a few yoga bags (manly ones. I hope I will achieve this goal this time round) and knit a cardigan plus a birthday dress for my niece (ok, that is a private matter but it definitely has a deadline). Plus I have to write a scheme of work for my class “numeracy through knitting”. So while I was busy doing the latter, thinking a lot about numbers, shapes, patterns and spacial sense, I needed a break and thought finally making that little tag blanket might be a welcome change.
As super-ambitious teacher and generally smug person I thought I’ll spoil my readers with a little tutorial as I am clearly an expert of turning things inside out as I had recently experienced with the coat.
So here is how it is done properly 🙂
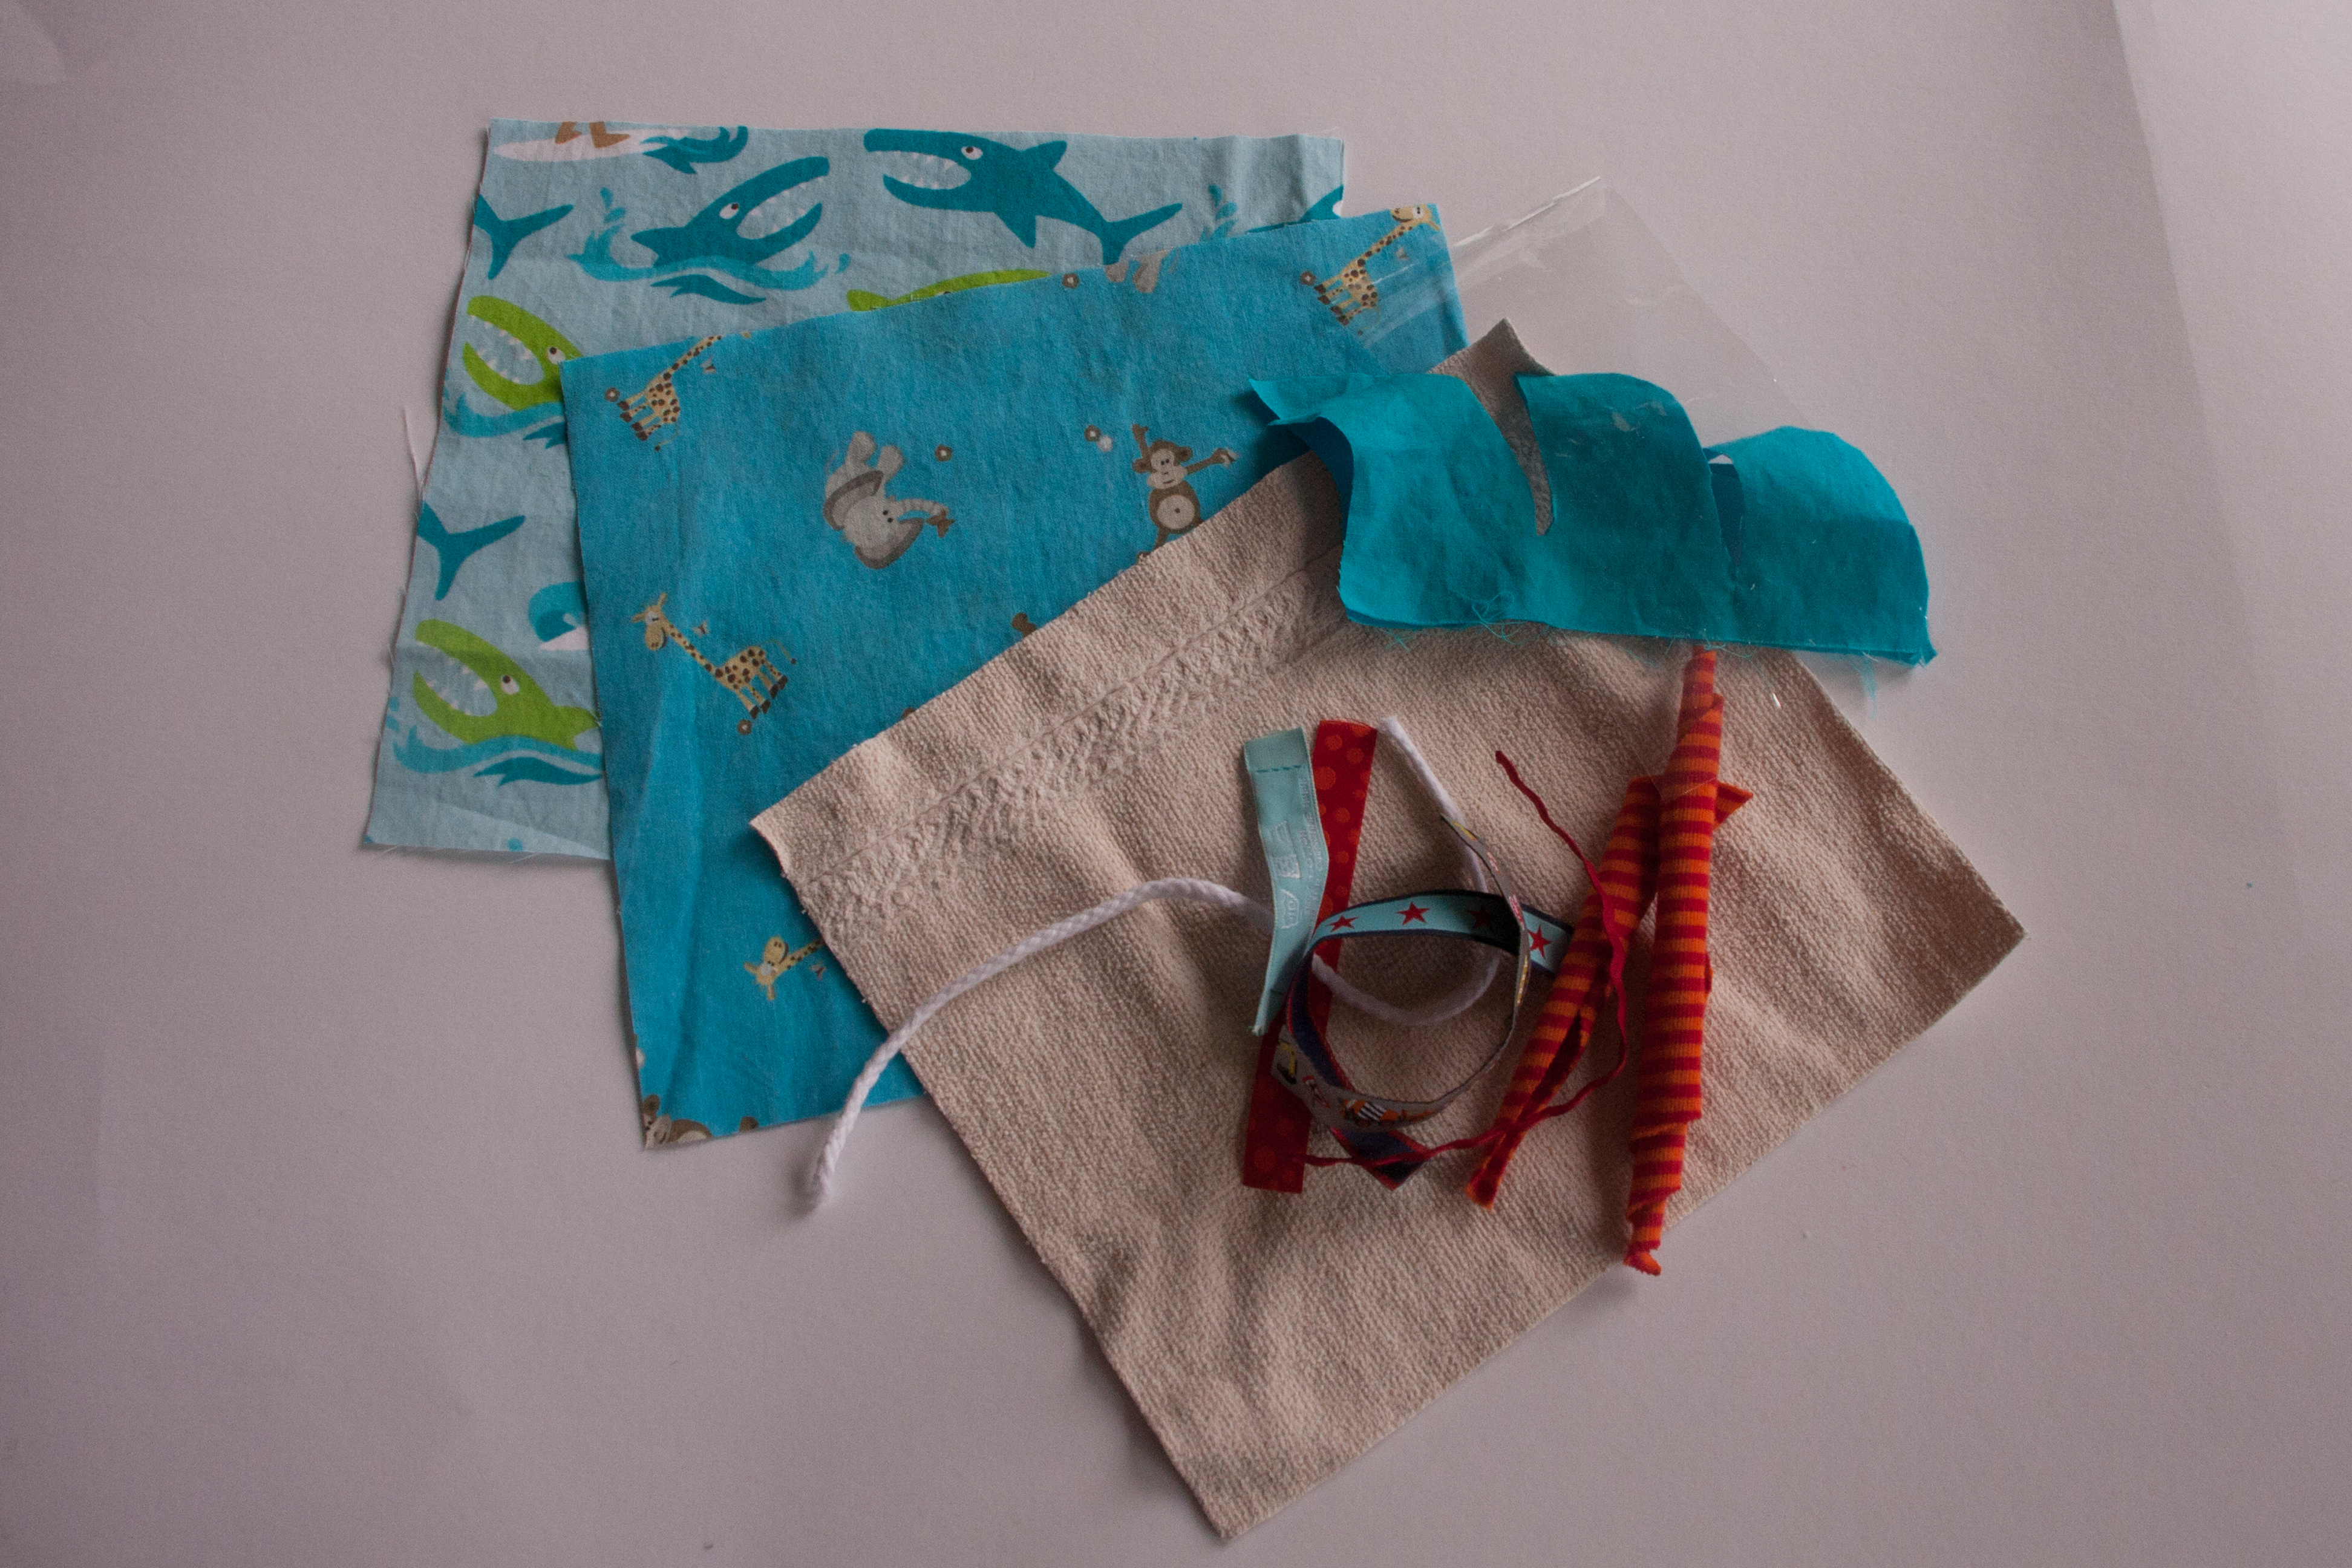
You’ll need two nice pieces of fabric, I went for woven cotton, I guess, jersey might be softer but I wanted to use the cute animal fabric from the advent calendar. I also cut a really broken and scratchy face cloth into shape to add some texture. For the tags you can use all bits of left overs, ribbons, labels, bits of fabric,…. Just make sure you’ll have all the edges sealed. The easiest will be to fold them and have the open edges inside the seam.

You could also add some crackling material, either in the main part or, as someone had commented last time, just in some of the tags, which I did for this one.
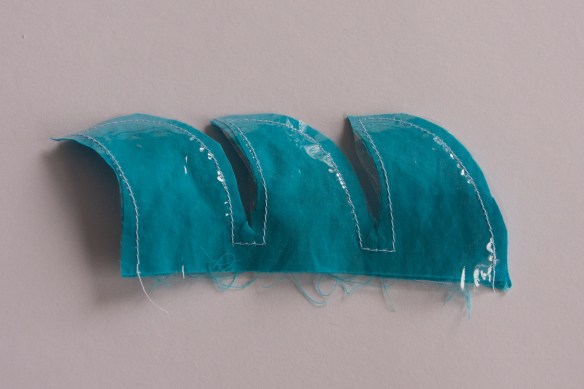
As one of the fabrics features unsuitably dangerous sharks, I cut (twice) a few blue waves and stitched them together with some of that crackling foil.
I left the piece open at the bottom to be able to turn it inside out and that open side will later be inside the seam of the blanket anyway.
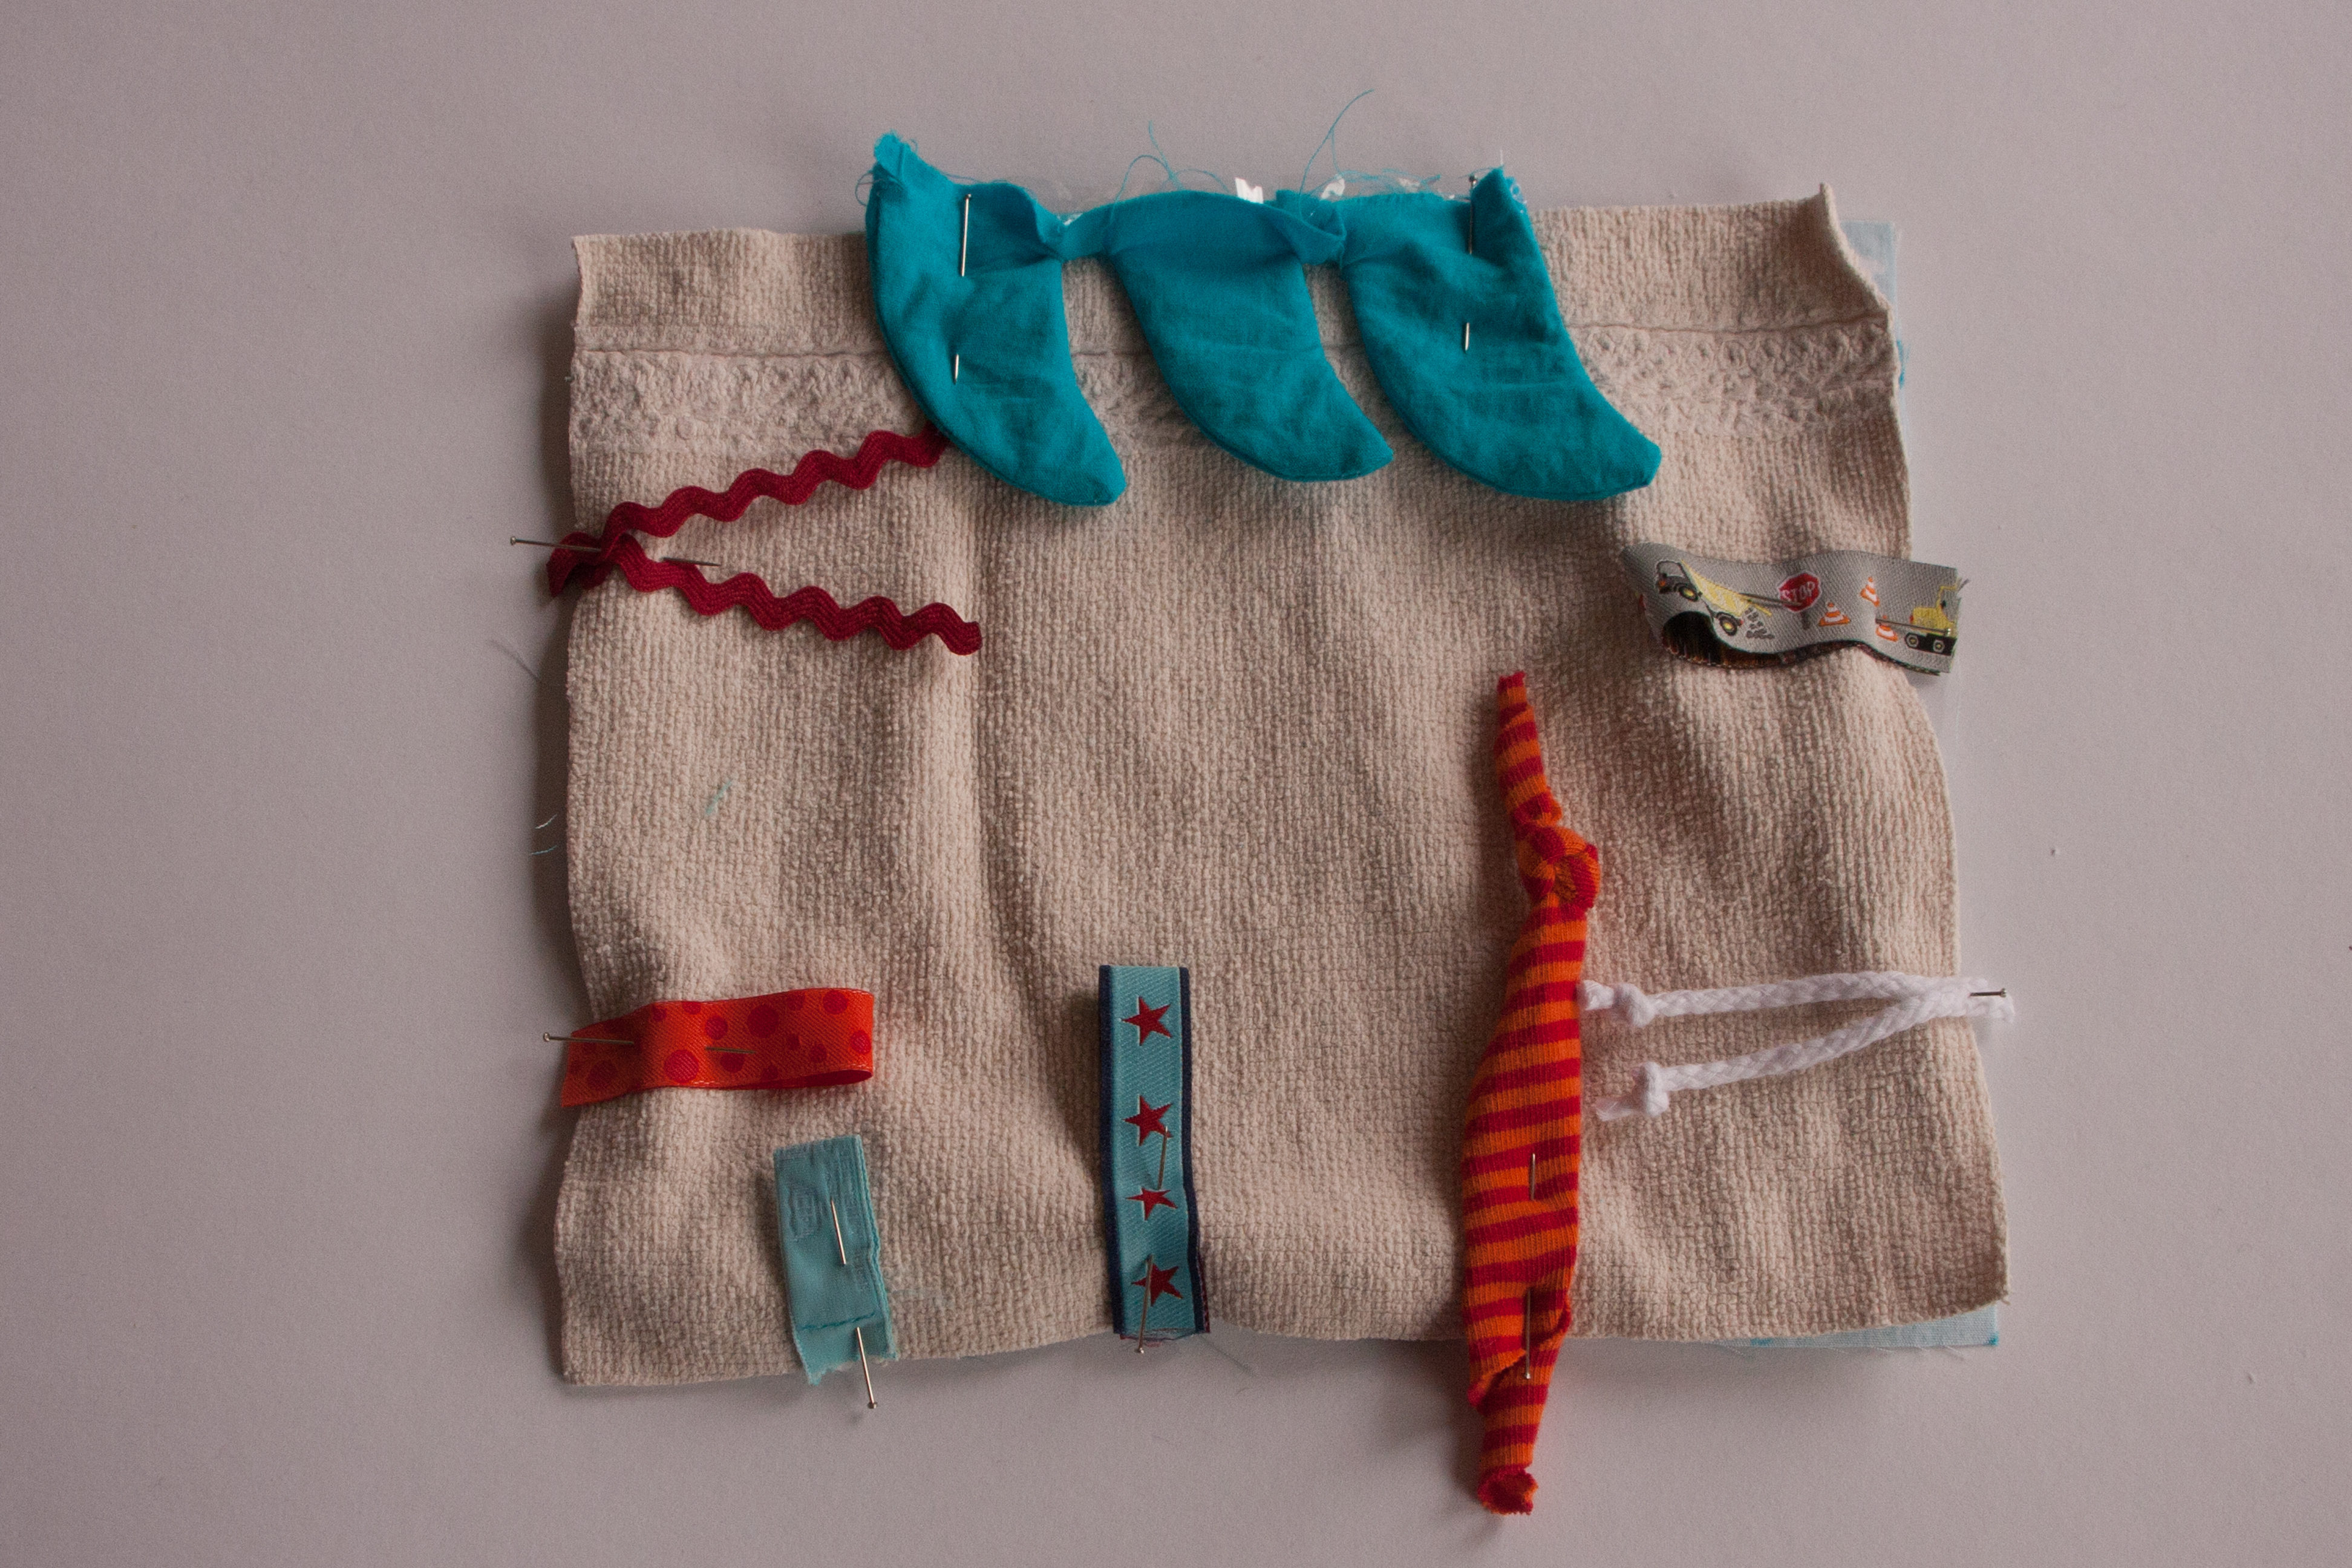
Next, you carefully arrange the layers. It works best if you smugly explain your baby or any other person present how brilliant you are that you whip this up during a “numeracy through knitting scheme of work” break, just before you’ll have to go shopping. And that you are going to take some pictures for your blog readers to explain them how things are done.
Basically, all you have to do is to put the layers in a random order on top of each other not caring about right and wrong side as long as you are taking pictures of the process. And pin everything in place. Make sure that all tags are looking inside, in line with the seam. There is no need to take pictures of the five tags that you pinned sticking out in the first attempt as you will realise early enough which way to place them. You are a clever and well rested person after all.

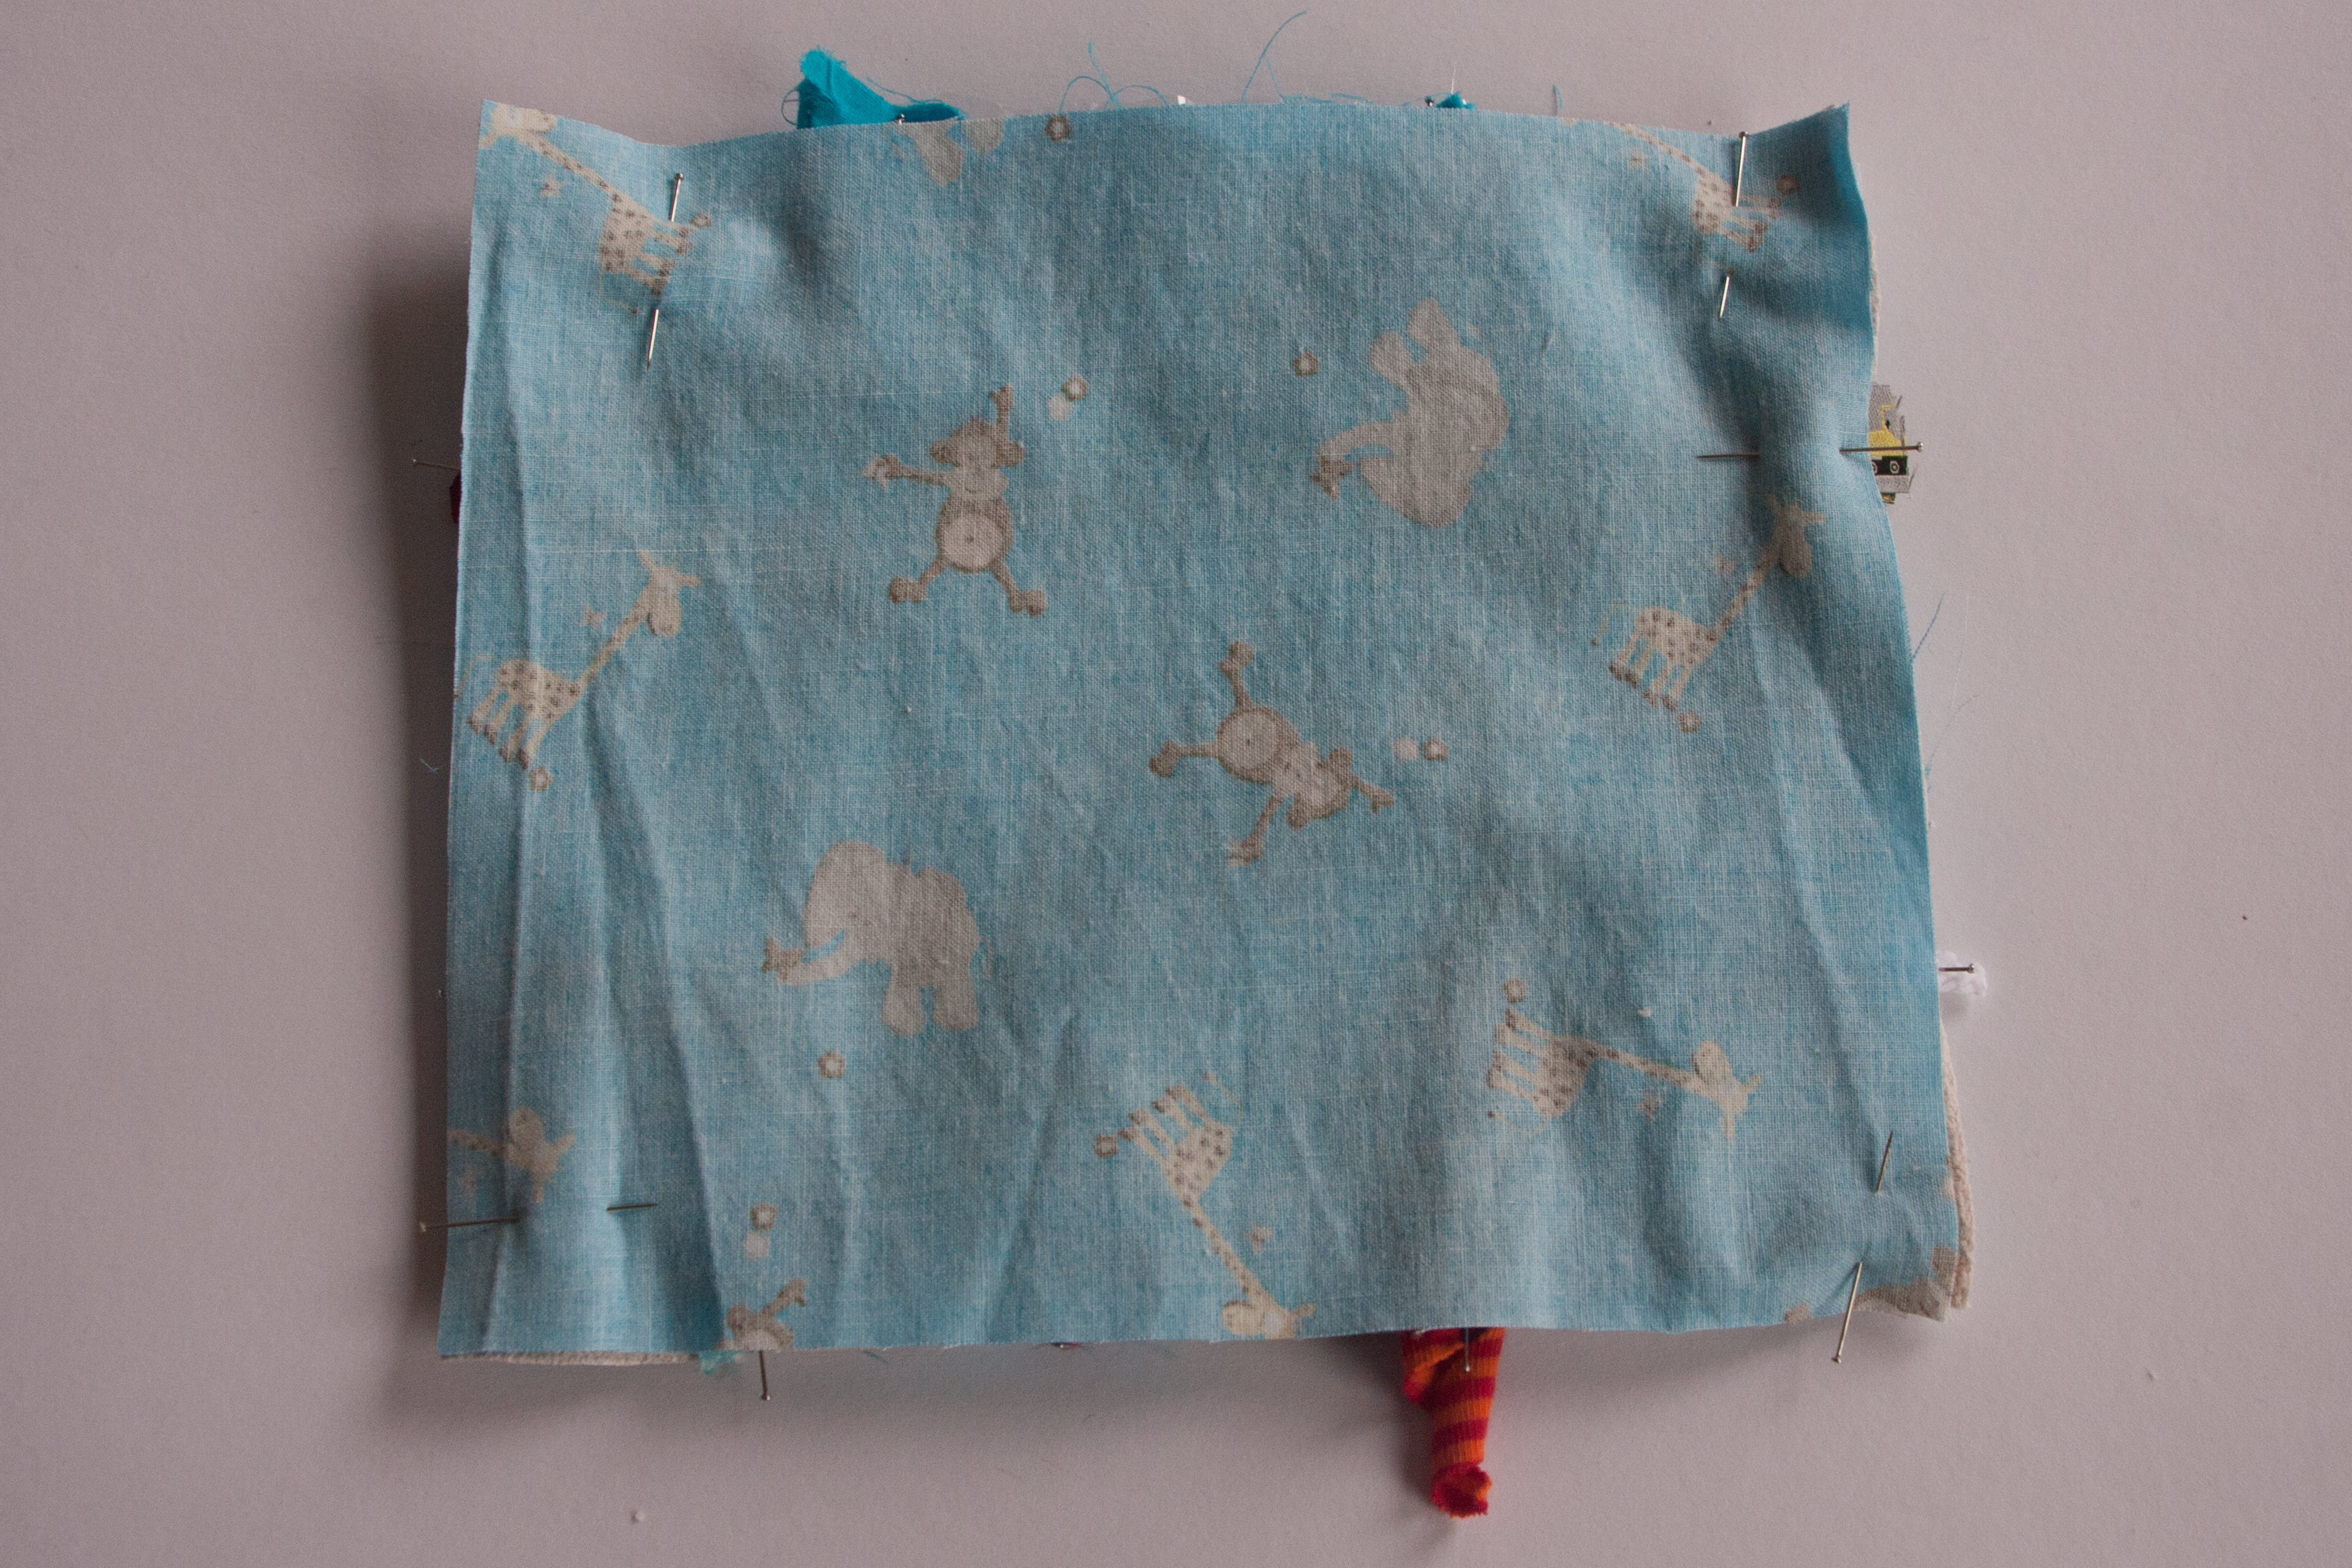
Take an other picture to show your readers that the right side of the top layer is facing down as you are going to turn the whole thing. You are not stupid after all.

Stitch around the four sides. For added safety, you should secure each tag by going back and forwards again. Actually, don’t go around the whole thing. Leave a gap of a couple of cm for the turning. Be proud of remembering that. I’d take a few pictures of that really.
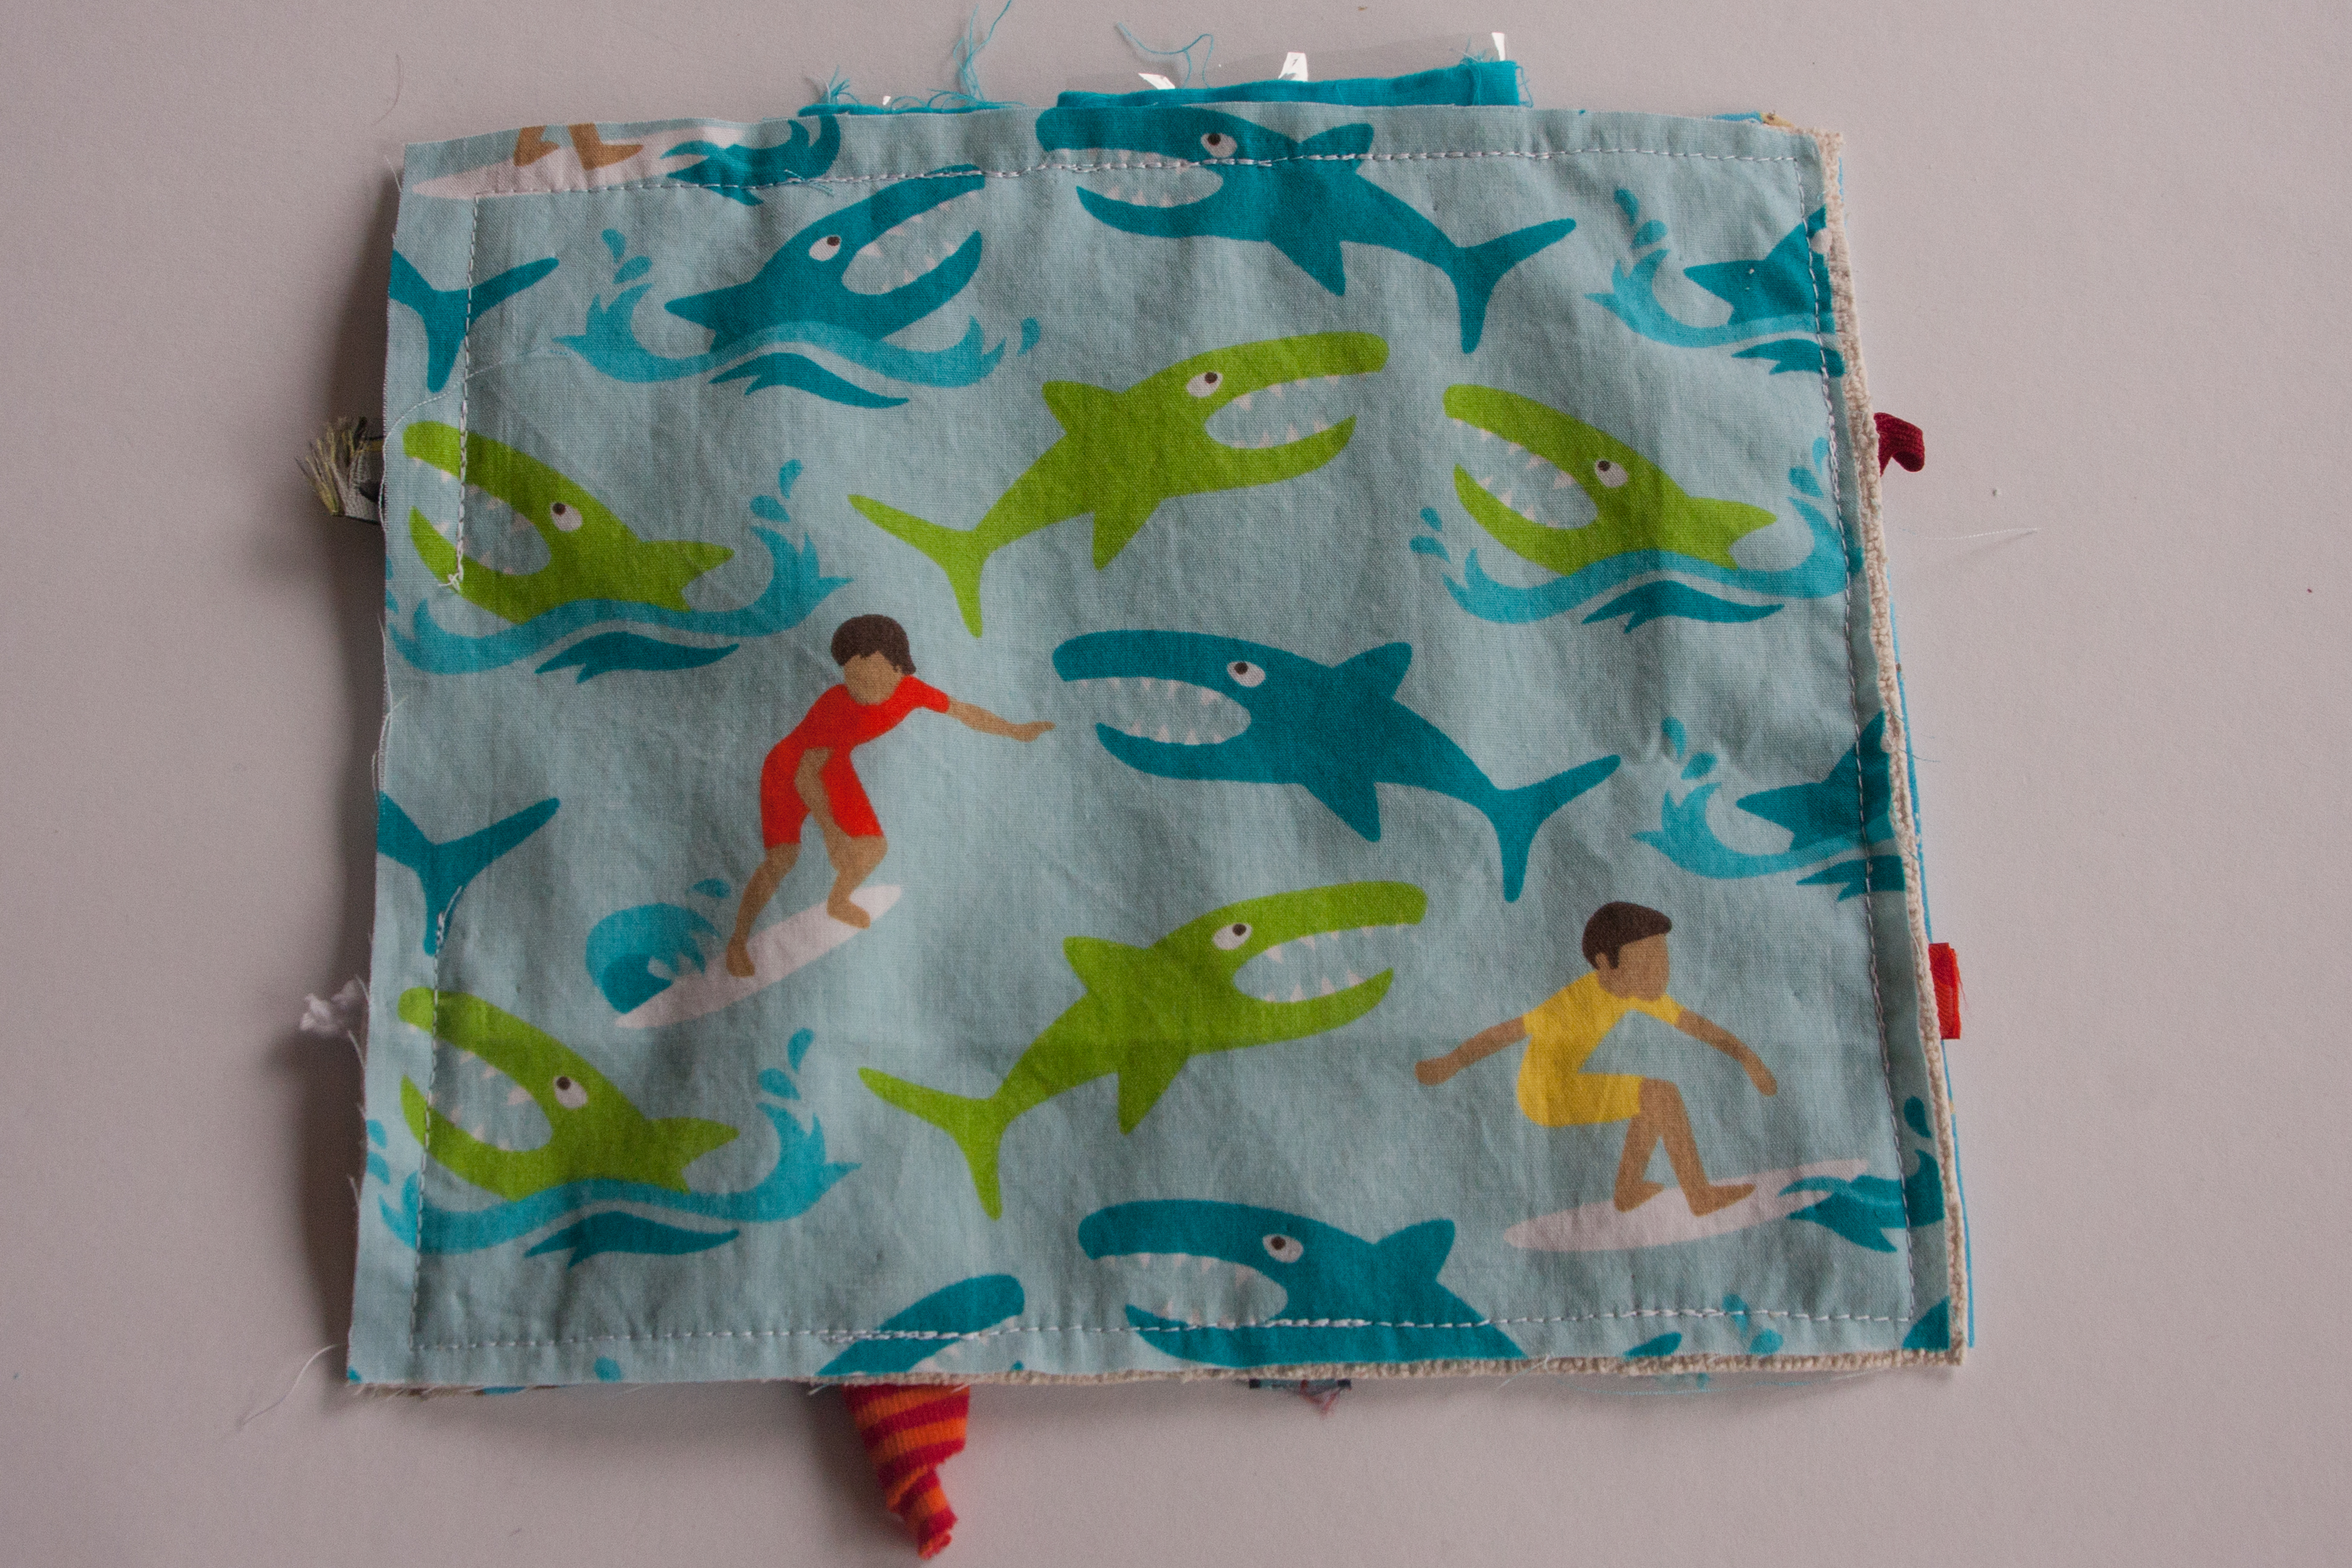
 Even if by now you might be realising that you actually hadn’t payed attention when you put the first layer of fabric on the table. And that the sharks will be facing inwards after turning. They are inappropriately dangerous for a small baby anyway and it might be better that way. No need to get the seam ripper out. You only have about 5 min until the baby sitter comes anyway.
 Just make sure your readers will see that gap properly. That is the only important thing here.
And then turn the inside out. 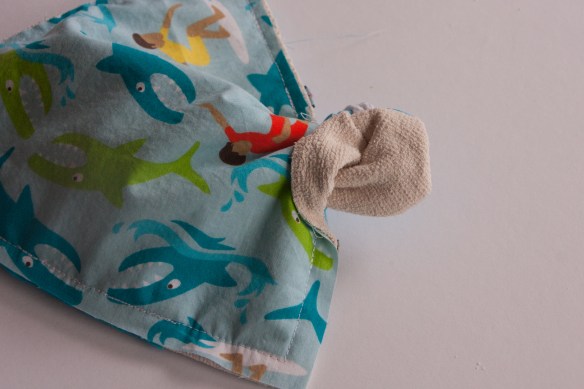 This might now be the moment where you are slowly realising that not only the wrong side of the sharks but also the old and scratchy face towel will be on the outside and the cute animals will be completely hidden. But possibly give the whole thing some added stability. And that scratchy face towel will really have a very different feel and the baby will enjoy that. At this stage it is all about different textures. After all this is why you created all these different tags.
So you could just keep turning the whole thing. Or you do take that seam ripper and take the whole thing apart.
No it is probably time for shopping. A bit of fresh air might not be the worst at this stage anyway. So do that and continue with this quick project later.
When reassembling the layers, just remember one thing: The two sides that are supposed to be on the outside later, need to be on the inside, with the tags in between them. The middle layer can either be underneath everything or on top of everything. Doesn’t matter. As long as the two pretty sides are facing each other and have the tags in between them. Easy. And actually follows the same principle as the crackling material in the waves. Remember when you stitched them together correctly in only one attempt?

The benefit of this slightly longer process with the few extra steps before this one is that you will actually have a line of dots from the previous stitches showing you where to sew. Which is really helpful. So just be proud of it again.
Shorten the seam allowance, especially the corners.
And turn the whole thing inside out. You can either close the gap by hand or top stitch around all sides and close the gap during that process.
Now, it is optional to iron the whole thing. I decided not to take pictures of the ironing process as I would like to leave a bit of room for imagination to keep my readers active.
Time for more pictures. And to be proud. Before you finally go back to your numeracy scheme of work and all this thinking about spacial recognition and logic.

 Needless to say that the baby was most impressed by the cleverness of his mum. And the crackling waves are so much fun. I really enjoy playing with them.

 And if you stare hard enough, you can actually see my skin! Really. I tried hard to cover my breast with that baby but I failed. Luckily this was in the privacy of my home and not in a public space 😉