I am done

No more knitting. I am done with it.

Vase 09sOk, ok, there might me the occasional addition to my window display in the future, maybe a hungry caterpillar maybe another flower but for now I am done.

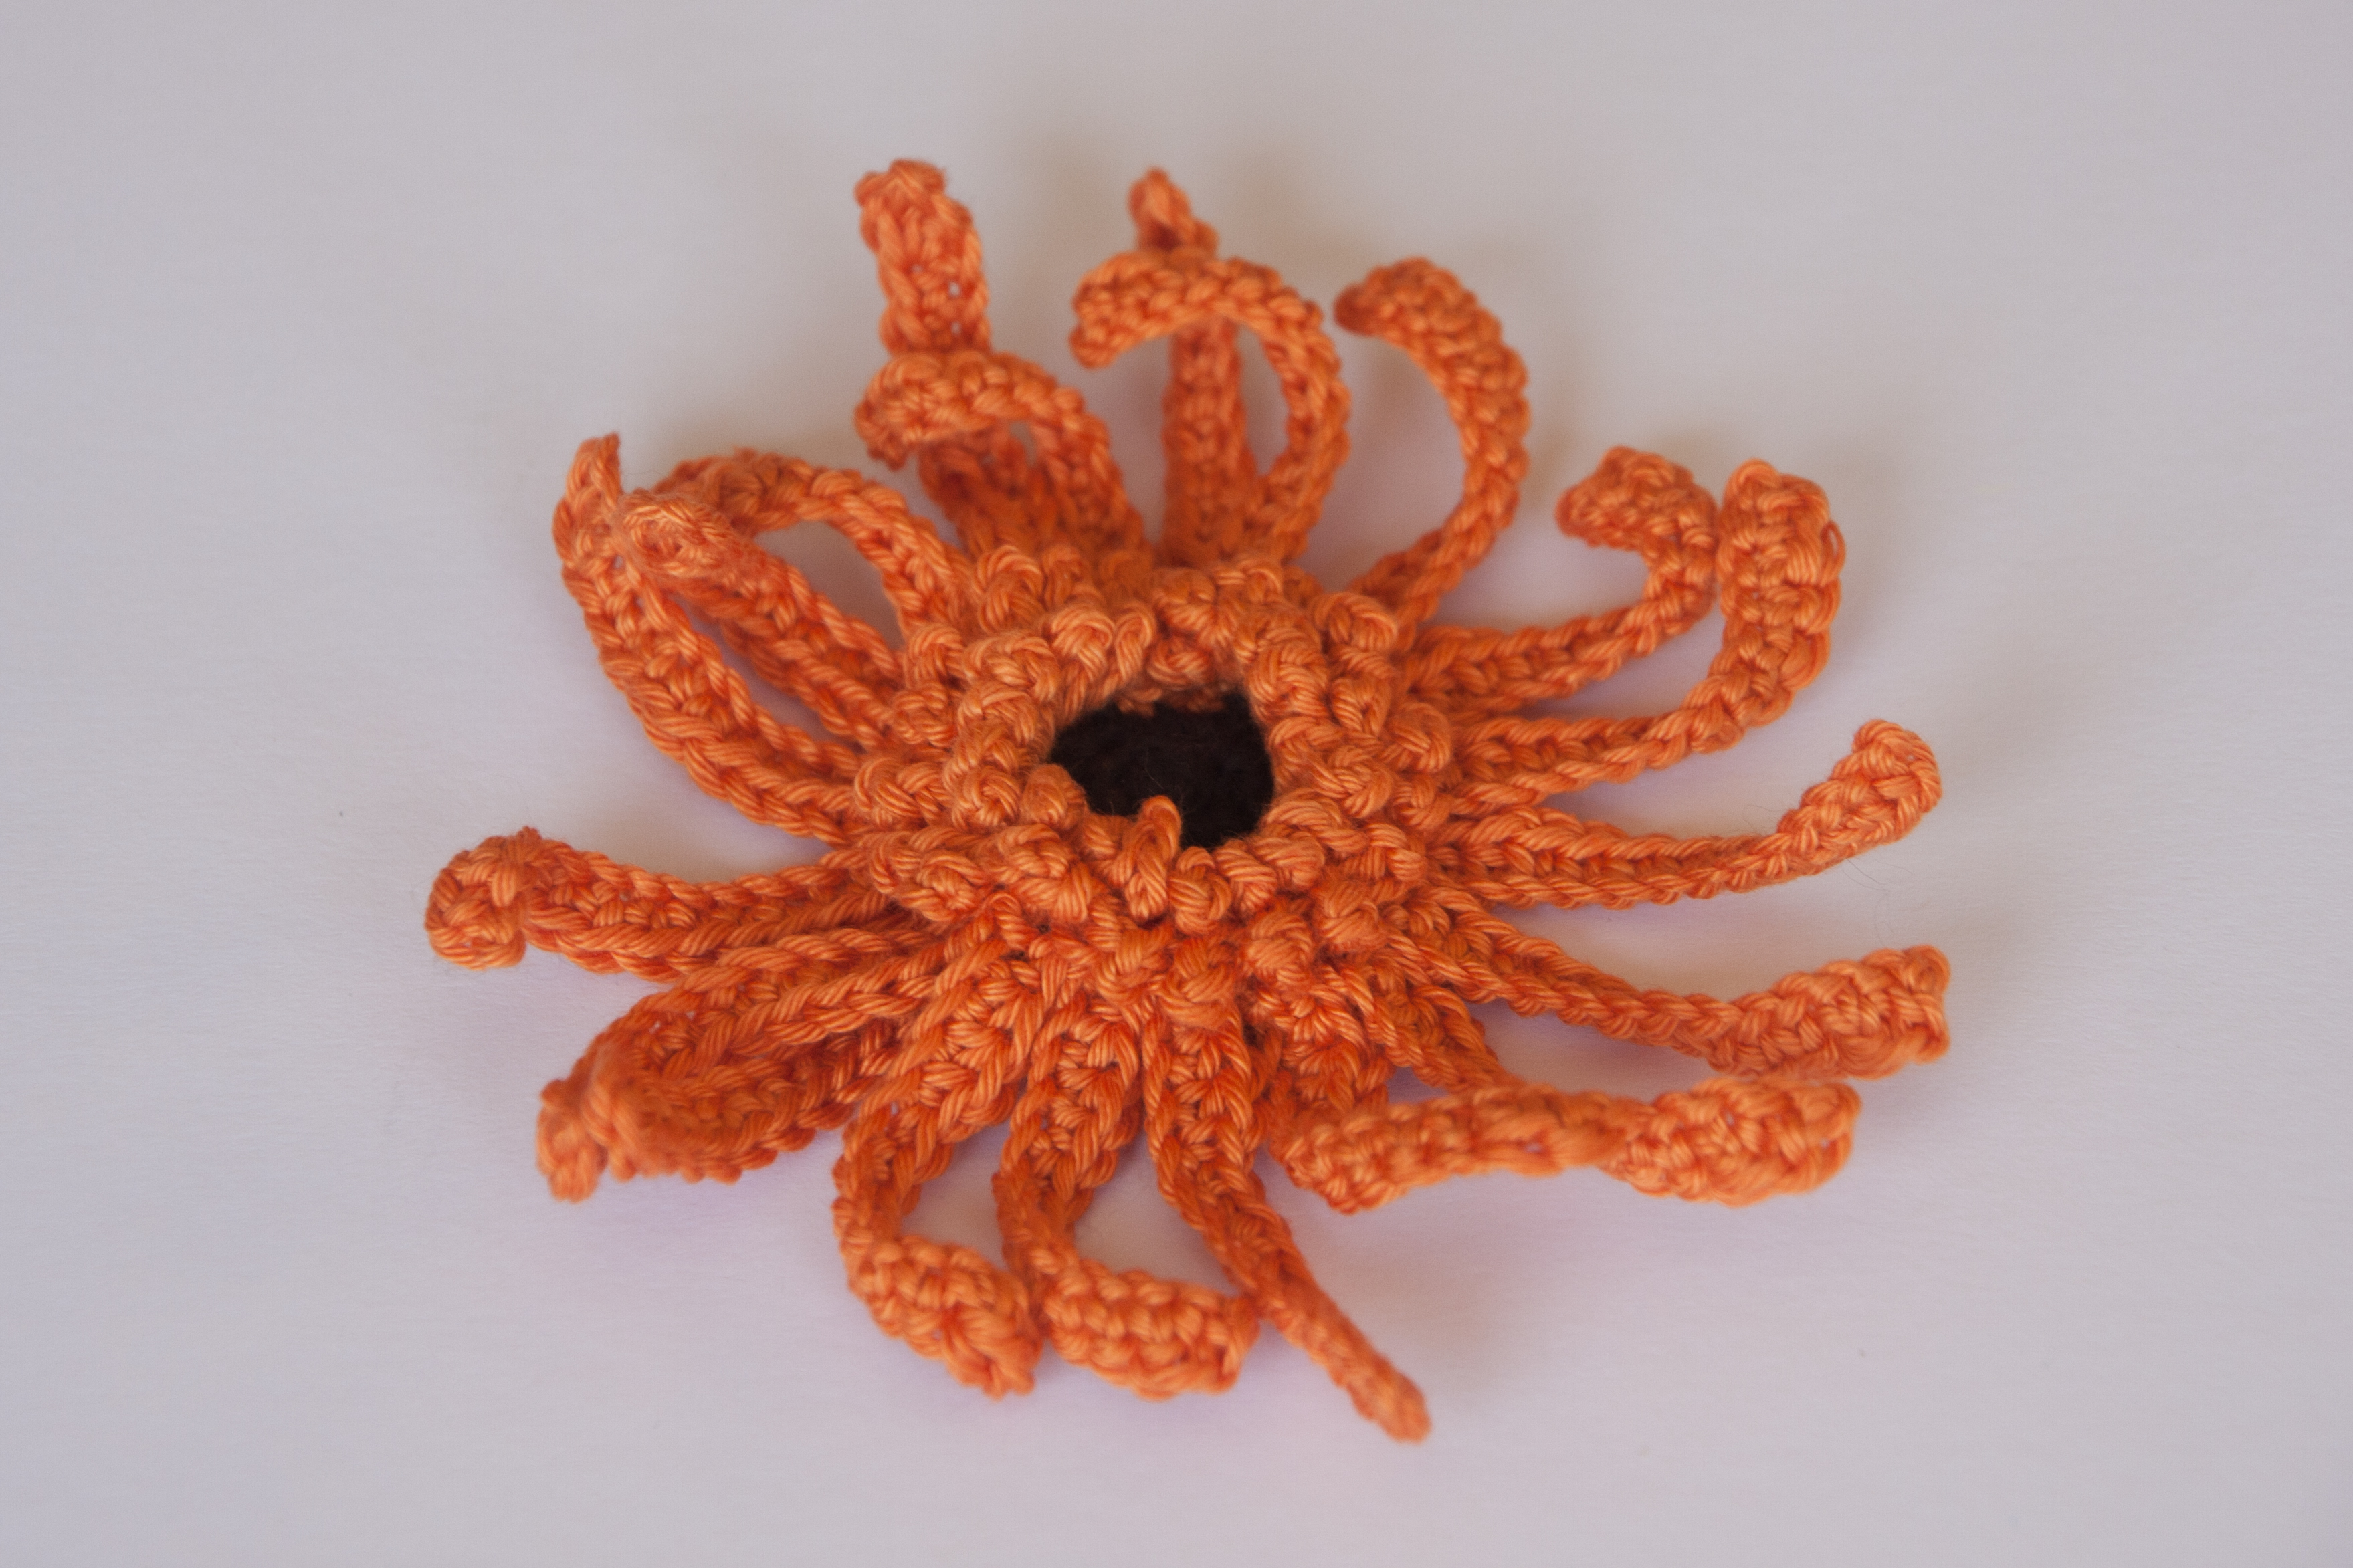
After the octopus flowers I was a bit unproductive and only managed to make a few more flowers and a few lovely mini beasts.

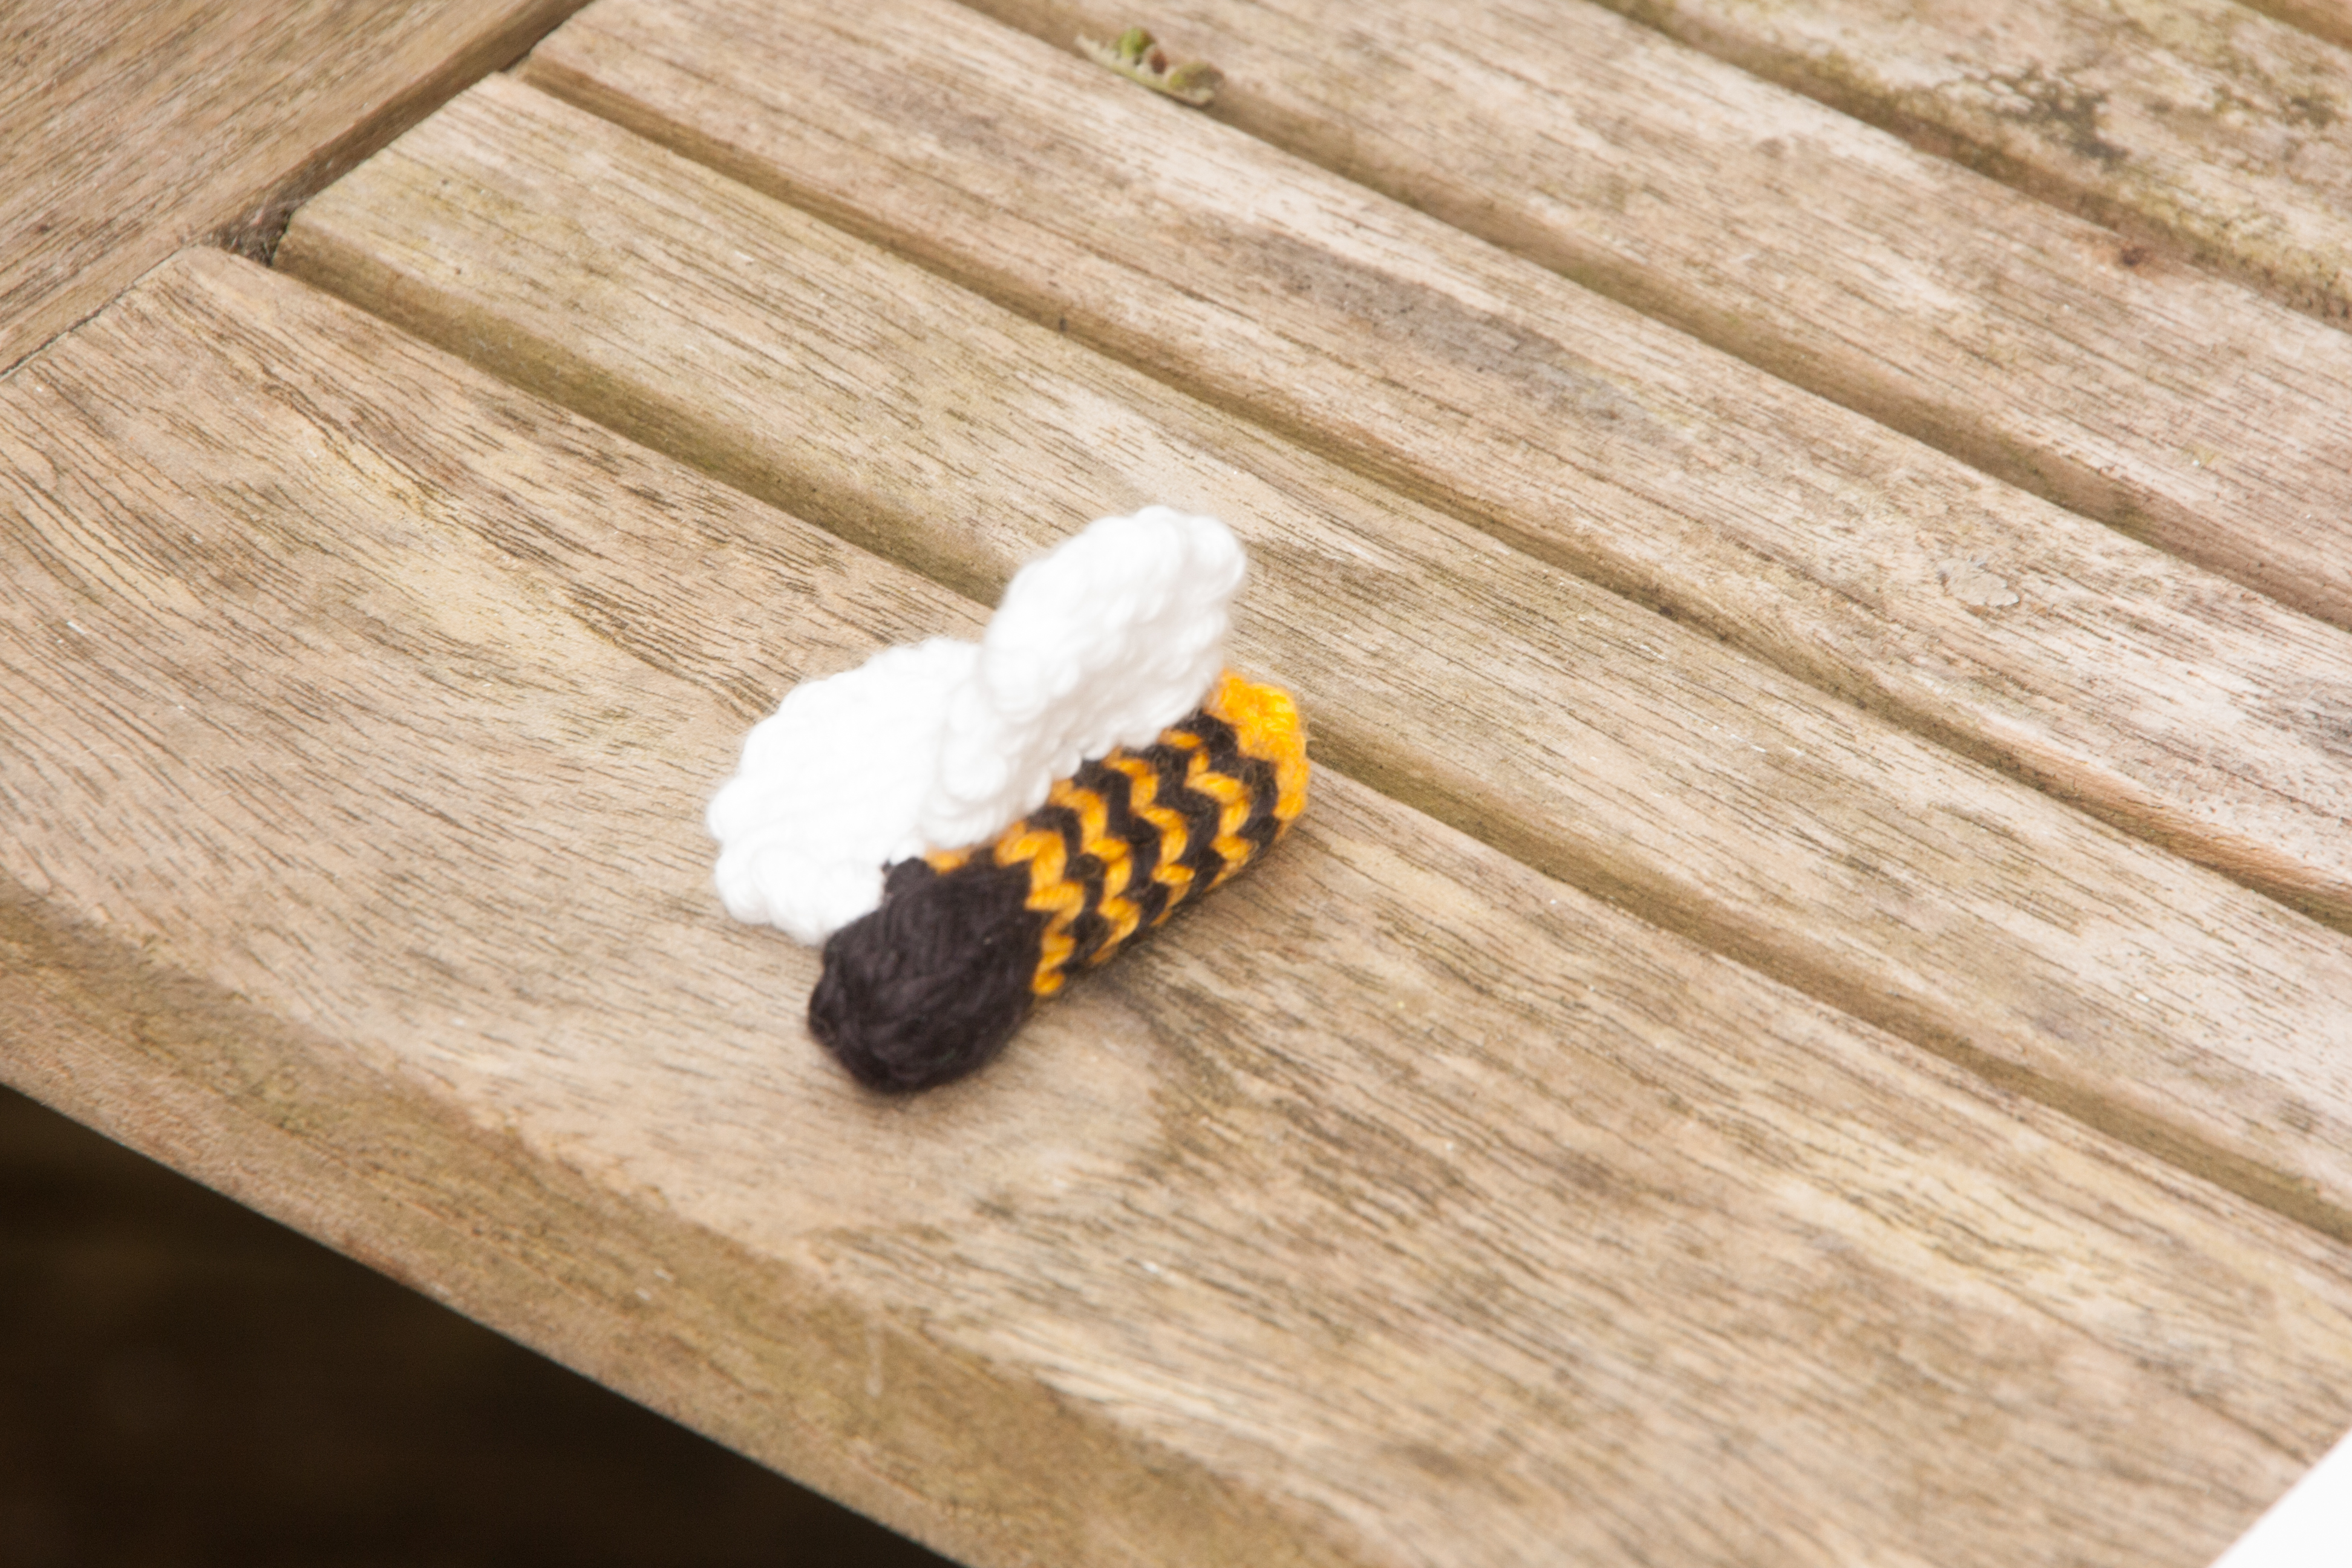
The improvised bee, as requested by my daughter:

bee 02

And two butterflies.

butterfly both sI was looking for patterns and could not quite decide which one of these two I prefer. The small and simple knitted one from Spud and Chloe or the crochet one following a video tutorial by nadelspiel.

I think the simple knitted one corresponds maybe more to my generally rather childish style and I have already gotten a firm request to make one of these to be fixed on a hair clip 🙂

The crochet one is beautiful (just as butterflies are) and it was another good crochet experience for me.

From a linguists point of view it is really interesting how much easier it is for me to refresh my almost inexisting crochet skills in German rather than English. Even though I do not remember how to make the different stitches, hearing the familiar words Staebchen and feste Masche has a very comforting effect. And I guess, following a very clear video tutorial is helpful too.

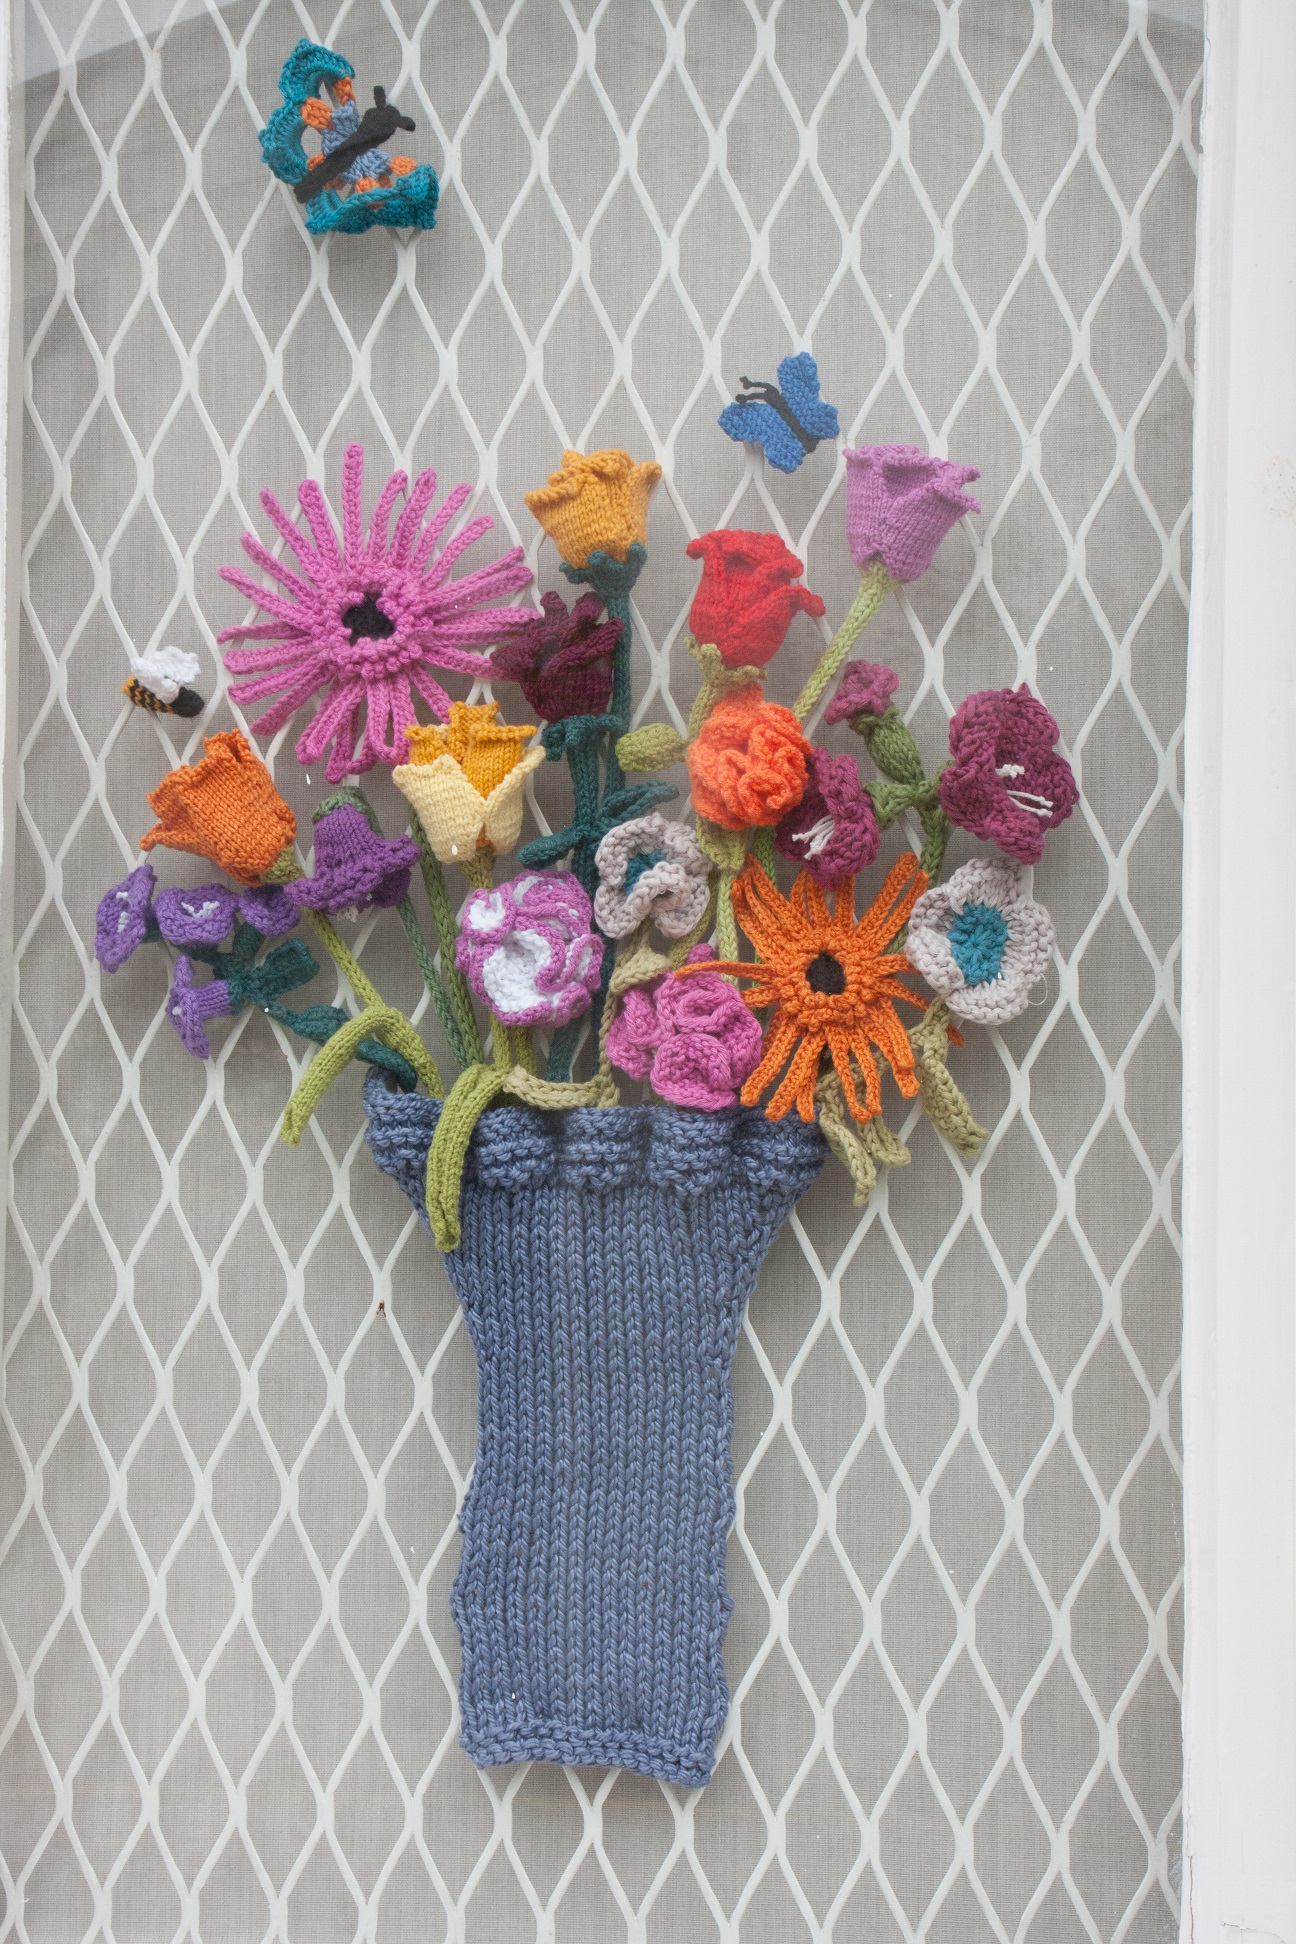
I decided to arrange two of the mini beasts rather close to the flowers.

bee and flowers s

butterfly knit window s
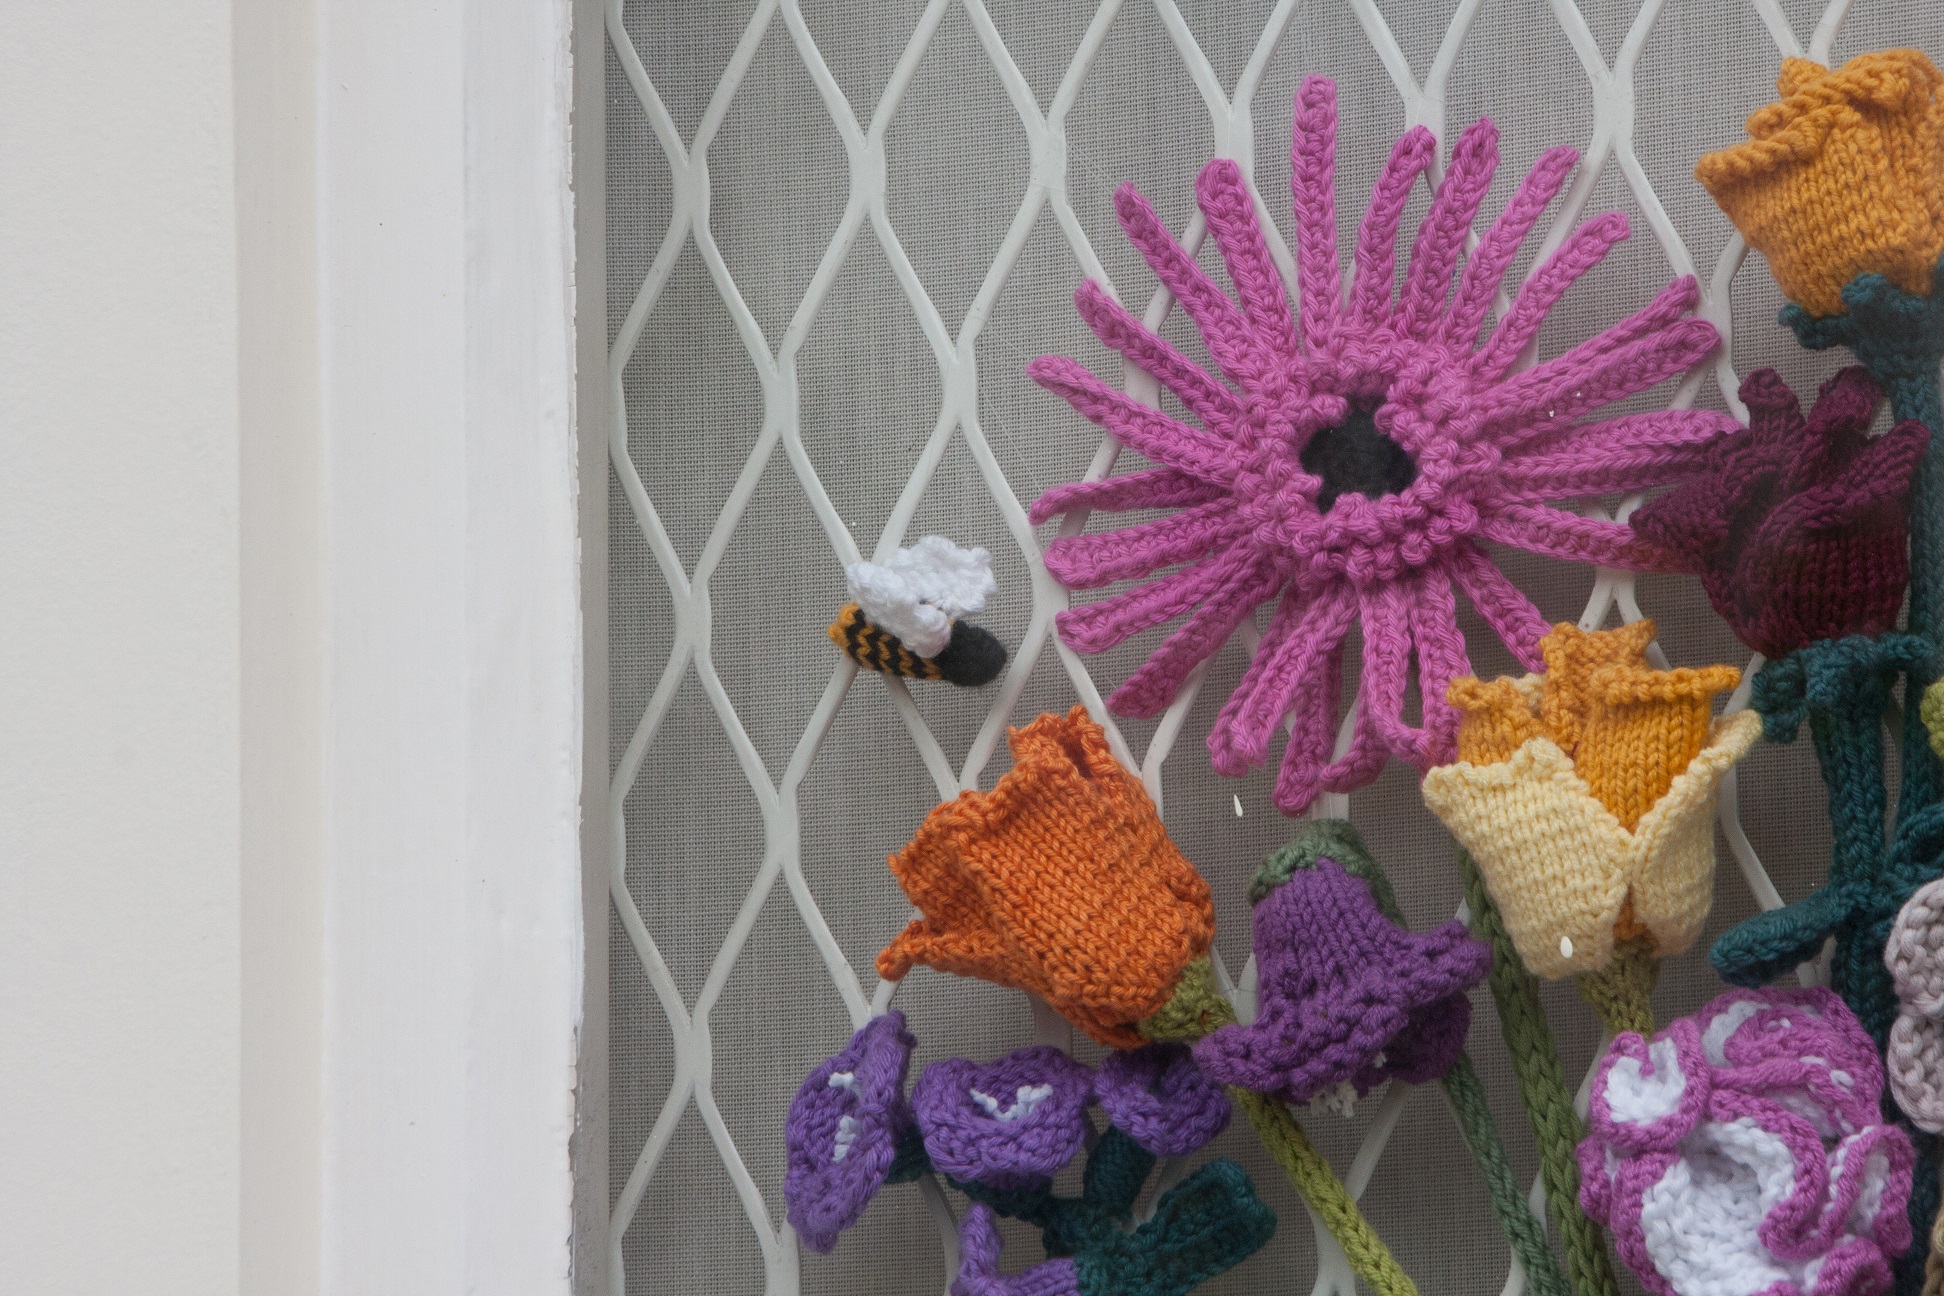
They might not be spotted from far away or from people just passing but they will be the fun little surprise for those who actually look at it properly. I really think having them there makes a lot of difference. The flowers are nice and people might even admire the knitting skills (if they can not knit at all) but discovering bee and butterfly will hopefully make them smile. Especially if they are on their way to the dentist next door 🙂

And just for those who think that I am always overcritical with myself: I think I should have planned the arrangement in advance rather than just putting them up when knitted up. They are not very well mixed colourwise nor specieswise. And as all tulips and roses are rather high up it is difficult to actually see the difference between them when standing on the pavement which is a bit of a shame because they are both made from very good and accurate patterns. But don’t worry, I am very pleased with the finished display. I just don’t know what to knit next… HELP!!!!


How to crochet an octopus

Yes, I said “crochet”.

I thought my flower window display is the perfect opportunity to brush up my crochet skills dating from primary school days. And since I was unable to knit the beautiful Gerbera on oddknit I looked for a crochet pattern and found lovely flower patterns on the Meli Bondre blog and because of the rather deadly combination of crochet skills dating from primary school and trying to understand a pattern in a foreign language, I looked up all the strange letter combinations in Cherry Hearts Crochet Corner, an incredibly useful and also pretty site for anybody who wants to know about crochet with great tutorials to all sort of crochet stitches.

But back the Octopus – tutorial:

Choose a Gerbera pattern, ignore completely yarn and hook suggestions, take the one hook that you have and ideally too thick yarn for that hook.

Don’t bother counting the stitches when creating the inner circle. It is late and the yarn is dark. It will be roughly enough.

Continue until there is no more space to add any more petals legs. I know, from a marine biologist point of view, an octopus should have rather 8 legs (and probably that same marine biologist would not necessarily call them legs) rather than a good 30 but the crocheted octopus looks good with that many legs or arms or whatever.

Gerbera A1

(As my daughter has pointed out, it clearly isn’t an octopus because it doesn’t have eyes.)

If you like it but still want to crochet a Gerbera, just do the same again, maybe with different yarn, but don’t be surprised to get another octopus.

Gerbera B1

The octopus tutorial finishes here.

After a bit of ironing the seafood actually turns into something more flowery

Gerbera C2but size wise they are not quite at the same scale than my lovely knitted roses and tulips.

Vase 07A little overpowering I guess and not recognisable as Gerberas next to the smaller flowers, maybe weirdly dyed sunflowers? But then it helped a lot to make the bouquet much fuller quickly. And they work well to attract views from further away which was the point of the whole window display anyway.

IMG_1980


Learning from mistakes… and I have learnt a lot lately

I seem to go through a rather brainless period lately and I do not really know on who or what to blame it. Staying at home with children doesn’t seem to help me personally to keep my brain fit and healthy. I guess I should look for some kind of activity… say cross words or…. knitting. Isn’t that supposed to be one of these activities to keep your brain active? Clearly not true over here.

And sadly I seem to make more mistakes when I am particularly pleased with my own cleverness.

Example No1 “The Dress”

I am currently sewing a dress for myself. Well, I try to.

I always pre-wash new fabrics and put a little old cleaning cloth in the washing to see if the colour of the new fabric would discolour other items. Clever, isn’t it. Except if you put several new fabrics in at the same time.

So my lovely orange flowers on white background were suddenly orange flowers on a yellowy-peachy background. Slightly disappointing but still pretty enough to be used.

I placed the pattern on the fabric and was extreeeemely pleased with myself that I not only managed to put them so close together (loosing 5mm of the edge of a dart) that I might actually be able to make a skirt from the left overs but also that I remembered for once to transfer all marks onto the fabric,…. shaking my head smugly about the silly notch in the middle of the front-fold… If I cut there into my fabric I would have a hole in the middle of my dress…. silly.

Once I finished cutting out everything super carefully, I realised that I had placed them wrongly, with the front cut in half instead of one piece and the back as one piece instead of cut in half. I guess, I could fix it by adding a stripe in a contrasting colour which would “cut” the front in two halves but that would mean that I had to buy new fabric so I just bought the same fabric again and I’ll not make that mistake again ever….hopefully

Example No2: “The vest”

My mum requested a sleeveless vest for my dad with “a fun design, maybe stripes”.  As usual I skipped the rather useful planning and calculating before ordering and ordered a main colour and a few single balls in other colours…. which was then rather tricky to put together.

I guess that is something I will never learn so I should not count that as a mistake anyway.

At least, I did a proper counting job and counted all my rows and wrote down all the numbers on little scrap papers which I placed carefully around the house.

So I was really surprised when I made the buttonhole band and then the armhole band and things clearly did not match.

It took me two hours of counting again and again until I actually found the mistake. And I had to rip at least one day worth of knitting.

Lesson learned here: Don’t bother counting rows if you are actually to stupid to do it properly.

And last but not least, I was again very proud of myself that I remembered that I will have to take care on which side to place the button holes as my father is not exactly the cross dress type of man who is used to wear his buttons on either side 🙂

So, I finished the vest, asked my husband to wear it for the picture, wrapped it carefully, sent it to Austria and waited for the thank you call.

IMG_1831Which came a couple of days later. Beautiful, super soft material, nice colours, fits perfectly but by the way, the buttons are on the wrong side….

At least that is easy to fix 😉

IMG_1831spiegel

Next time: Yarn over and their English equivalentS and why it is actually really useful to watch you tube videos only half way through and with the sound switched off.


How to take good pictures of your knitting

I have a fairly long to do list at the moment and one of the things on it is obviously “writing clever posts on my blog” so today I want to share my thoughts about an important part of knitting and blogging…. taking good pictures.

So here goes.

1. Don’t plan your photo shoot ahead. Just do it.

2. Don’t look for the perfect location. Just take the pictures where it is convenient for you, for example your back garden. A nice location will just draw away attention from your knitting.

3. Don’t wait for the sun. It will just overexpose the picture.

4. Just throw your knitted object over railings or a coat hanger. It will show its full glory all by itself.

5. Ask someone to pose in your pictures who wants privacy and doesn’t want her face everywhere on the internet. If that applies to you, just do it yourself.

6. Take the pictures yourself. Don’t ask anybody for help. They will just do it wrongly anyway.

6. Use a fancy camera with lots of buttons on it. You’ll find out eventually what they are for. If Point 5 applies to you, use the automatic release… if you can find it.

7. Alter the picture on the computer, change colour temperature, exposure, clarity, contrast,… whatever you want. But most importantly cut that head of your model off. The picture will look so much better without a person in it.

8. Be proud of yourself and decide to put “writing clever posts on my blog” on top of your to do list.

See, not that bad 🙂